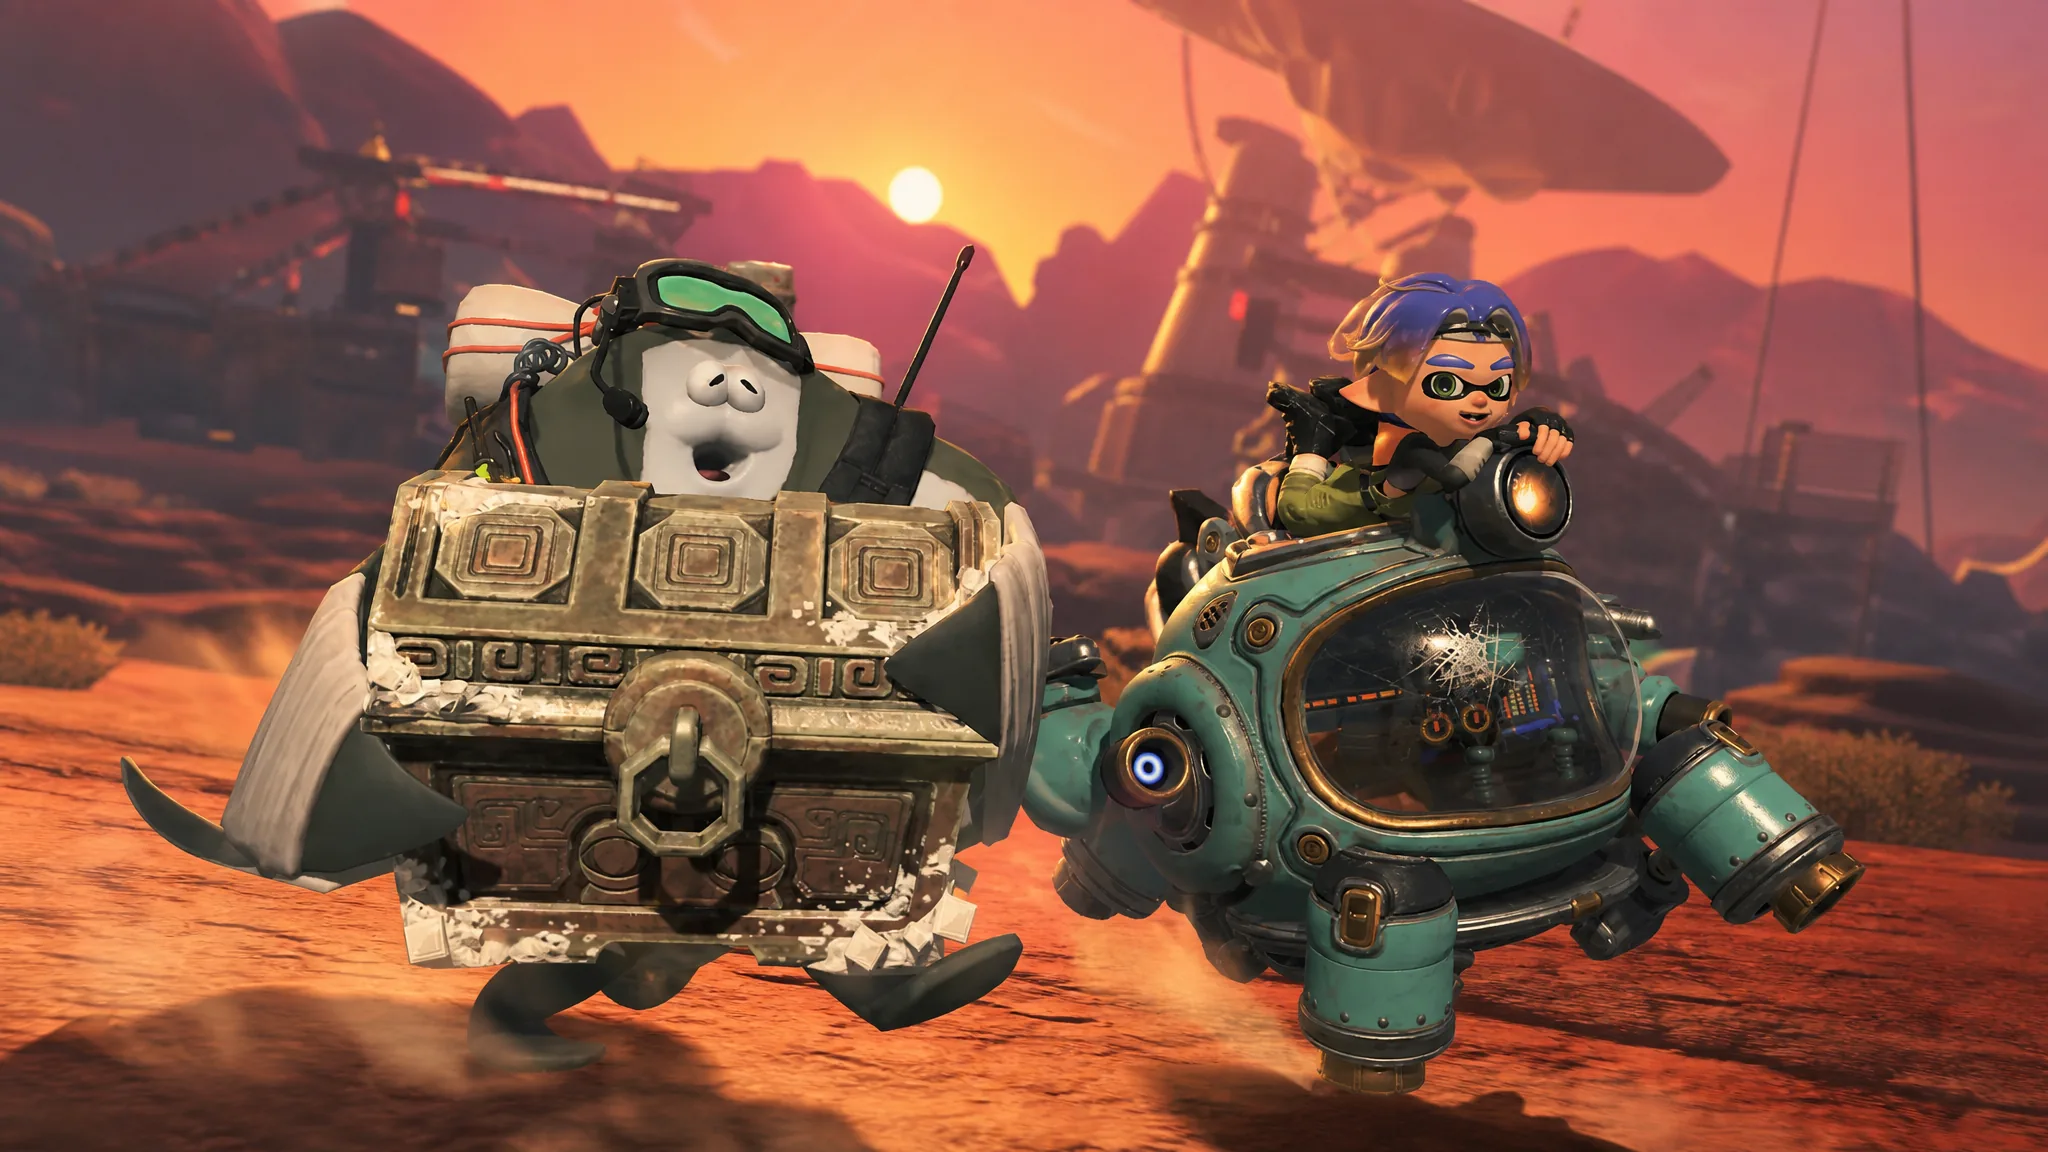
Gadgets are the sub-weapon style abilities your mechanic builds and equips in Splatoon Raiders, the single-player Nintendo Switch 2 spin-off where you raid the Spirhalite Islands for treasure and fight waves of Salmonids. Each gadget is a cooldown ability tied to one of three Ink Tanks, and the tank you carry decides which gadgets you can slot. Getting the right pairing for the fight in front of you matters more than raw firepower.
Quick answer: Every gadget belongs to a Speed, Power, or Tactical Tank, and you can only equip gadgets from the tank you have on. A reliable endgame setup is a fully upgraded Tactical Tank running Shot Pot, Bombloons, and Meteor Mitt.
How the Ink Tank and gadget system works
You carry one Ink Tank at a time, and each tank only accepts its own category of gadgets. Swapping tanks between missions is how you change your whole approach, since a Speed loadout and a Power loadout play nothing alike.
- Speed Tank leans on mobility, with leaps and dashes for fast hit-and-run play.
- Power Tank is built for close range, punching through tough defenses and shields.
- Tactical Tank gives you ranged control, including summoned tools that keep attacking on their own.
Early on you can equip two gadgets at once, and both must come from the same tank. As you collect Power Eggs, your tank levels up and unlocks new perks. Once a tank is fully powered up, a third gadget slot opens, which is where the more creative combos come in.
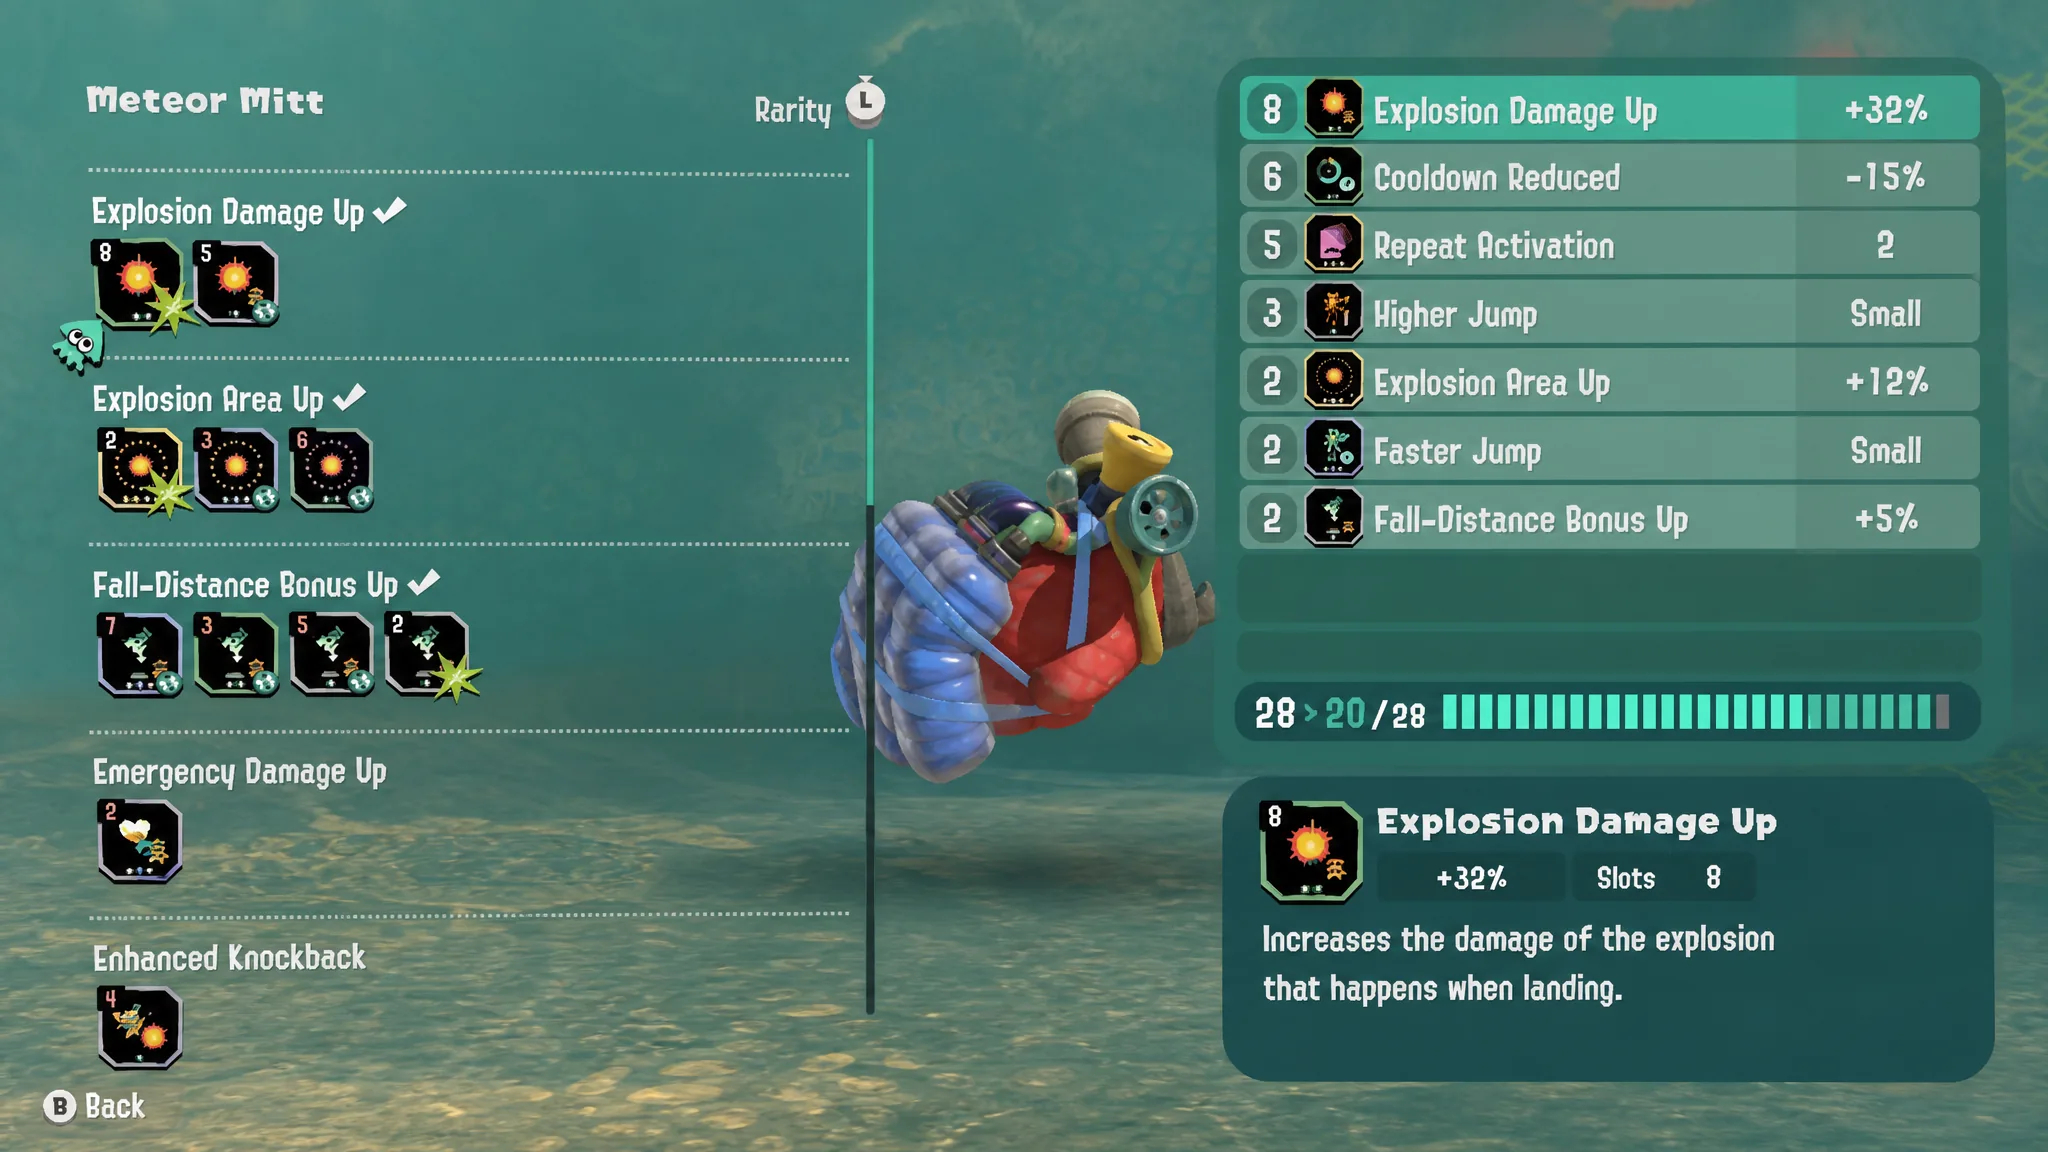
Every gadget is also customizable through Gadget Parts, which you build from Spirhalite Shards and looted Salmonid equipment back at the Hideout Ship. Parts do more than boost damage. Fitting the Multirang part to the Booyarang, for example, changes it from a single throw into two boomerangs at once. Each part has an equip cost that eats into your Gadget Part Slots, and leveling your character earns Skill Points you can spend to expand slot capacity on a tank.
Speed Tank gadgets
These gadgets are about repositioning fast, escaping a swarm, and covering ground during exploration.
| Gadget | What it does |
|---|---|
| Blast Boot | A quick leap that sets off an explosion where you land. |
| Dash Bomb | Dashes in a chosen direction and leaves an instantly exploding bomb behind you. |
| Booyarang | A boomerang throw that arcs out and damages enemies on the way. |
| Jump Bomb | Jumps with explosive force in a direction you pick with the stick. |
| Flywire | Fires a line and zips you to it. Sticks to inkable ground, inkable walls, and Salmonids. |
Power Tank gadgets
Power gadgets reward getting in close. They swing wide, break shields, and deal heavy single hits.
| Gadget | What it does |
|---|---|
| Splatchet | Rushes forward with a wide slashing arc that hits many targets at once. |
| Spinwheel | Sends Salmonids flying as it moves ahead. Hold the button to lock on and chase Boss Salmonids. |
| Splatellites | Orbits eight discs that ink the ground and hurt enemies who get close. |
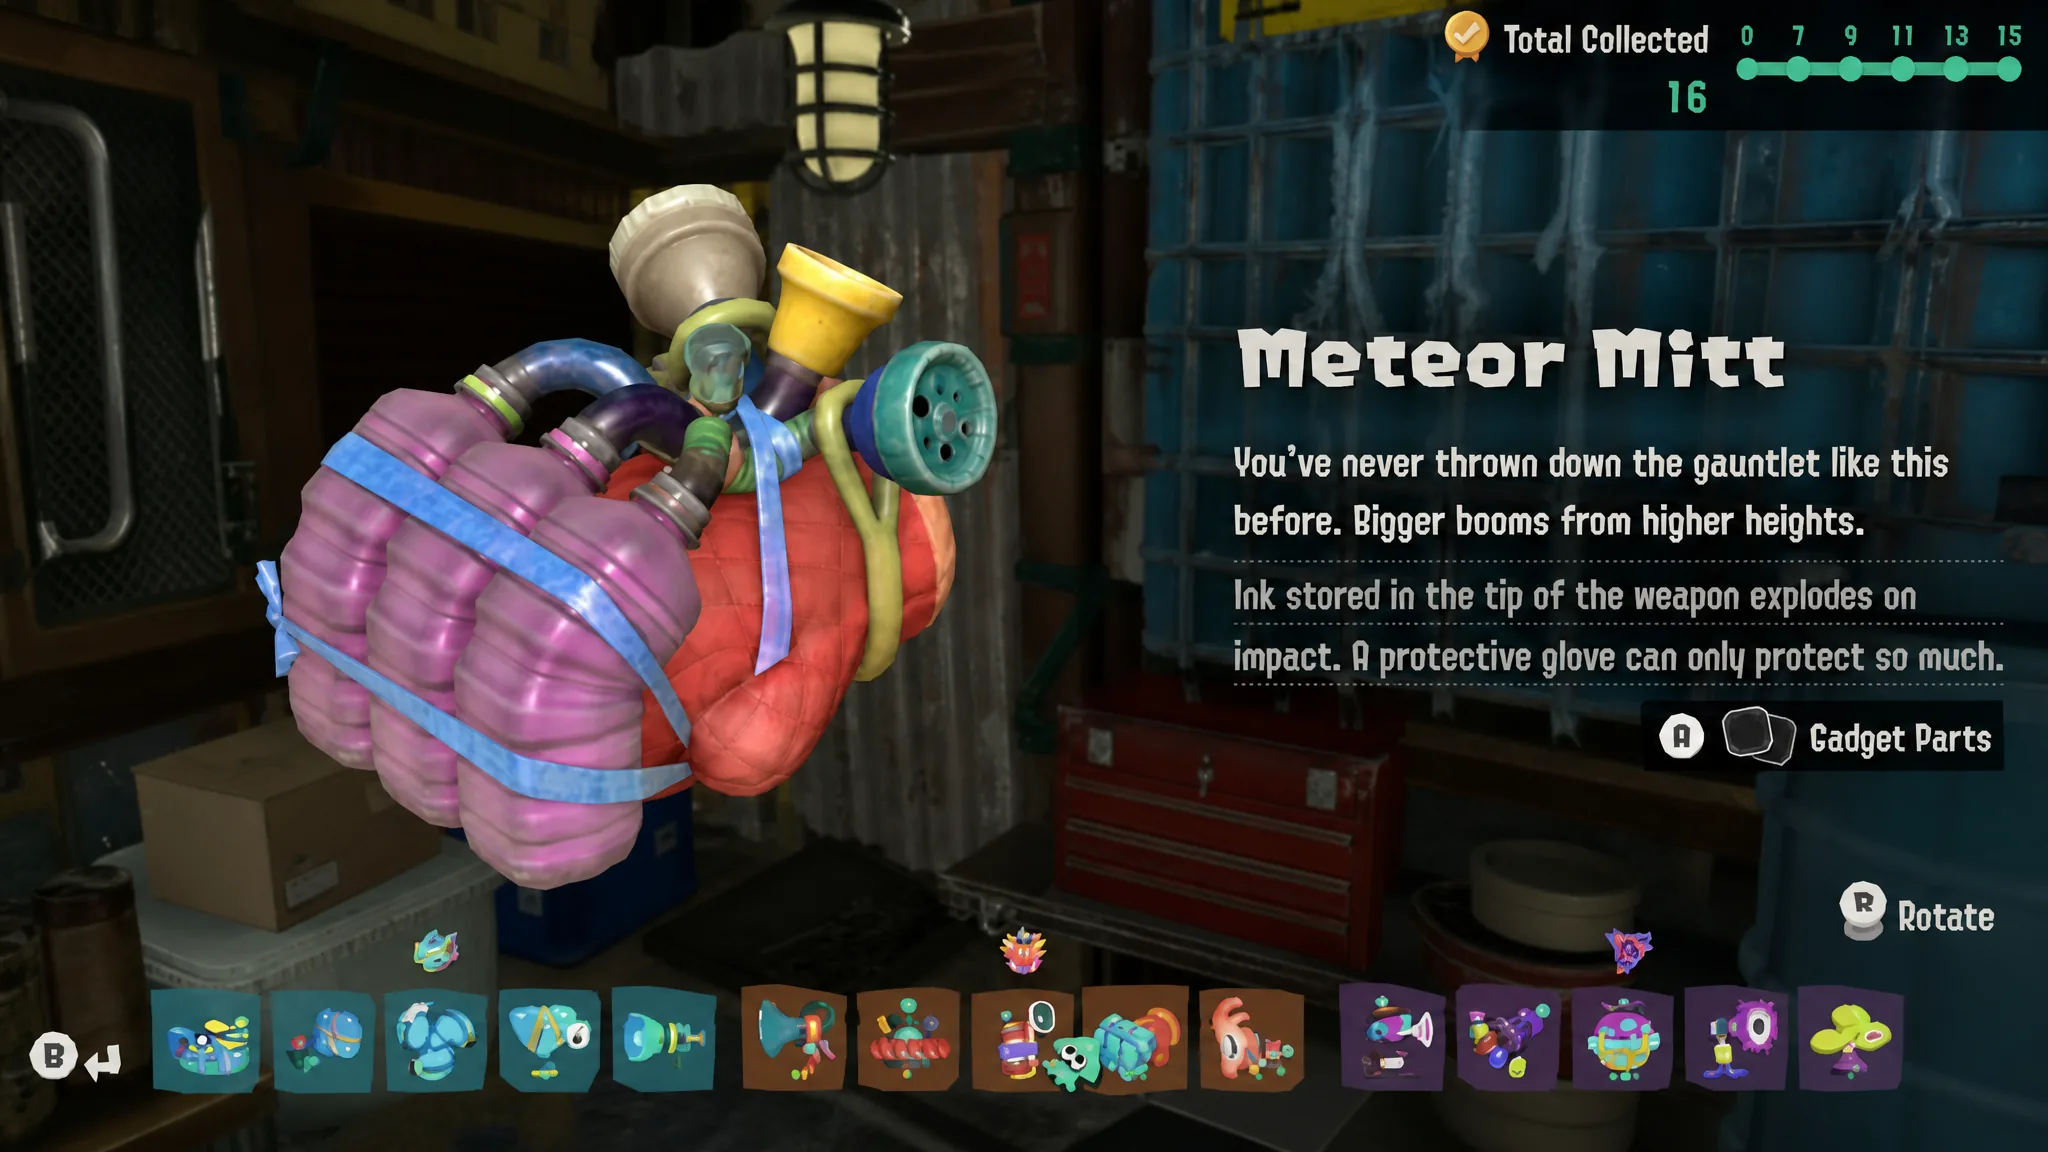
| Meteor Mitt | A slamming gauntlet attack. Bigger drops mean bigger explosions. |
| Shellacker | Fires exploding ink. Charge longer for a stronger blast. |
Tactical Tank gadgets
Tactical gadgets let you shape the battlefield from a distance, dropping turrets, traps, and lasers that keep working while you focus elsewhere.
| Gadget | What it does |
|---|---|
| Shot Pot | A turret buddy that automatically fires at nearby crates and Salmonids. |
| Hi-Fiver | Shoots five lines of ink that bounce off terrain and damage Salmonids as they hold. |
| Bombloons | Floating bombs that explode when hit. Link more together for a bigger blast. |
| Tether Wail | Connects you to a laser that thickens and hits harder the longer you extend it. |
| Torqscrew | Placed on ground or walls, it spins up a vortex whose blades fling Salmonids away. |
Best gadgets to run
There is no dead-weight gadget here, and difficulty settings only change combat, not the loot you collect, so you are free to experiment. That said, a fully upgraded Ultra Tactical Tank with Shot Pot, Bombloons, and Meteor Mitt covers most situations by the endgame.
A maxed-out Shot Pot loaded with strong parts thins crowds on its own, so you can set it down and let it clear Salmonids while you move. Bombloons work well as traps placed where enemies spawn, or as a panic button when they close in. Meteor Mitt is the bailout when you are swarmed, since you get some invincibility in the air before the slam lands for heavy damage.
For a mobility-first setup, Flywire and Jump Bomb on the Speed Tank make it easy to break away from a Salmonid pile or cross an area quickly. Use the practice range at your home base to test gadgets and parts before committing, since the right pairing depends far more on how you like to fight than on any single “correct” build.