The Palpagos Islands are not a flat sandbox. The world is a difficulty gradient you climb, starting in the gentle southern grasslands and pushing outward toward the hot volcano corners, the frozen north, the offshore islands, and finally the two regions the 1.0 update stacked on top. Knowing each zone’s level range before you travel is the difference between steady progress and getting flattened by an Alpha Pal that outlevels you.
Quick answer: Follow the tower ladder. Beat the eight tower bosses in order at Levels 10, 20, 30, 40, 50, 55, 60, and 68, then face the World Tree finale boss at Level 80. Collect all eight Key Spheres to unlock the ending, and carry heat-resistant armor for the volcano and desert plus cold-resistant armor for the snow.
Tower boss level ladder (the real progression path)
Eight organisation towers gate the story, and each is tuned to a clean rung on the level ladder. This is the checkpoint list you are actually climbing. The levels below are for Normal difficulty; Hard mode scales them up sharply, with the finale reaching Level 100.
| Boss(es) | Faction / tower | Region | Rec. level | New in 1.0? |
|---|---|---|---|---|
| Zoe & Grizzbolt | Rayne Syndicate | Windswept Hills | 10 | No |
| Lily & Lyleen | Free Pal Alliance | Frostbound Mountains | 20 | No |
| Axel & Orserk | Brothers of the Eternal Pyre | Mount Obsidian | 30 | No |
| Marcus & Faleris | PIDF | Desiccated Dunes | 40 | No |
| Victor & Shadowbeak | PAL Genetic Research Unit | Astral Mountains | 50 | No |
| Saya & Selyne | Moonflower | Sakurajima | 55 | No |
| Bjorn & Bastigor | Feybreak | Feybreak | 60 | No |
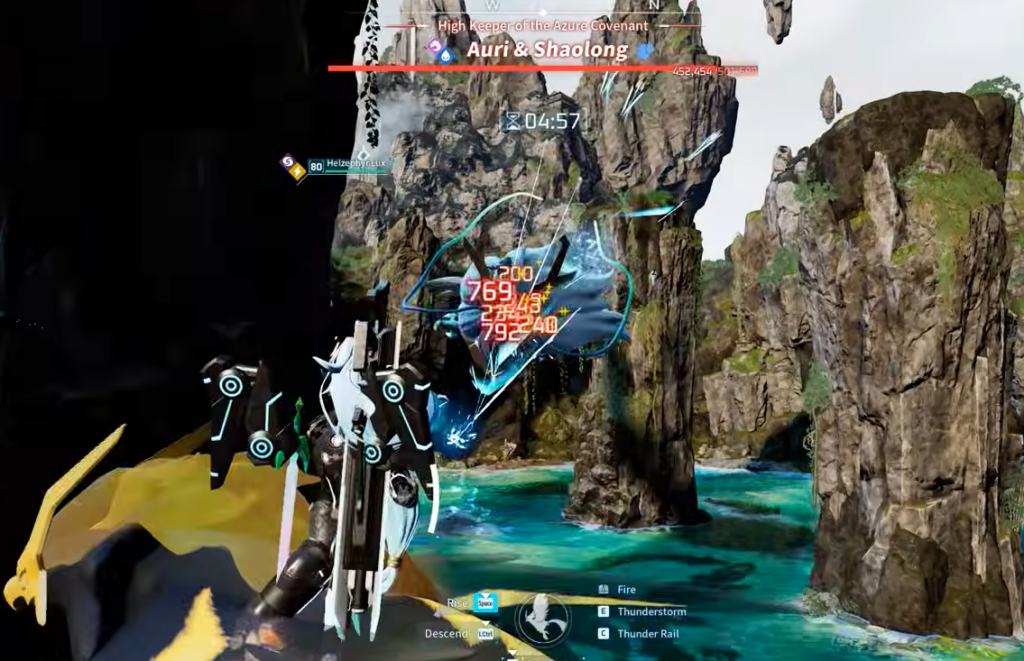
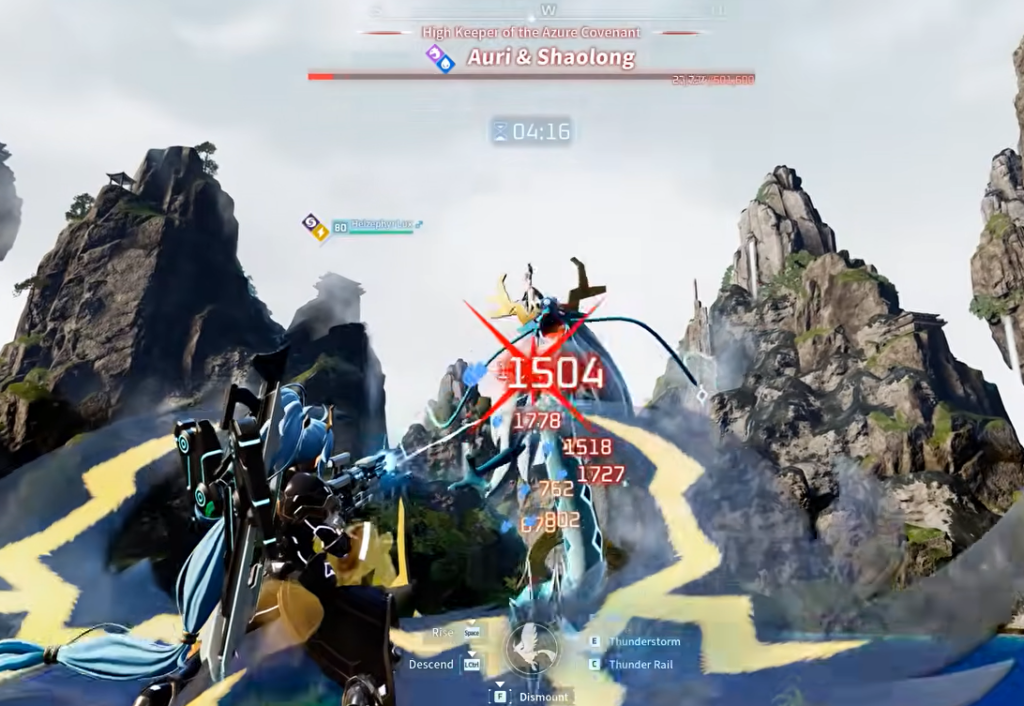
| Auri & Shaolong | Azure Covenant | Sunreach | 68 | Yes |
| Zenara & Astralym | The Sealed Calamity (finale) | World Tree | 80 | Yes |
Chasing the next tower keeps you on-level automatically. You do not need to memorise the map; you need to hit the next number on the ladder.
Early game zones (Level 1–20)
You spawn in the southern grasslands. These zones carry you through your first base, your first captures, and the opening tower. Recommended levels are community guidance, not hard walls, so a confident squad can push a few levels early.
| Zone | Rec. level | Biome | Notes |
|---|---|---|---|
| Windswept Hills (start) | 1–15 | Grassland | Spawn area; Rayne Syndicate tower (Lv 10) |
| Marsh Island | 1–10 | Wetland | Quiet alternate starter isle |
| Sea Breeze Archipelago | 1–15 | Coastal isles | Early water Pals |
| Eastern Wild Island | 1–15 | Grassland isles | Cluster of low-level Alphas |
| Bamboo Groves | 10–25 | Bamboo hills | Natural second region |
Mid game zones (Level 15–30)
The central belt bridges the grasslands and the harsh corners. Push through here to reach the second tower and pick up a mount before the difficulty starts to climb.
| Zone | Rec. level | Biome | Notes |
|---|---|---|---|
| Frostbound Mountains | 15–25 | Snowy forest | Free Pal Alliance tower (Lv 20) |
| Moonless Shore | 15–25 | Dark coast | Nocturnal and Dark-type Pals |
| Twilight Dunes | 20–30 | Small desert | Central inland desert, not the northeastern Desiccated Dunes |
| Verdant Brook | 20–30 | Forest / falls | Bridge toward the hot corners |
Hot and cold corners (Level 30–50)
The outer corners of the mainland are where temperature gates you as hard as your level does. The volcano and desert will cook you, and the northern snow will freeze you, no matter how high your level is.
| Zone | Rec. level | Biome | Notes |
|---|---|---|---|
| Mount Obsidian | 30–45 | Volcano (SW) | Heat gear; Eternal Pyre tower (Lv 30) |
| Desiccated Dunes | 40–50 | Desert (NE) | Heat gear; PIDF tower (Lv 40); Duneshelter town |
| Astral Mountains | 35–50 | Snow (N) | Cold gear; PAL Genetic tower (Lv 50) |
| Land of Absolute Zero | 45–50+ | Frozen (far N) | Coldest zone; Frostallion’s home |
Offshore islands (Level 50–65)
Once the mainland is behind you, the difficulty spikes on distinct island zones. Sakurajima and Feybreak look like 1.0 additions, but both arrived during Early Access. They sit squarely on the critical path all the same.
| Zone | Rec. level | Biome | Notes |
|---|---|---|---|
| Sakurajima | 50–55 | Cherry-blossom island (NW) | Moonflower tower (Lv 55); Bellanoir raid |
| Feybreak | 50–65 | Mixed island (far SW) | Feybreak tower (Lv 60); gateway to Sunreach |
Feybreak is your proving ground for the endgame. Grinding there between Levels 50 and 65 is the sensible way to prepare before you push higher, and clearing its tower is what opens the route upward.
New 1.0 regions (Level 58–80)
The 1.0 update raised the level cap from 65 to 80 and added the endgame content that lives above and beyond the old map. Two of these are full regions; the rest are smaller islands packed with exclusive Pals.
| Zone | Rec. level | Biome | Notes |
|---|---|---|---|
| Sunreach | 58–68 | Floating sky islands (SW) | Azure Covenant tower (Lv 68); Soralite ore; needs a glider |
| World Tree | 70–80 | Story finale | Final boss Zenara & Astralym (Lv 80, typeless) |
| Seven new small islands | ~50+ | Volcano / desert / ruins | Exclusive Pals; Ancient Ruins content |
Sunreach is a cluster of floating sky islands reached through a portal atop the Feybreak tower. It requires a glider to cross, mines the new Soralite ore, and holds the Azure Covenant tower. It will not appear on your map until you clear the exact route through Feybreak, so there is no way to skip ahead to it.
The World Tree was visible but sealed since the 2024 launch and finally opens as the story’s finale. Reaching it means beating all eight tower bosses and clearing a gating quest that has you capture the whale Pal Panthalus to craft the Echoing Flute. Inside waits the typeless final boss, Zenara & Astralym, at Level 80.
Temperature gear matters as much as level
The environment does damage on its own. Packing the right armor before you travel is not optional in the extreme biomes, and forgetting it can kill you faster than any Pal. Pack the gear first, then set out.
- Heat-resistant armor for Mount Obsidian and the Desiccated Dunes.
- Cold-resistant armor for the Astral Mountains and the Land of Absolute Zero.
- In the Sand Dunes, both heat and cold matter, since the temperature swings by time of day.
Optional zones off the critical path
Two kinds of side areas dot the whole map. They hold rare and Legendary Pals, but they sit off the main story route, so detour for the Pal rather than the progression.
- Wildlife Sanctuaries (~Lv 20–45) are protected islands where being spotted by guards raises your wanted level.
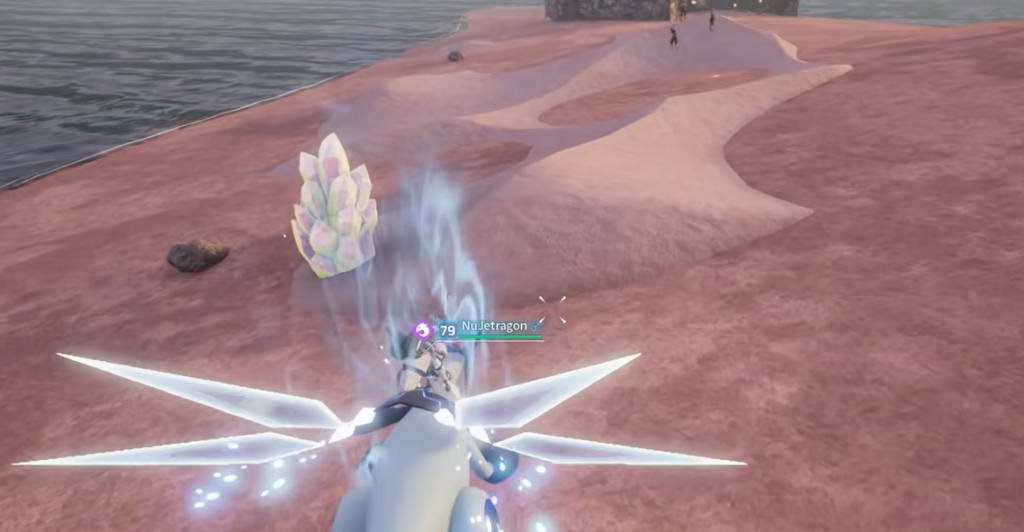
- Sealed Realms (~Lv 20–50) are altar dungeons where you catch Legendaries such as Frostallion, Jetragon, and Paladius.
How to stay on-level as you climb
The route zig-zags geographically, but by level it is a clean staircase. A few habits keep your team matched to the next zone without grinding.
- Catch ten of each Pal species. The capture bonus is the cleanest early XP and keeps you on-level as you move north.
- Run dungeons and grab every Fast Travel point, so returning to farm a cleared region is quick.
- Do not over-farm one zone. The XP curve makes grinding well past a zone’s recommended level slow, so moving to the next tower is usually faster.
- Start breeding once you reach the higher brackets. Random spawns will not keep pace with the endgame islands.
Treat every number here as “be around here,” not a wall. A strong, well-built team can shave a few levels off any zone, and a cautious one will want a buffer, but the tower ladder from Level 10 to Level 80 is the reliable spine that carries you from the Windswept Hills to the World Tree finale.