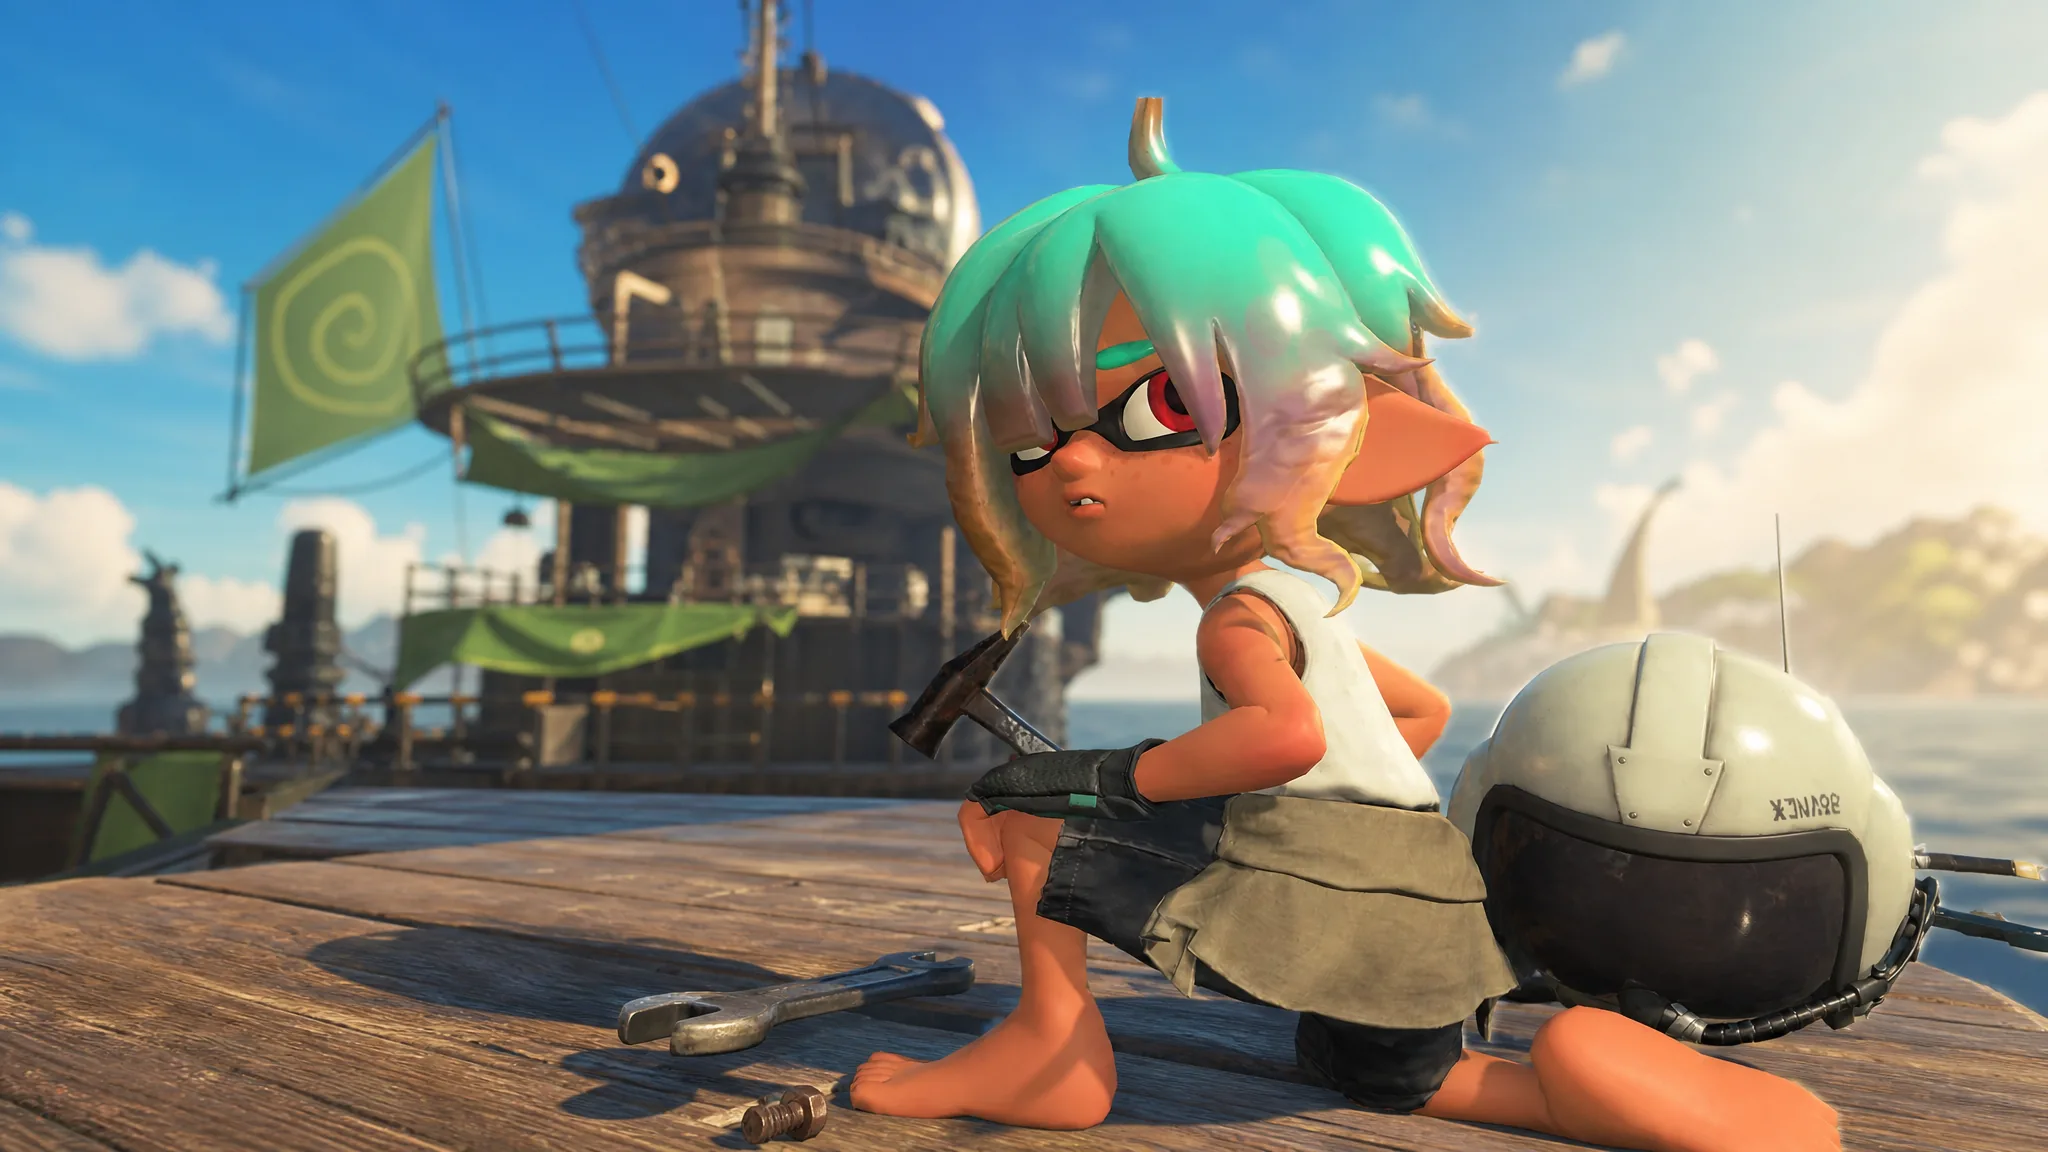
The Hideout Ship is your home base in Splatoon Raiders, and leveling it up is what opens the deeper crafting and upgrade options you need for tougher raids. It only reaches a maximum of Level 3, but each step gates real progress behind story milestones and a specific pile of salvage.
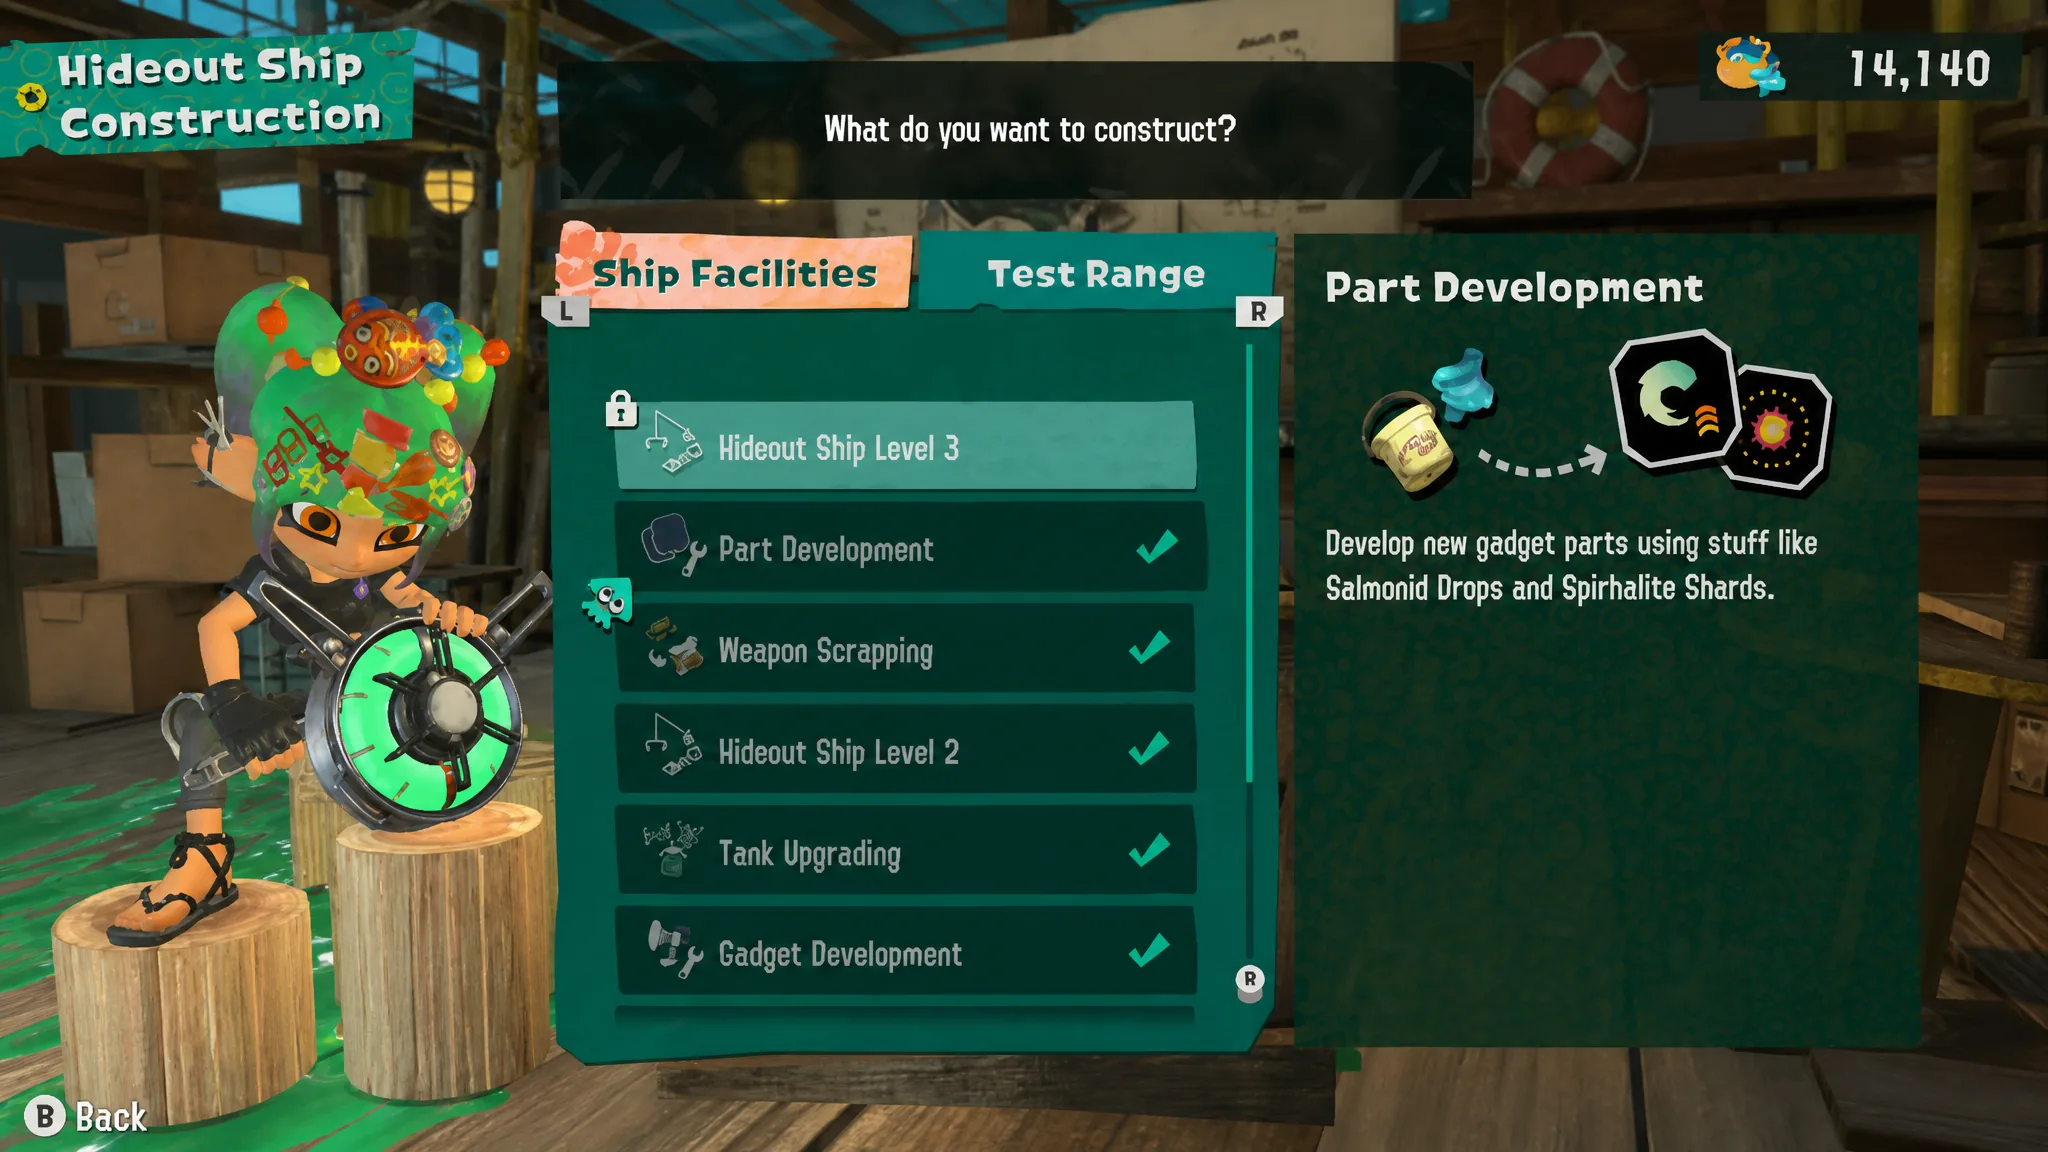
Quick answer: Clear all outstanding Ship Facilities upgrades, then head to the Mechanic’s Shack and open Ship Construction. Level 2 unlocks after clearing Bowtlode Temple and costs 1 Spirhalite Gem, 1 Steel Eel’s Jaw, 5 Salty Tongue’s Buckets, and 1,000 Spirhalite Shards. Level 3 unlocks after the final stage of Gildred Island and costs 2 Spirhalite Gems, 2 Drizzler’s Masks, 3 Slammin’ Lid’s Lids, and 2,000 Spirhalite Shards.
Hideout Ship level requirements and material costs
Two things gate every ship level. You must reach a set point in the story, and you must first finish any pending Ship Facilities upgrades sitting in the queue. Only then can you spend the required materials. Both story gates are fixed dungeon milestones, so you cannot rush the upgrade with materials alone.
| Ship level | Story requirement | Materials |
|---|---|---|
| Level 2 | Clear Bowtlode Temple | Spirhalite Gem ×1, Steel Eel’s Jaw ×1, Salty Tongue’s Bucket ×5, Spirhalite Shard ×1,000 |
| Level 3 | Complete the final stage of Gildred Island | Spirhalite Gem ×2, Drizzler’s Mask ×2, Slammin’ Lid’s Lid ×3, Spirhalite Shard ×2,000 |
Level 3 is the ceiling. There is no Level 4, so once the ship hits its third tier, all further gains come from individual facility and Tank upgrades rather than the ship itself.
How to upgrade the Hideout Ship
You know the upgrade worked when the ship’s appearance changes and its capacity expands, giving you more room to build new facilities and access to the new craftable Gadgets tied to that level. If the option is greyed out, you either have a pending facility upgrade or you have not yet passed the required story dungeon.
What each Hideout Ship level unlocks
A higher ship level does more than change the scenery. Each tier adds new facilities to build, opens fresh Gadget recipes, and widens the Test Range so you can practice against more targets and hazards. The two paid tiers bring the following additions.
| Level | New facilities | New Test Range options |
|---|---|---|
| Level 2 | Weapon Scrapping, Part Development | Three arcade games, shot machine, balloons, ride inkrail, one moving target, unbreakable target, some targets, power egg pack, gadget shaker |
| Level 3 | Weapon Power Swapping, Part Upgrading | Four arcade games, two or three moving targets, many targets |
Note: The Test Range upgrades are the lowest priority. They only let you test builds, so save them for when you have spare materials. Facility upgrades come first because Weapon Scrapping, Part Development, Weapon Power Swapping, and Part Upgrading directly affect how strong your loadout can get.
Which facilities to prioritize before leveling the ship
Because a ship level requires clearing pending facility upgrades first, it helps to know what each station on the ship handles. Spend your salvage on the facilities that improve dungeon performance, and treat cosmetic or test-only upgrades as optional.
| Facility | Run by | What it does |
|---|---|---|
| Mechanic’s Shack | The Mechanic | Upgrades Tanks and builds ship facilities |
| Gadget Workshop | Shiver | Develops Gadgets, plus Part Development and Part Upgrading |
| Weapon Stash | Frye | Weapon Upgrading, Weapon Scrapping, and Weapon Power Swapping |
| Hoard | Big Man | Views relics, Briny Scrolls, and enemy and gear guides |
| Treasure Map | Exploration Bot | Selects the next dungeon to raid |
Weapon Upgrading uses Spirhalite Shards to raise a weapon’s damage, and the cost climbs with each level. Gadget Development uses Spirhalite Shards plus specific Salmonid parts, so plan your dungeon runs around the parts you need. After beating Salmonarch for the first time, both Shiver and Frye gain their advanced services, which is when Part Upgrading and Weapon Power Swapping become available.
Where to farm the upgrade materials
Most of the ship’s level costs are Salmonid boss drops paired with a large stack of Spirhalite Shards. Steel Eel’s Jaw, Salty Tongue’s Bucket, Drizzler’s Mask, and Slammin’ Lid’s Lid all come from their matching boss Salmonids, so target those enemies in raids as you approach each story gate. Spirhalite Shards accumulate naturally from raids and from the ship’s crane minigame, which claws in crates that can contain Shards.
Tip: You keep everything you collect on solo raids even when a run ends in defeat, so you can farm boss parts on a comfortable difficulty without risking your haul. Difficulty changes enemy strength only and never the loot you can receive, which means there is no reason to fight above your level just to gather materials.
Once both levels are done, the Hideout Ship is fully built out and your progression shifts entirely to Tanks, Gadgets, weapons, and Relic Powers. From that point, returning to the ship after a strong raid is just about spending salvage on the individual stations rather than the ship’s structure.