

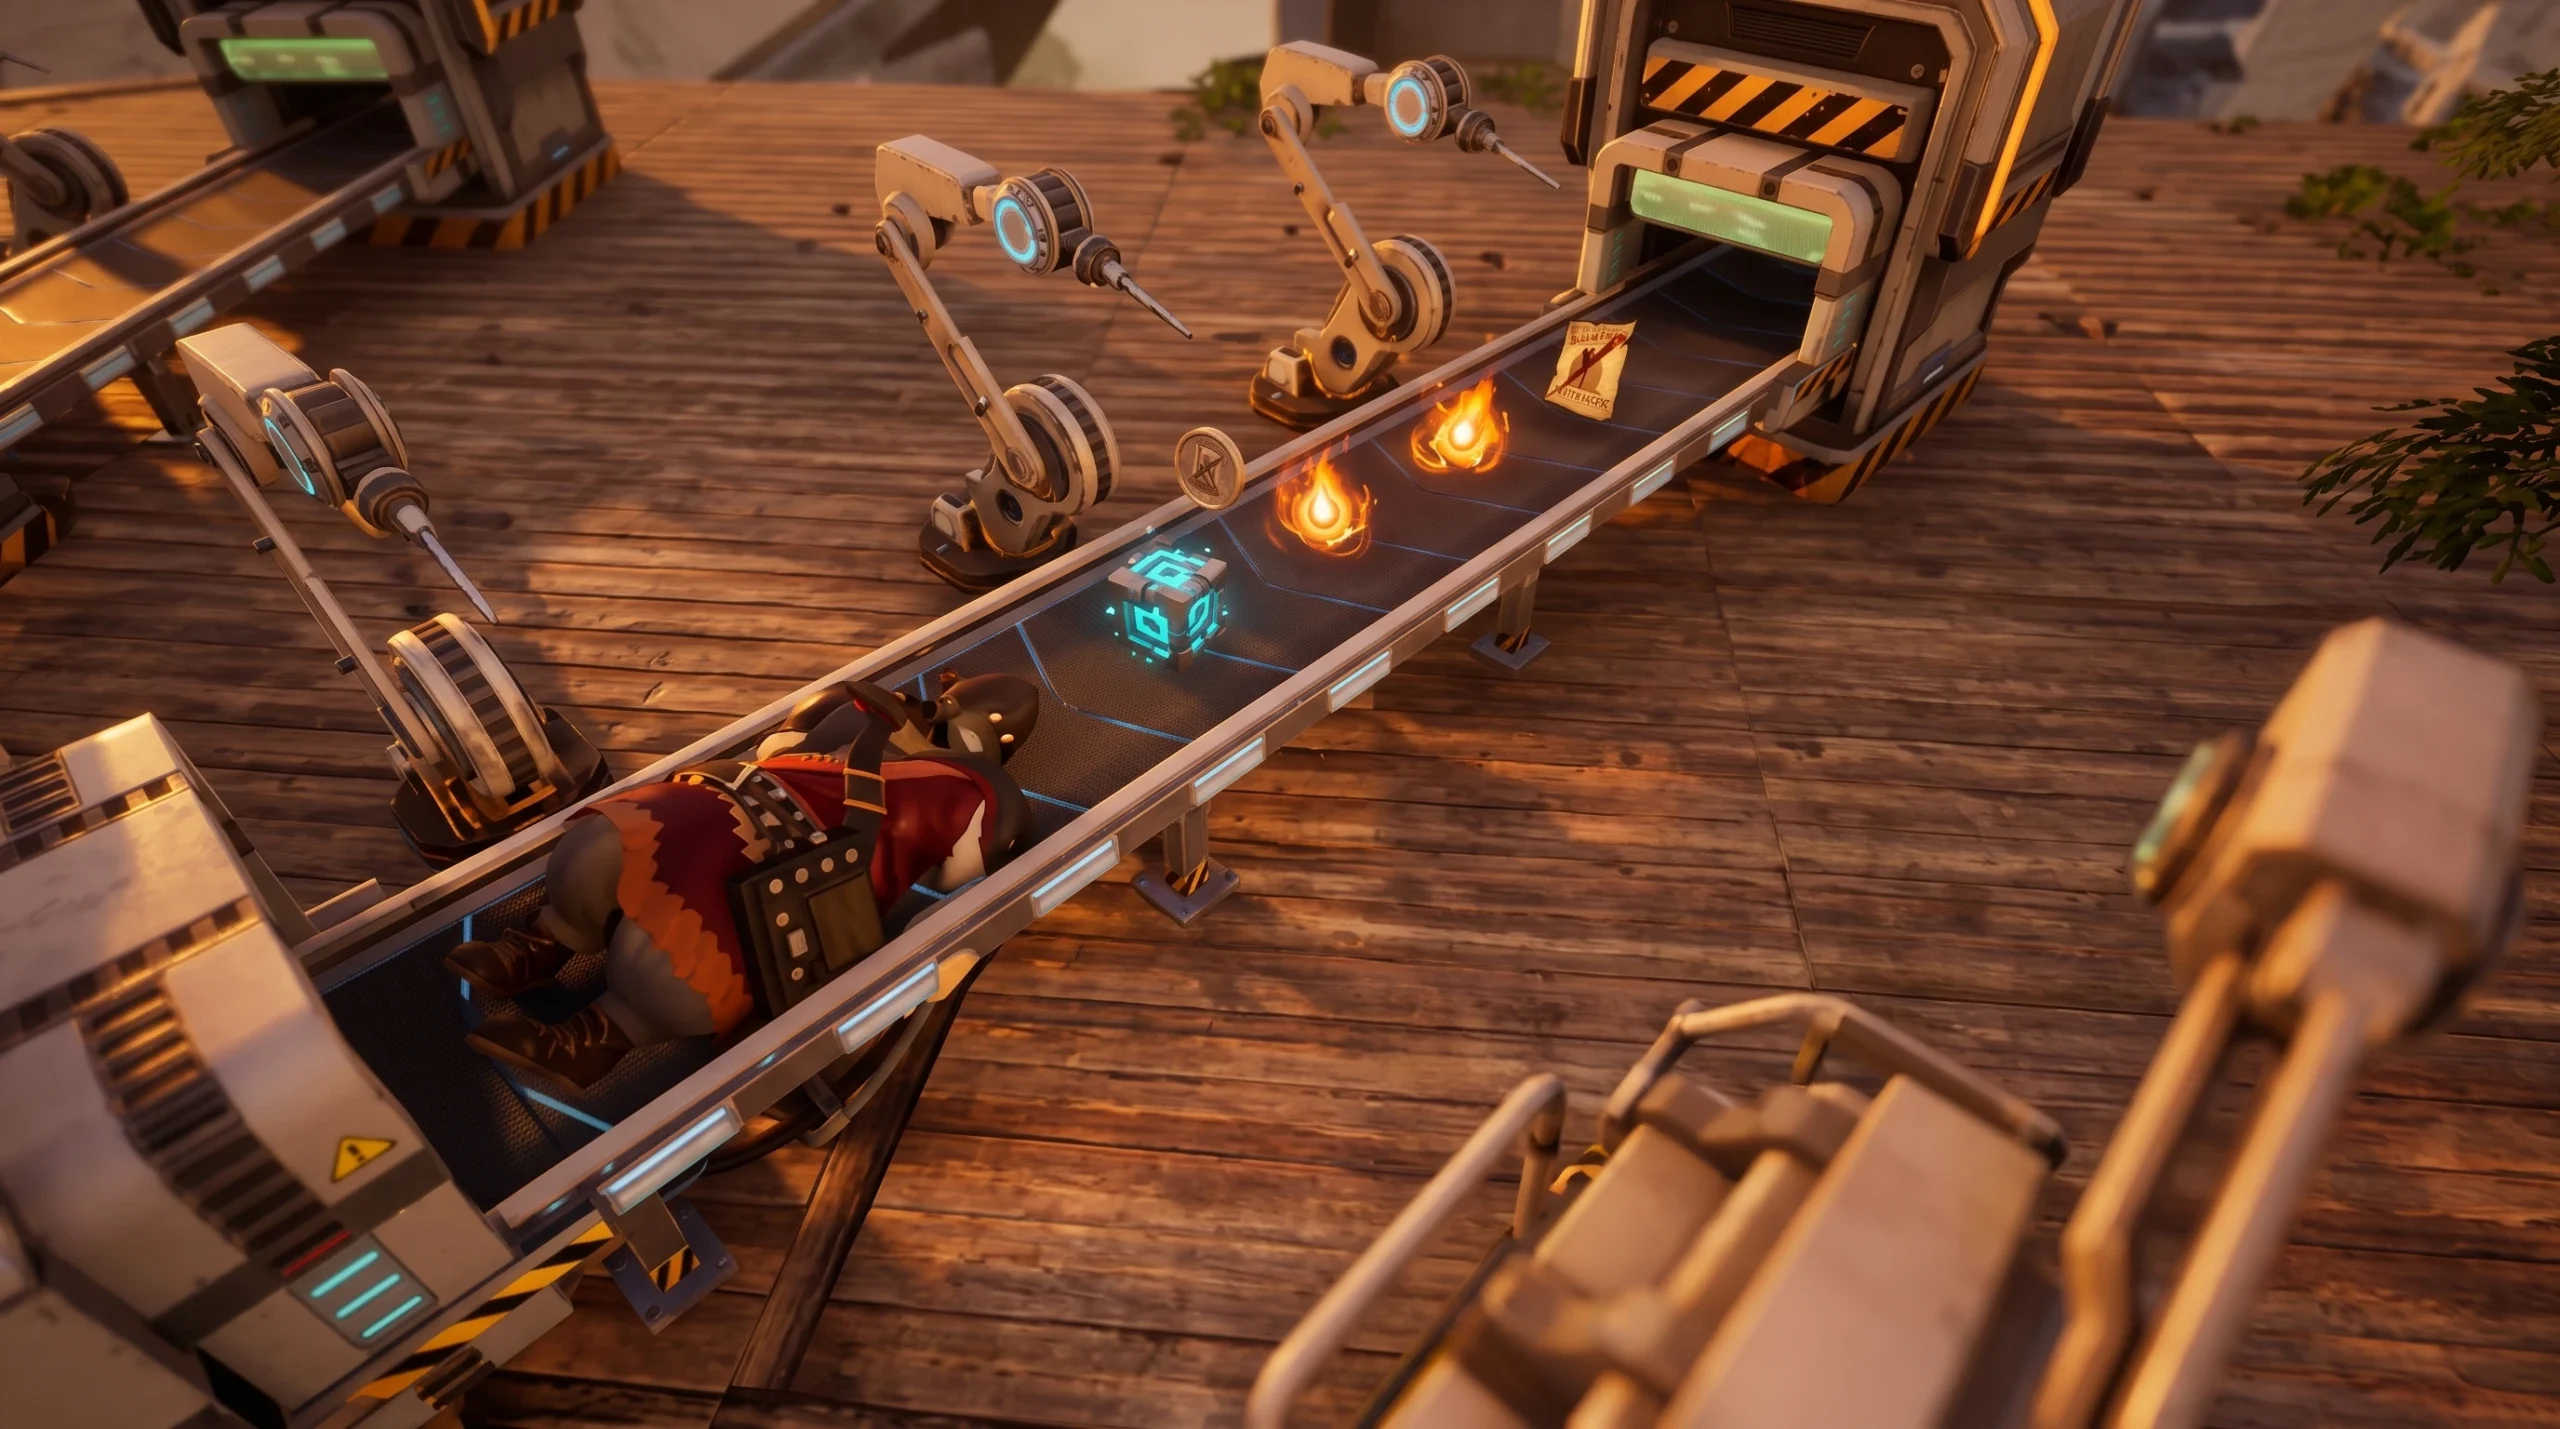
Bounty Targets are the human world bosses scattered across the Palpagos Islands, and in Palworld 1.0 they remain the fastest, reliable source of Successful Bounty Tokens. Each one is a named enemy with glowing red eyes and a purple aura, standing larger than a normal NPC and often backed by a partner Pal. Clear them, bank the tokens, and trade them for gear, gold, and progression items.
Quick answer: Defeat or capture any Bounty Target to drop Successful Bounty Tokens, then take those tokens to a Bounty Officer in a settlement to exchange them for rewards. Targets respawn on a timer, so a full map loop lets you farm the same ones repeatedly.
What Bounty Targets are and how to find them
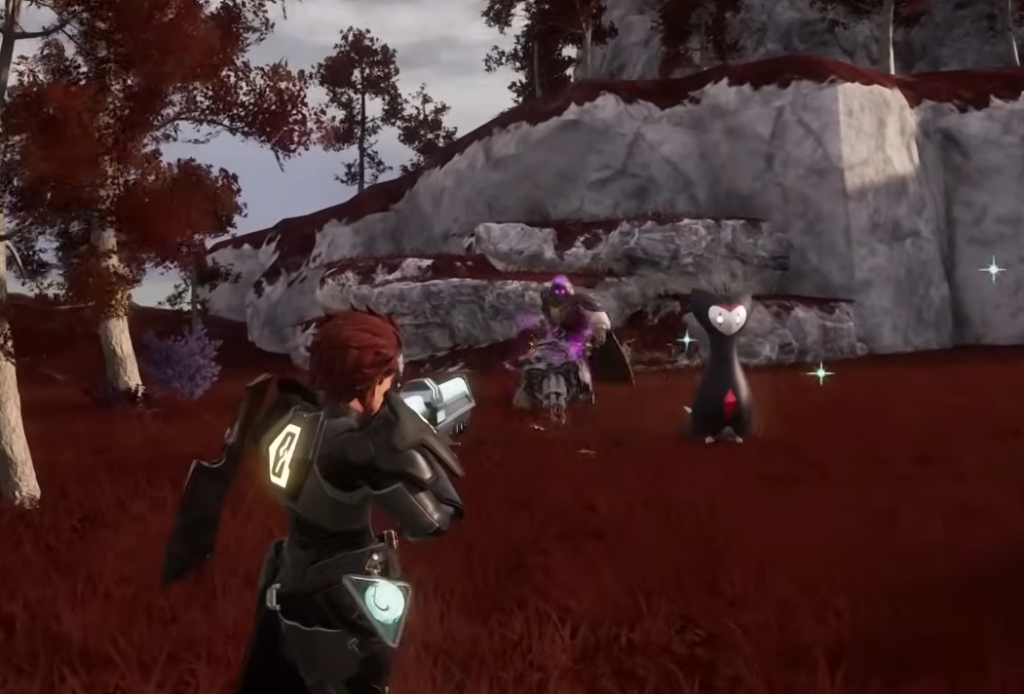
Bounty Targets behave like Alpha Pals, except the enemy is a person rather than a creature. They appear in fixed, scripted spots on the map and are marked with a purple hood icon. Hover over that icon to read the target’s name and level before you commit to a fight. Every target is aggressive and attacks on sight, and higher-level ones carry stronger weapons and sometimes summon their own Pal, so bring gear and Pals that match the listed level.
You can walk into these encounters blind, but talking to a Bounty Intel Dealer in a settlement reveals the markers for targets in that region. On Feybreak Island, Intel Dealers point you toward local fugitives so you are not searching the coastline by hand.
The first time you beat any Bounty Target, you also earn an Ancient Technology Point, the same bonus you get from first-clearing an overworld Alpha Pal.
Every Bounty Target, level, and map coordinates
Use the coordinates below to build an efficient rotation. Start low and climb, and by the time you reach the far targets the early ones will have respawned for another pass. Tougher targets drop more Successful Bounty Tokens per kill.
| Target | Level | Partner Pal | Coordinates |
|---|---|---|---|
| Scoot | 10 | None | -15, -482 |
| Hawk | 12 | None | 52, -513 |
| Turncoat | 15 | None | -2, -386 |
| Crash | 15 | Direhowl | -290, -622 |
| Siren | 16 | None | -266, -394 |
| Jade | 19 | None | -323, -117 |
| Grill | 20 | None | -265, -258 |
| Lasso | 21 | Mozzarina | -67, -203 |
| Ego | 23 | None | -12, -88 |
| Dart | 23 | Incineram | 268, -216 |
| Dyna and Mite | 26 | Tocotoco (each) | 349, -6 |
| Fumble | 28 | None | 162, -2 |
| Brick | 30 | None | 76, 96 |
| Phantom | 36 | None | 533, 133 |
| Whisper | 37 | None | 413, 590 |
| Flare | 38 | None | -520, -755 |
| Aloha | 39 | Wixen | -592, -235 |
| Whip | 40 | Robinquill Terra | 320, 370 |
| Shadow | 41 | None | -432, -453 |
| Skim | 42 | None | -91, 145 |
| Quill | 43 | Sibelyx | -195, 481 |
| Whisk | 45 | None | -121, 312 |
| Clint | 49 | None | -362, 318 |
| Nimble | 52 | Chillet Ignis | -524, 105 |
| Urchin | 53 | None | -674, 230 |
| Dazzle | 56 | None | -845, -1281 |
| Billy | 57 | Pyrin | -1080, -904 |
| Gnaw | 57 | None | -741, -1004 |
| Pinch | 57 | None | -1173, -1226 |
| Mimic | 57 | None | -1193, -1707 |
| Cache | 58 | None | -1387, -1485 |
| Ram | 59 | Omascul | -1240, -1181 |
Successful Bounty Tokens vs Pal Bounty Tokens
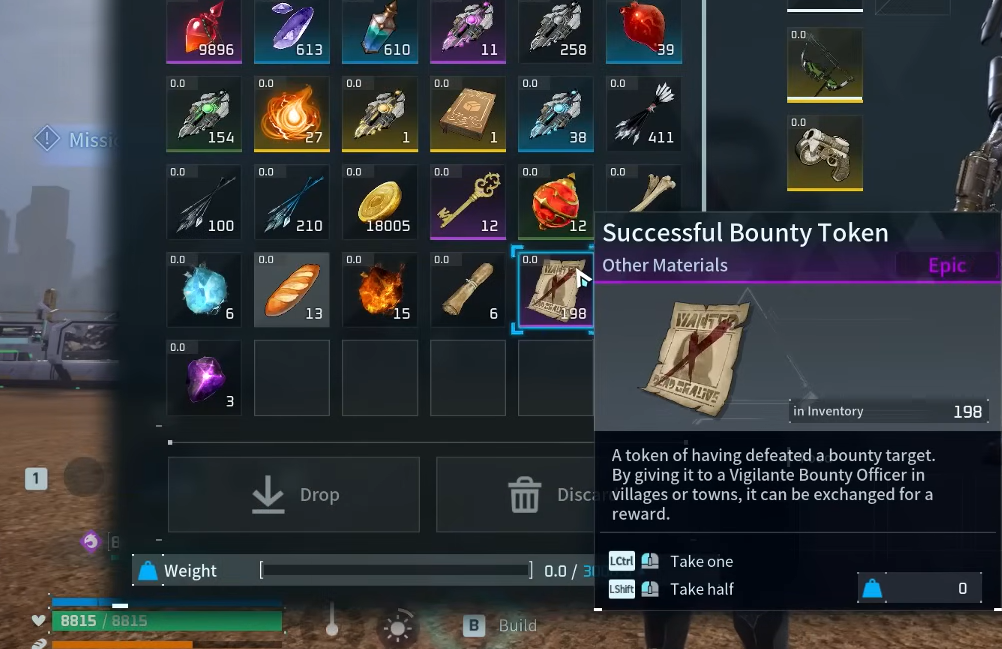
Two token types exist, and mixing them up wastes time. Successful Bounty Tokens come from human Bounty Targets and are the currency you spend. Pal Bounty Tokens come from Alpha Pals and cannot be traded at all.
| Token | Source | Use |
|---|---|---|
| Successful Bounty Token | Human Bounty Targets (defeat or capture) | Exchange at a Bounty Officer for items |
| Pal Bounty Token | Alpha Pals, on first defeat | Key item; grants small element-based combat bonuses. Cannot be sold or traded |
Since the Feybreak update, every Alpha Pal drops a Pal Bounty Token the first time you beat it. Each token slightly raises damage tied to that Pal’s main element for your team, and you can review the ones you own under the Key Items tab in your inventory.
Where to spend Successful Bounty Tokens
Bounty Officers stand in settlements and handle the exchange. The one at the Small Settlement near the starting area is the earliest and easiest to reach, with more found at Duneshelter in the desert and Fisherman’s Point on the southern volcanic island. The stock is identical at every officer, so location only matters for convenience.
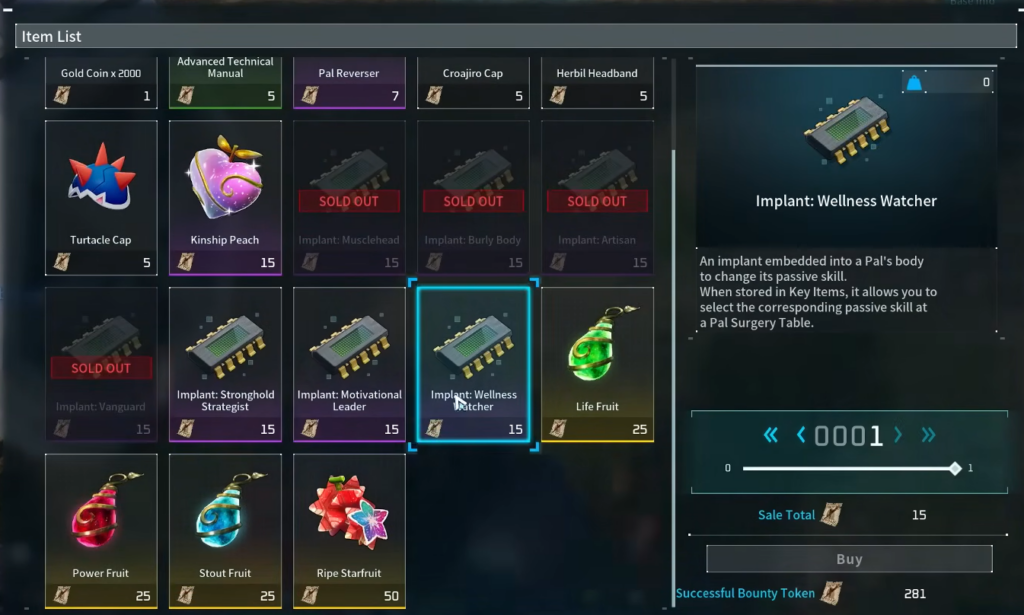
The current exchange menu covers gold, manuals, stat fruits, cosmetic caps, and combat implants.
| Reward | Token cost |
|---|---|
| Gold Coin x2000 | 1 |
| Advanced Technical Manual | 5 |
| Croajiro Cap / Herbil Headband / Turtacle Cap | 5 each |
| Pal Reverser | 7 |
| Kinship Peach | 15 |
| Implant: Musclehead, Burly Body, Artisan, Vanguard, Stronghold Strategist, Motivational Leader, Wellness Watcher | 15 each |
| Life Fruit / Power Fruit / Stout Fruit / Ripe Starfruit | 25 each |
Turning tokens into Ancient Pal Manuscripts
Bounty Targets also feed permanent progression. A Vigilante Bounty Officer will swap one Successful Bounty Token for three Ancient Pal Manuscripts, alongside optional stat fruits and High Grade Technical Manuals. Manuscripts are what you spend at the Pal Labor Research Laboratory to unlock base-wide passives for work categories such as Mining, Handiwork, and Transporting.
If you would rather not fight, Pal expeditions launched from a Pal Expedition Station also reward manuscripts once you clear the associated tower boss. Trading tokens is the faster option when you already have a stockpile from a bounty sweep, while expeditions run passively in the background. Most players use both to keep the Research Laboratory stocked before large automation or breeding projects.
Confirming the farm worked
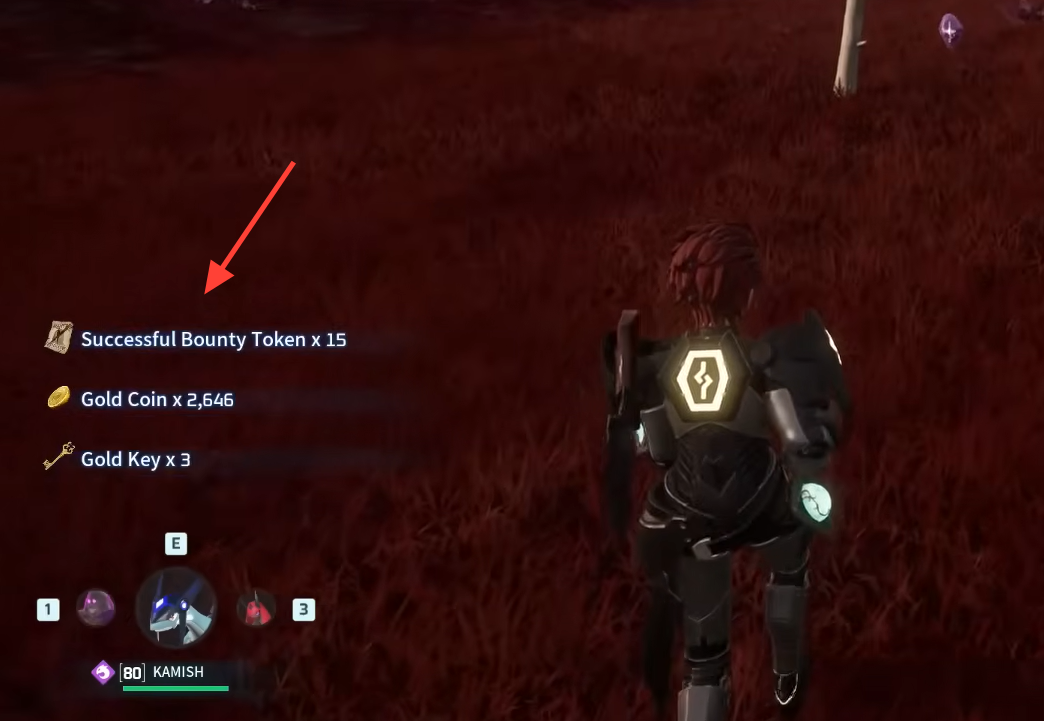
A successful kill or capture drops Successful Bounty Tokens directly, plus a mix of loot that can range from Bread and Arrows to Assault Rifle Ammo and Gold Keys. Check your inventory for the token count after each fight. The purple hood icon on the map clears when a target is down and returns once the respawn timer finishes, which is your cue to loop back through the same coordinates and repeat.





