
By default, Windows 11 places the Recycle Bin icon on your desktop, which may not be desirable for everyone. Whether you’re looking to declutter your workspace or protect the privacy of your deleted files, there are several ways to hide or remove the Recycle Bin icon. This guide will walk you through different methods to achieve a cleaner desktop appearance while still allowing access to the Recycle Bin when needed.
Hide the Recycle Bin icon in Windows 11
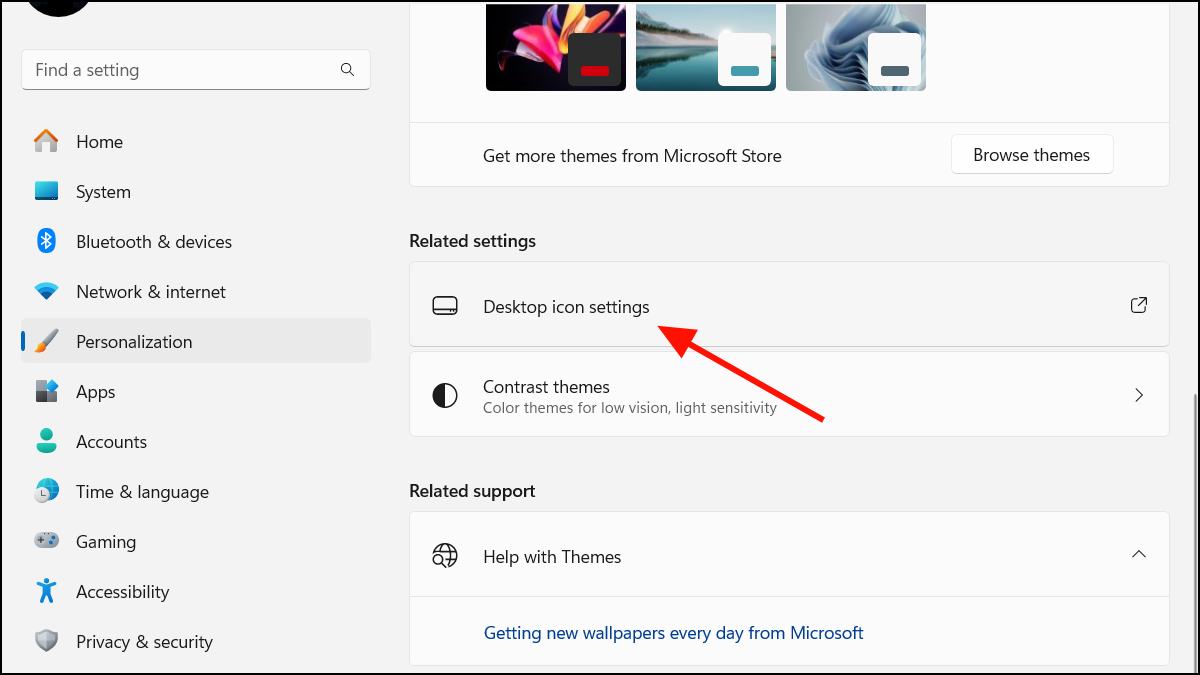
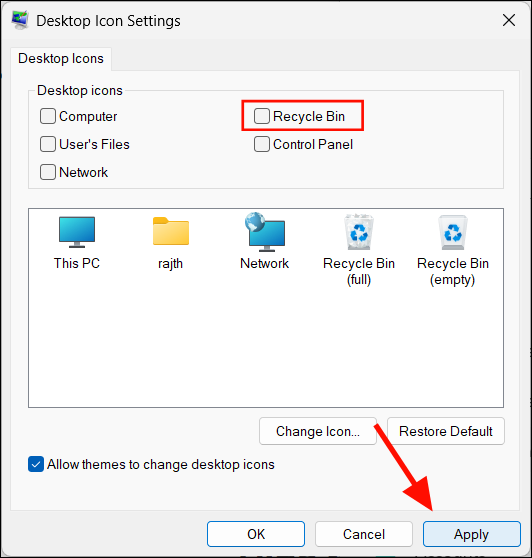
In Windows 11, the option to manage desktop icons, including the Recycle Bin, is less accessible than in previous versions. However, you can still hide the Recycle Bin icon through the settings. Follow these steps to remove it from your desktop:
Windows+I on your keyboard. Click on ‘Personalization’ in the sidebar, then select ‘Themes’ from the options on the right. Alternatively, open the Run dialog by pressing Windows+R, type desk.cpl ,,5, and press Enter to access Desktop Icon Settings directly.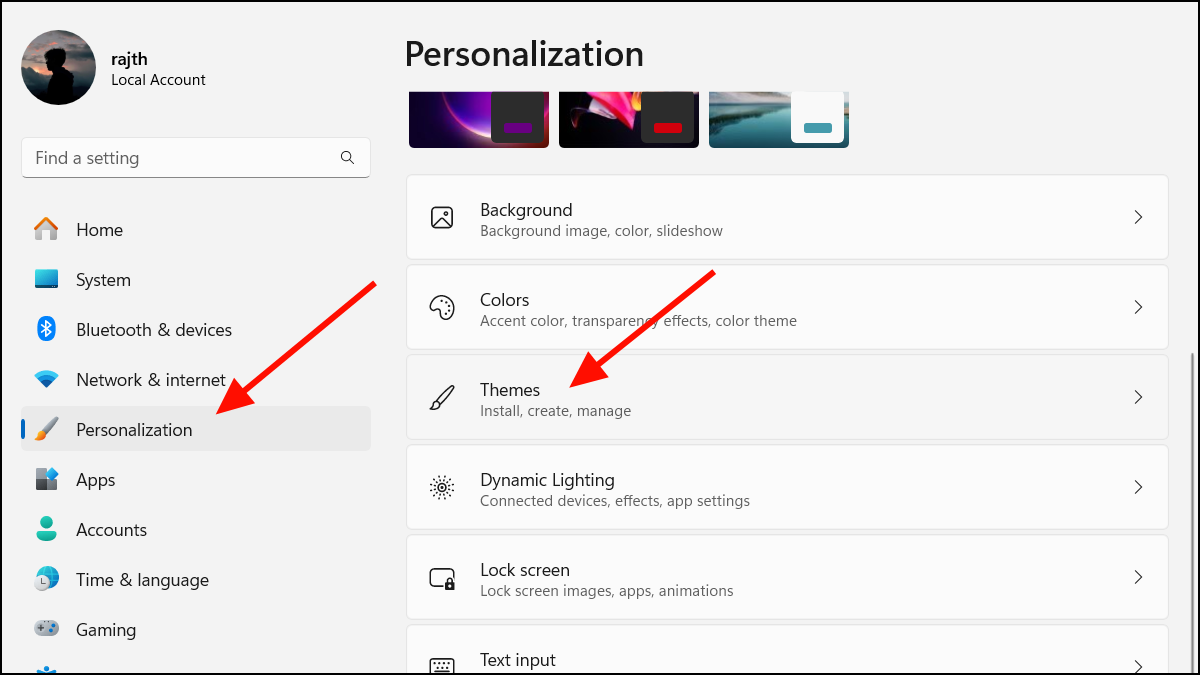
Turn off all desktop icons
If you prefer an entirely clean desktop, you can hide all icons, including the Recycle Bin. This method is reversible and is useful if you want to minimize distractions or prevent others from accessing files on a shared computer.
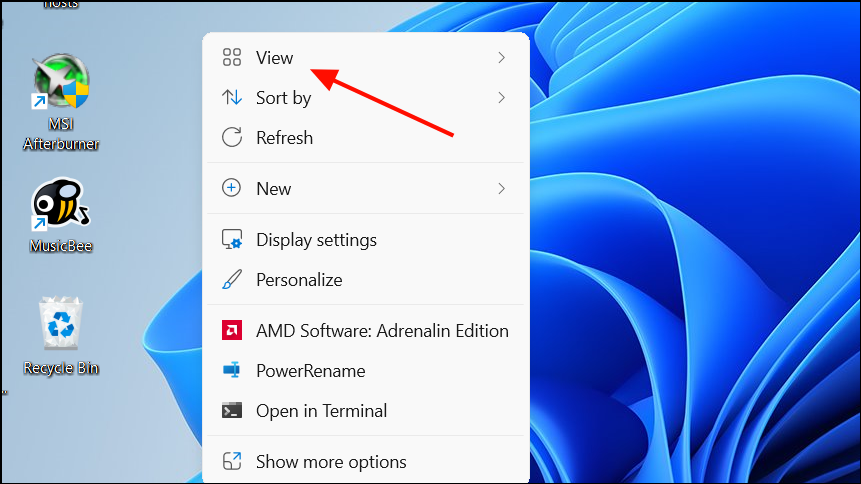

This action hides all desktop icons, including the Recycle Bin and any files or shortcuts. Keep in mind that this only hides the icons; it does not delete them. You can still access the Recycle Bin through other methods, such as using File Explorer.
Change Group Policy to remove Recycle Bin in Windows
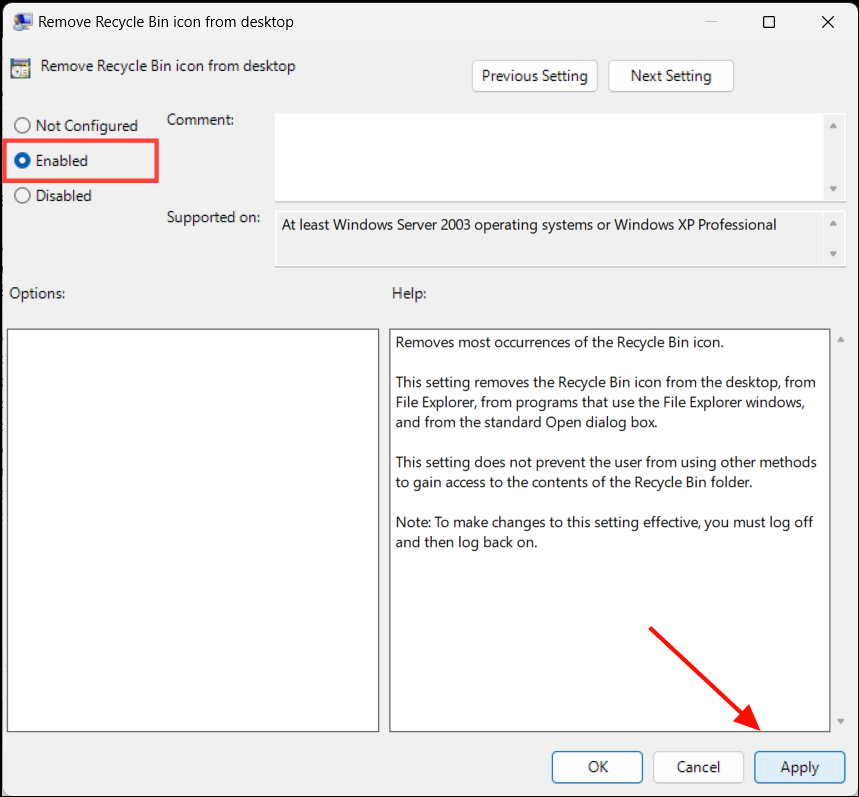
If you’re using Windows 11 Pro, Education, or Enterprise editions, you can use the Local Group Policy Editor to remove the Recycle Bin icon from your desktop. This method provides more control over system policies.
Windows+R to open the Run dialog. Type gpedit.msc and press Enter to open the Local Group Policy Editor.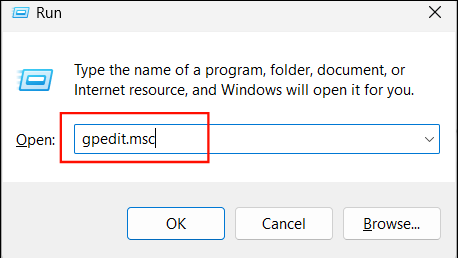
User Configuration > Administrative Templates > Desktop in the left-hand pane.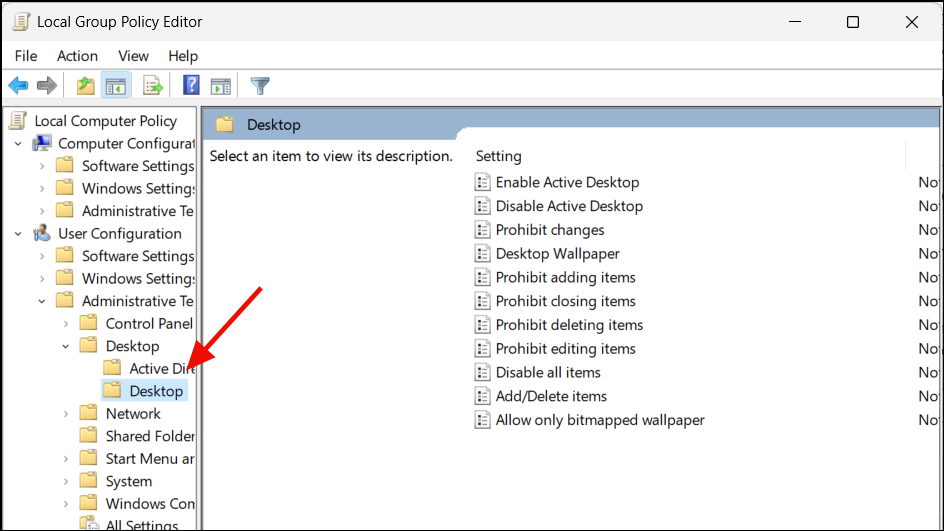

Modify Registry values to remove Recycle Bin icon
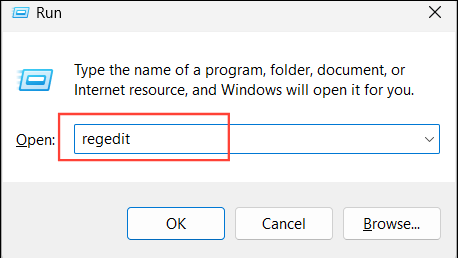
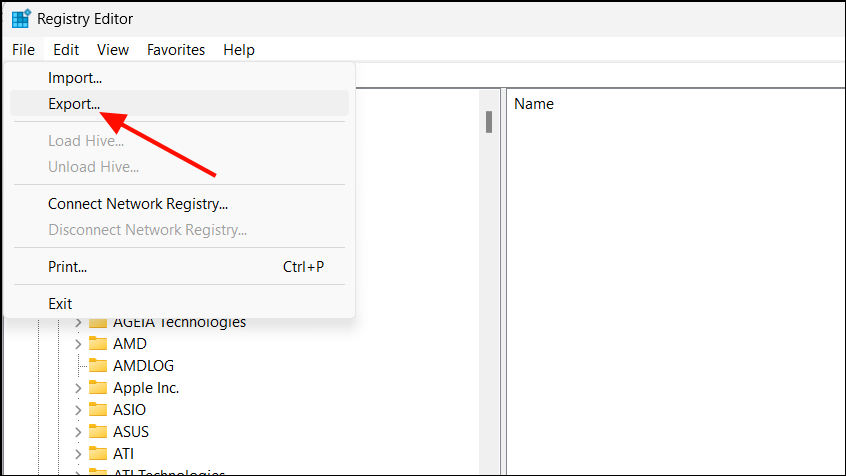
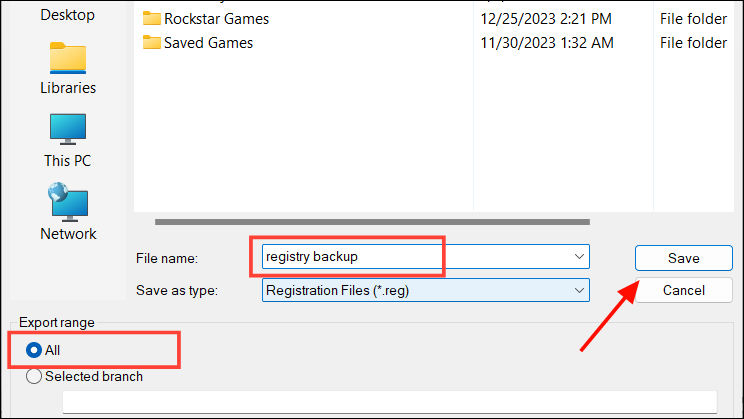
If you’re comfortable editing the Windows Registry, you can remove the Recycle Bin icon by modifying certain registry values. This method is useful for users with Windows 11 Home Edition, which doesn’t include the Group Policy Editor.
HKEY_LOCAL_MACHINE\Software\Microsoft\Windows\CurrentVersion\Explorer\HideDesktopIcons\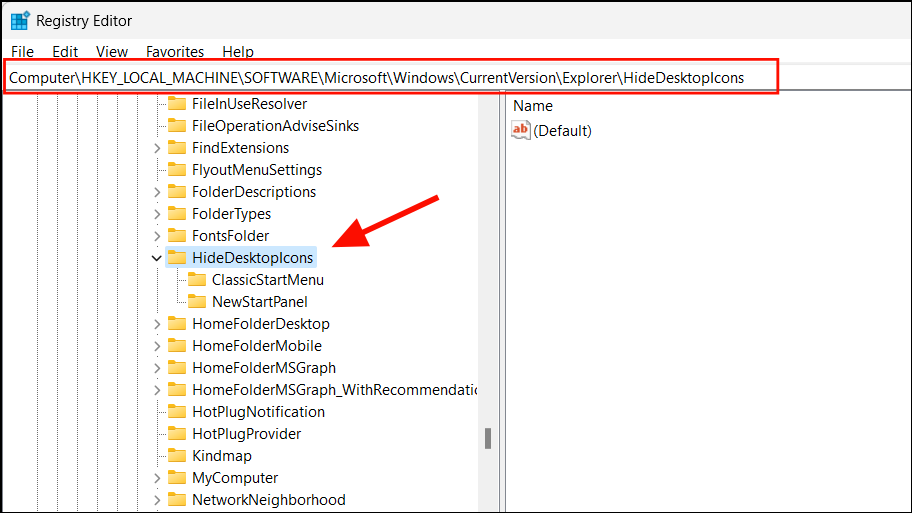
HideDesktopIcons key, expand it and right-click on the NewStartPanel key. Select ‘New’ and then ‘DWORD (32-bit) Value’ from the context menu.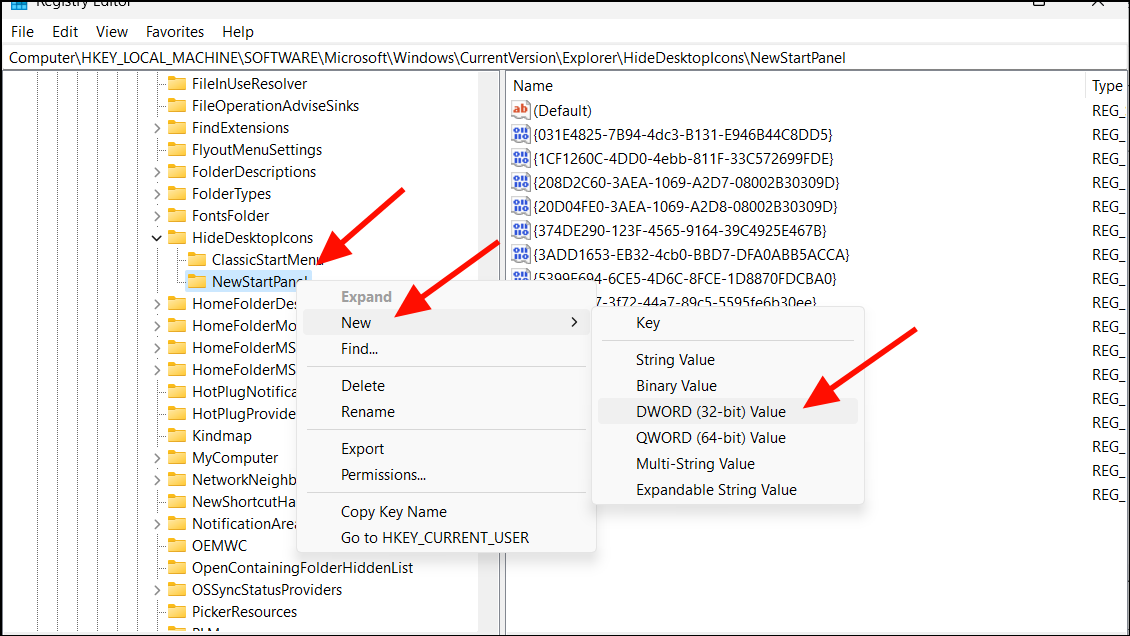
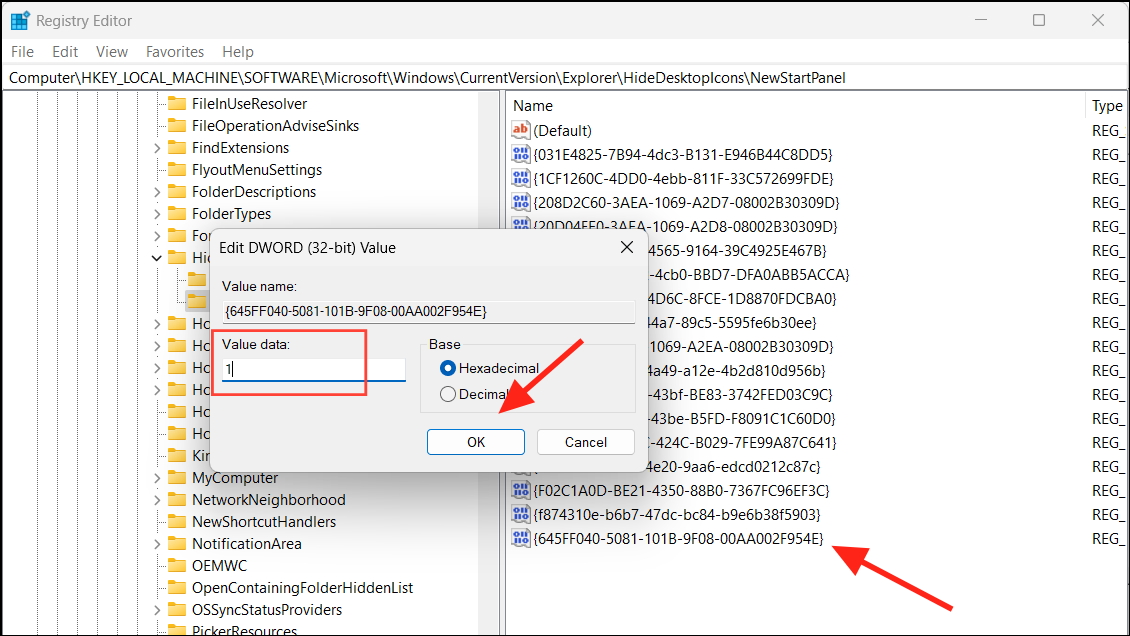
{645FF040-5081-101B-9F08-00AA002F954E}. This GUID represents the Recycle Bin.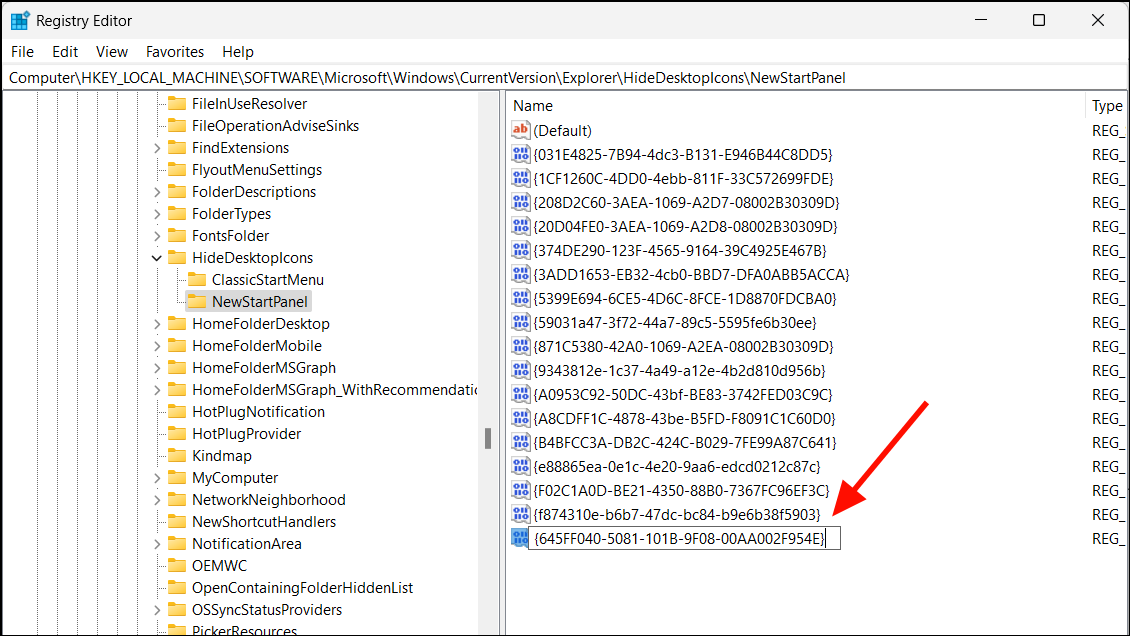
ClassicStartMenu key under HideDesktopIcons. Right-click on ClassicStartMenu, select ‘New’ > ‘DWORD (32-bit) Value’.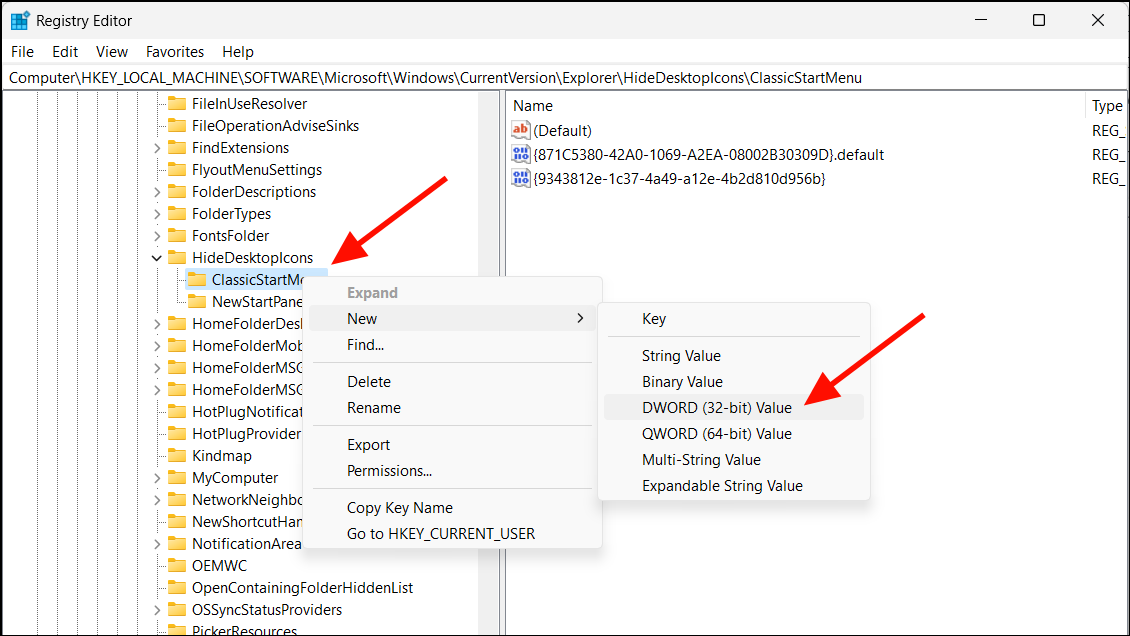
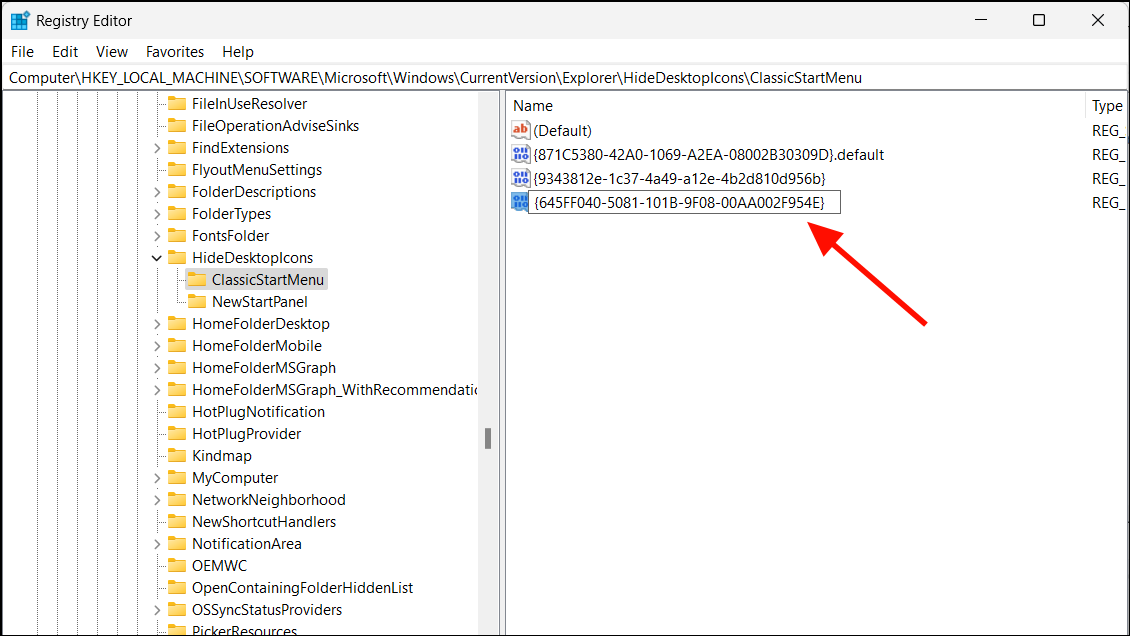
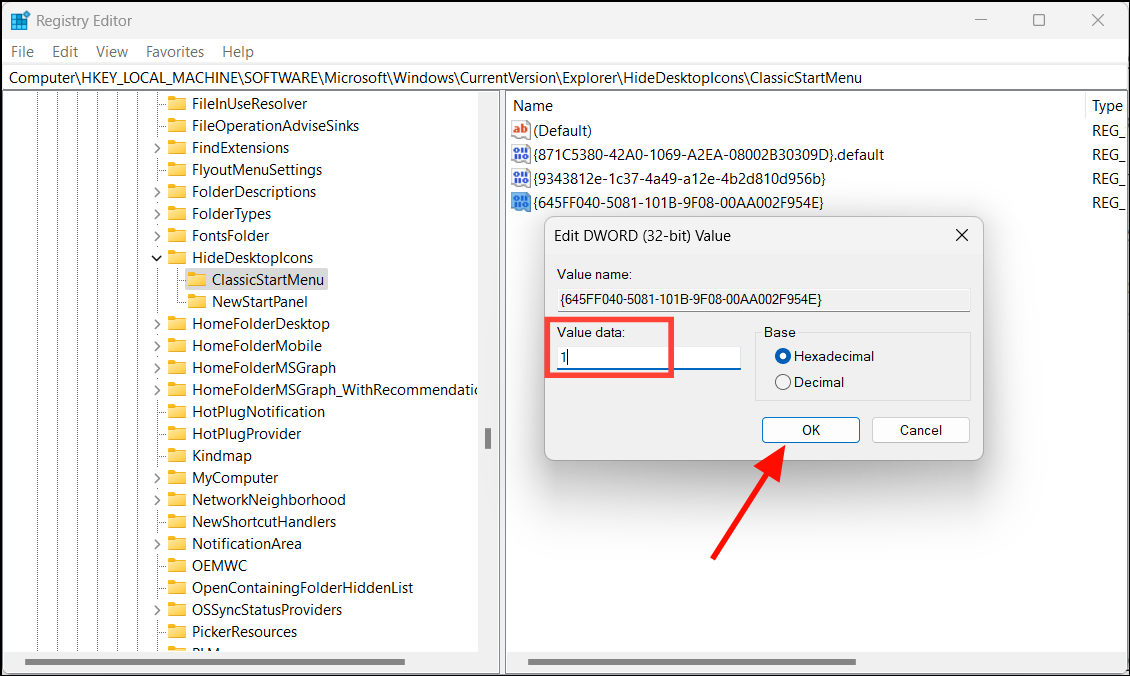
If you want to restore the Recycle Bin icon later, return to the registry values you created and change their ‘Value data’ to 0.
Accessing the hidden Recycle Bin
Even after hiding or removing the Recycle Bin icon from your desktop, the Recycle Bin itself still exists on your system. Your deleted files are still stored there until you empty it, and you can access the Recycle Bin using alternative methods to restore files or manage its contents.
Here are three simple ways to access the hidden Recycle Bin:
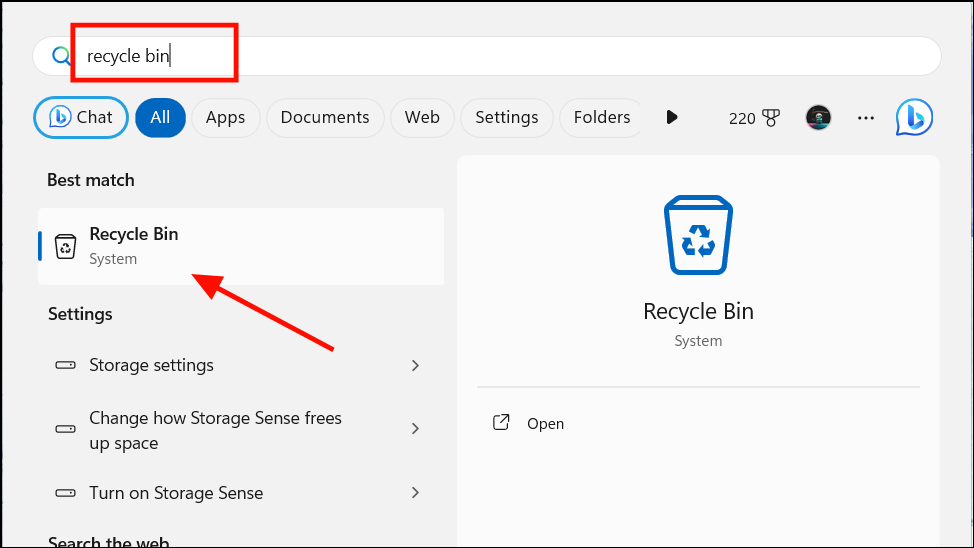
Using the Search Bar: Open the Start menu or click on the search icon in the taskbar. Type ‘Recycle Bin‘ and press Enter. The Recycle Bin window will open, allowing you to view and restore deleted files.
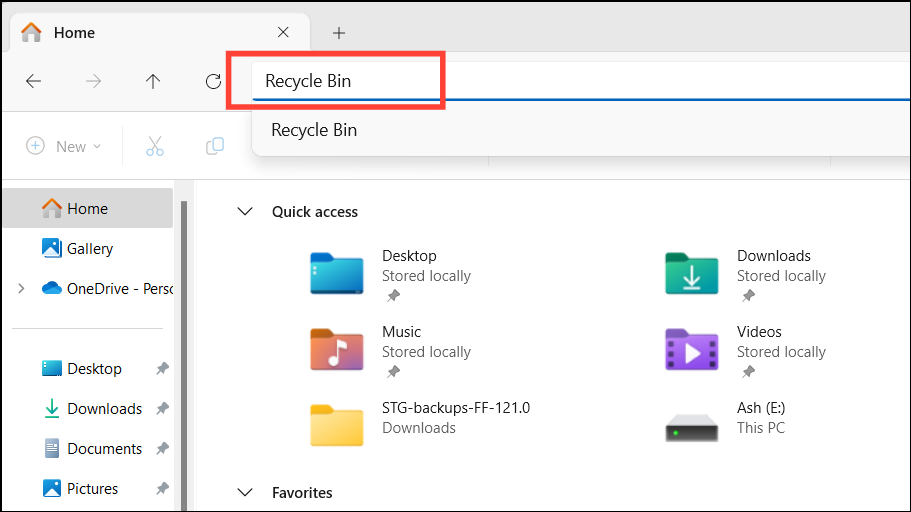
Navigate with File Explorer: Open File Explorer by clicking its icon or pressing Windows+E. Type ‘Recycle Bin‘ in the address bar at the top and press Enter to open it directly.
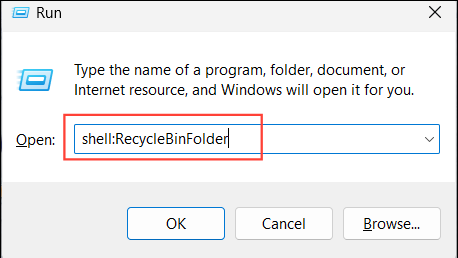
Using Run command: Press Windows+R to open the Run dialog, type shell:RecycleBinFolder, and press Enter. This will open the Recycle Bin window.
After accessing the Recycle Bin through one of these methods, you can view your deleted files, restore items you need, or permanently delete files by emptying the bin. Remember, even if the icon is hidden, the Recycle Bin function remains active in Windows 11.
Skipping the Recycle Bin to delete files permanently
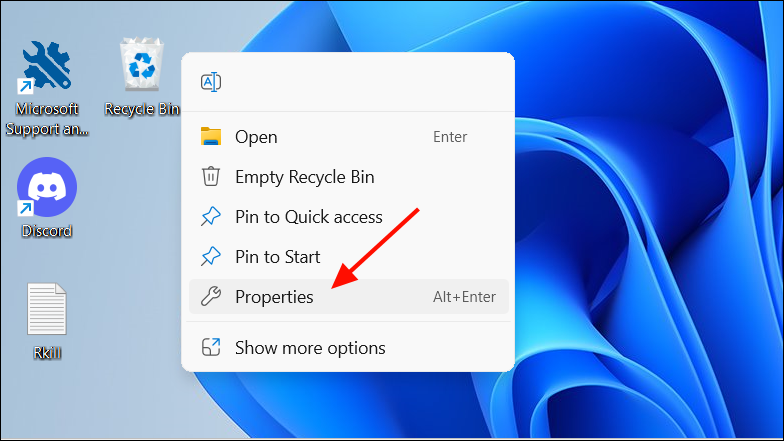
If you’re concerned about privacy and prefer that deleted files are permanently removed without being stored in the Recycle Bin, you can adjust settings to skip the Recycle Bin entirely. This is especially useful if you don’t want others to recover your deleted files. You can configure this option for individual drives. Follow these steps:
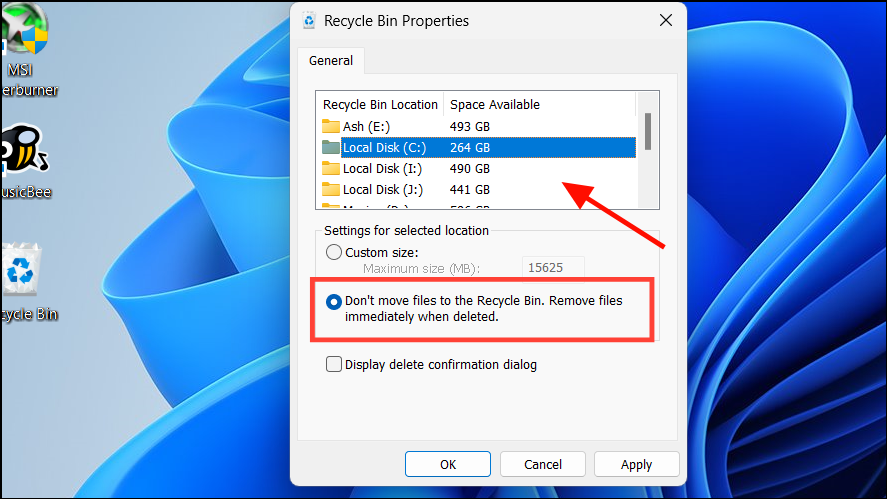
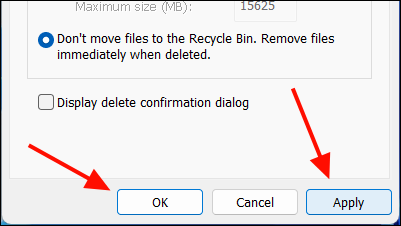
After applying these settings, any files you delete from the selected drives will bypass the Recycle Bin and be permanently deleted. Files from drives not configured with this setting will continue to be moved to the Recycle Bin as usual. Keep in mind that once files are permanently deleted, recovering them will require specialized data recovery software, so use this option with caution.
By using these methods, you can customize your Windows 11 desktop to suit your preferences, whether you prefer a minimalist look or require additional privacy for your deleted files.


