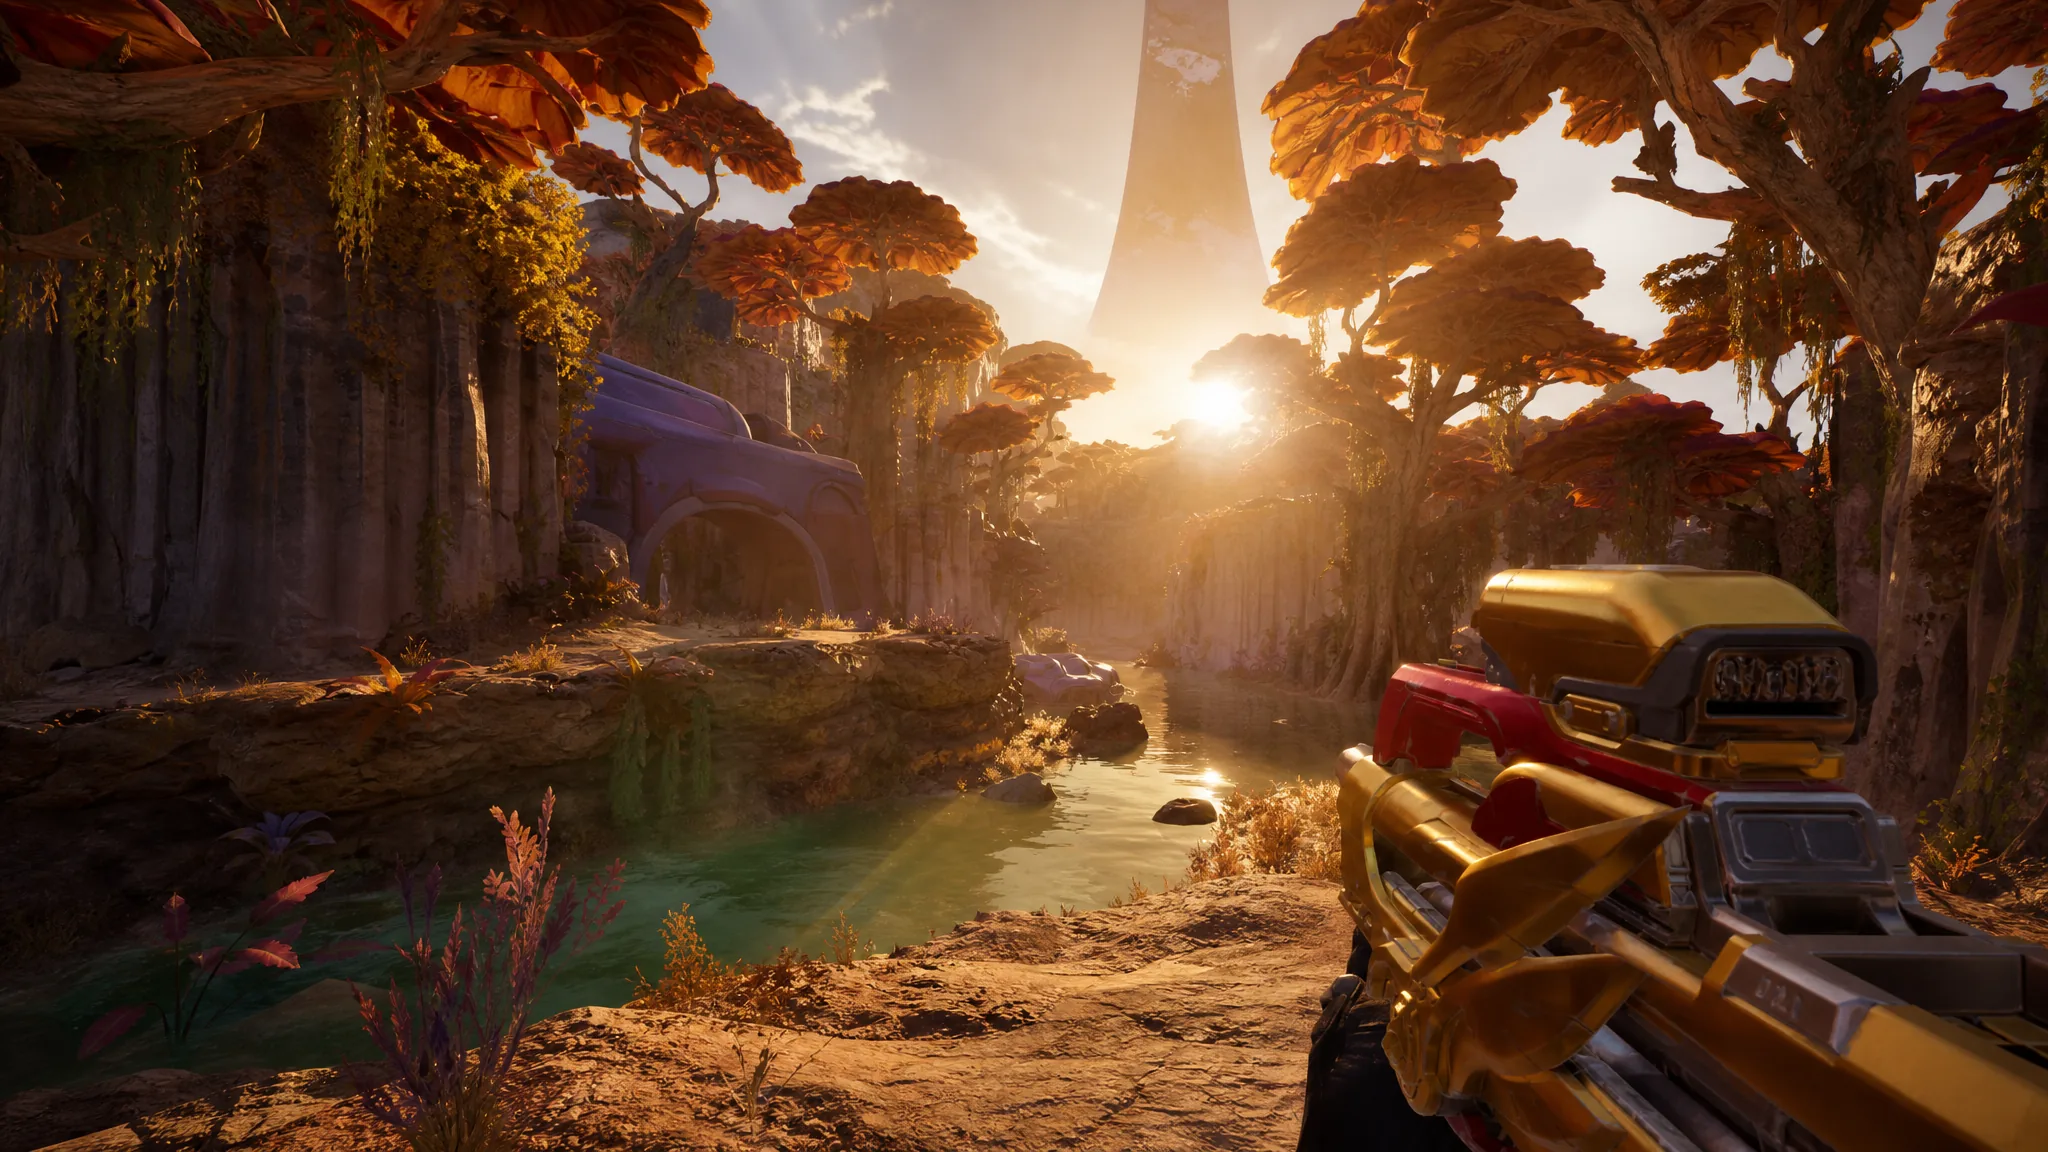
Halo: Campaign Evolved ships with film grain and chromatic aberration turned on by default, and there is no menu switch to turn either one off. The grain lays a noisy texture over everything, while chromatic aberration adds colored fringing at the edges of the screen. Together they make an otherwise sharp remaster look soft and hazy. On PC you can shut both off with a small change to a single configuration file.
Quick answer: Open %localappdata%\Meteorite\Saved\Config\Windows, create or edit Engine.ini, add a [SystemSettings] block containing r.FilmGrain=0, r.Tonemapper.GrainQuantization=0, and r.SceneColorFringeQuality=0, then set the file to Read-only so the game cannot overwrite it.
Where the config file lives
The file you edit sits in the game’s local config folder. The exact path depends on how you installed the game. Steam players use the Windows folder, while the Xbox app and Game Pass version keep its settings in a WinGDK folder instead.
| Version | Config folder path |
|---|---|
| Steam | %localappdata%\Meteorite\Saved\Config\Windows |
| Xbox app / Game Pass | %localappdata%\Meteorite\Saved\Config\WinGDK |
Close the game completely before you start. Editing the file while it runs risks having your changes overwritten the moment you exit.
Disable film grain and chromatic aberration with Engine.ini
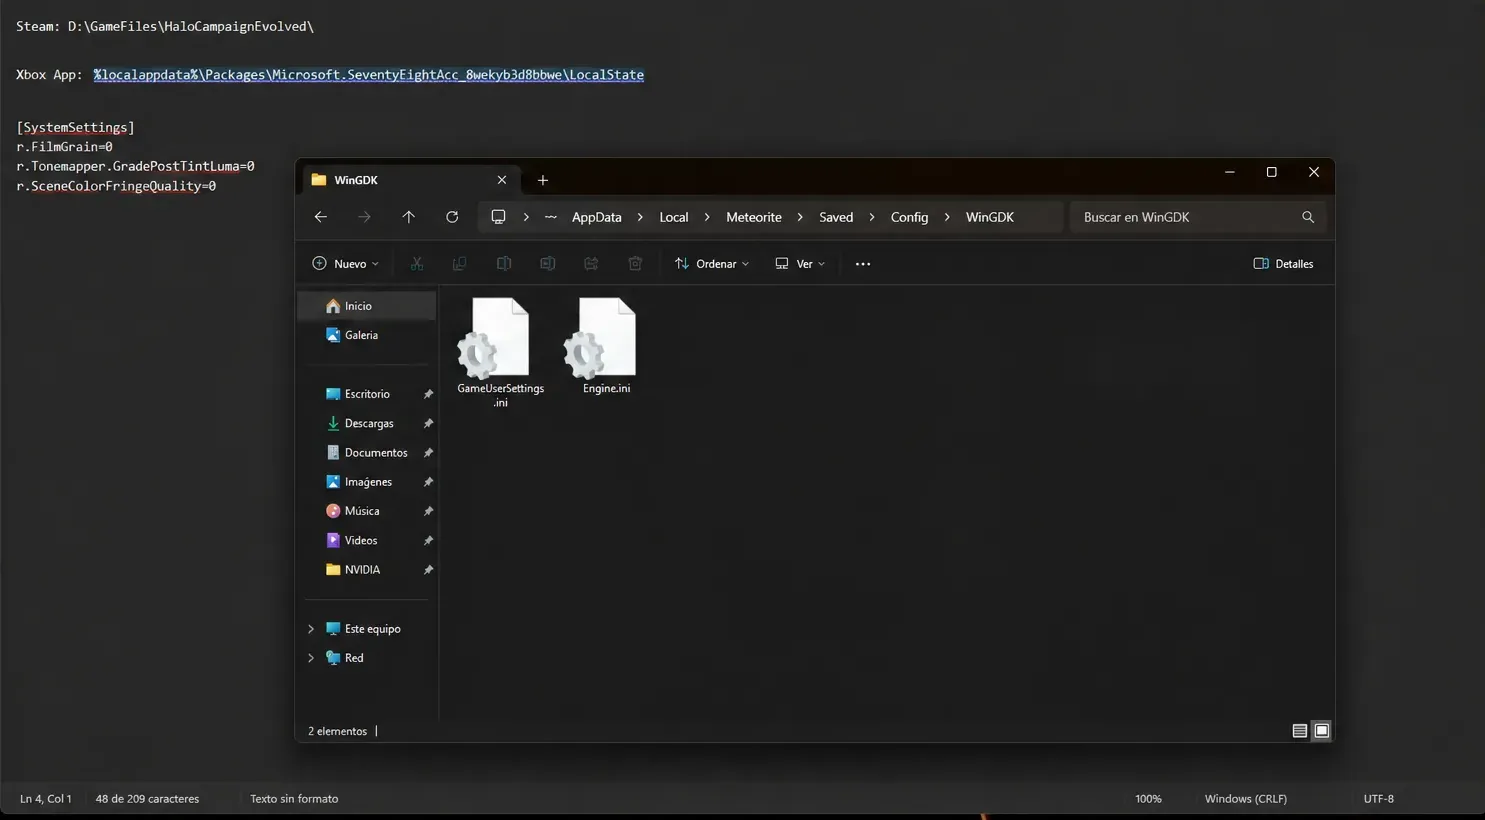
Engine.ini. If it is not there, right-click an empty area, choose New, then Text Document, and rename it exactly Engine.ini. Make sure the extension is .ini and not .txt — a correct file shows a gear icon. If you cannot change the extension, turn on file name extensions in File Explorer first.Engine.ini in Notepad and paste the following block at the very bottom of the file. Do not leave a space before the opening bracket.[SystemSettings]
r.FilmGrain=0
r.Tonemapper.GrainQuantization=0
r.SceneColorFringeQuality=0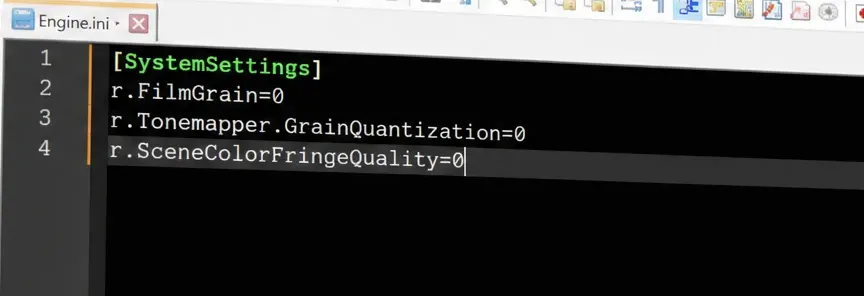
Engine.ini already existed, keep a backup of the original before you save over it.Engine.ini, choose Properties, tick the Read-only box under Attributes, then click Apply and OK. This is the step people skip most often, and it is the reason the fix appears to undo itself. Without Read-only, the game can rewrite the file on the next launch.Confirm the fix worked
Launch Halo: Campaign Evolved and load into the campaign. The moving grain texture over the picture should be gone, and the colored fringing along the edges of the screen should disappear. The result is a cleaner, sharper image, especially noticeable on darker scenes where grain was most visible.
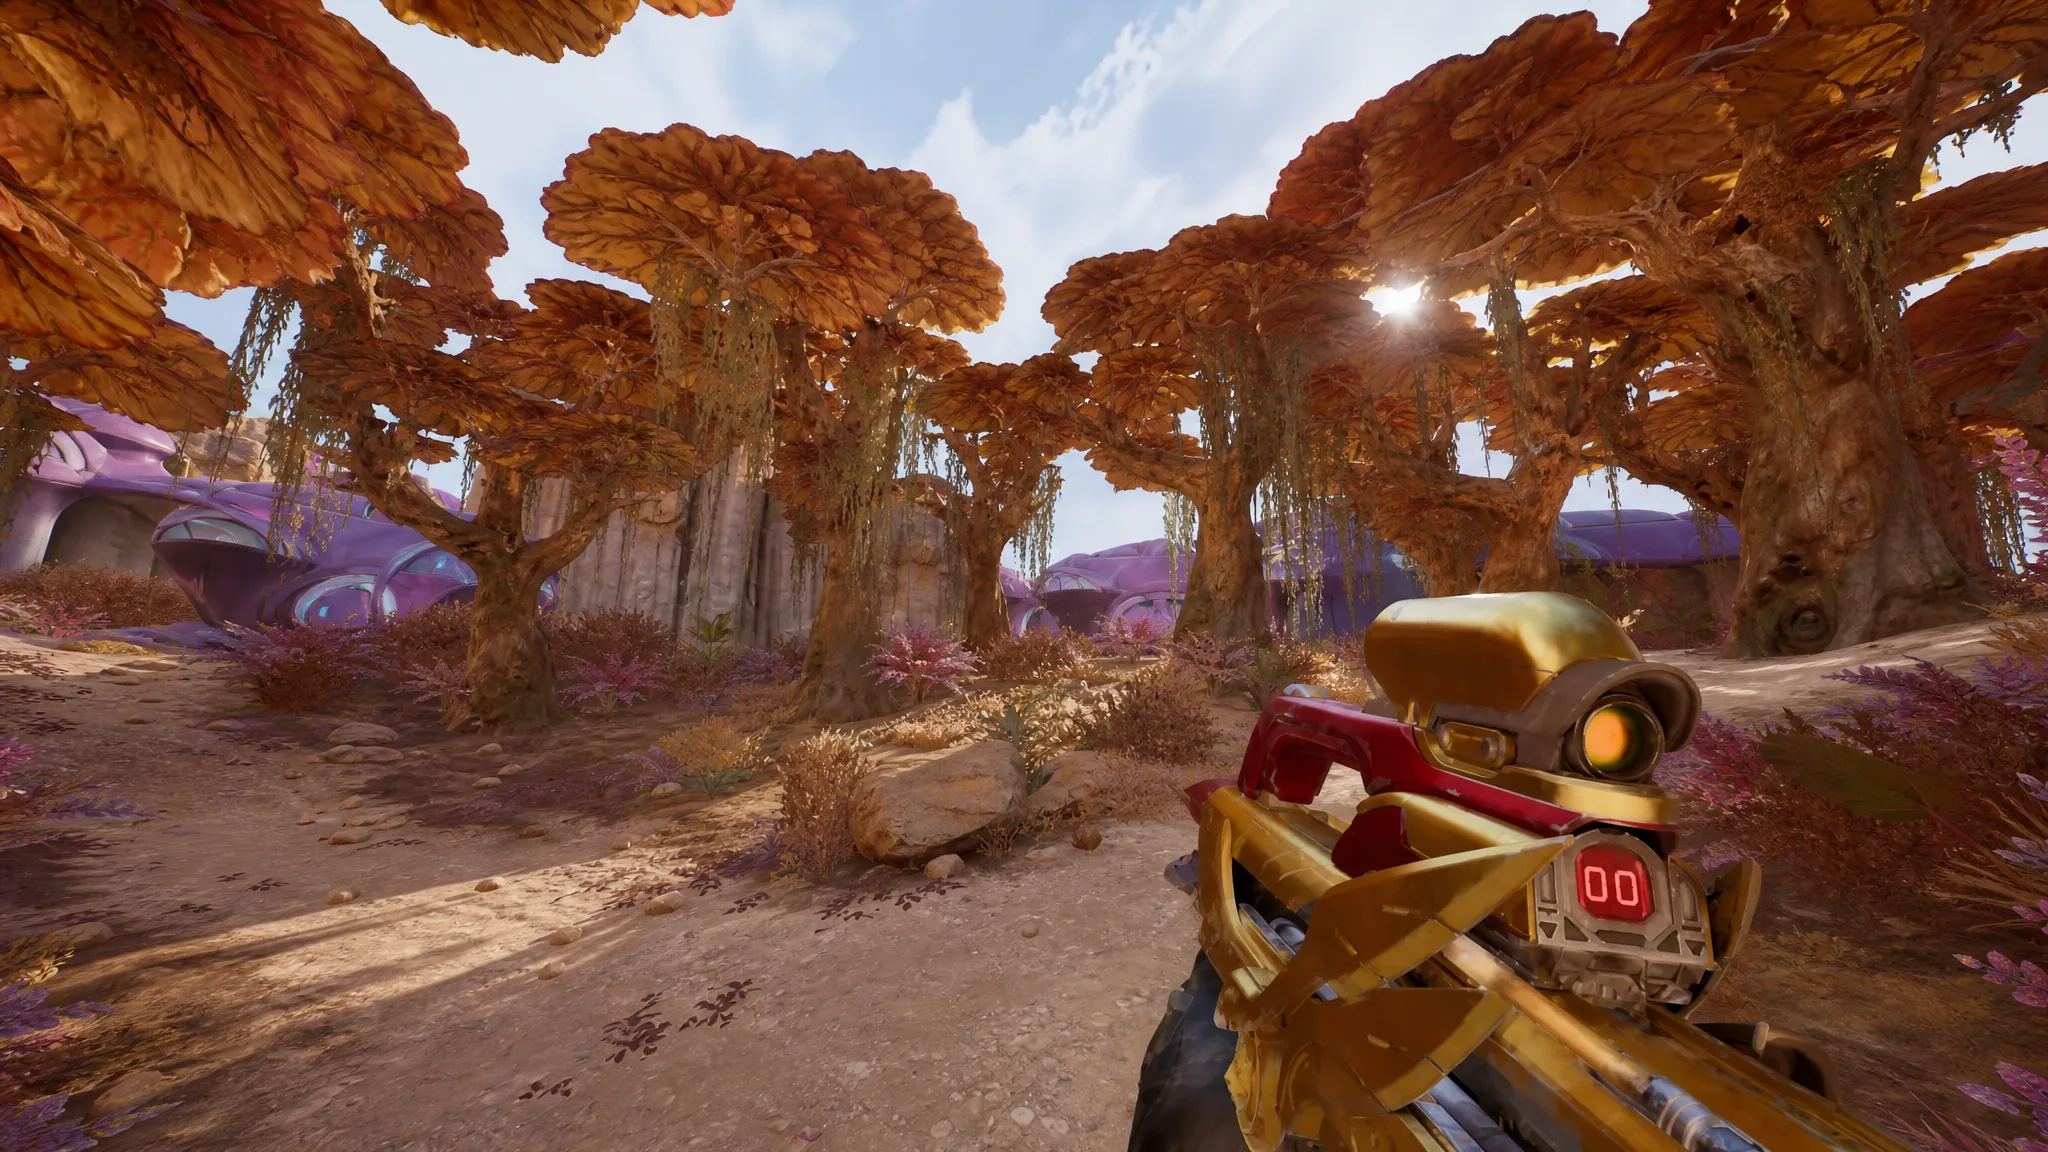
If the effects are still there, the most common causes are a file saved as Engine.ini.txt, a missing Read-only flag, or edits made to the wrong folder (Windows versus WinGDK). Fix whichever applies and relaunch. If the image still reads as soft, switch to native resolution or TSR rather than a lower upscaling preset, since heavy upscaling can blur fine detail on its own.
Optional extras in the same file
The three lines above handle grain and fringing. If you want to push further, a few more keys can be added under the same [SystemSettings] header. One reduces tonemapper cost, and two lower temporal noise for cleaner Lumen output with certain upscalers.
r.Tonemapper.Quality=0
r.Lumen.ScreenProbeGather.Temporal.MaxFramesAccumulated=12
r.Lumen.DiffuseIndirect.Temporal.MaxFramesAccumulated=12
The game also enables mouse smoothing by default, which is unusual for an Unreal Engine 5 title. You can turn it off by adding a separate input section to the same file.
[/Script/Engine.InputSettings]
bEnableMouseSmoothing=False
bViewAccelerationEnabled=False
bDisableMouseAcceleration=True
Note: Remove the Read-only flag before adding these extra lines, then reapply it once you have saved.
In-game settings that also affect blur
Grain and fringing are only part of the softness some players notice. Two menu options handle the rest, and neither needs a config file. In the Video tab, set Motion Blur to Off to stop the smearing on moving footage. In the Advanced section, raise Upscaling Technique and Upscaling Quality toward Native, and pick DLSS or XeSS over TSR if your hardware supports it, since lower quality presets trade sharpness for frame rate.
| Effect | Where to change it |
|---|---|
| Motion Blur | Video tab (turn Off) |
| Upscaling Technique and Quality | Video, Advanced section |
| Film Grain | Engine.ini edit |
| Chromatic Aberration | Engine.ini edit |
Even with everything off, the image can still look softer than a native render because the engine leans on temporal reconstruction to hit playable frame rates. That is a trait of the engine, not a bug in this specific game. Pushing Upscaling Quality closer to Native is the most reliable way to claw back detail.
Alternative: Steam launch options
If the config file does not take effect for you, Steam players can pass the same commands through launch options instead. Open the game’s properties in Steam and add the following line.
-ExecCmds="r.FilmGrain 0; r.Tonemapper.GrainQuantization 0; r.SceneColorFringeQuality 0; r.Tonemapper.Quality 0; r.Lumen.ScreenProbeGather.Temporal.MaxFramesAccumulated 12; r.Lumen.DiffuseIndirect.Temporal.MaxFramesAccumulated 12"Results vary by setup, so not everyone sees an identical outcome with the launch-option method. If neither approach lands for you, the effects may need an official patch to expose a proper in-game toggle.
Keep the fix after game updates
This is a community change rather than a supported option, so a patch can strip the Read-only flag or reset the file. After any major update, check that grain and fringing are still gone. If they reappear, reopen Engine.ini, confirm the [SystemSettings] block is intact, and reapply Read-only. Keeping a backup of your edited file makes that a one-minute job rather than a rebuild.