


Endgame fights in DragonSword: Awakening reward heroes who share ailments and combo windows, not three loose damage dealers stacked together. Each hero below is built around a single Karma, a two-set-plus-three-set gear split, a clear stat line, and the swap partners that trigger their strongest Signal Skills.
Quick answer: Fully awaken the hero first, run a 3-piece Ruinsbreaker core on almost everyone, aim for roughly 80% Critical Hit Chance and 150% Critical DMG, and pick each hero’s second 2-piece set to match their ailment (Froststorm for Frost, Blazing Flame for Burn, Venomfog Shade for Venom, and so on). Then slot the listed teammates so one hero applies the ailment and the next detonates it.
Build fundamentals that apply to every hero
The builds assume your heroes are fully awakened. Awakening unlocks the passives and enhanced kit effects that most stat priorities and rune choices depend on, so an un-awakened hero will not perform the way the numbers suggest. They do not assume maxed Karma or perfect runes, which means you can reach most of this performance well before you finish min-maxing.
- Critical targets: push toward about 80% Critical Hit Chance and 150% Critical DMG before chasing other stats.
- Substats to match: Additional Power, ATK Power Up, and DEF Ignore, layered together to maximize damage.
- Core set: a 3-piece Ruinsbreaker is a must-have for most of the roster, paired with a 2-piece ailment set.
- Karma: most Exclusive Karma pieces require Fragments of Afterimage and Memory, so plan farming around your main.
Best build and team for every hero
| Hero | Build | Best team |
|---|---|---|
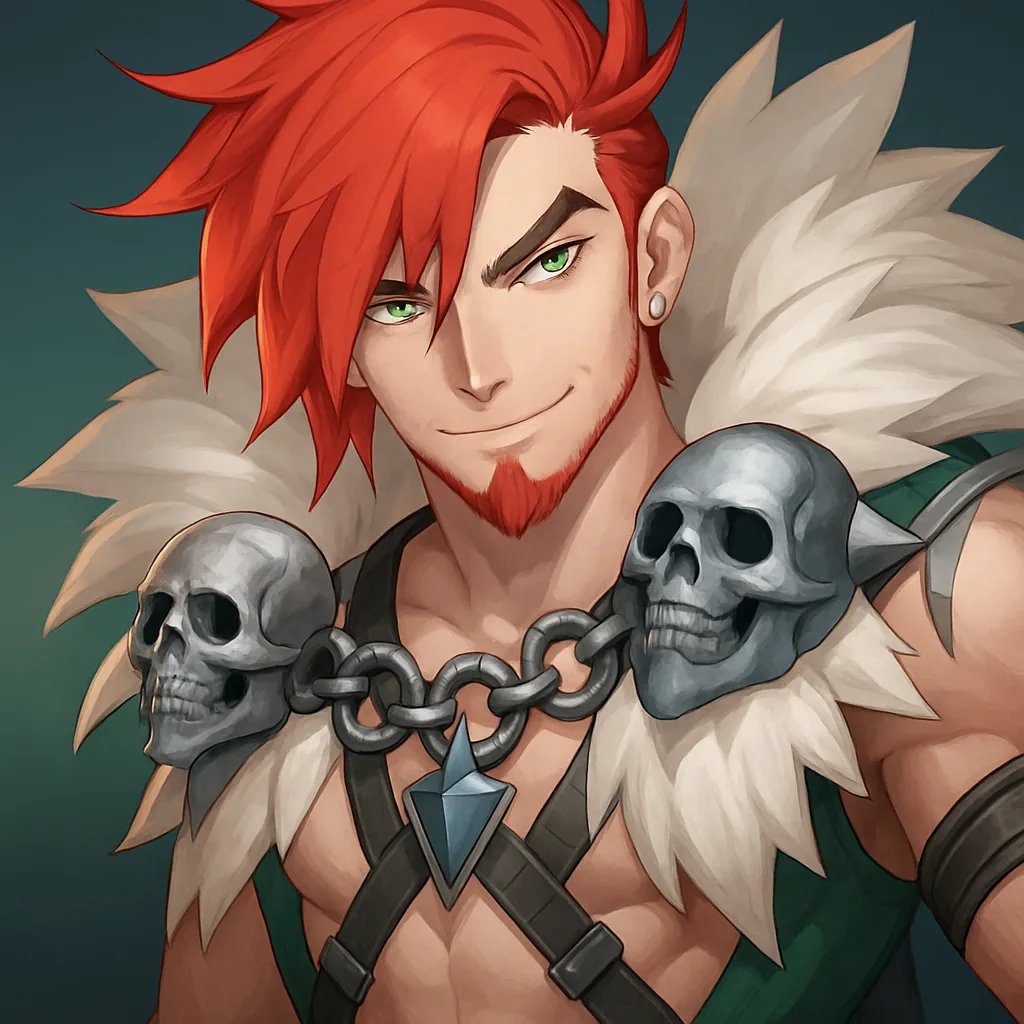 Johnny Venom DPS | Karma: Wandering Blade Gear: 3-piece Ruinsbreaker + 2-piece Venomfog Shade Stats: ATK Power Up, Critical DMG, Critical Hit Chance Runes: Resolve | Charlotte + Reina / Eileen |
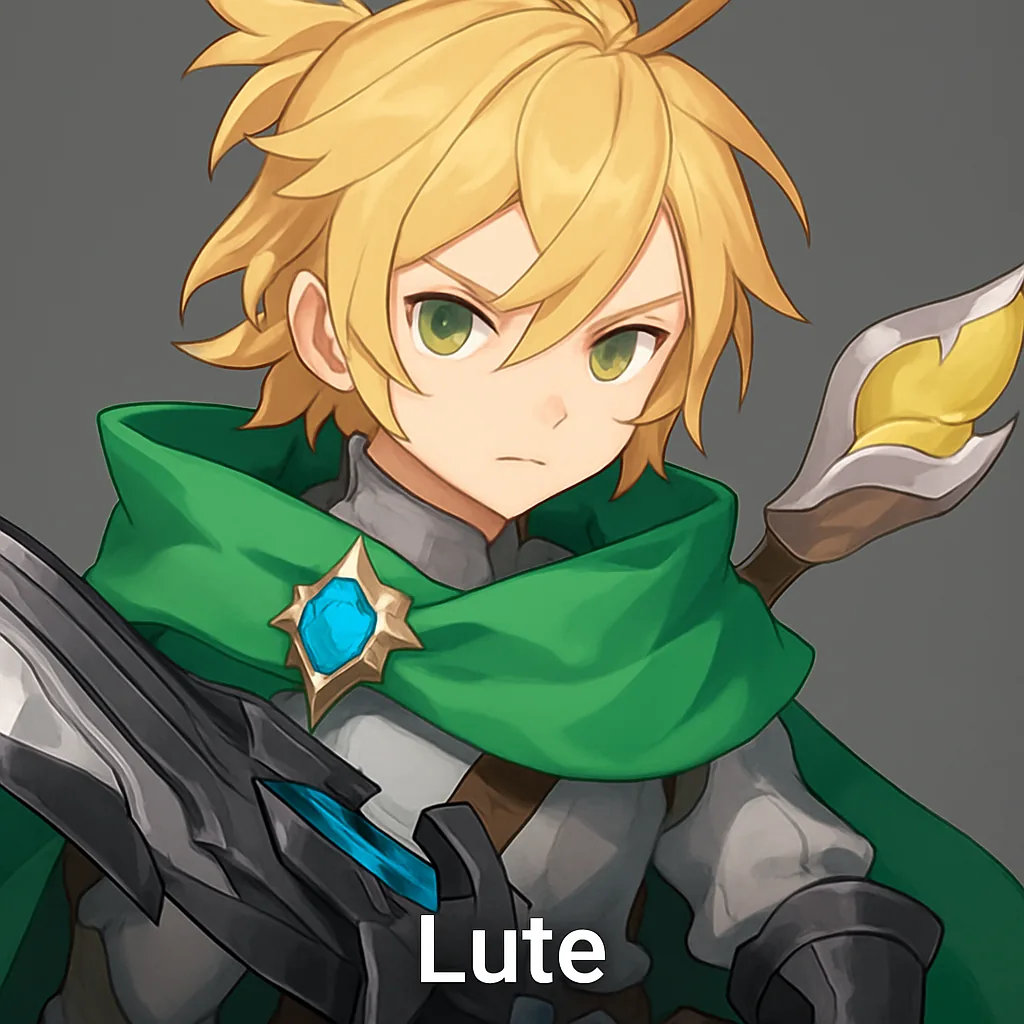 Lute Healer / enabler | Karma: A Sword Summoned for a Friend Gear: 2-piece Holy Arbiter + 3-piece Ruinsbreaker Stats: ATK Power Up, Critical DMG, Critical Hit Chance Runes: Resolve / Amplification | Ornette + Sion / Othello + Cerese |
 Castella Super Armor Break DPS | Karma: Noisy Duet Gear: 3-piece Ruinsbreaker + 2-piece Azure Gale Stats: ATK Power Up, Critical DMG, Critical Hit Chance Runes: Resolve | Astria + Lute |
 Aria Burn / Airborne enabler | Karma: Explosion is Art Gear: 3-piece Blazing Flame + 2-piece Azure Gale Stats: ATK Power Up, Critical DMG, Critical Hit Chance Runes: Amplification / Resolve | Reina + Eileen / Reina + Kalsion / Kalsion + Kalien |
 Dana Off-field Frost | Karma: A Sparkling Tea Time Gear: 3-piece Ruinsbreaker + 2-piece Froststorm Stats: ATK Power Up, Critical Hit Chance, Critical DMG Runes: Amplification / Resolve | Othello + Cerese |
 Kalien Blazeflame / Burn | Karma: The Chosen One of the Crimson Flame Gear: 3-piece Blazing Flame + 2-piece Ruinsbreaker (reverse also works) Stats: ATK Power Up, Critical Hit Chance, Critical DMG Runes: Amplification / Resolve | Kalsion + Aria |
 Roxy Bleed / Bloodlust | Karma: A noble Lady’s Wild Hobby Gear: 3-piece Ruinsbreaker + 2-piece Bloodstained Chase Stats: Critical Hit Chance, ATK Power Up, Critical DMG Runes: Amplification / Resolve | Theresia + Astria / Lute |
 Theresia On-field Bleed + Stun | Karma: Merciful Death Sentence Gear: 3-piece Ruinsbreaker + 2-piece Holy Arbiter Stats: ATK Power Up, Critical Hit Chance, Critical DMG Runes: Resolve | Roxy + Astria / Kailen / Lute |
 Ornette Shock / Thunderbolt | Karma: Sacred Lighting Baptism Gear: 3-piece Ruinsbreaker + 2-piece Thunderrush Stats: ATK Power Up, Critical Hit Chance, Critical DMG Runes: Resolve | Sion + Tarte / Lute |
 Reina Airborne single-target | Karma: The Wind that Protects The Kingdom Gear: 3-piece Ruinsbreaker + 2-piece Azure Gale Stats: ATK Power Up, Critical Hit Chance, Critical DMG Runes: Resolve | Eileen + Aria / Kalsion / Cerese |
 Kalsion Burn heavy hitter | Karma: The Sun Rises Again Gear: 3-piece Blazing Flame + 2-piece Ruinsbreaker Stats: ATK Power Up, Critical DMG, Critical Hit Chance Runes: Resolve | Kalien + Aria / Cerese / Reina |
 Cerese Frost / crowd control | Karma: Eternal Blizzard Gear: 3-piece Ruinsbreaker + 2-piece Froststorm Stats: ATK Power Up, Critical Hit Chance, Critical DMG Runes: Resolve / Amplification | Othello + Dana |
 Astria Stun + Break | Karma: Windflowers Bloom Through the Wind Gear: 3-piece Ruinsbreaker + 2-piece Holy Arbiter Stats: ATK Power Up, Critical Hit Chance, Critical DMG Runes: Amplification / Resolve | Kaileen + Roxy / Castella / Theresia |
 Eileen Offensive support | Karma: Between Chivalry and Bookmarks Gear: 3-piece Azure Gale + 2-piece Ballad Of Life or Ruinsbreaker Stats: ATK Power Up, Critical DMG, Max HP Runes: Resolve / Amplification | Reina + Kalsion |
 Othello Frostbite DPS | Karma: The Spear That Fells the Sun Gear: 3-piece Ruinsbreaker + 2-piece Froststorm Stats: ATK Power Up, Critical Hit Chance, Critical DMG Runes: Resolve | Cerese + Ornette / Dana |
 Charlotte Shadow burst / Poison | Karma: The Conviction Left in Darkness Gear: 3-piece Ruinsbreaker + 2-piece Venomfog Shade Stats: ATK Power Up, Critical Hit Chance, Critical DMG Runes: Resolve | Johnny + Eileen / Lute / Reina |
Alex, Sion, and Tarte still have builds in testing, so treat any early loadout for them as provisional until their kits are locked in.
Ailment cores that hold each team together
Team names change, but the logic is the same across the roster. One hero builds the status gauge, a second swaps in to detonate it, and a third keeps pressure or healing flowing. Match your main to one of these ailment cores and the pairings in the table above fall into place.
| Ailment core | Applier | Detonator / DPS | Support |
|---|---|---|---|
| Bleed / Stun | Roxy | Theresia | Astria or Lute |
| Frost / Frostbite | Cerese or Dana | Othello | Ornette |
| Burn / Airborne | Aria or Kalien | Kalsion | Reina |
| Venom / Poison | Johnny | Charlotte | Eileen or Lute |
| Shock / Thunderbolt | Sion | Ornette | Tarte or Lute |
Lute is the flex slot for most of these. He is one of only two healers alongside Tarte, and his first Awaken node boosts party ATK while he enables both Knockout and Stun teams. If a composition feels fragile during long boss phases, dropping the third slot for Lute keeps the rotation alive without gutting your damage.
How to know a build is working
The clearest sign a pairing is set up correctly is a lit teammate Signal input during a real ailment or Break state, not just a visible portrait. When your applier fills the status gauge, the swap prompt appears, and your detonator enters with an entrance attack that deals far more than its standard kit. If that entrance never feels stronger than a normal skill, the ailment is not landing first, which usually means your applier is under-geared or you are swapping too early.
Two habits fix most of that. Keep every off-field hero survivable enough to live through their setup, since a dead applier breaks the whole loop, and keep attacking after spending a skill because damage shortens cooldowns and brings your rotation back faster. Once your main hits the crit targets, sits on a 3-piece Ruinsbreaker core, and swaps into a partner who reacts to their ailment, the endgame damage windows open on their own.





