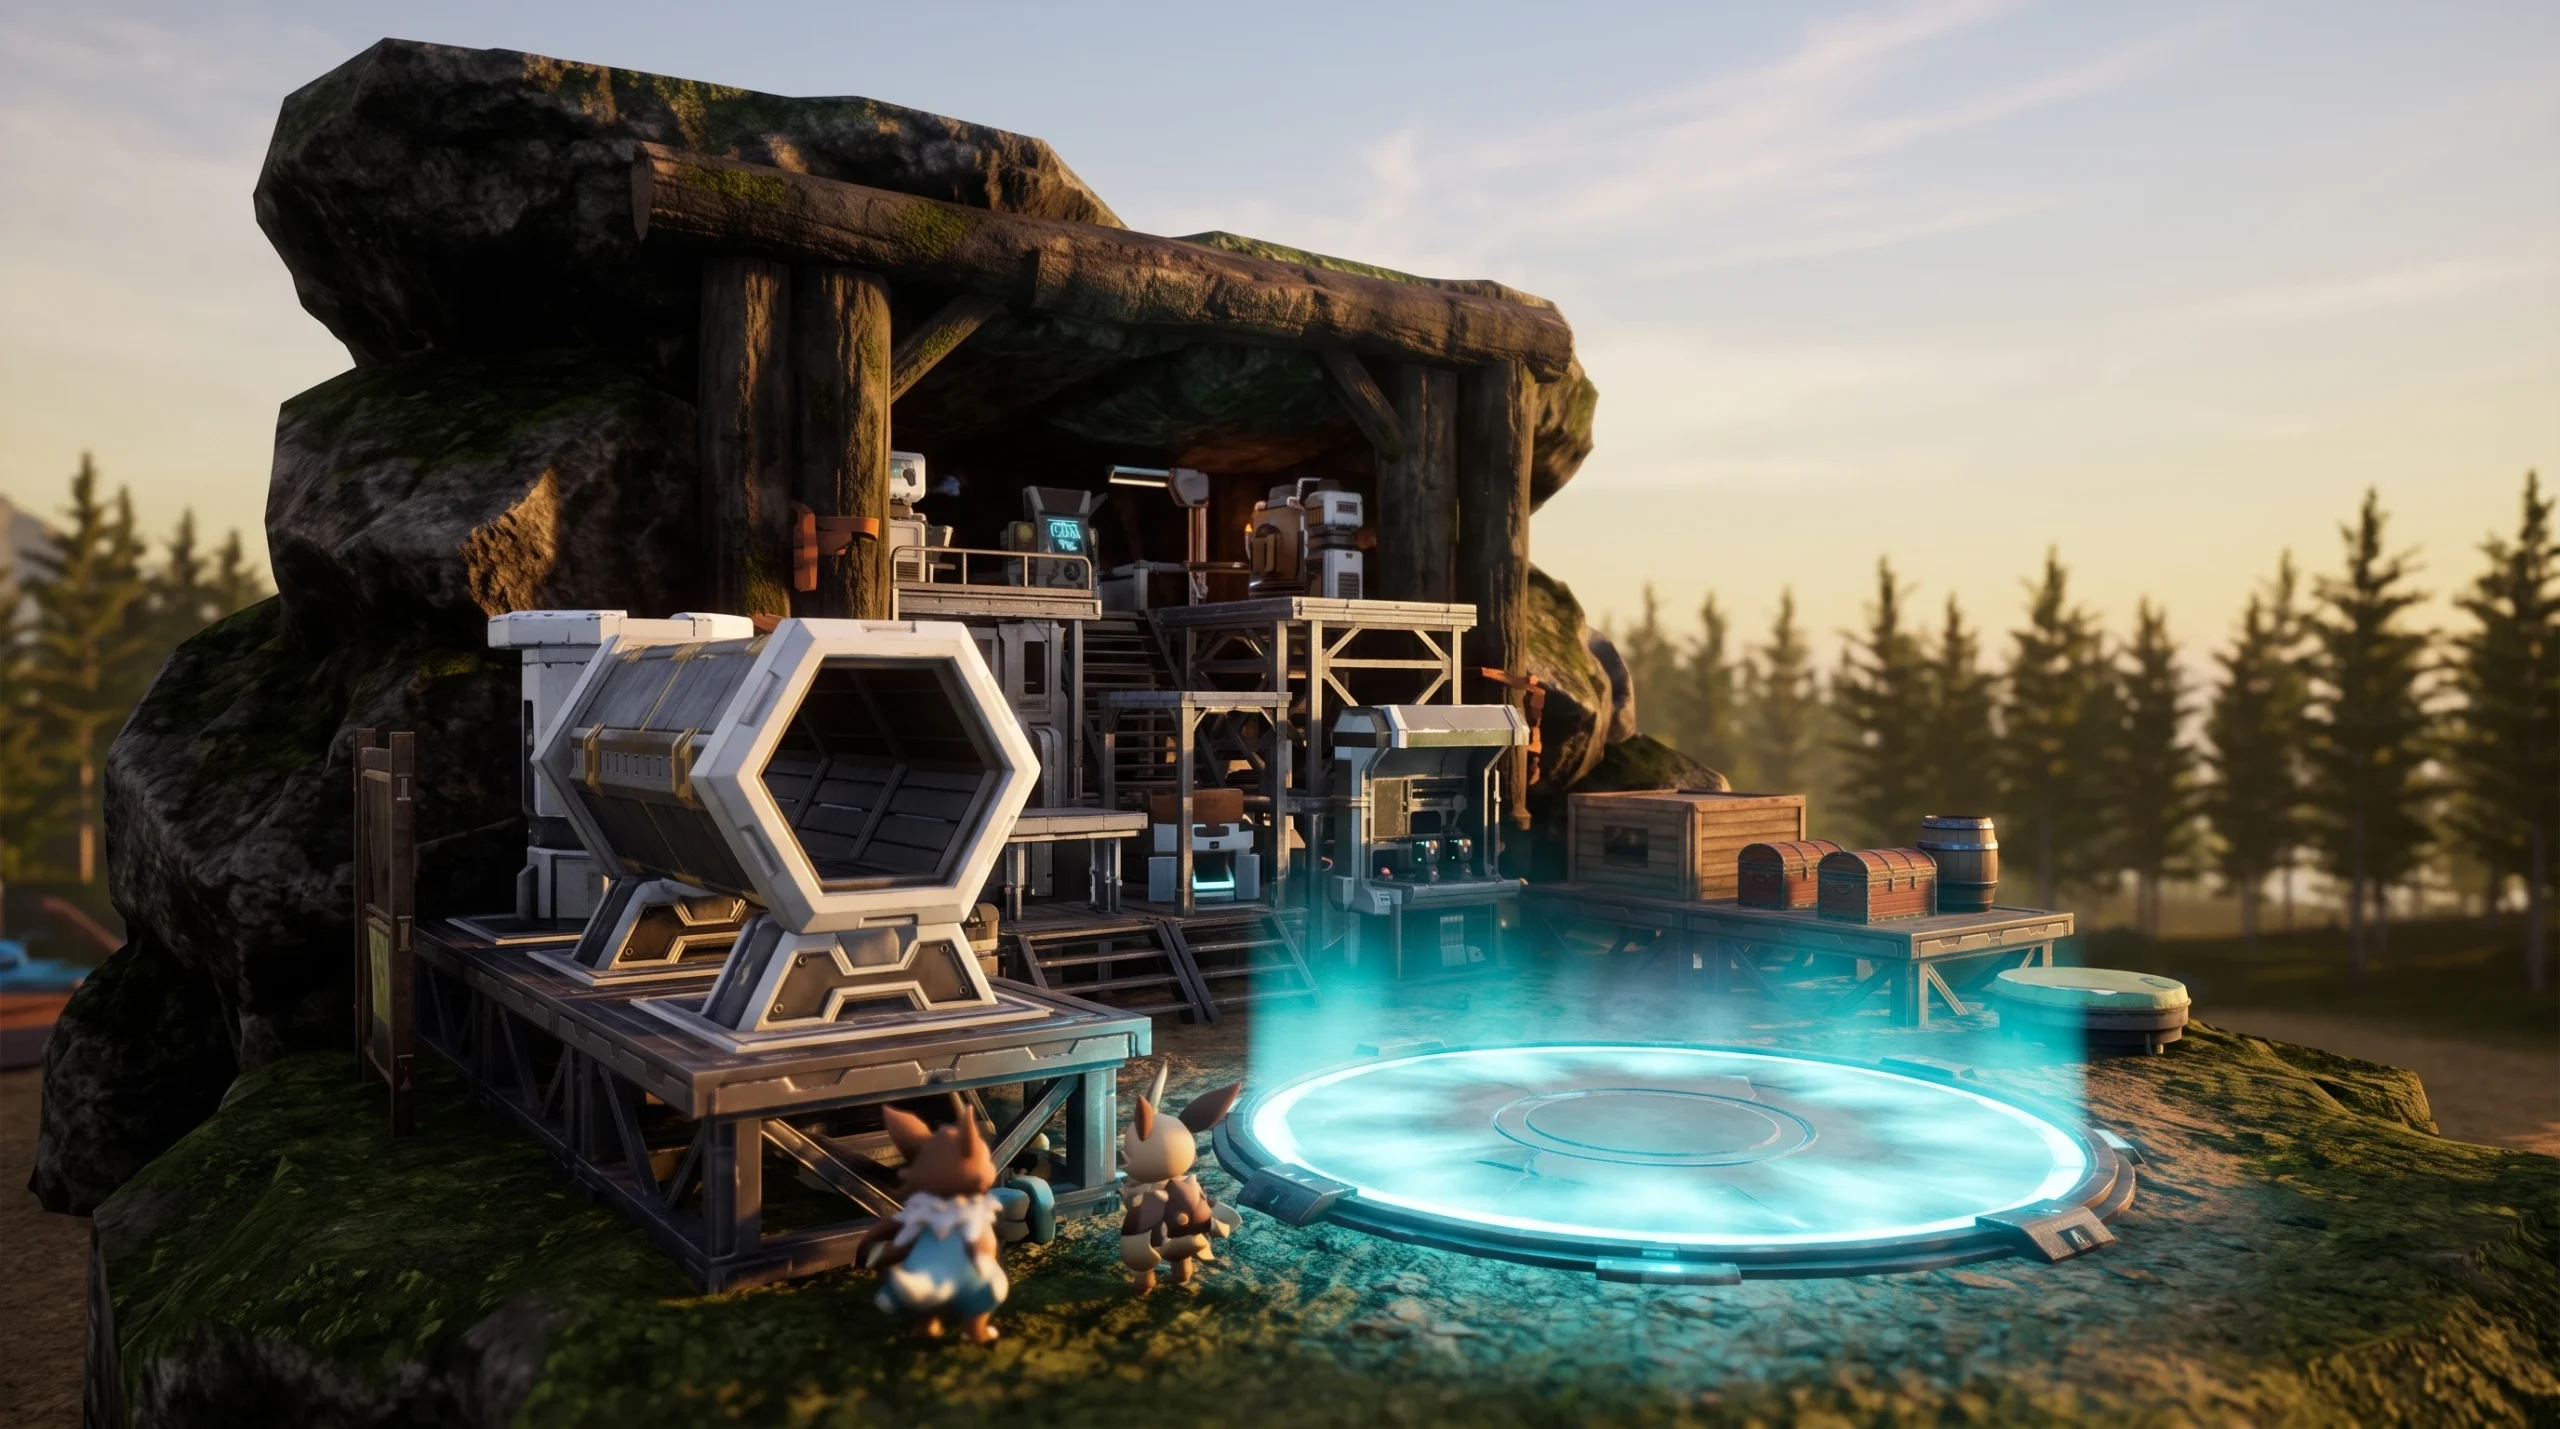
The Pal Expedition Station is one of the largest structures you can drop inside a Palworld base, and it swallows floor space that could hold plantations, chests, or work benches. There is no need to let it sit in the middle of your camp. You can slide it out to the boundary and let the outer half hang past the blue line while it still functions normally.
Quick answer: Palworld treats a structure as inside your base as long as at least half of it sits within the boundary. Push the Pal Expedition Station outward until it is on the edge of turning yellow, and every bit of interior floor it used to cover becomes free space.
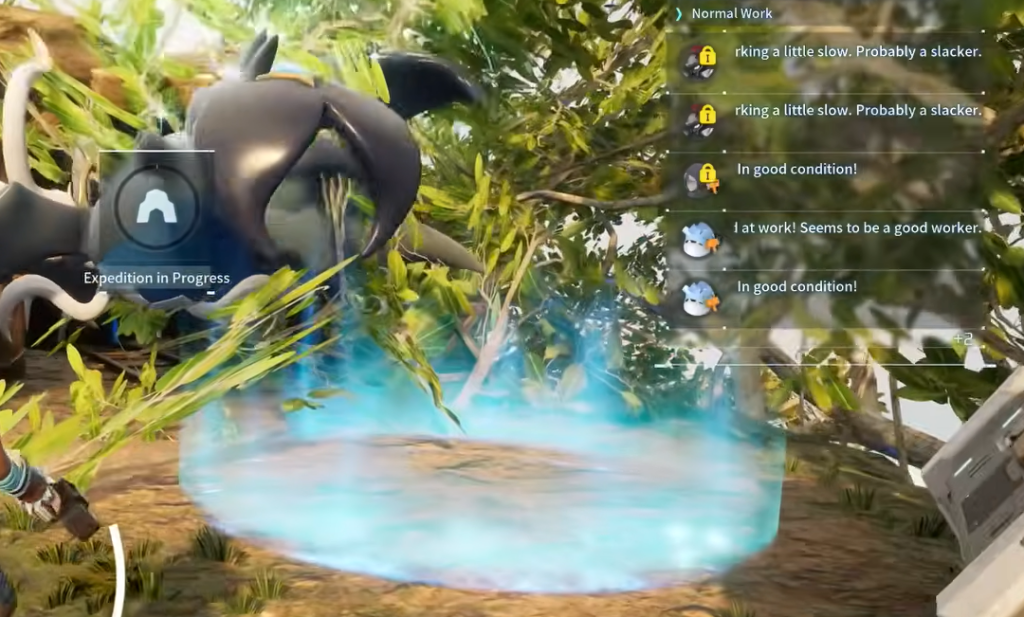
The half-inside rule that makes this work
Palworld decides whether a foundation, wall, or station belongs to your base by asking a single question. Is at least half of the piece inside the blue perimeter? If the answer is yes, the whole structure counts as inside, and it will not throw a deterioration warning.
That means you can hover a structure over the border and it stays blue well past the point you would expect. Only when the majority of the footprint crosses the line does it flip to yellow and warn you that it is out of bounds. This is not a glitch. It is simply how the game measures placement, and it lets you park big structures on the very edge.
Push the Pal Expedition Station outward
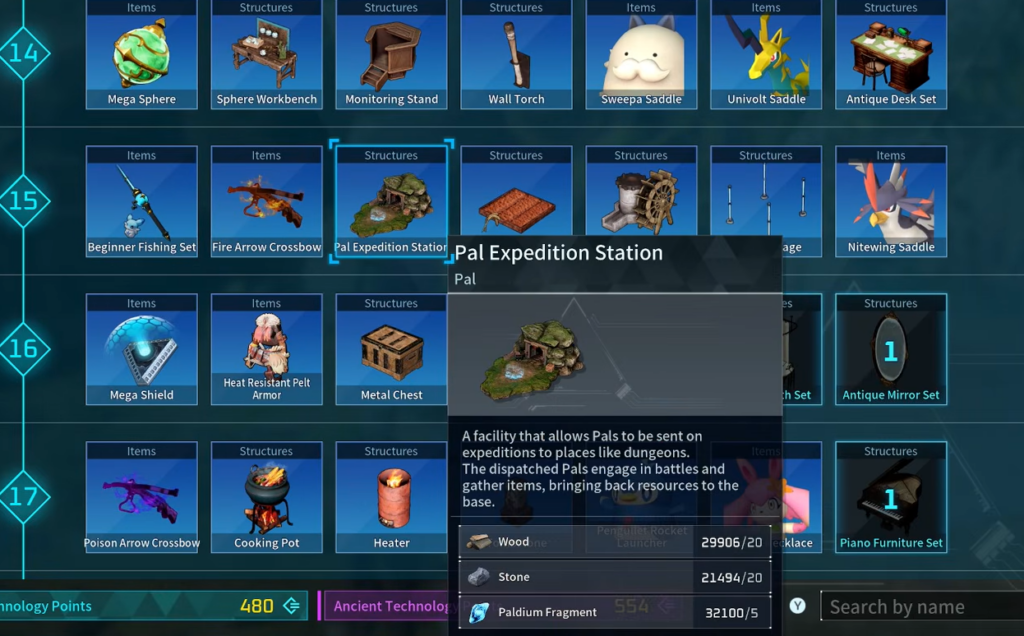
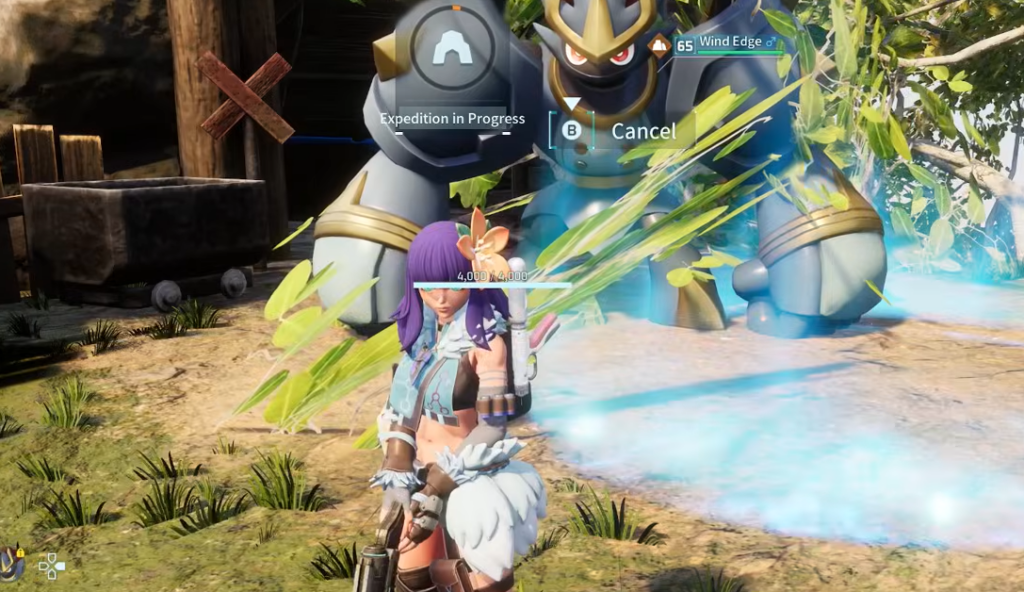
The Pal Expedition Station lets you send Pals out to gather hard-to-obtain materials from your base, so keeping it functional matters. As long as it stays blue when placed, it works exactly as if it were centered in your camp.
Other bulky structures you can shove to the perimeter
The station is not the only structure that benefits. Some pieces push out cleanly, while others need more of their body kept inside so your Pals can still reach items.
| Structure | How far you can push it | Why |
|---|---|---|
| Pal Expedition Station | Push out until it nearly turns yellow | Pals never need to physically reach it, so the front half is enough |
| Breeding farm | Push out nearly as far | Your Pals never collect the eggs it produces |
| Ranch | Keep more of it inside | Pals can drop items just past the line where your transport Pal cannot reach them |
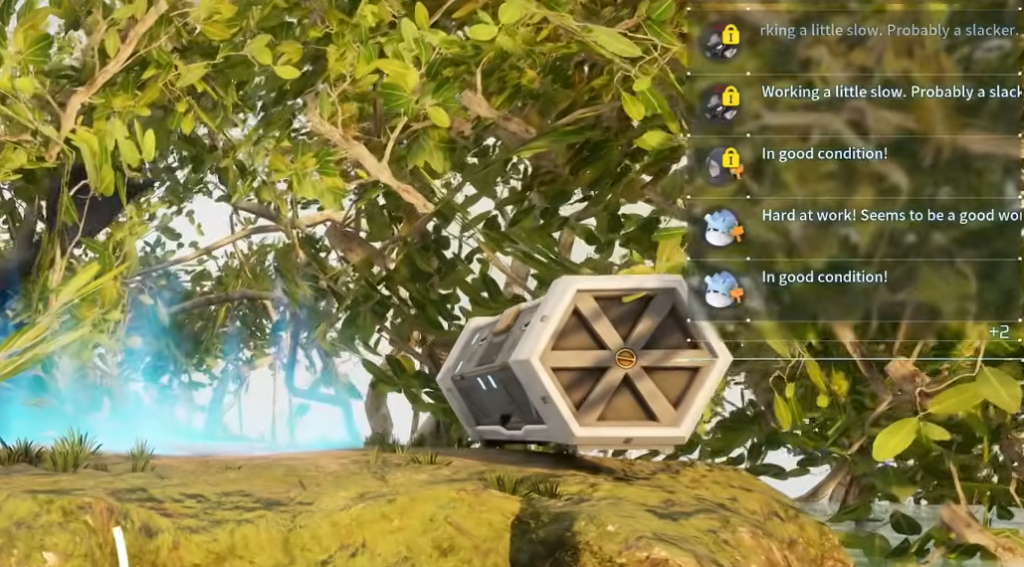
How to confirm the structure still counts as inside
The color of the placement outline is your only check. Blue means the piece is registered as part of the base and will not deteriorate. Yellow means the majority of it has crossed the boundary and it now sits outside, where it will decay and stop being treated as a base structure.
When you place the Pal Expedition Station while the outline is still blue, it stays fully operational. You can open its menu, assign Pals, and launch expeditions with no penalty for the overhang.
Where the trick backfires
The main failure is pushing a piece one step too far. The moment the outline flips to yellow, more than half of the structure is outside and it no longer counts, so nudge it back in until it reads blue again.
The ranch is the other trap. Since Pals working a ranch drop items on the ground, any drops that land past the boundary can end up somewhere your transport Pal cannot pick them up. Keep the ranch mostly inside and reserve the aggressive overhang for the Pal Expedition Station and the breeding farm.
Used carefully, this single placement habit frees up a surprising amount of usable floor. Slide the biggest structures to the edge, keep their outlines blue, and spend the recovered space on the plantations, chests, and work stations that actually keep your base running.