How Many Dudes drops you into a chaotic little battlefield where a tiny army of oddballs fights swarms of animals, gods, and everything in between. With 42 Dudes across 6 families and more than 850,000 possible team combinations, the early hours can feel messy. The good news is that a handful of habits will carry you far further than any single “best” pick, and most of your early losses will teach you something useful about how your Dudes actually work.
Quick answer: Favor Relics that buff your whole team, keep at least one healer in your squad early, save cash to double it with the Business Dude, and stop reviving with Dude Juice at the first knockout — your Dudes recover on their own after a few rounds.
Manage cash before you manage combat
Under the noise, How Many Dudes is a game about money. If you are broke, you skip Relics, ration consumables, and watch your squad get overrun by Feral Hogs and Zombie Bears near the endgame. If you are rich, you buy almost everything you see and steamroll.
The engine behind that wealth is the Business Dude. Three times per run he offers to hold your cash and hand it back doubled. Give him $1,000 and he returns $2,000, reinvest and it becomes $4,000, then $8,000 on the final round. The trade-off is discipline. To feed him a big pile, you have to skip some early Relics and pinch pennies on consumables, which makes the opening harder in exchange for a much stronger late game.
That said, do not hoard so aggressively that your team collapses mid-run. A strong Relic bought now can win a fight that pays out even more later, so spending on upgrades that fit your plan is often the right call. The skill is knowing when to save and when to invest, and that balance shifts with how your current squad is holding up.
Prioritize team-wide Relics
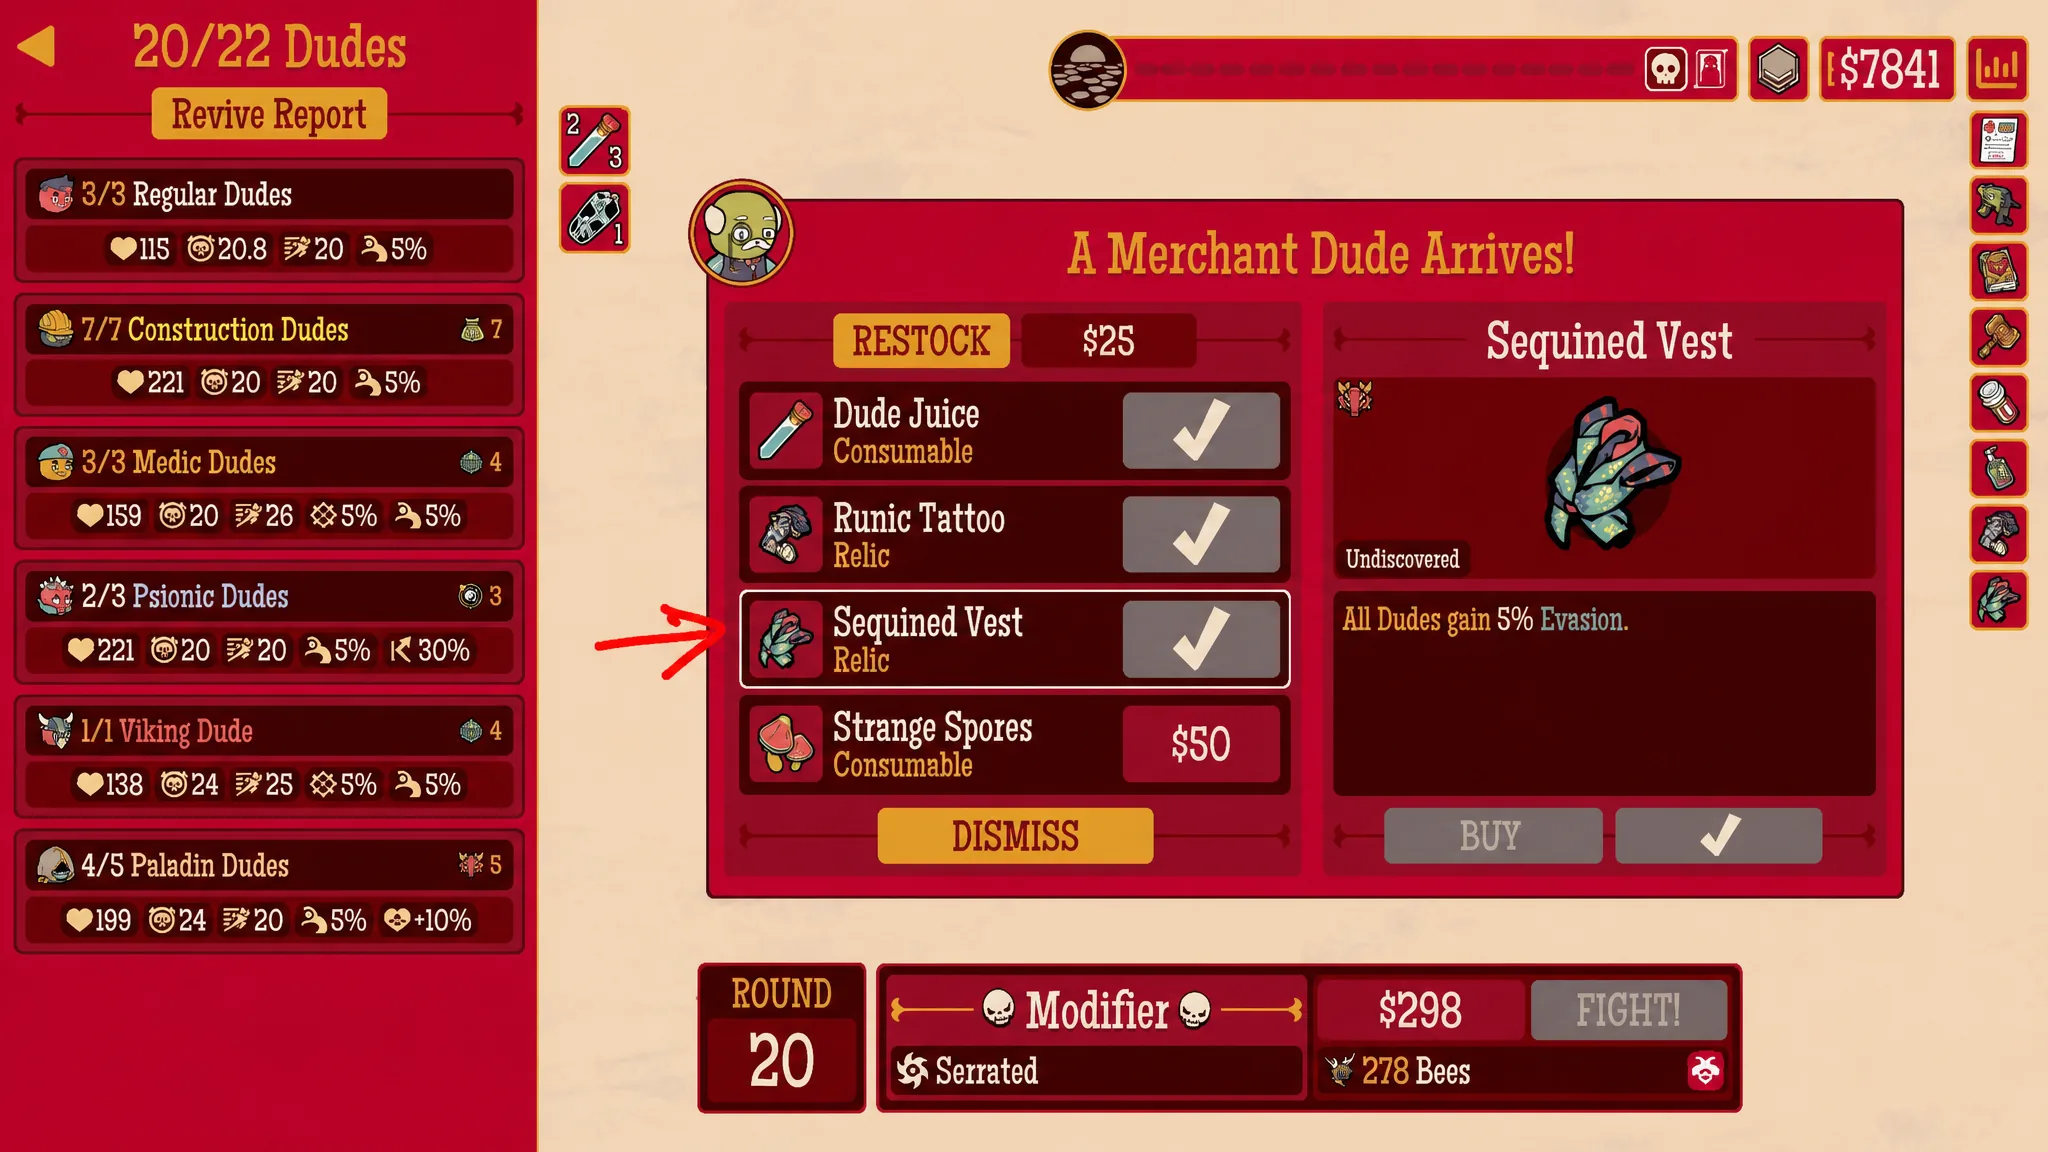
Relics are the main lever you pull to change how a run goes, and beginners get the most value from ones that improve every Dude at once. A team-wide damage or healing boost is far more reliable than a bigger bonus locked to a single Dude type, because it pays off no matter what your squad looks like.
Keep an eye out for Healing Amplification Relics in particular, since stronger healing turns long fights in your favor. There is also a subtler rule worth learning early: no Dude is truly weak, only neglected. If a Dude looks underwhelming, it usually means you have not found the right Relics, stats, or teammates for it yet. Support a struggling Dude instead of rerolling past it and it can quickly become one of your best.
Which Relics even appear is not random luck alone. The pool is shaped by two things: the Dude Families on your roster and any Pre-Posted Flyers. Each Dude type adds its own Relics plus its Family Relics to the pool, so a squad spread across five families dilutes the pool and makes any one specific Relic harder to draw. If your plan depends on a key Relic, keeping your roster focused on fewer families improves your odds of finding it.
Keep your Dudes alive: healers, Juice, and Cheat Death
Survival usually matters more than raw damage, because one bad round of knockouts snowballs into another. Bring healing into your squad early rather than waiting until Dudes are already dropping. Look for a Medic and/or Cleric, and if your healer is the very last Dude you add, that is a sign you have been grinding fights without enough sustain.
Dude Juice is your emergency revive, and it is powerful. Used at the Ranch it revives 10 Dudes; used mid-fight it revives 5, which can rescue a run that is falling apart. The Merchant Dude sells it for $100, and here is the trap: every Juice costs you either now or later. Chugging it the moment one Dude falls burns cash you need for Relics and Business Dude investments.
Most of the time you do not need it. Unconscious Dudes recover on their own after a few rounds, and a squad can often keep winning while dragging a couple of KO’d members along. Save the Juice for moments when going short-handed would seriously risk ending the run.
To avoid knockouts in the first place, stack durability before big one-shot enemies show up mid-run, and lean on Cheat Death effects that save a Dude from fatal damage. Circuit Breaker (Electrician), Bat Wings (Vampire), and Time Dude’s Rewind are examples. Combat consumables help too — Meteors stun and separate, Bottled Lightning clears bursts, Strange Spores spread HP, Health Potions convert overheal into Temporary Health, and Burner Phones add Temp HP with repositioning.
Bring heavy damage for high-health enemies
Some enemies simply refuse to die on a slow team. Polar Bears and Unicorns soak enormous punishment, and if you cannot chunk their health bars, they stall your run. Viking Dudes are a strong answer here. Their berserk-style abilities tear through tanky targets, and pairing them with solid healing and team-wide Relic buffs gives you a frontline that carries fights.
Damage output also depends on giving each Dude the stats its ability actually uses. Stacking one stat across the whole team leaves gaps, so match the stat to the role instead.
| Dude | Stats that matter |
|---|---|
| Knight Dude | Toughness, Max HP |
| Pirate Dude | Evasion, Crit Chance (Taunt uptime) |
| Electrician Dude | Attack Power, Run Speed (less Attack Speed) |
| Mutant Dude | Cleave, Attack Power, Attack Speed |
| Ranger Dude | Crit Chance with Hunter’s Blade |
Pick your fights and read the red icons
Harder encounters pay better, so taking on tougher enemies is a legitimate way to speed up progress and earn richer rewards. But there is a limit. If a fight wipes out a big chunk of your squad, back off, take easier battles for a while, and rebuild. Recovering your team beats repeatedly throwing it at something it cannot beat.
Watch for fights marked with a red icon. These carry warnings or special conditions that can wreck the wrong team composition. Always read the description first. Honey Badgers, for example, have taunt resistance, which makes them a miserable matchup if your strategy leans on Dudes that rely on taunt abilities.
Do not be afraid of higher Tiers, either. You need Tier 2 and Tier 3 progress to complete your collection, and you do not have to fully finish Tier 1 first. Those Tiers hand out early rewards you can grab in a run or two, and Gold and Silver Stars earned there retroactively backfill lower Tiers. A quick trip up can advance more than one layer of your collection at once.
Prepare for the G.O.A.T. boss
Your first big milestone is beating the G.O.A.T., the Tier 1 boss that shows up around round 105. It has a huge health pool, big burst damage, and it zips around the battlefield smashing Dudes while forcing your team to chase it. It also drags along several hundred Ram minions.
Plenty of teams cruise to round 104 and then get flattened because they never planned for the fight. Build for it throughout the run. You want survival tools like Toughness, Max HP, Temporary Health, and Cheat Death effects to weather the big hits, plus at least some mobility so your squad is not slow-walking after the boss while it shocks everyone down. Cover those bases and the G.O.A.T. becomes manageable. Tier 2 and Tier 3 introduce new final bosses that test different weaknesses, so expect an early loss or two and rebuild around what each boss does.
Use the interface to your advantage
Almost everything on screen is clickable, and that is the fastest way to learn the game. Unsure what a stat, icon, or keyword means? Click it. The built-in glossary, The Dudex, explains nearly every mechanic in depth, so terms like Toughness, Cleave, Deflection, or Doom are always one tap away instead of a guess.
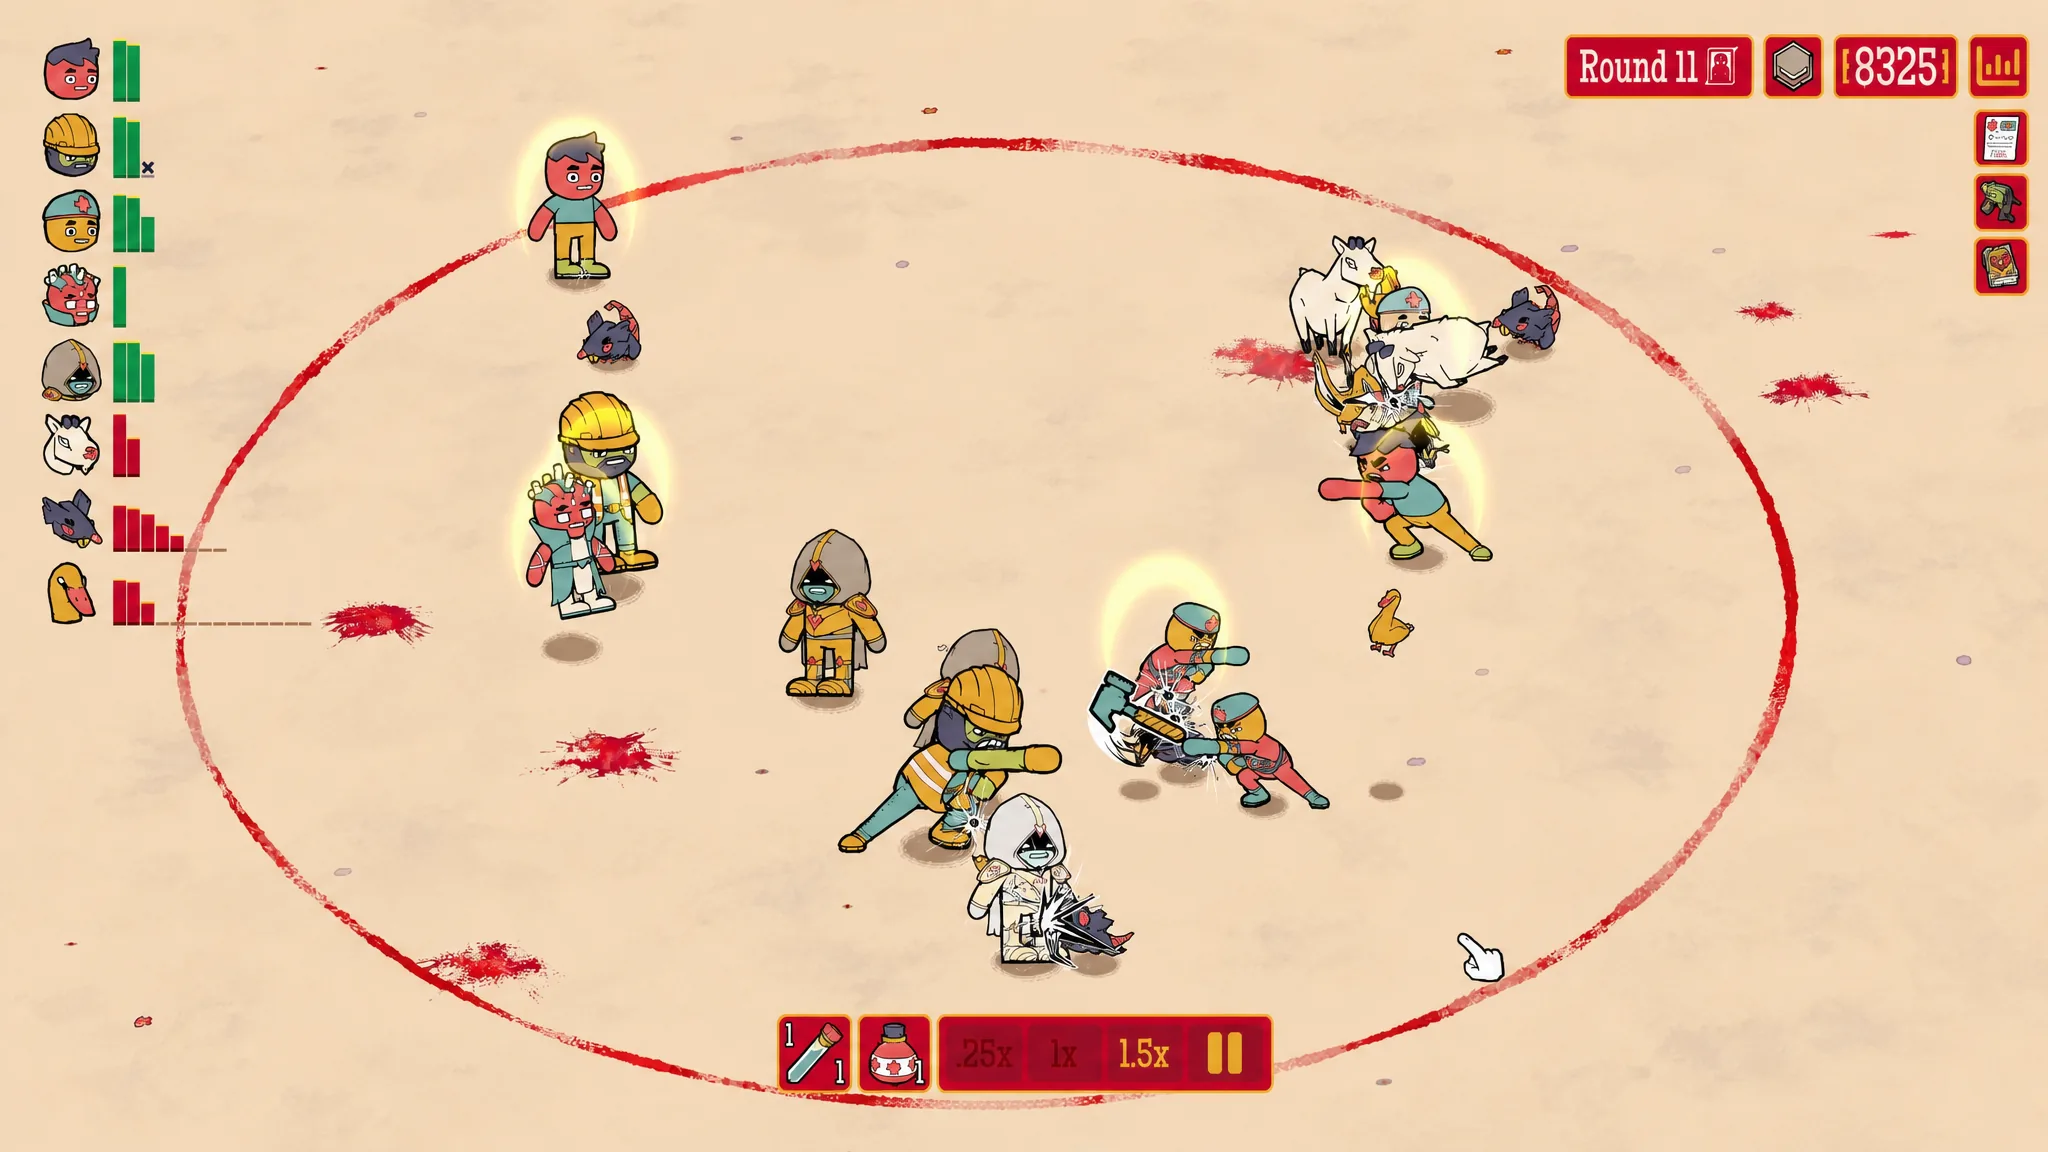
Battles can drag on as your squad grows, so use the fight speed controls at the bottom of the screen to move things along. Just keep an eye on your team’s health in the top-left corner. Faster combat means Dudes can drop quickly if you look away, so stay ready to use healing items.
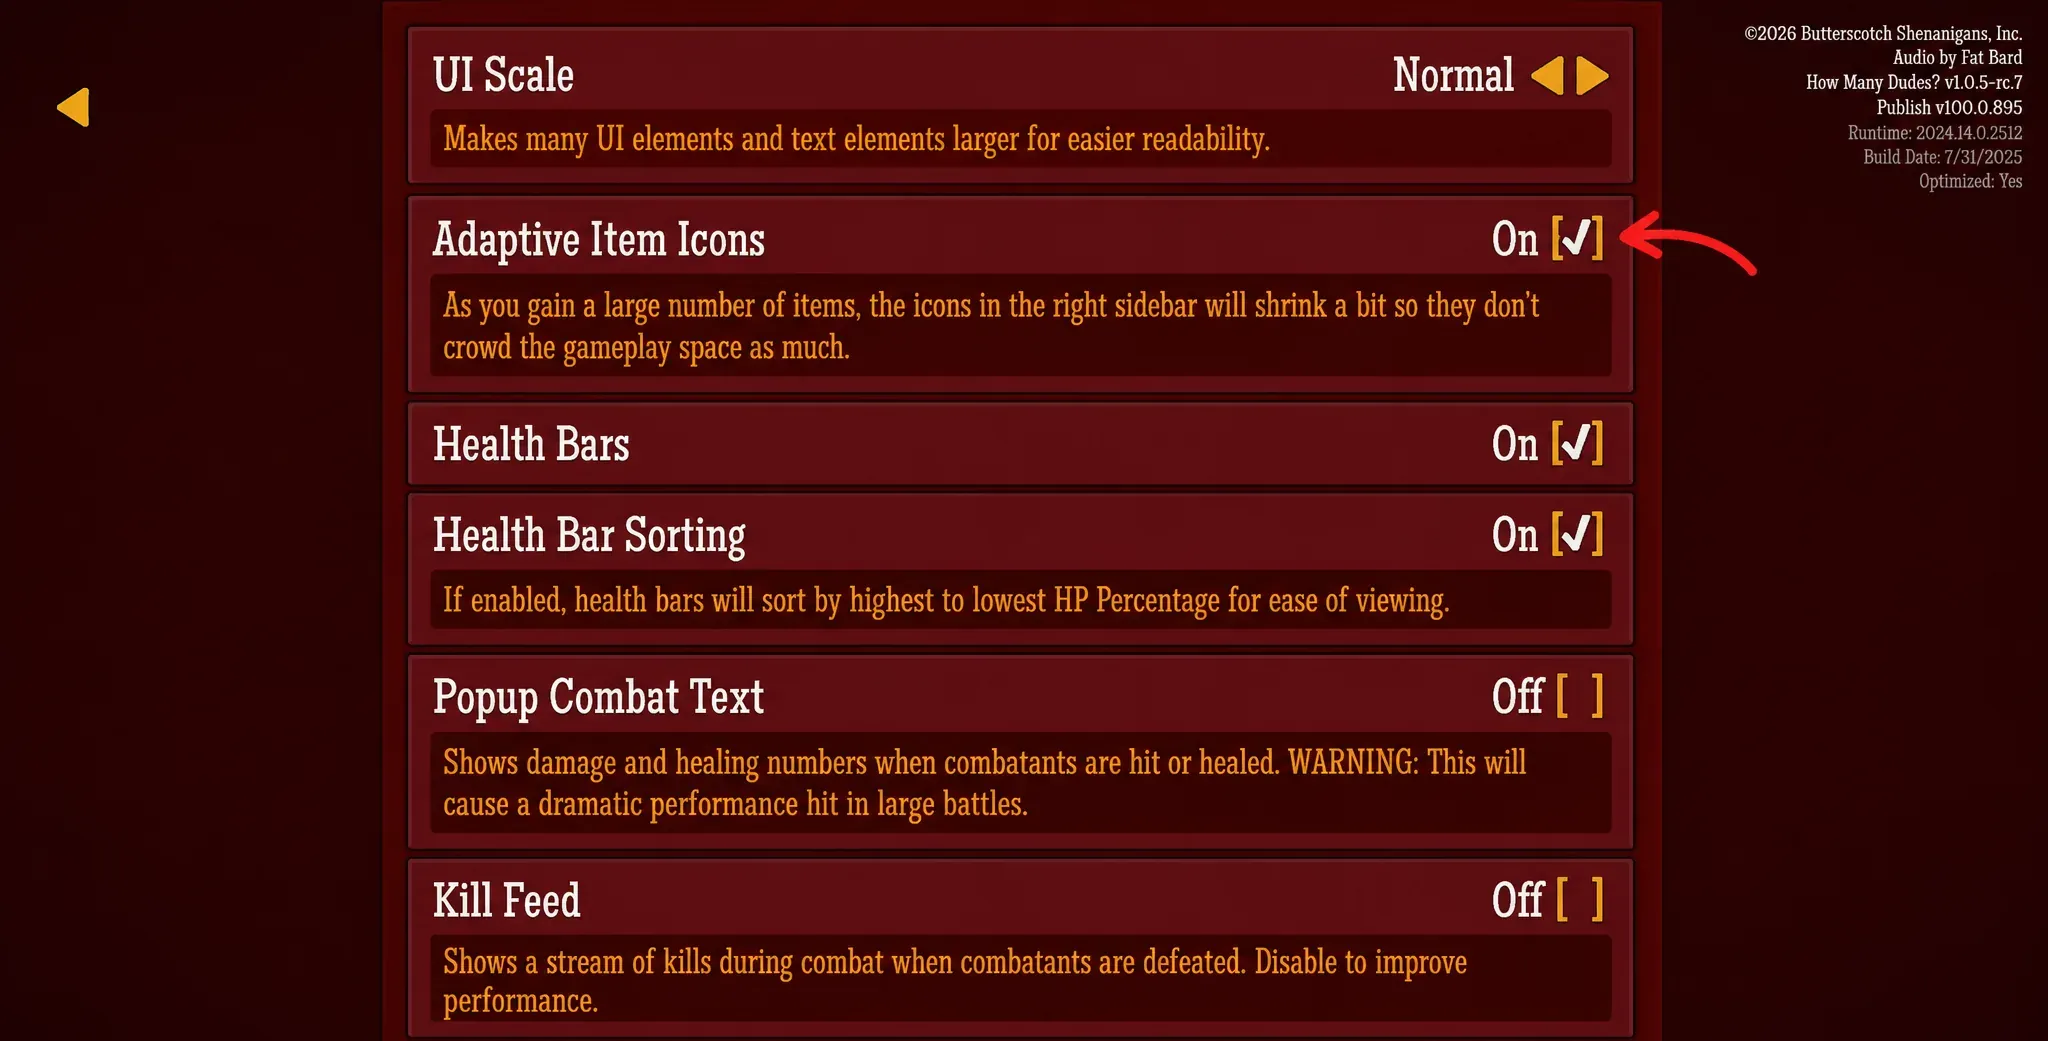
As your Relic collection grows, the right sidebar gets crowded fast. Turn on Adaptive Item Icons in the settings and the icons shrink as you collect more, which keeps the battlefield visible instead of buried under items.
Experiment to find real synergies
The heart of How Many Dudes is the sheer number of team combinations, and no single strategy fits every situation. A squad built around explosive Zombie Dudes plays nothing like one focused on Ninja or Cowboy Dudes, and hunting down those synergies is most of the fun.
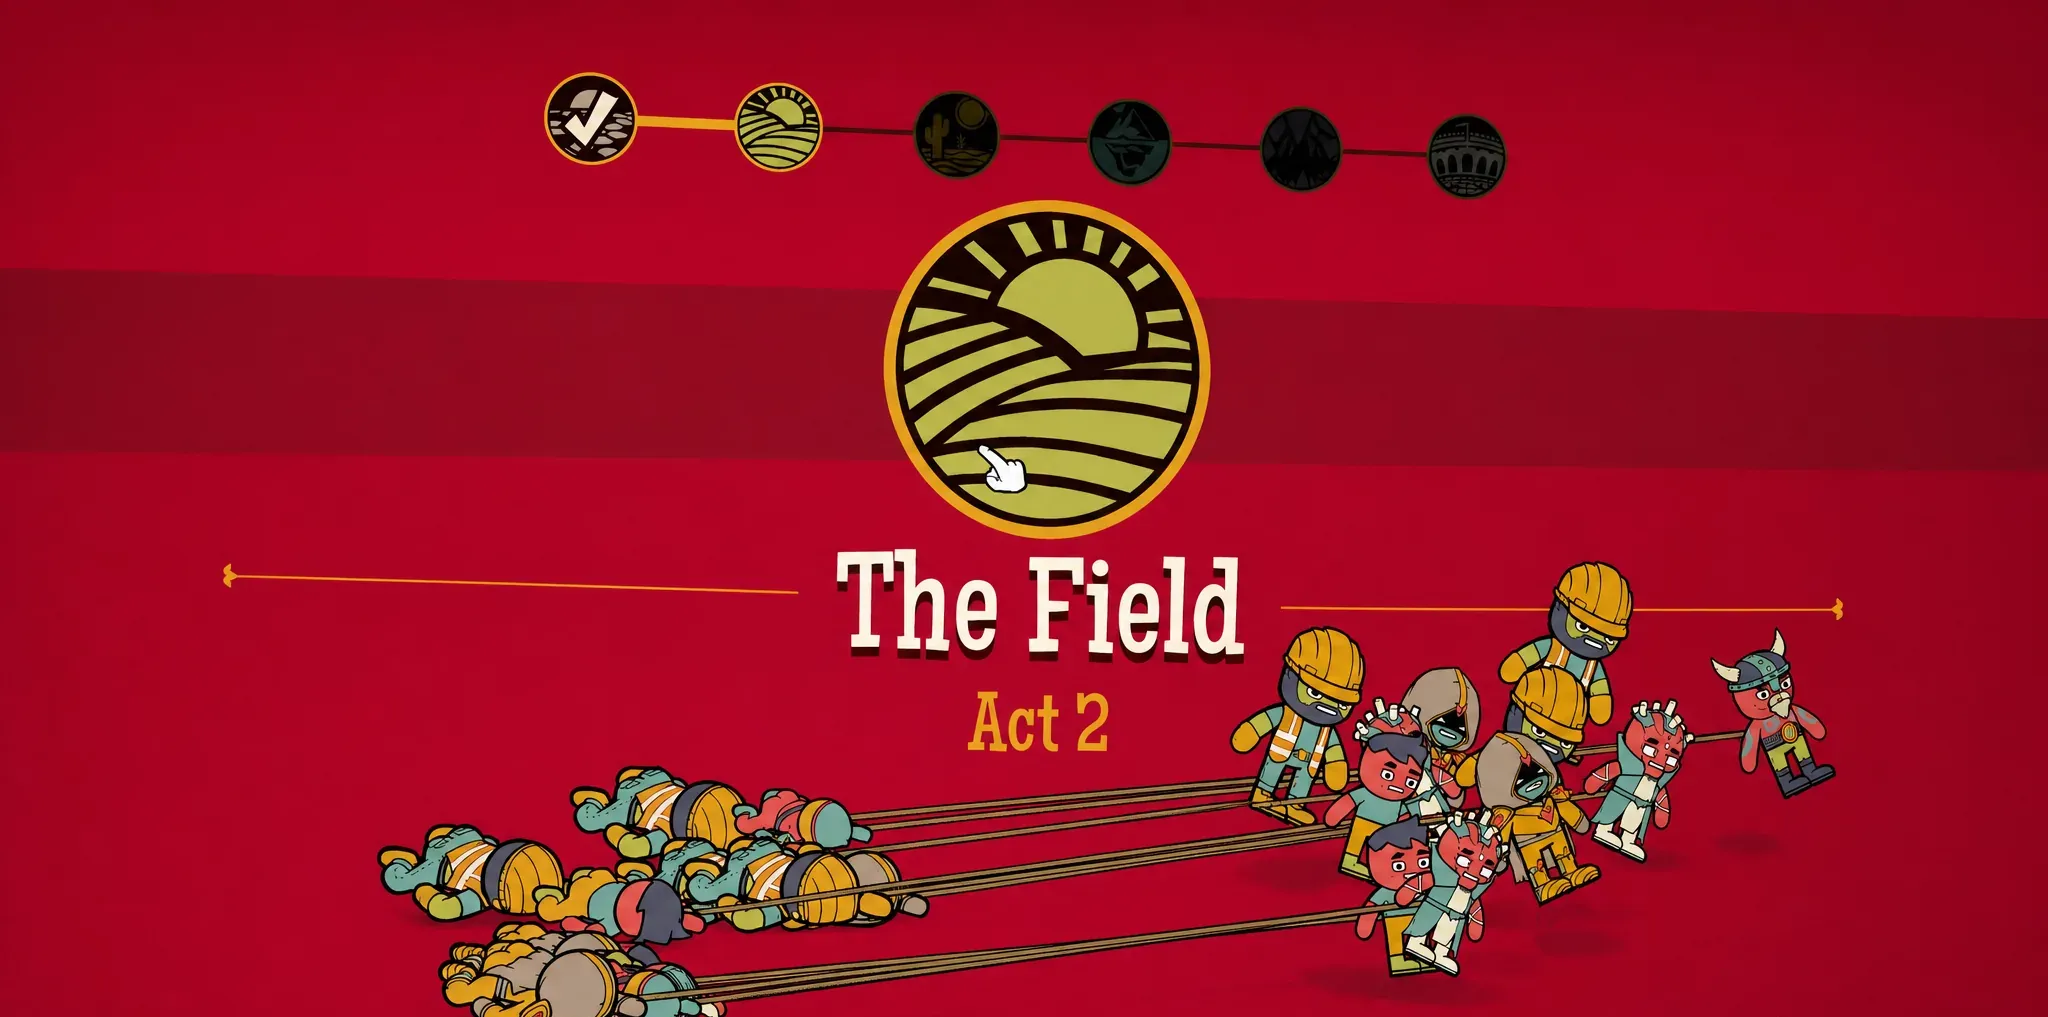
Early on it is tempting to build a pure tank-and-heal wall that just outlasts everything, but the wildest, strongest runs come from odd pairings. Try pushing one Dude type as far as it goes, build a whole team around a single powerful Relic, or attempt a run with no dedicated tank or healer to see if fast kills make defense unnecessary. Do not chase a perfect team on run one. The best squads usually come from testing weird ideas and stumbling into combinations you never expected to work.
You will know these habits are paying off when your Dudes stop getting wiped mid-run, your cash pile survives to the late shops, and bosses that used to end your attempts start falling. The developer’s new player guide and the official Dudex reference cover the finer mechanics if you want to dig deeper, but the fundamentals here are enough to turn a random group of loud, dramatic Dudes into a squad that finishes runs.