4 easy methods to update AMD drivers on your Windows 11 PC.
4 easy methods to update AMD drivers on your Windows 11 PC.
by Parth Sawhney
Drivers play a crucial role in ensuring smooth communication between your computer’s software and hardware components. For every piece of hardware connected to your system, a corresponding driver facilitates this interaction. It’s essential to have the correct drivers installed for each hardware component to function optimally.
While AMD hardware may not be as prevalent as some competitors, updating AMD drivers can sometimes be a bit tricky. This guide provides detailed methods to help you update your AMD drivers on Windows 11 efficiently and without hassle.
Method 1: Update AMD Drivers Using the Official AMD Auto-Detect Tool
One of the most efficient ways to update your AMD drivers is by using the AMD Auto-Detect Tool. This tool automatically identifies your AMD hardware and suggests the latest drivers available for your system.
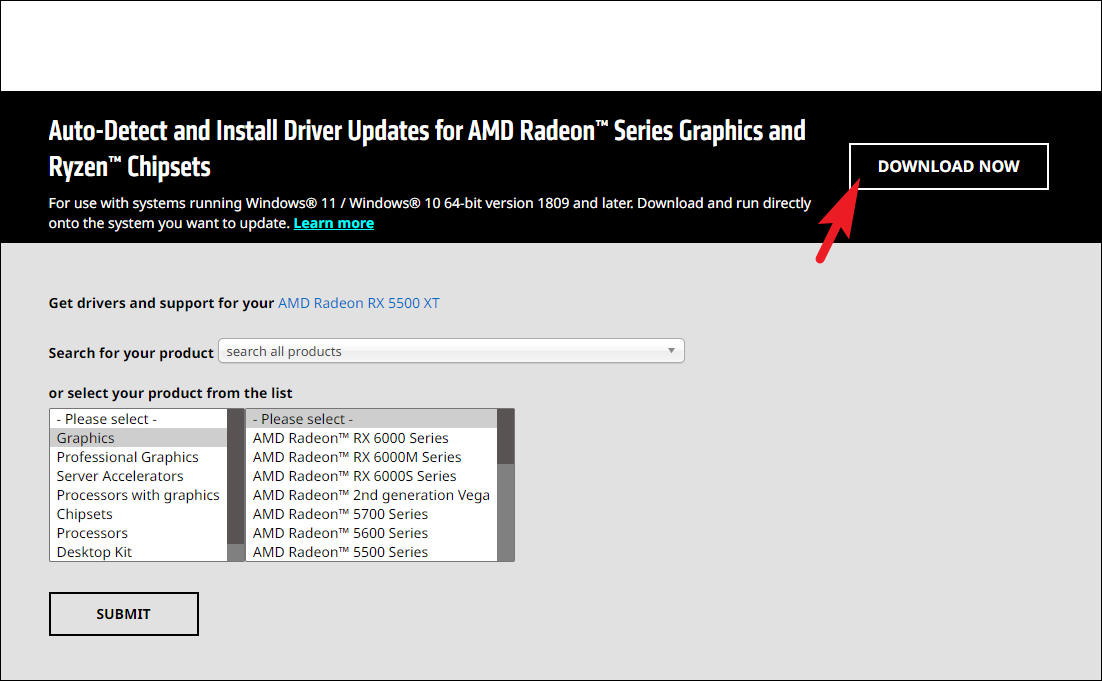
Open your preferred web browser and navigate to amd.com/support. Once the page loads, click on the “Download Now” button under the “Auto-Detect and Install Radeon Graphics Drivers for Windows” section to download the tool.
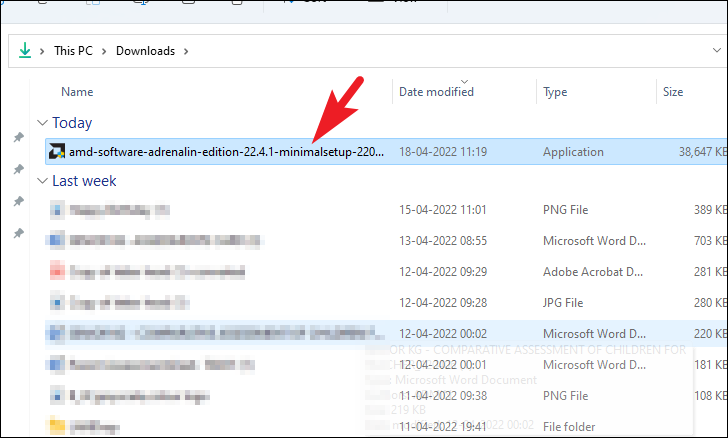
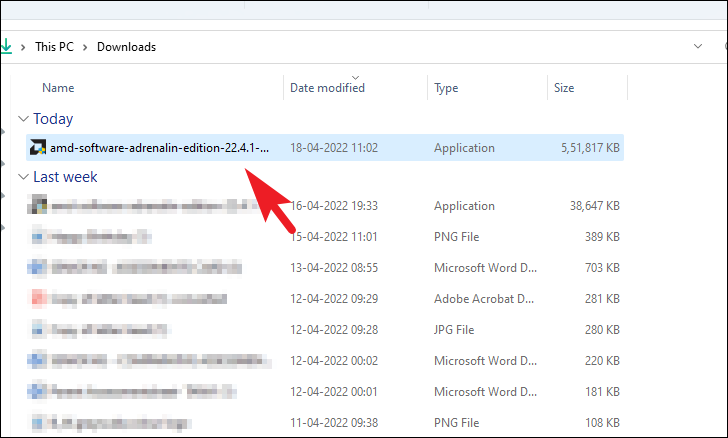
After the download completes, navigate to your default download location using File Explorer. Double-click on the downloaded .EXE file to run the installer.
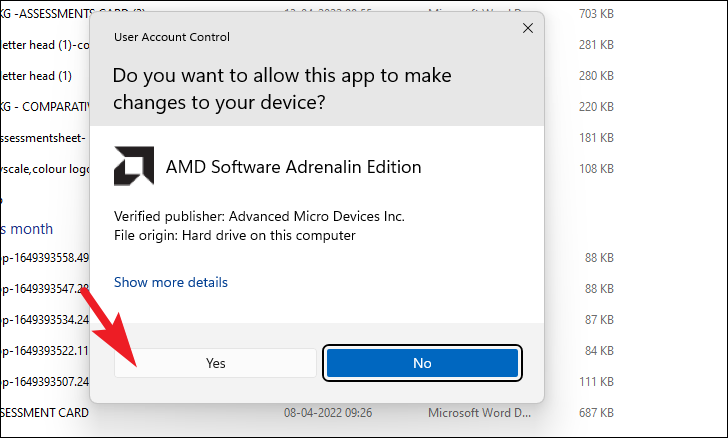
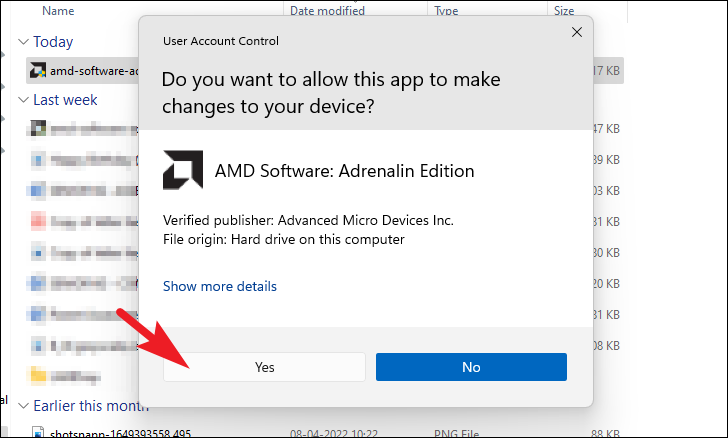
A User Account Control (UAC) prompt may appear. If you’re not signed in as an administrator, enter the admin credentials. Otherwise, click “Yes” to proceed.
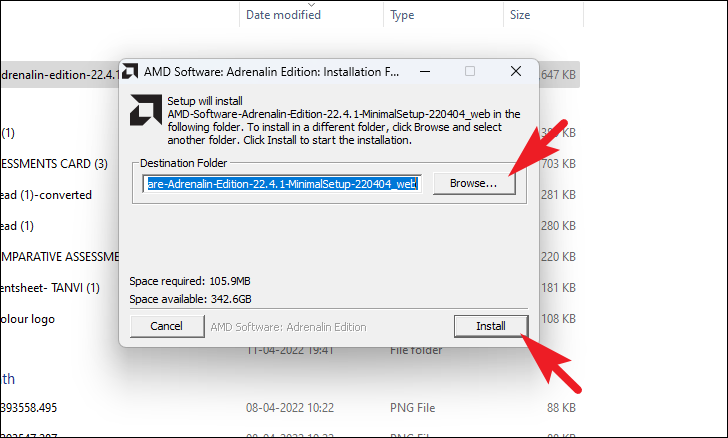
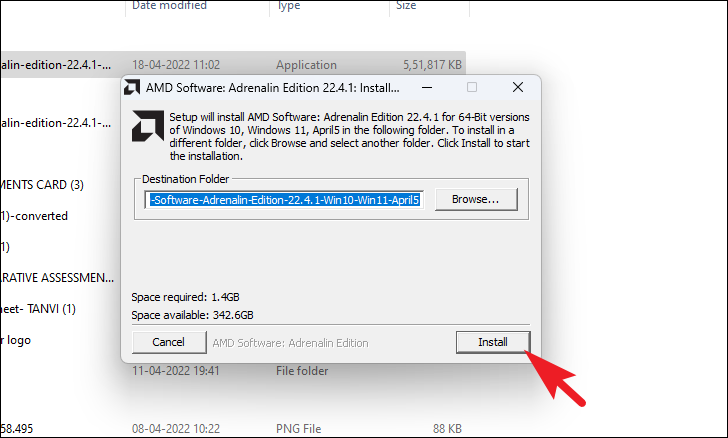
In the installer window, click on the “Install” button to begin the installation. By default, the tool installs in the “Program Files” directory on your Windows installation drive. If you wish to install it elsewhere, click on the “Browse” button to choose a different location.
Once installed, the AMD Auto-Detect Tool will automatically launch and begin scanning your system for installed AMD hardware and current driver versions. This process may take a few minutes. Please wait patiently as it gathers the necessary information.
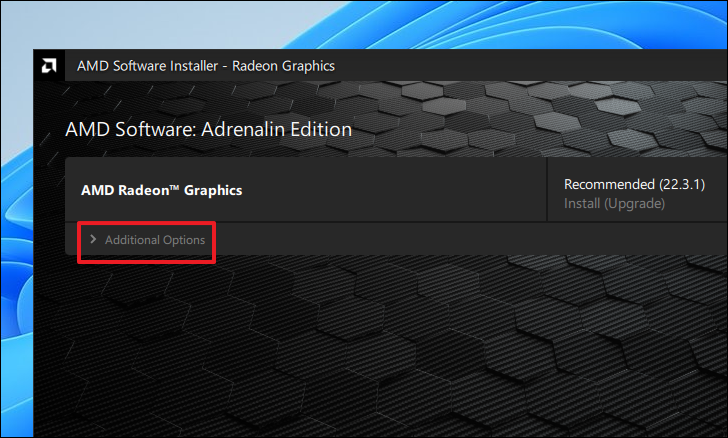
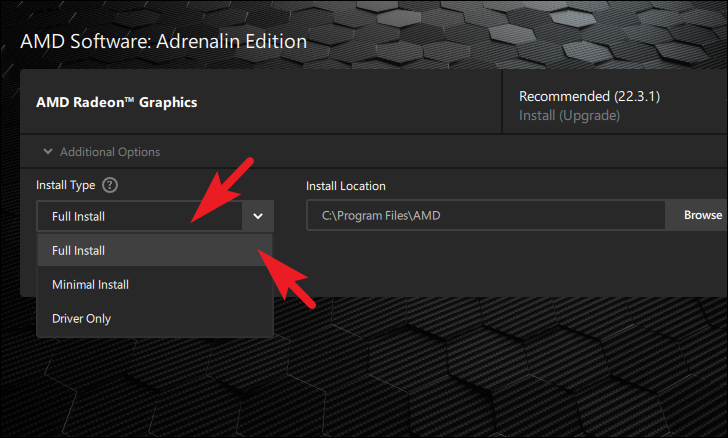
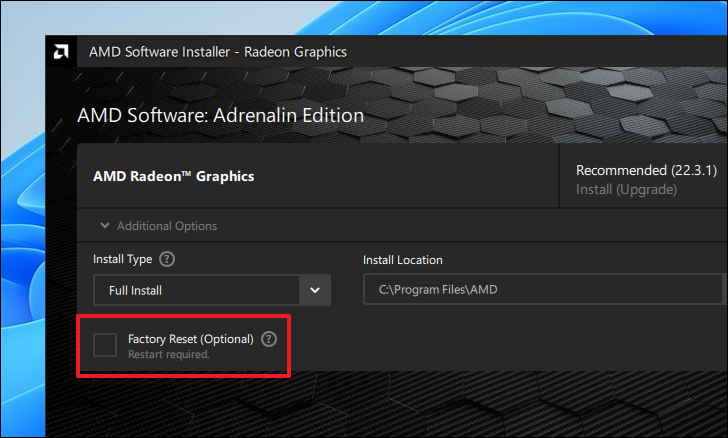
After detection, the tool will display the recommended drivers for your system. To customize the installation, click on the “Additional Options” button beneath the driver listing to expand more settings.
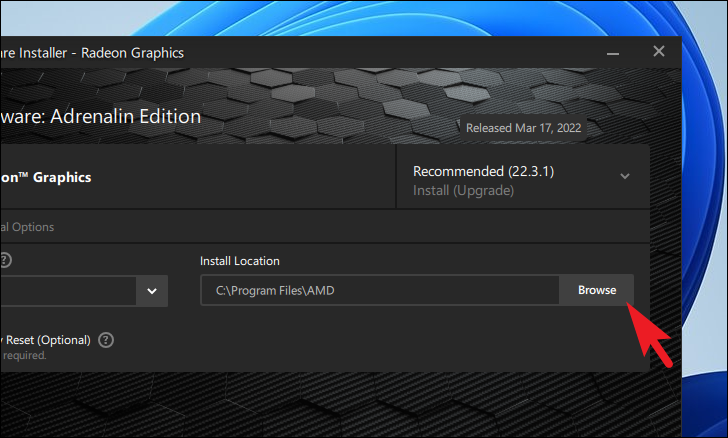
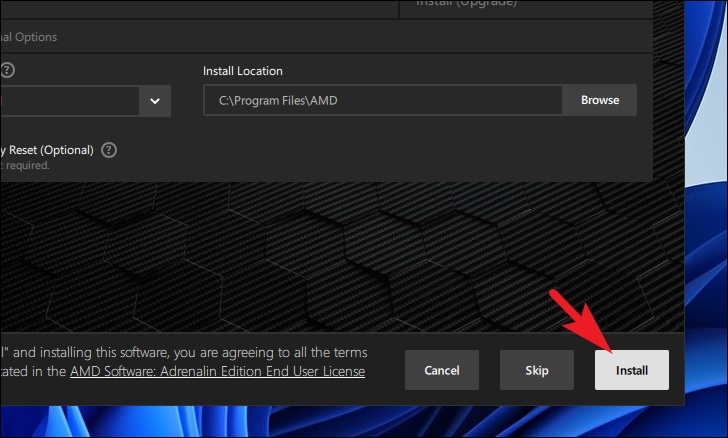
If you wish to change the installation location, click on the “Browse” button under the “Install Location” section and select your preferred directory.
Once the installation is complete, you may be prompted to restart your computer. Click on “Restart Now” to reboot immediately or choose “Restart Later” if you prefer to restart at another time.
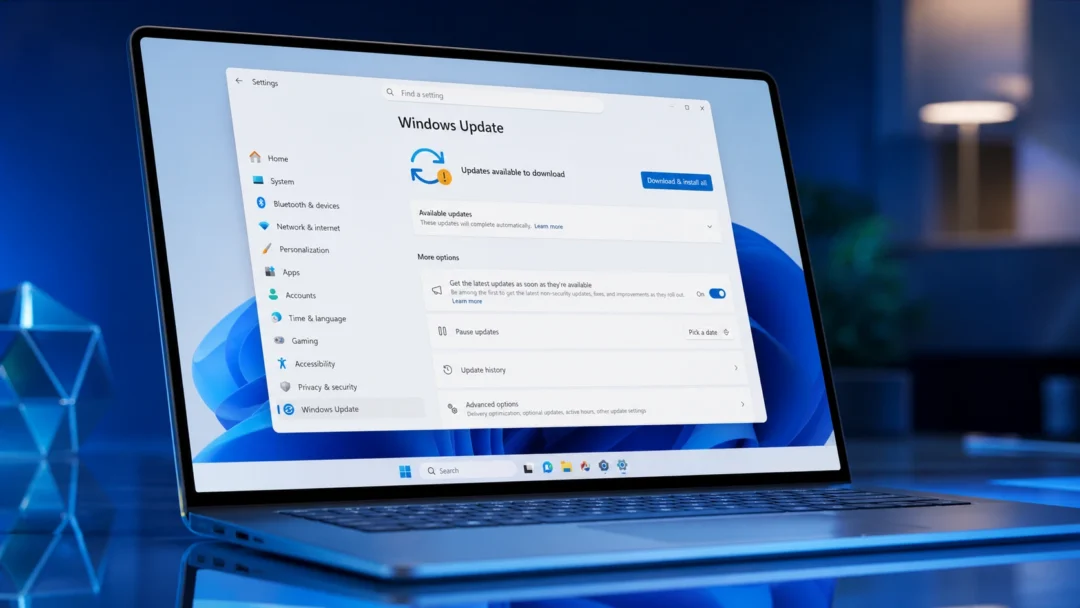
Method 2: Update AMD Drivers Using Windows Update
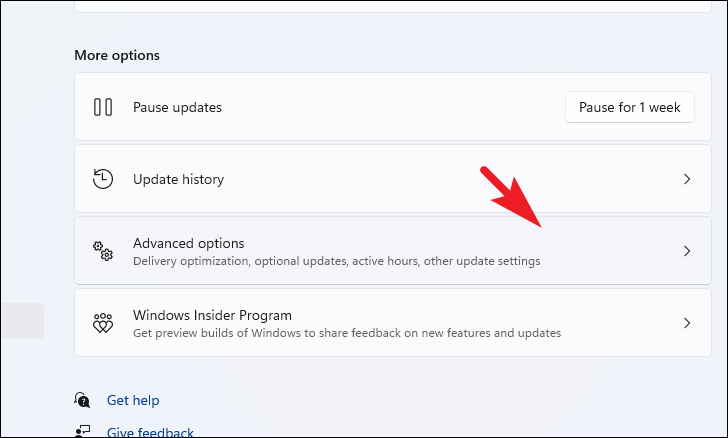
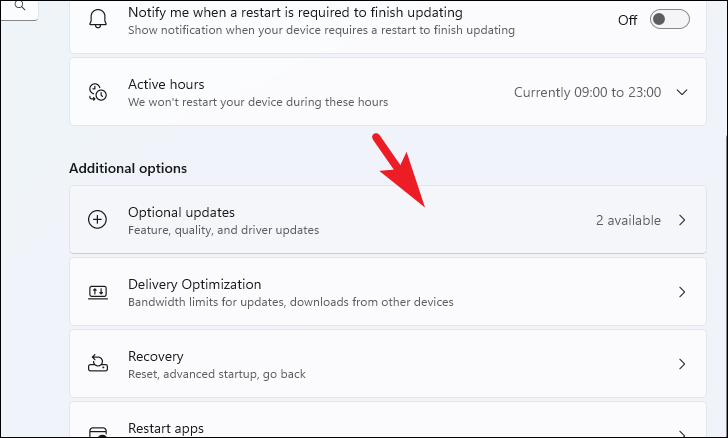
Windows Update is a convenient way to keep your drivers up to date. Sometimes, driver updates are classified as optional and require manual installation.
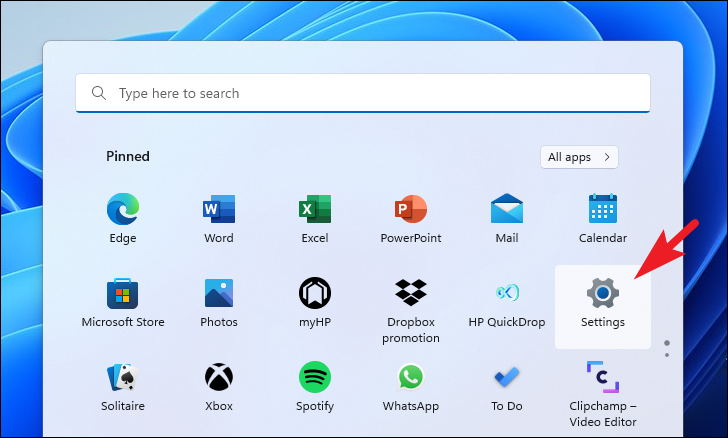
Click on the Start menu and select the “Settings” icon from the pinned apps. Alternatively, you can press Windows + I on your keyboard to open the Settings app.
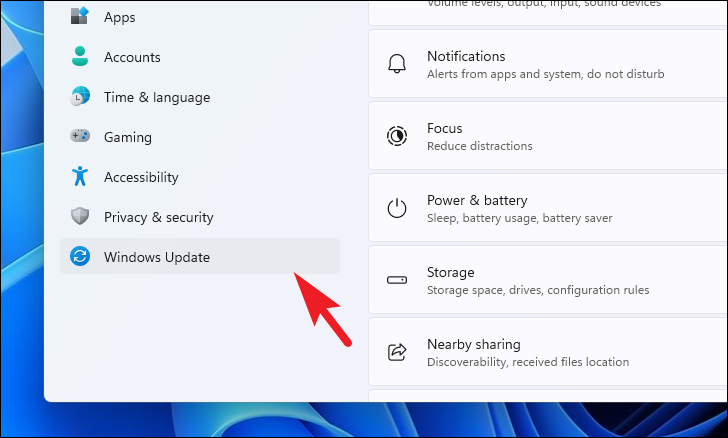
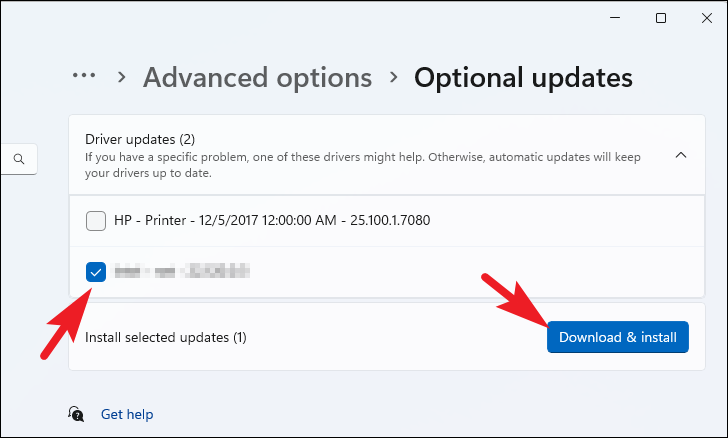
Expand the “Driver updates” section. Locate the AMD driver update (it will have “AMD” in its name). Check the box next to it and click on “Download & install” to begin the installation.
You can monitor the installation progress on the Windows Update page. After the installation, you might be prompted to restart your computer. Choose to restart immediately or later, based on your preference.
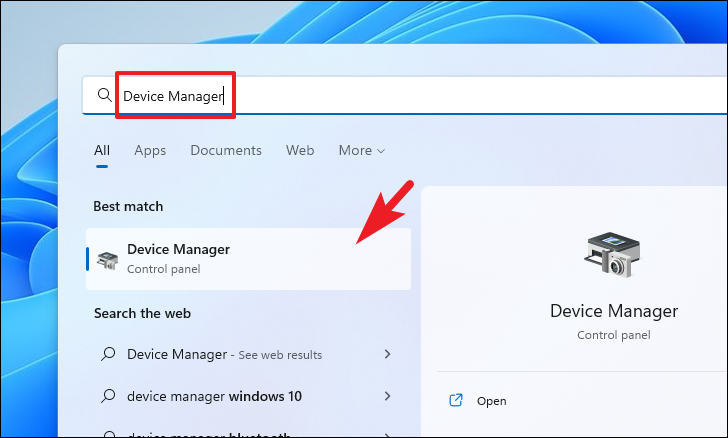
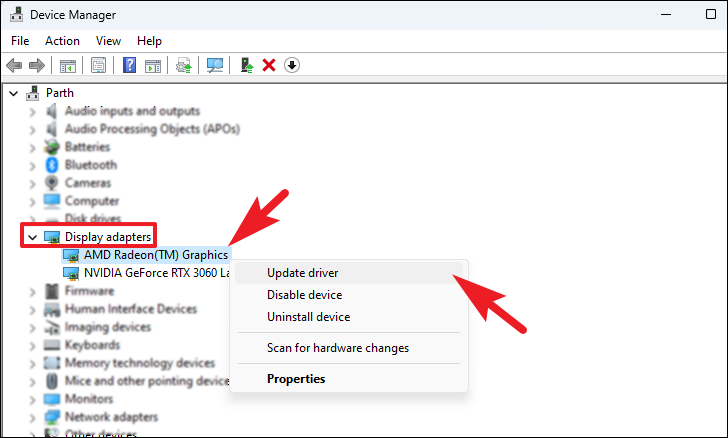
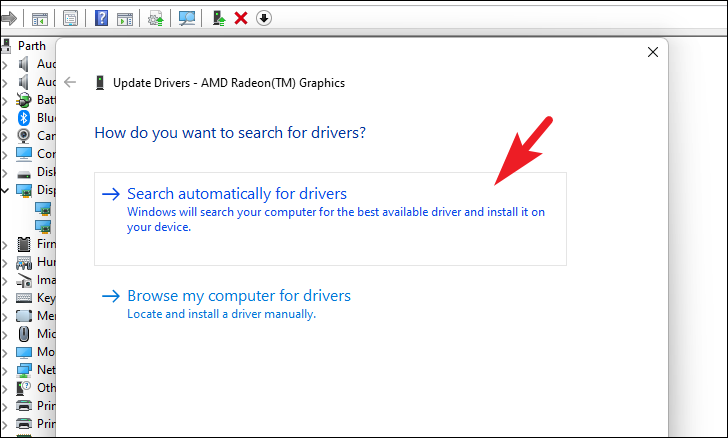
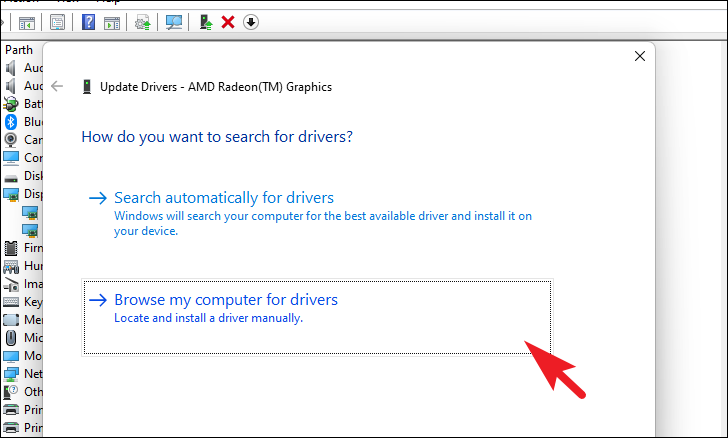
Method 3: Update AMD Drivers from the Device Manager
The Device Manager allows you to view and manage hardware devices and their drivers. Updating drivers through Device Manager is straightforward.
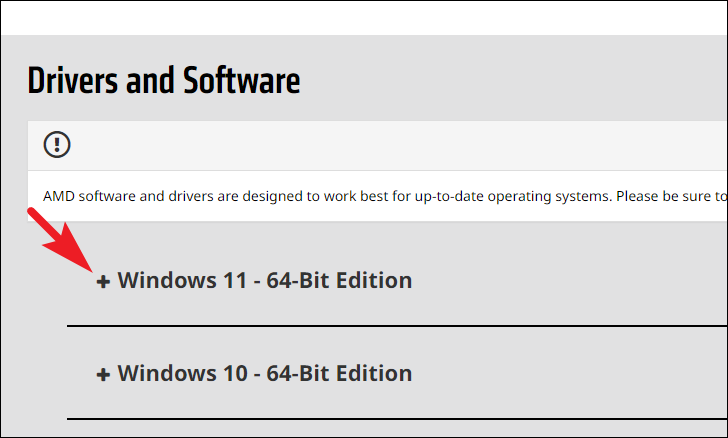
In the “Search for your product” field, type the name of your AMD product to search for it. Alternatively, you can use the dropdown menus to manually select your product category, series, and model.
On the product support page, find the “Drivers and Software” section. Click on the “Windows 11” option to view available drivers for your operating system.