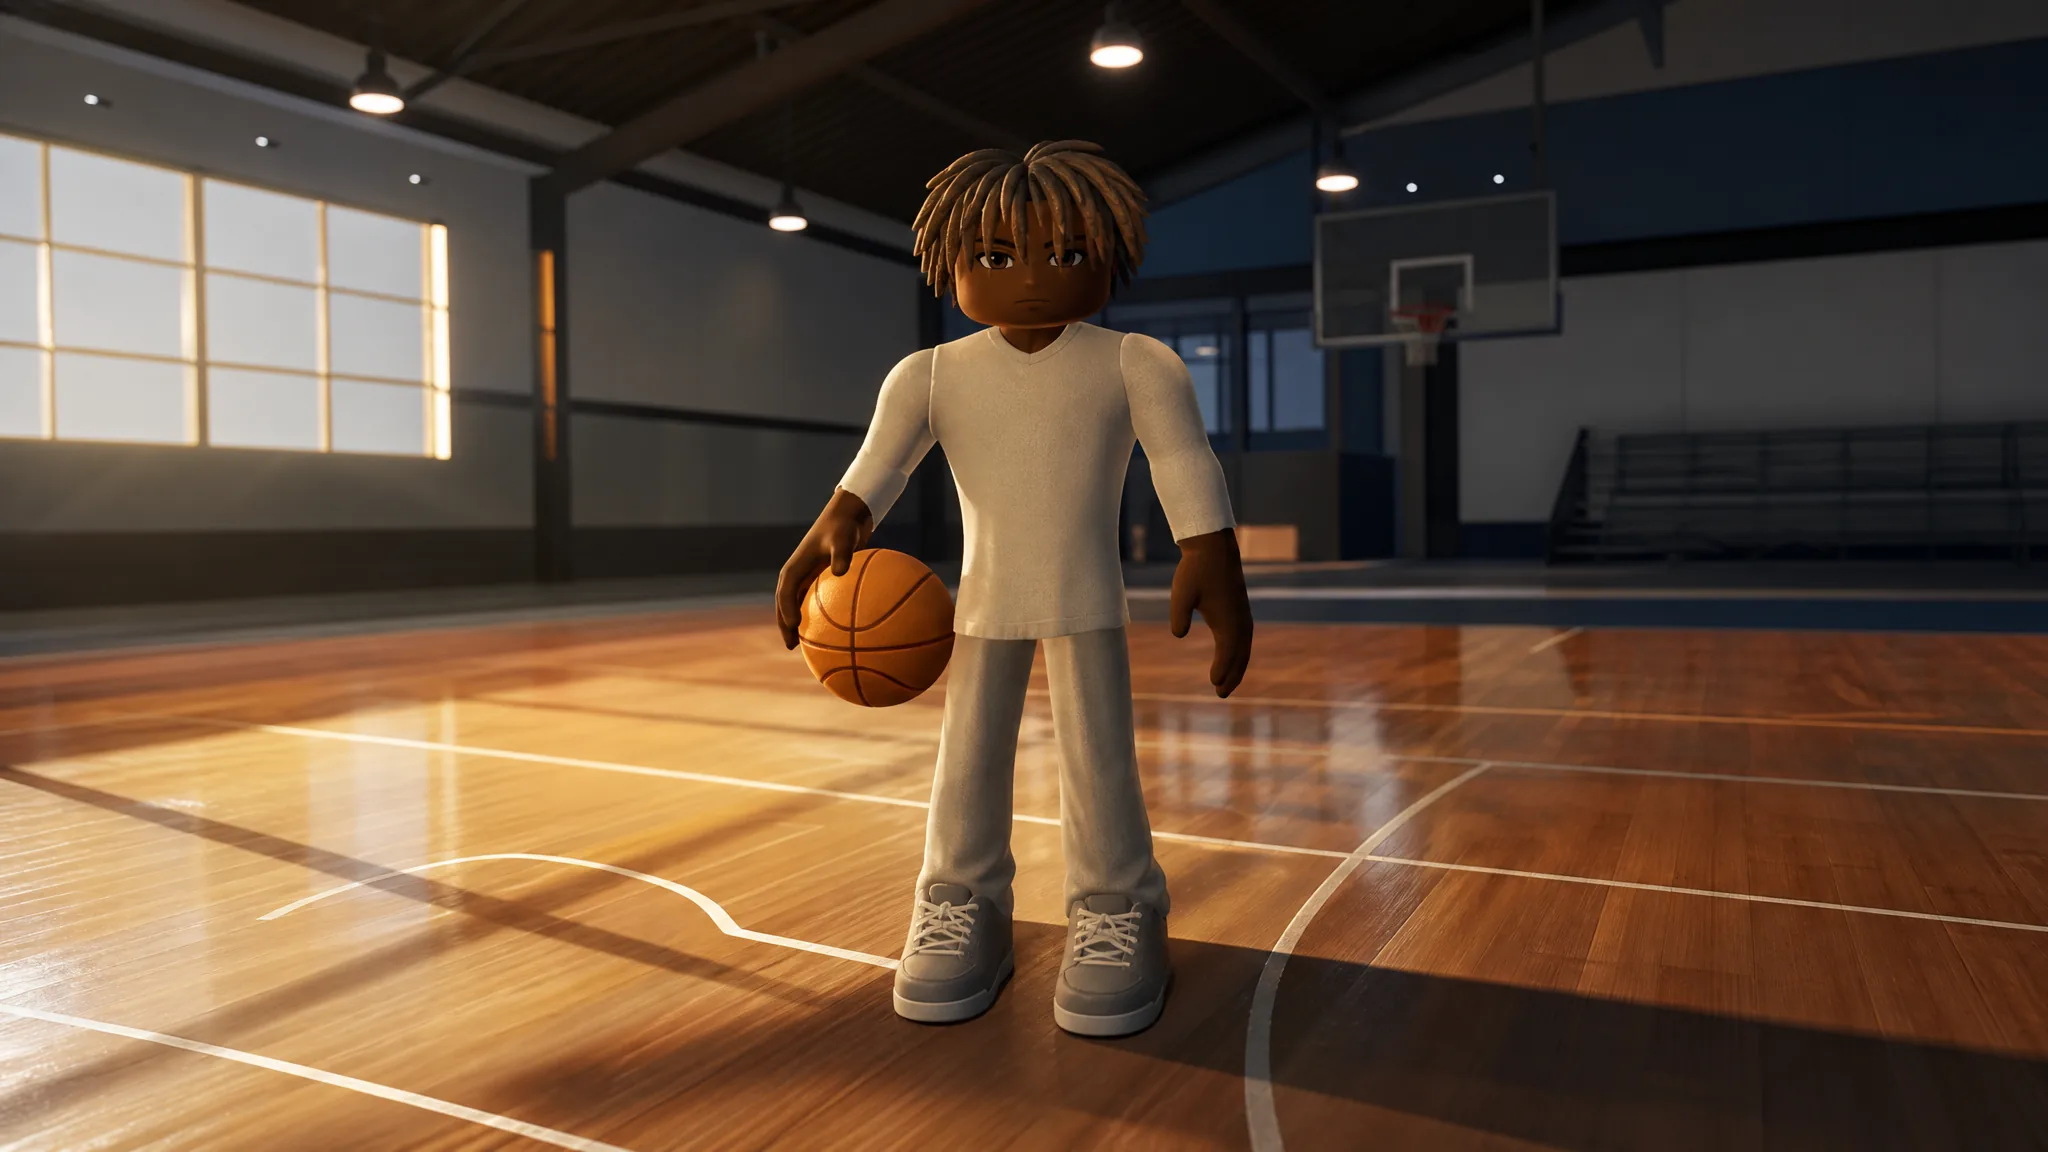
The 6’7 ISO Demigod is built to win possessions by itself. It creates its own shot off the dribble, scores from mid-range, deep, and at the rim, and still holds up on the perimeter so you are not a target on defense. The setup leans hard on maxed ball handling and the Playmaking Anomaly, which unlocks the dribble tools that make it hard to guard one-on-one.
Quick answer: Use a 6’7 frame with the lowest wingspan, lowest weight, Narrow body type, right hand, and the Playmaking Anomaly. Prioritize 96 Ball Handle, 96 Pass Accuracy, 85 Mid-Range, 82 Three-Point, 84 Driving Dunk, 81 Perimeter Defense, and 86 Lateral Speed, then run the Knockdown Shooter takeover.
Frame and body settings
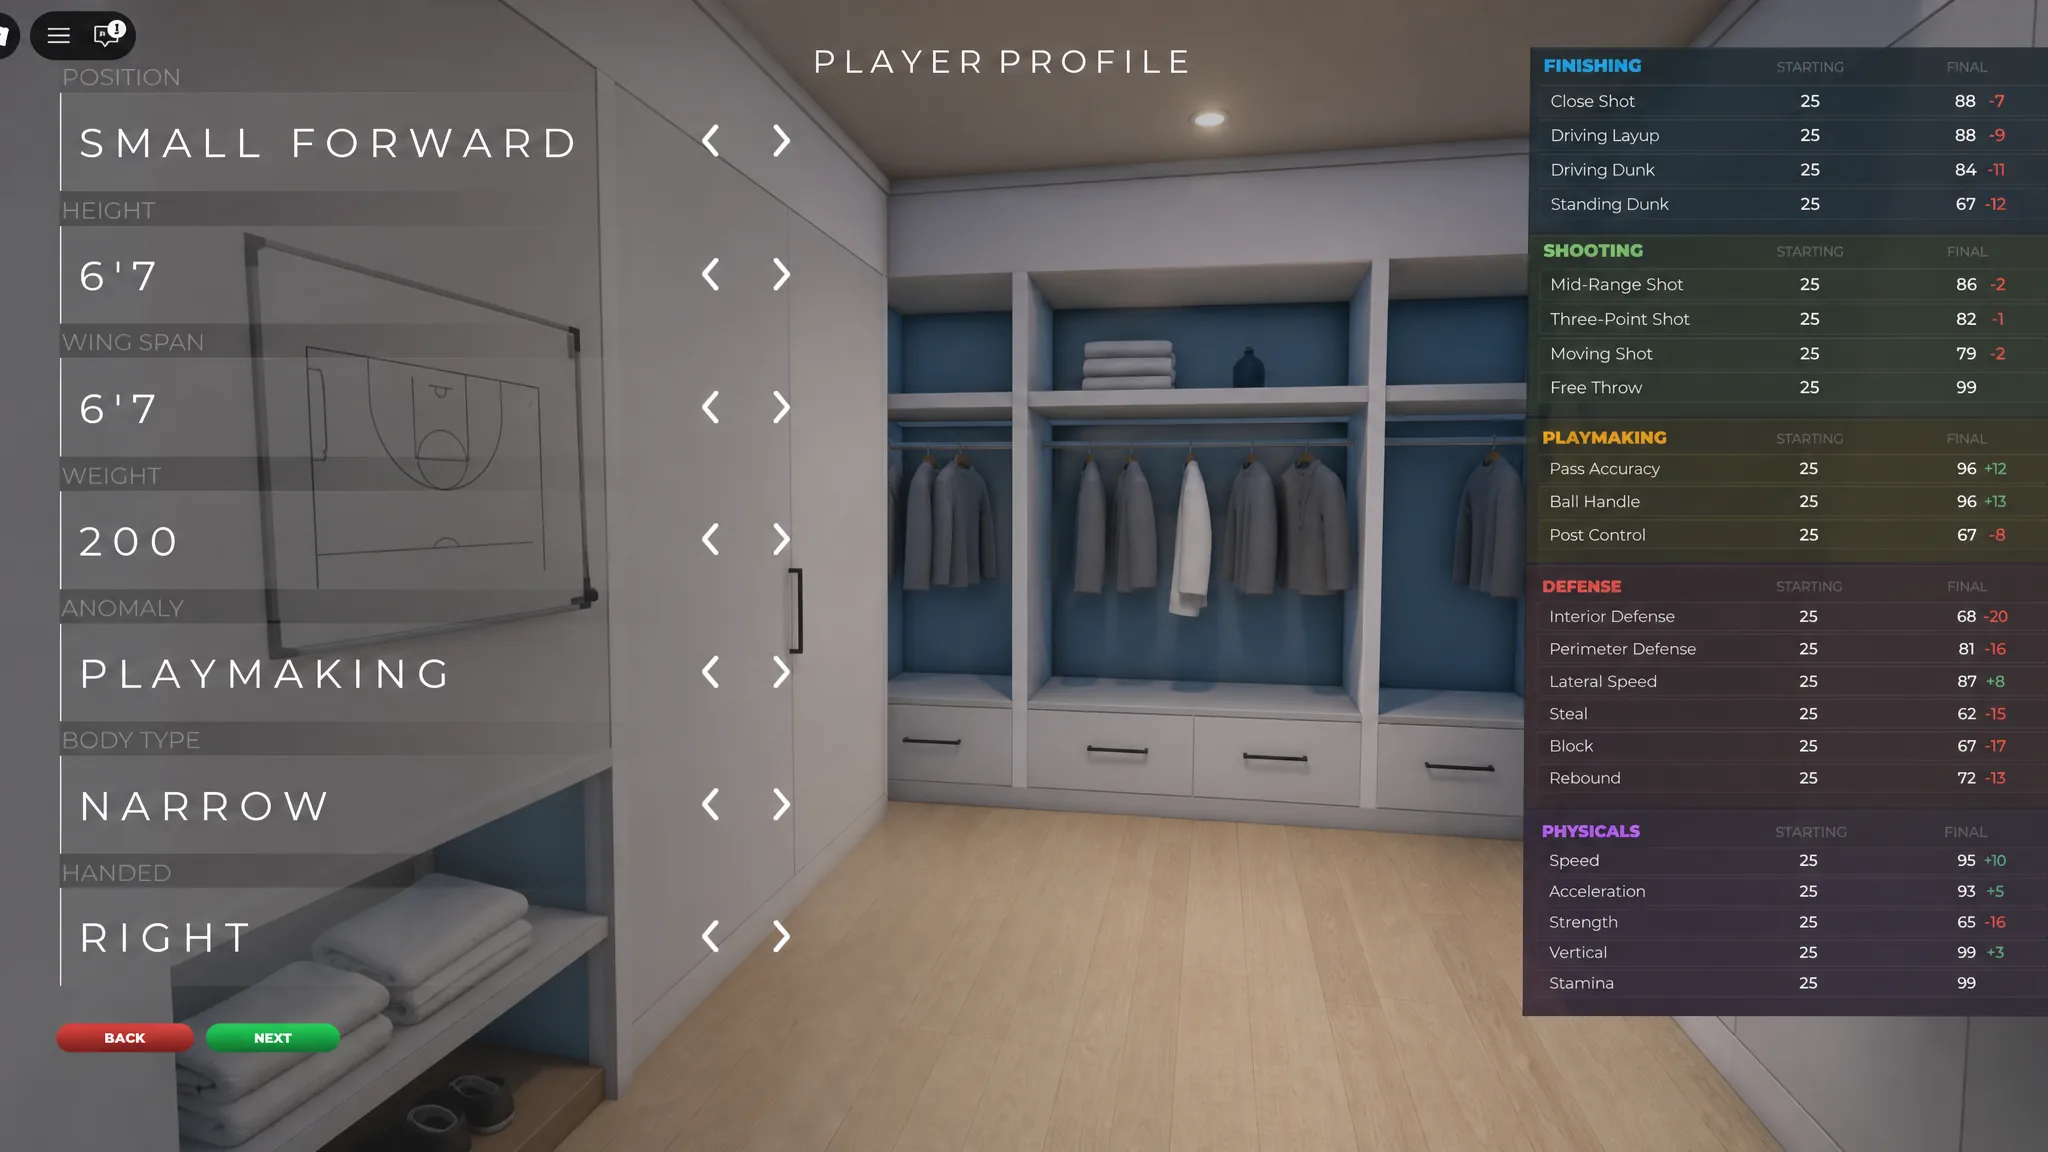
Lock the physical profile before you touch attributes. The lowest wingspan and lowest weight keep your speed and dribble responsiveness as high as possible, and Narrow gives the build its top-end movement. The Playmaking Anomaly is the key choice here, since it feeds directly into the handles and passing that carry the build.
| Setting | Value |
|---|---|
| Height | 6’7″ |
| Wingspan | Lowest |
| Weight | Lowest |
| Anomaly | Playmaking |
| Body Type | Narrow |
| Handed | Right |
Narrow is the default because speed is the core advantage of this build. If you end up guarding a lot of slashers, Slim is a reasonable switch, but you give up a bit of the movement that the Playmaking Anomaly is meant to amplify.
Attribute spread
The spread pushes almost everything into scoring off the bounce and staying in front on defense. Ball Handle and Pass Accuracy sit at 96 to open Hall of Fame dribbling, while shooting stays high enough to punish any defender who gives you space. Close Shot, Standing Dunk, Post Control, Steal, and Rebound are left at 25 on purpose, since they do nothing for an ISO wing.
| Category | Attribute | Value |
|---|---|---|
| Finishing | Driving Layup | 81 |
| Finishing | Driving Dunk | 84 |
| Finishing | Close Shot | 25 |
| Finishing | Standing Dunk | 25 |
| Shooting | Mid-Range Shot | 85 |
| Shooting | Three-Point Shot | 82 |
| Shooting | Moving Shot | 55 |
| Shooting | Free Throw | 40 |
| Playmaking | Pass Accuracy | 96 |
| Playmaking | Ball Handle | 96 |
| Playmaking | Post Control | 25 |
| Defense | Perimeter Defense | 81 |
| Defense | Lateral Speed | 86 |
| Defense | Interior Defense | 65 |
| Defense | Block | 65 |
| Defense | Steal | 25 |
| Defense | Rebound | 25 |
| Physicals | Speed | 91 |
| Physicals | Stamina | 90 |
| Physicals | Vertical | 85 |
| Physicals | Acceleration | 81 |
| Physicals | Strength | 61 |
Badge priorities by category
Every badge here supports the same goal, which is being nearly impossible to guard one-on-one while keeping enough defense to matter. The dribbling badges do most of the heavy lifting, and the shooting badges make sure defenders pay for giving you room.
Finishing
| Badge | What it does |
|---|---|
| Hall of Fame High Flyer | The core badge for any build that dunks. The higher the level, the further from the rim you can throw it down, and at max it opens contact dunks far more consistently. |
Shooting
| Badge | What it does |
|---|---|
| Tunnel Vision | Reduces the penalty when a defender closes out hard. It helps on both mid-range and three-point attempts, so it applies to almost every shot you take off the ISO. |
| Limitless Shooter | Extends standing three-point range past the normal arc. It works on catch shots when your defender gives space, but it does not fire on dribble pull-ups. |
Playmaking
| Badge | What it does |
|---|---|
| Soul Snatcher | Triggers ankle breakers when defenders reach or jump during your dribble moves. It fires often on this build and creates the openings for everything else. |
| Quick Handles | Makes dribble moves faster and more responsive, so chaining moves on the ISO is smoother and defenders get less time to react. |
| Tireless Handles | Slows stamina drain during dribble sequences, letting long ISO sets run without draining your energy before you create a shot. |
| Space Maker | The most effective separation badge on the build. Stepbacks and hop steps push defenders back further, giving you a clean pull-up from anywhere. |
Defense
| Badge | What it does |
|---|---|
| Intimidator | Makes your perimeter contests hit harder. Opponents pulling up against tight coverage miss more often when it is active. |
| Locks | Stops blow-bys on the perimeter. When ball handlers try to speed past, it helps you cut them off and stay in front. |
| Lurker | Improves chase-down blocks. The 65 Block stat unlocks it, and while it will not fire every time, it gives you a real shot at rejecting fast-break layups from behind. |
| Bronze Tough Ankles | Lowers the chance of getting your ankles broken. Even at bronze it helps when you are on ball and opponents chain dribble moves at you. |
Best takeover
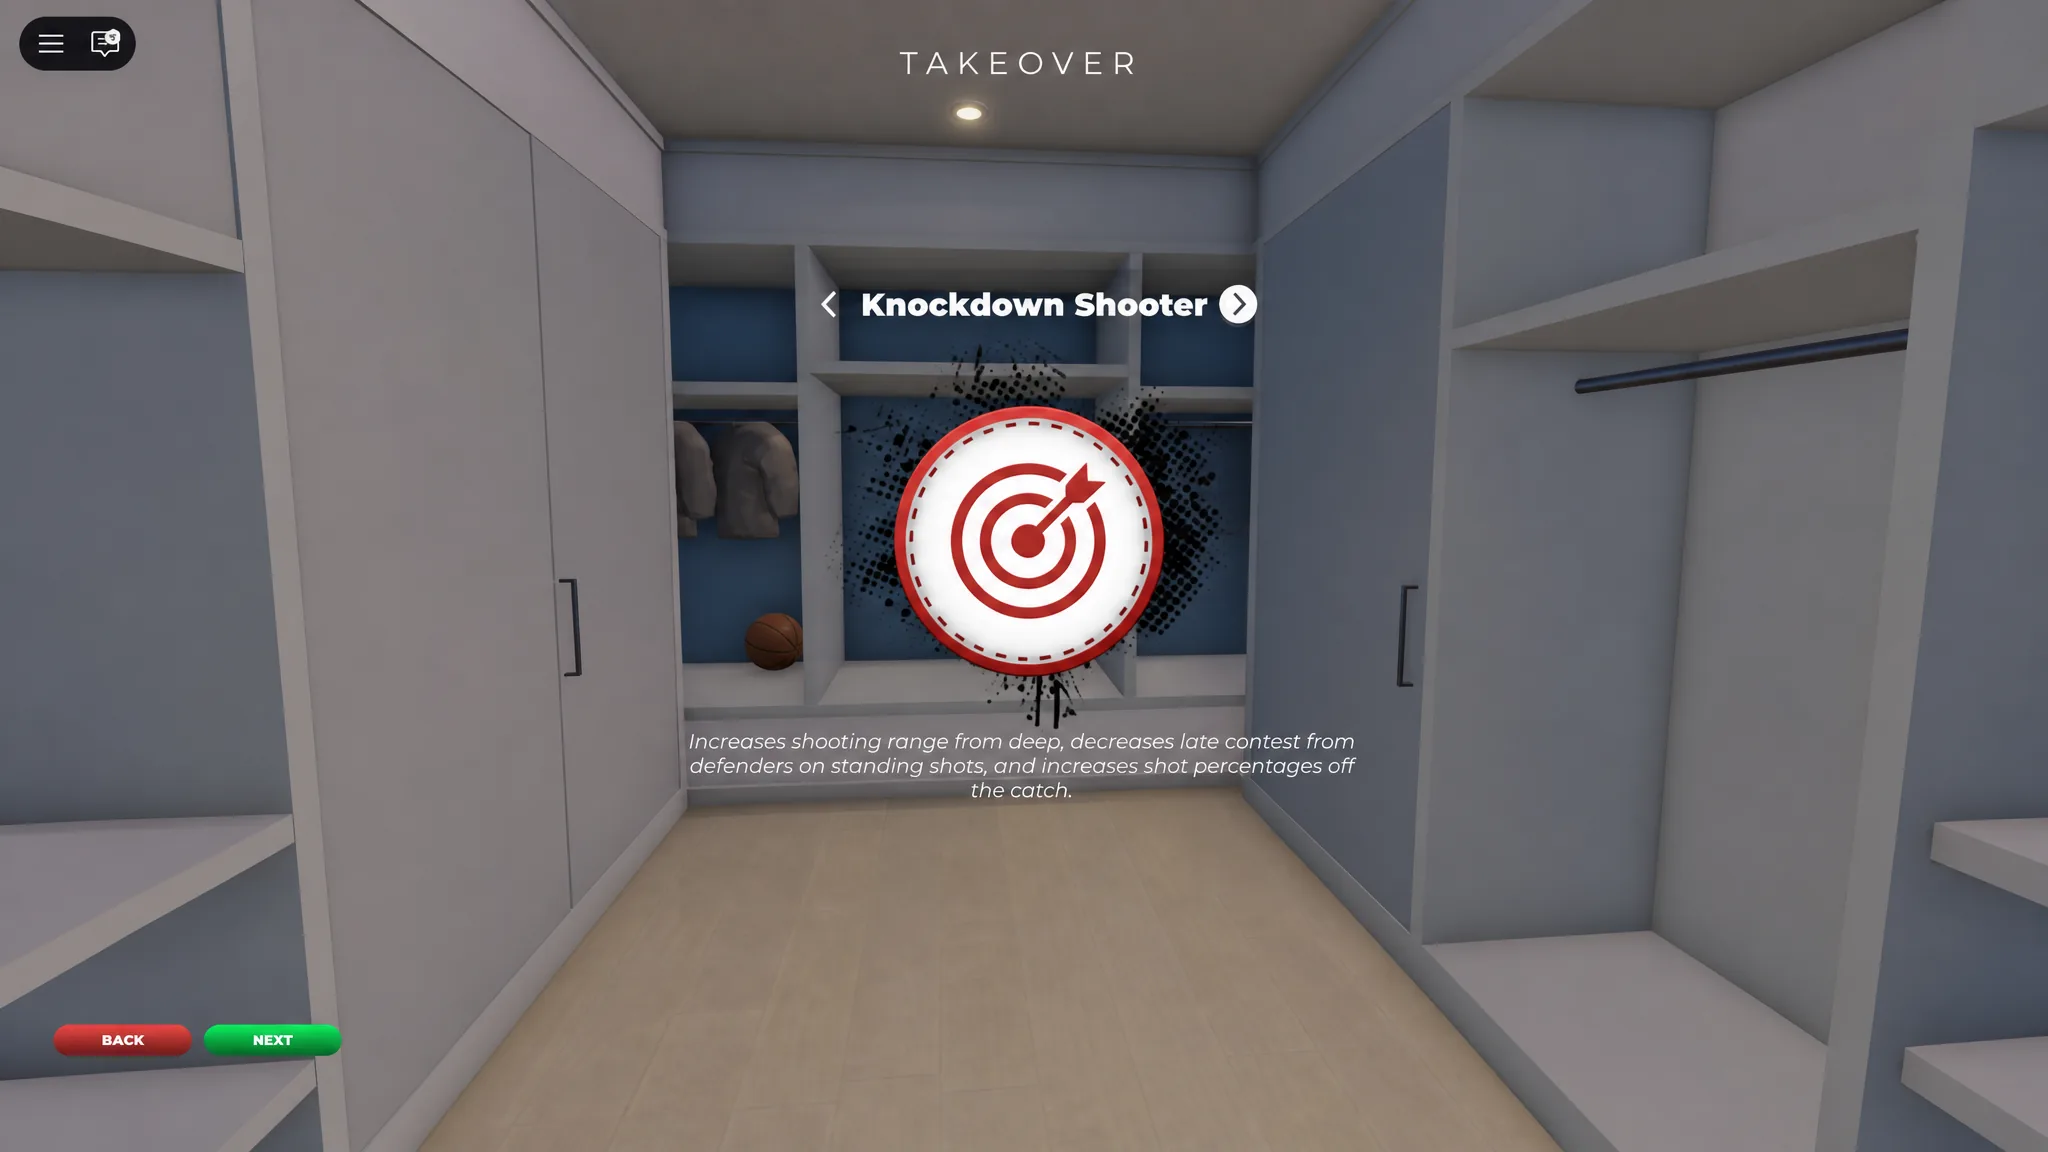
Run Knockdown Shooter. It boosts your shooting range and cuts down the effect of late contests from defenders, which fits a build that lives on pull-ups and stepback threes. That extra range pairs directly with your 85 Mid-Range and 82 Three-Point ratings.
How to play the build
Play as a one-on-one scorer first and a team playmaker second. Use your dribble moves to get the defender leaning, then attack with a pull-up mid-range, a stepback three, or a drive to the rim. The Playmaking Anomaly and maxed Ball Handle give you Hall of Fame dribbling badges across the board, so there is no ceiling on what you can do off the bounce.
Do not play like a spot-up shooter. This build is made to create its own looks, so lean on Space Maker and Quick Handles to manufacture shots instead of waiting for passes. On defense, use your 81 Perimeter Defense and 86 Lateral Speed to stay in front of guards and force tough attempts.
Tip: Keep Narrow for the highest possible speed. Slim is a fine adjustment if slashers are giving you trouble, but Narrow gets the most out of everything the Playmaking Anomaly provides.
You know the setup is right when your vitals screen shows 96 Ball Handle and 96 Pass Accuracy with the Playmaking Anomaly active, since that combination is what unlocks the full Hall of Fame dribble package that makes the 6’7 ISO Demigod work.