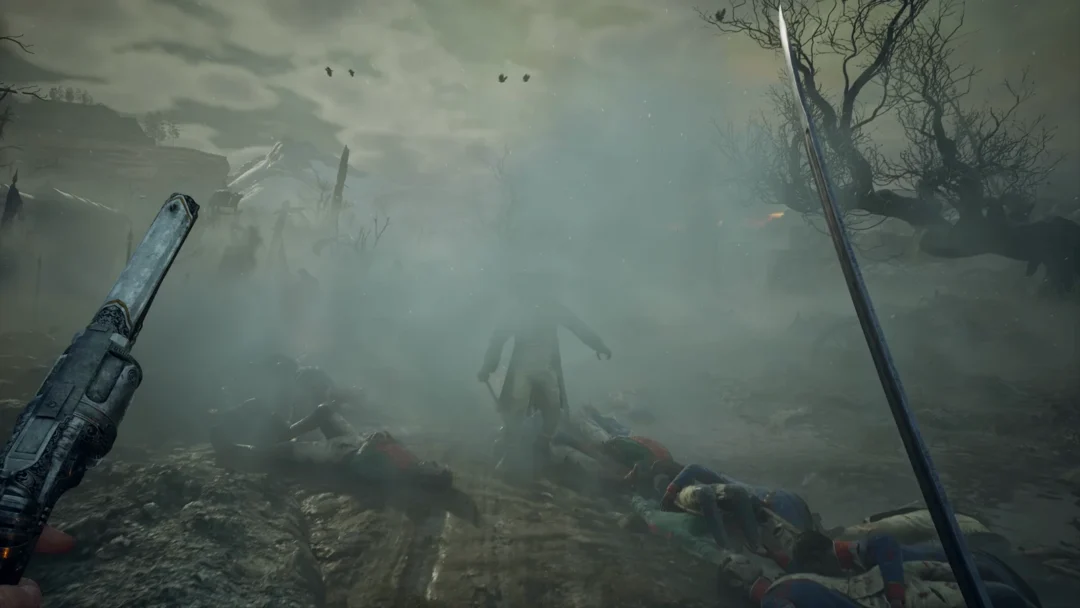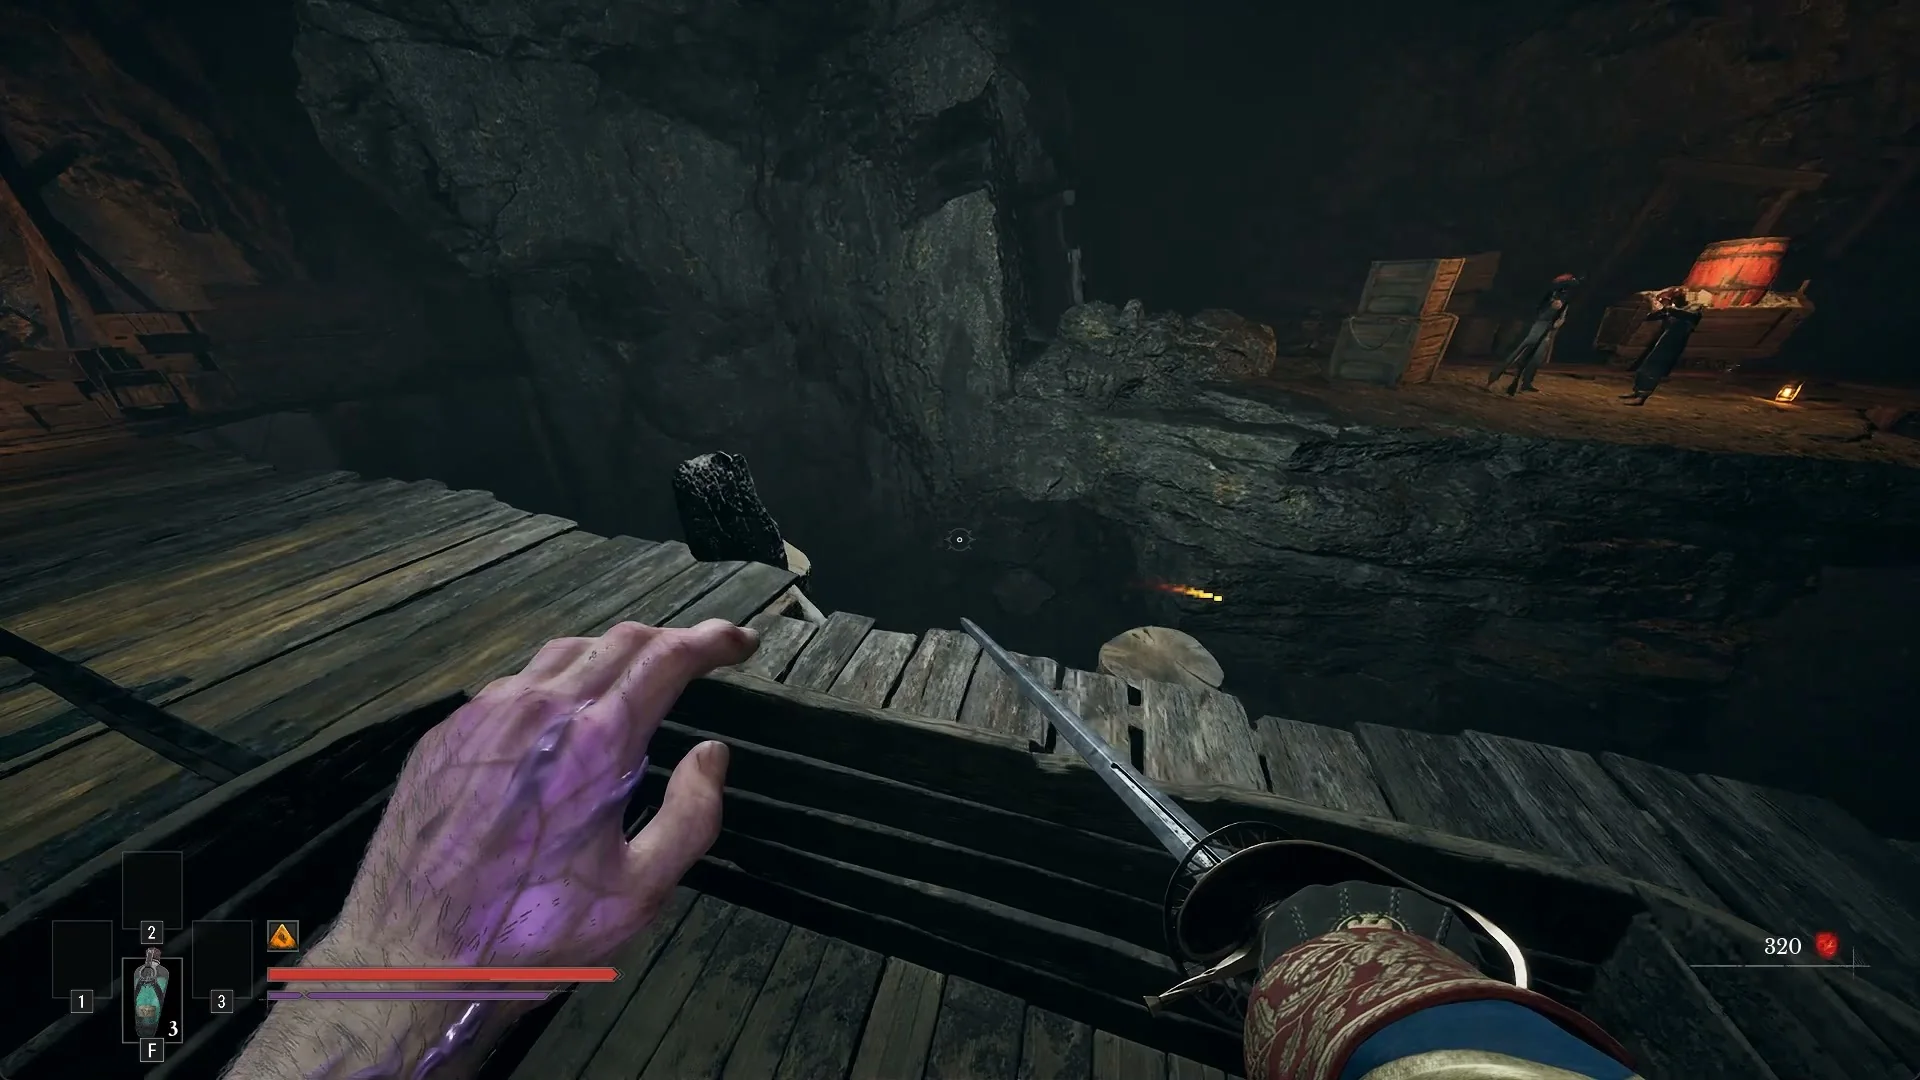
Chapter IV of Valor Mortis is called DARK DESCENT, and it moves William out of the Abandoned Church and down into the Caverns, a salt mine region. The route runs from a locked cave door through timber-propped galleries, past a merchant, into a minecart ride, and finally to a desert arena where the Sphinx, Devourer of the Unworthy is waiting. Along the way you pick up a new Transmutation that freezes enemies and machinery.
Quick answer: Chapter IV runs from the Abandoned Church through the salt mine Caverns to the Sphinx. Start it by talking to James, and take the Stasis Transmutation along the way.
The region’s Lanterns and routes are laid out on the Caverns map.
- Region IV, the Caverns, is a salt mine.
- Five Lanterns mark the Caverns: Last Sunlight, Weeping Ledge, Old Mine, Mine Cart Route, and Ancient Lair.
- This chapter grants you the Stasis Transmutation.
- The chapter ends with the Sphinx, Devourer of the Unworthy. The reward is 20,000 Catalysts and the achievement “Not a Cat Person”.
How to start Chapter IV: talk to James
Chapter IV does not begin with Louis. After finishing Chapter III, Rendezvous, return to the Abandoned Church and go to JAMES at his Iron Bench. Line the crosshair on him for the “[E] TALK TO” prompt and hold E for a moment, since a quick tap may not register.
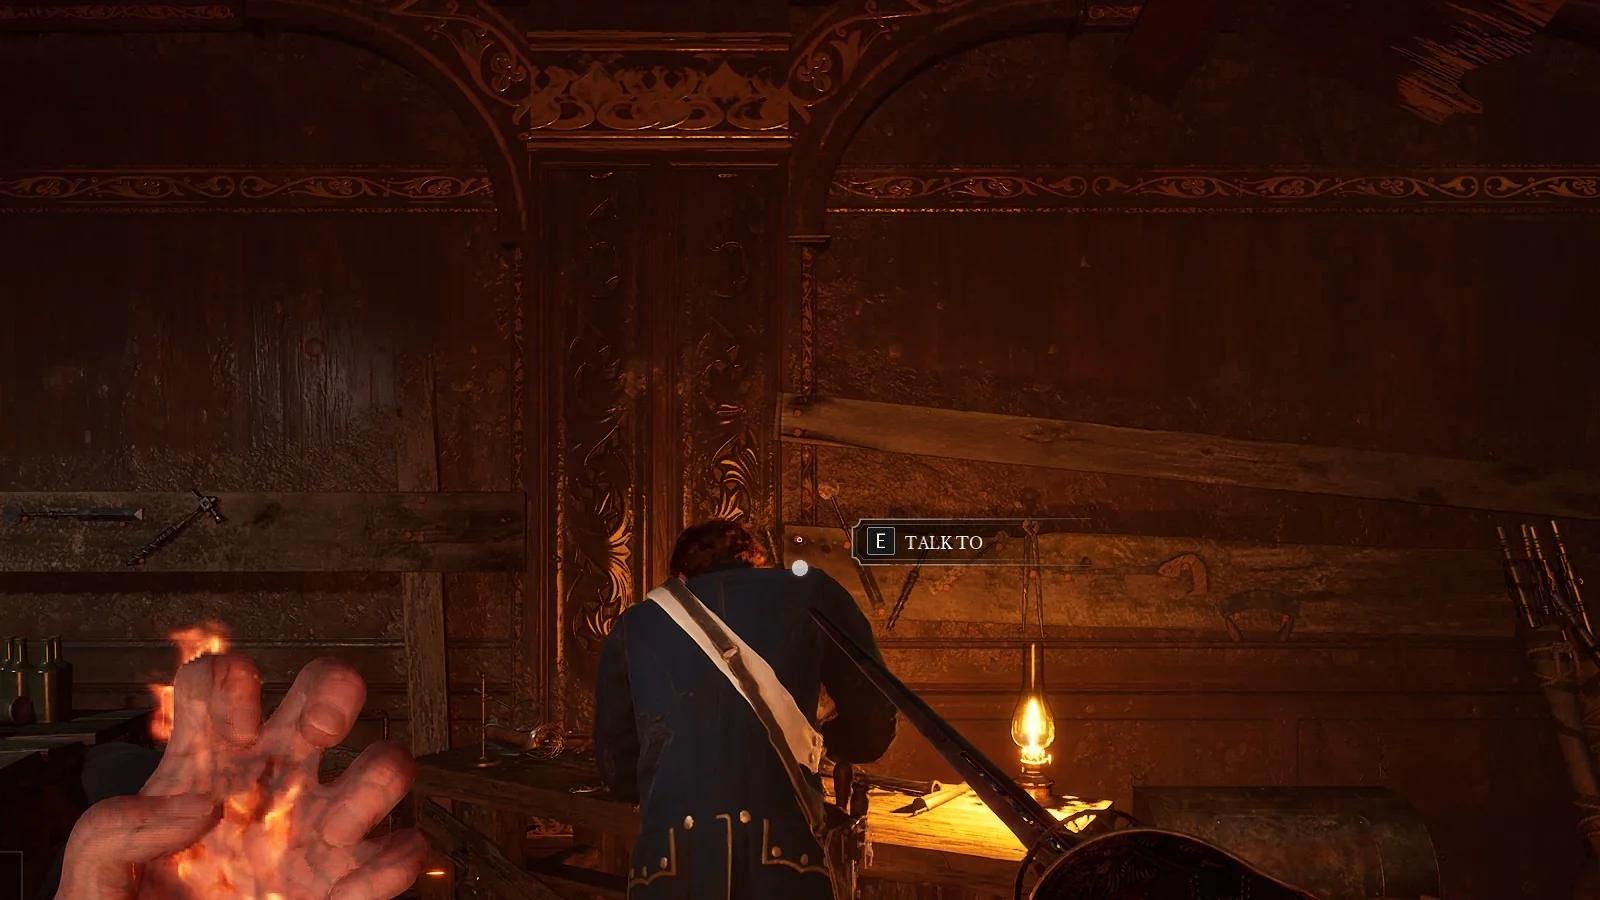
James explains that Louis tried to venture out to a salt mine, that “The main entrance is barred”, and tells you to “Navigate the cave complex.” The same conversation hands you the Cave Grotto Key, described as an item that “Opens the path to a nearby grotto leading to the back entrance of the salt mine.”
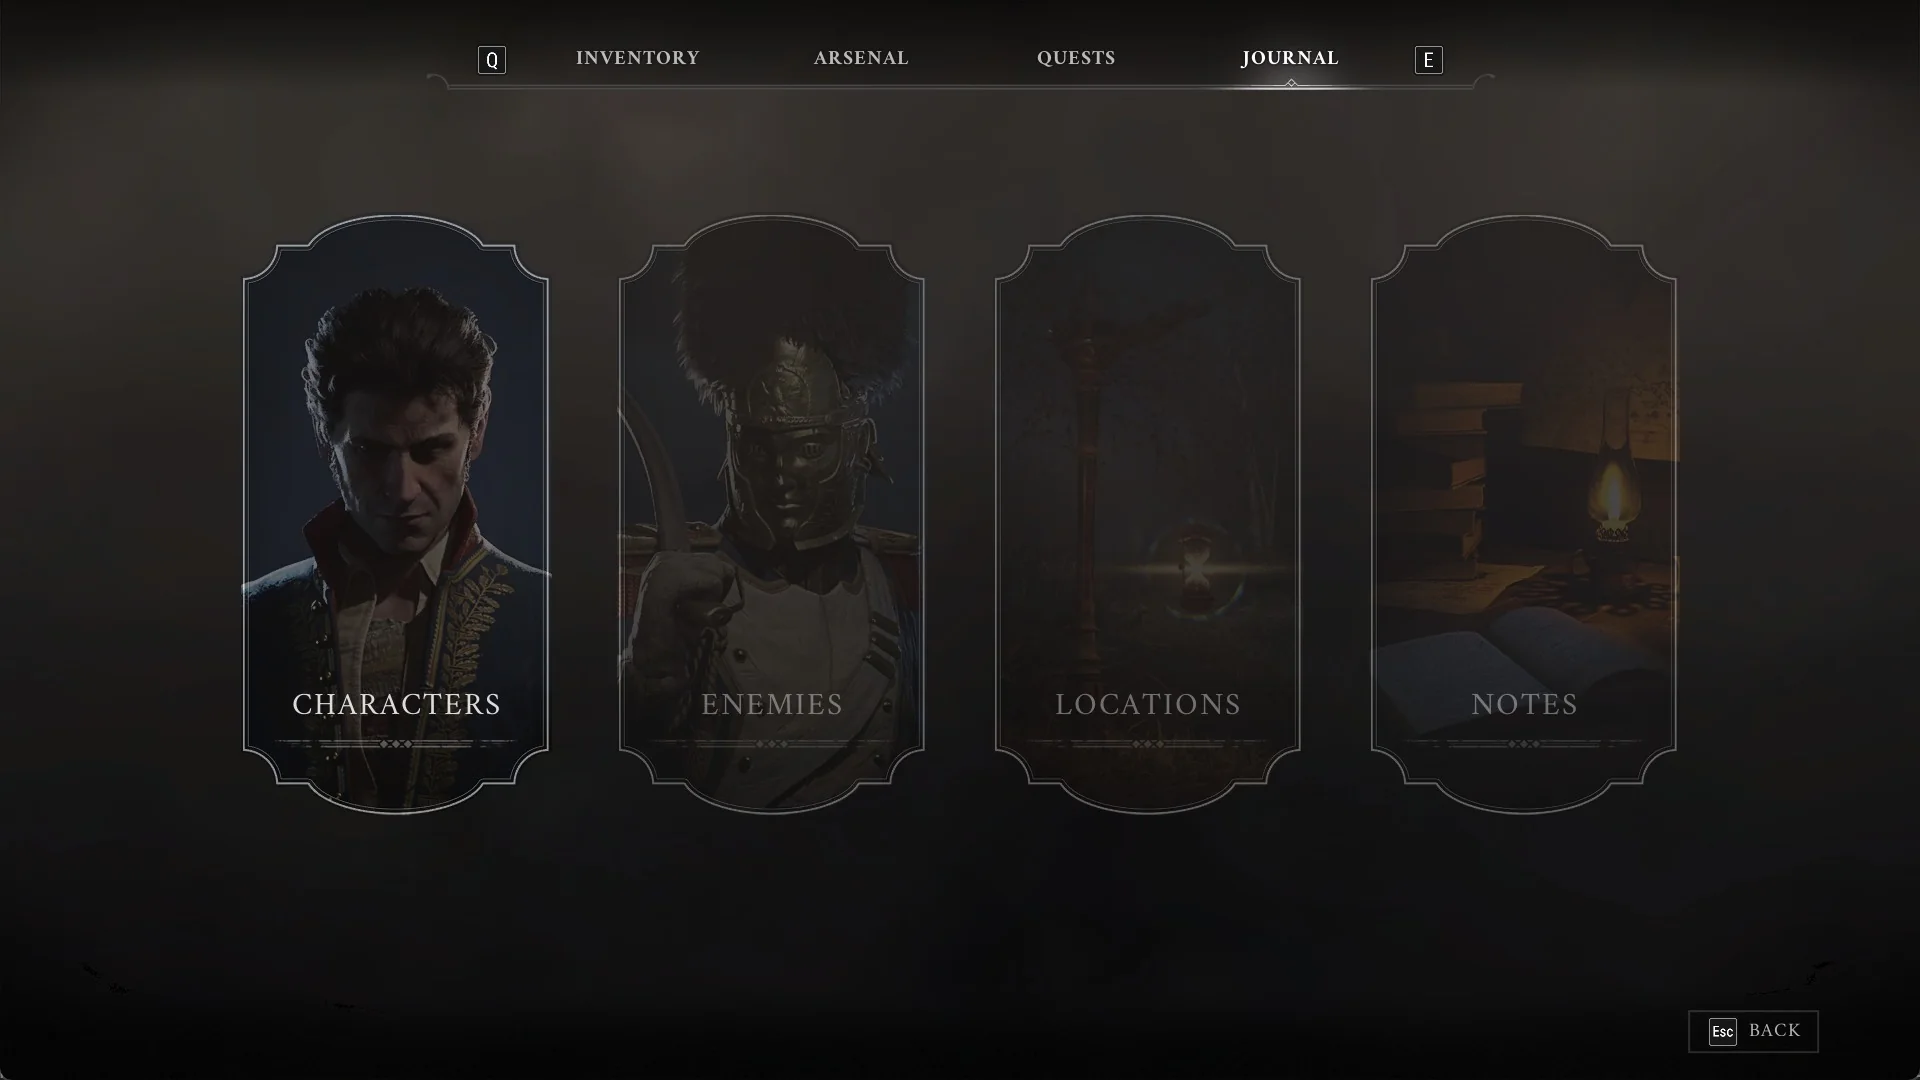
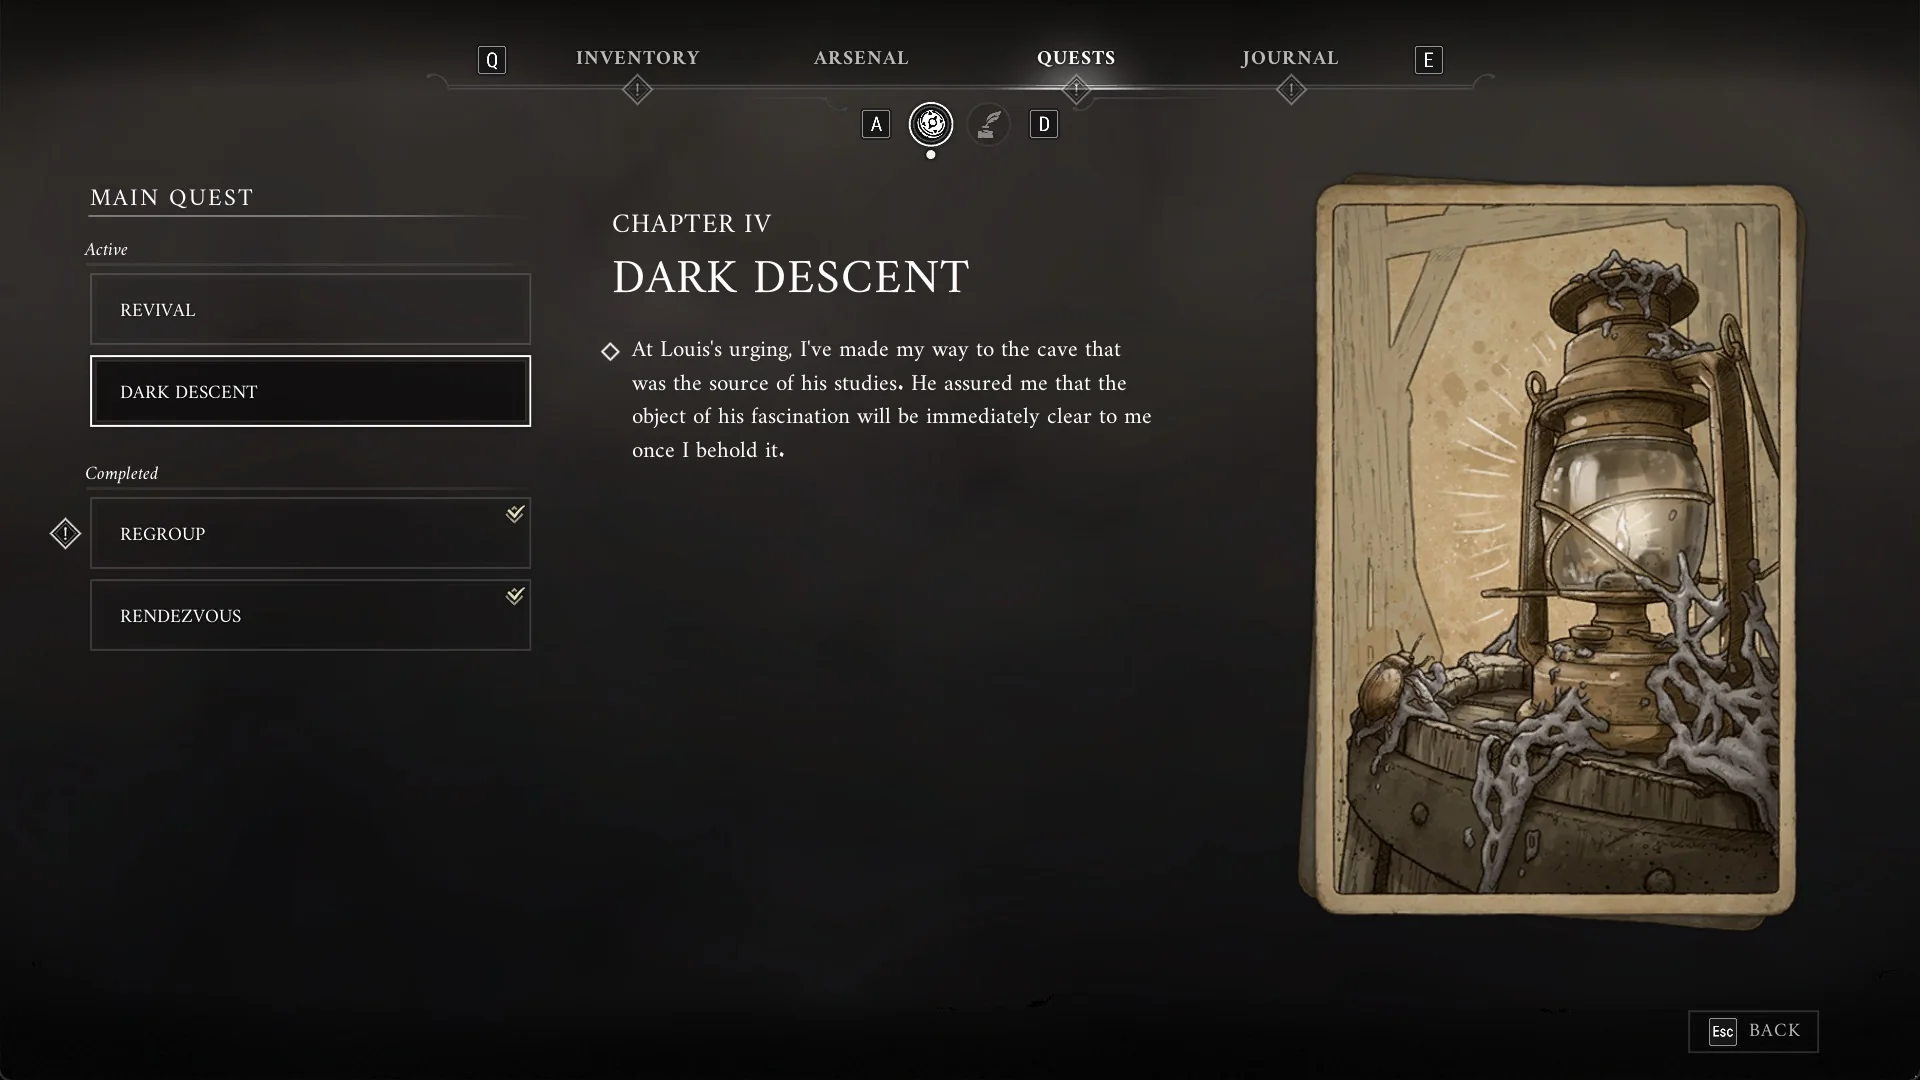
Open the journal by pressing Tab, then choose Quests. The newest main quest entry reads: “CHAPTER IV / DARK DESCENT: At Louis’s urging, I’ve made my way to the cave that was the source of his studies. He assured me that the object of his fascination will be immediately clear to me once I behold it.”
Reach the Caverns with the Cave Grotto Key
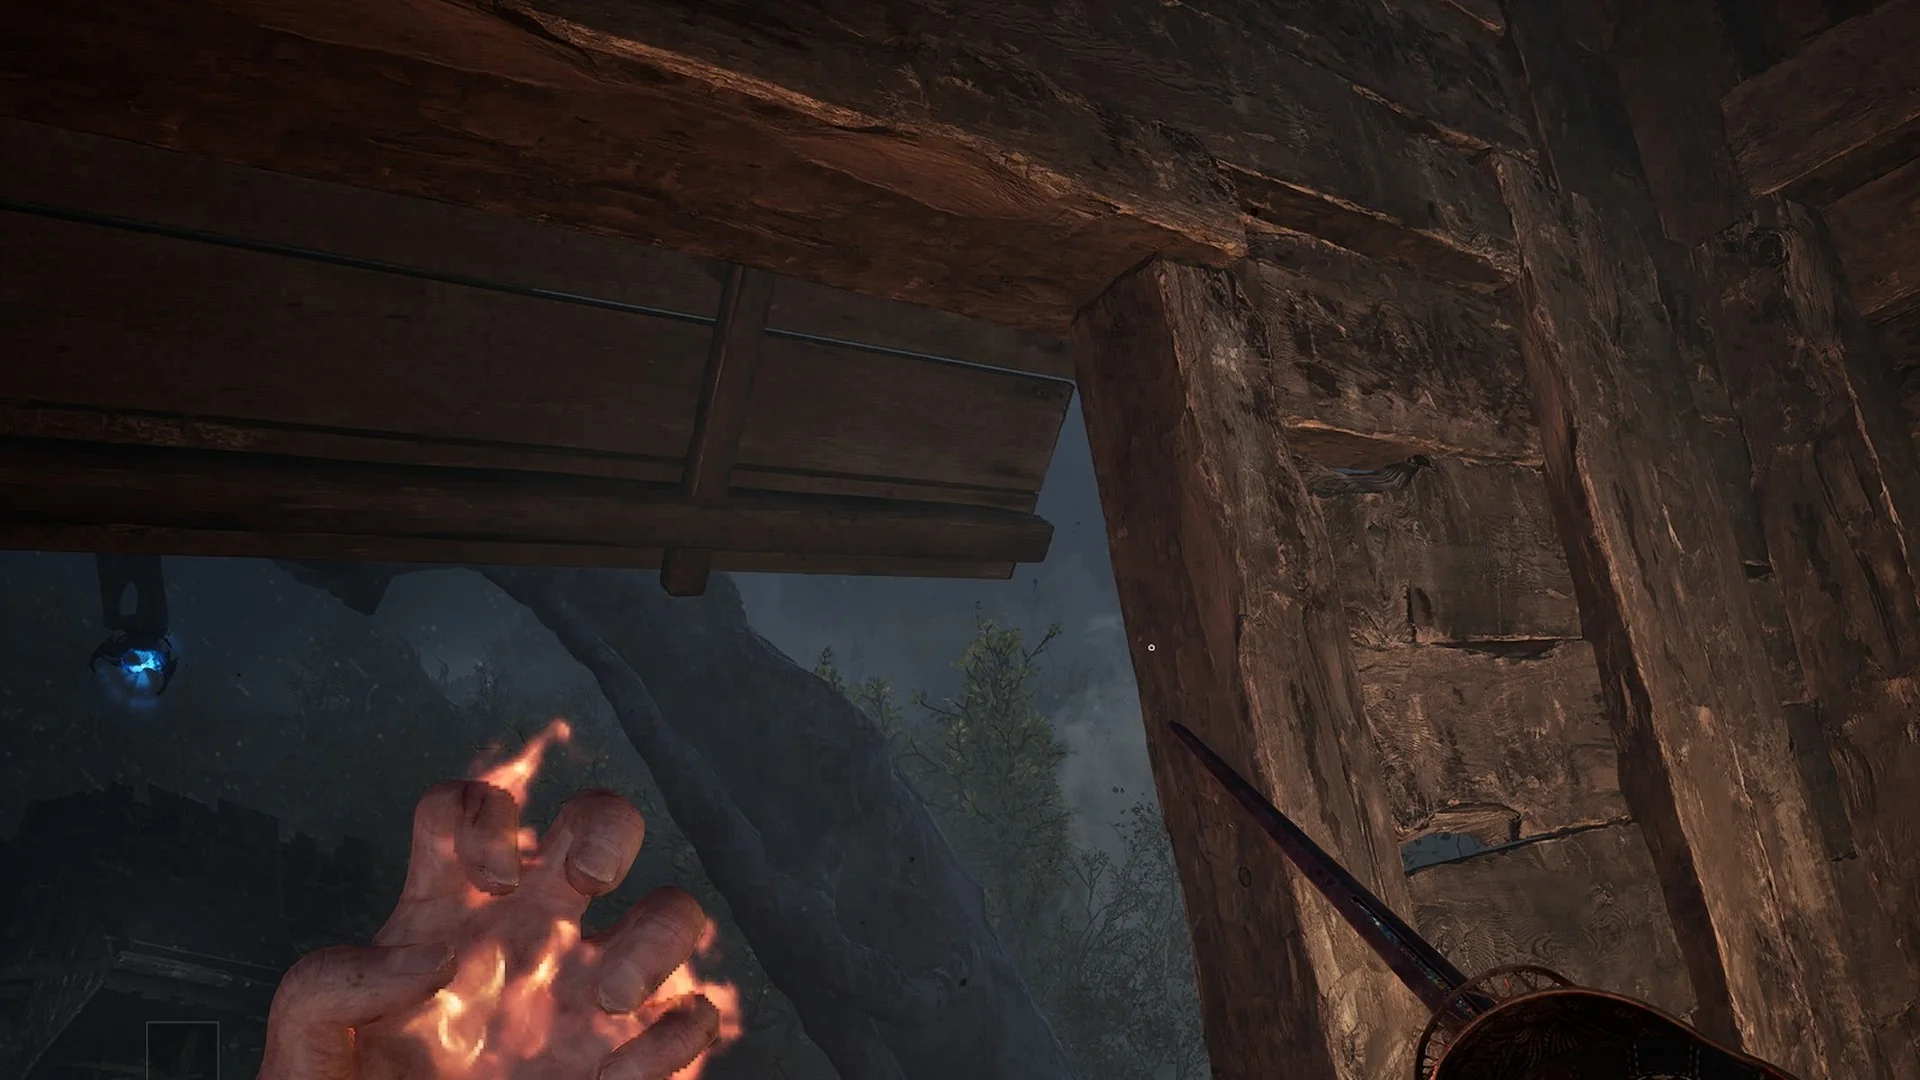
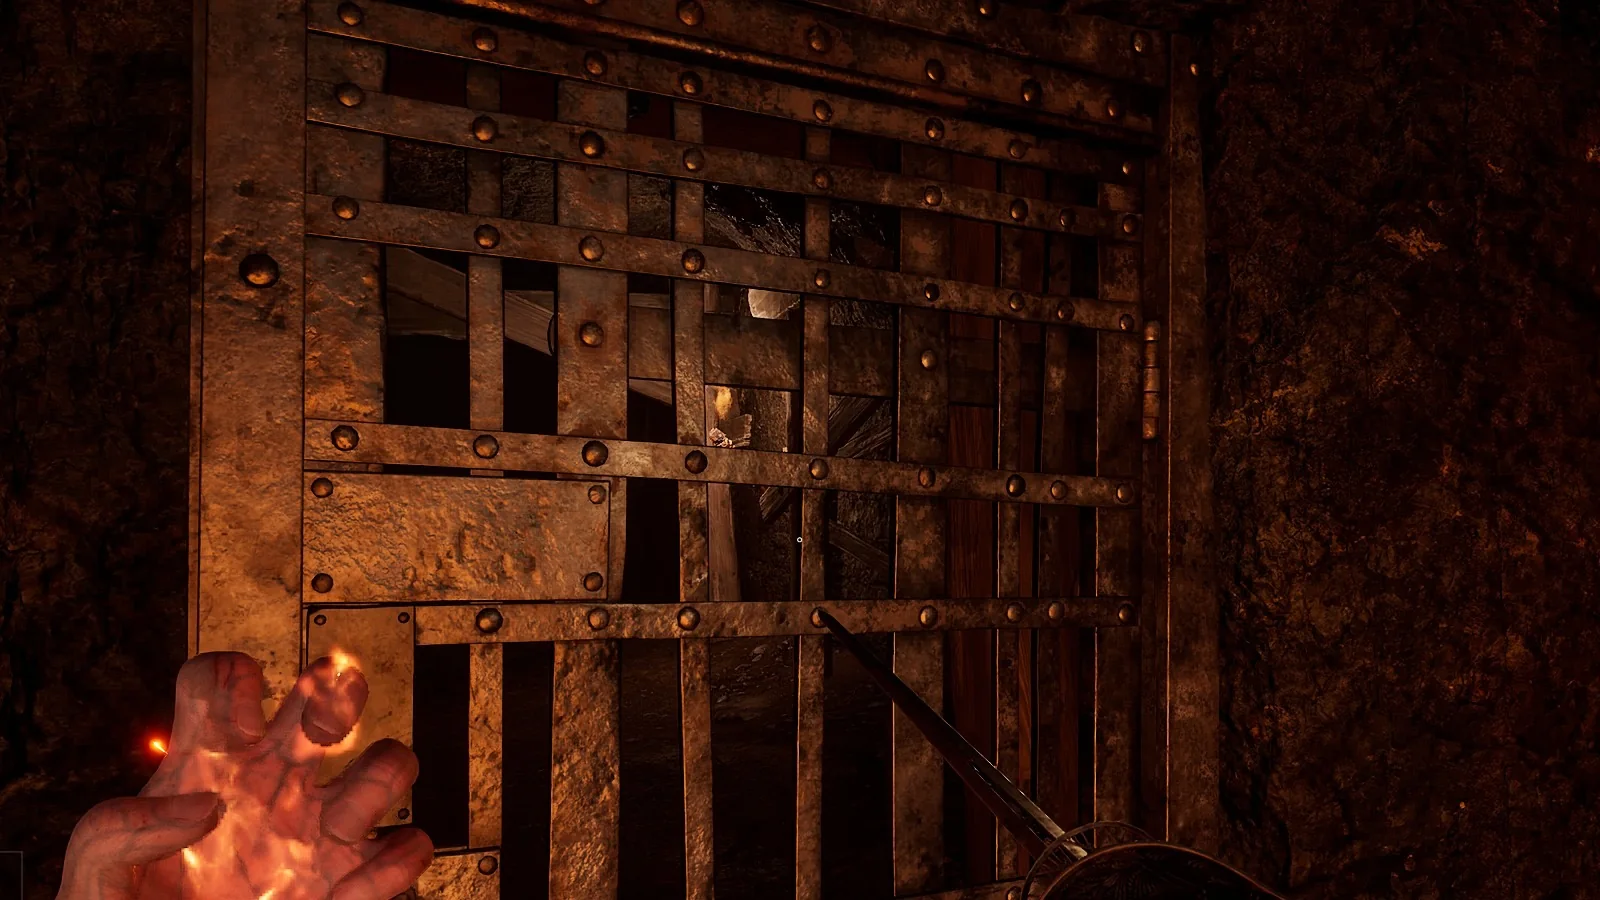
Exit the church via its west archway, then take the path toward the caves. A timber-framed iron grille, reinforced with heavy riveted bars, seals the entrance to the dark tunnel leading into the Caverns. Use the Cave Grotto Key to unlock it.
At the grille, select “[E] INTERACT” and hold E for roughly one second. You will see the message “The door was opened with Cave Grotto Key”. Beyond the entrance, the tunnel opens onto a bright cliffside at the forest’s edge, before the caves proper.
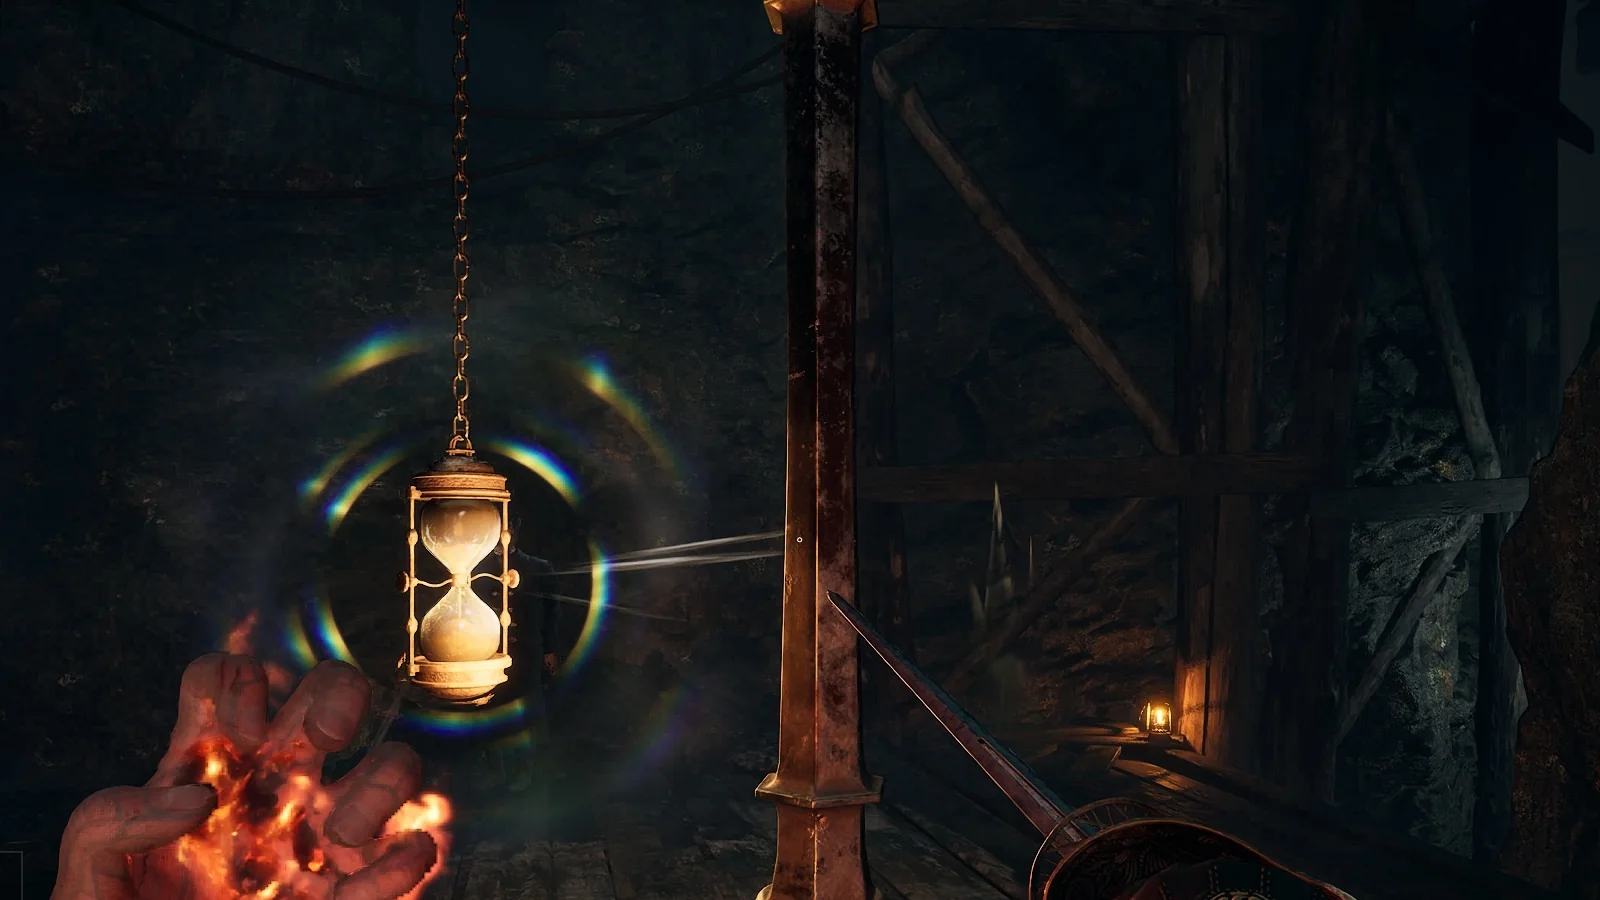
Old Mine Lantern and Lucjan
The Old Mine Lantern is an hourglass Lantern hanging on a post beside a plank walkway in a timber-propped gallery. Rest at it with E. Its menu carries LEVEL UP / TRAVEL / UPGRADE FERROFLUID FLASK / LEAVE.
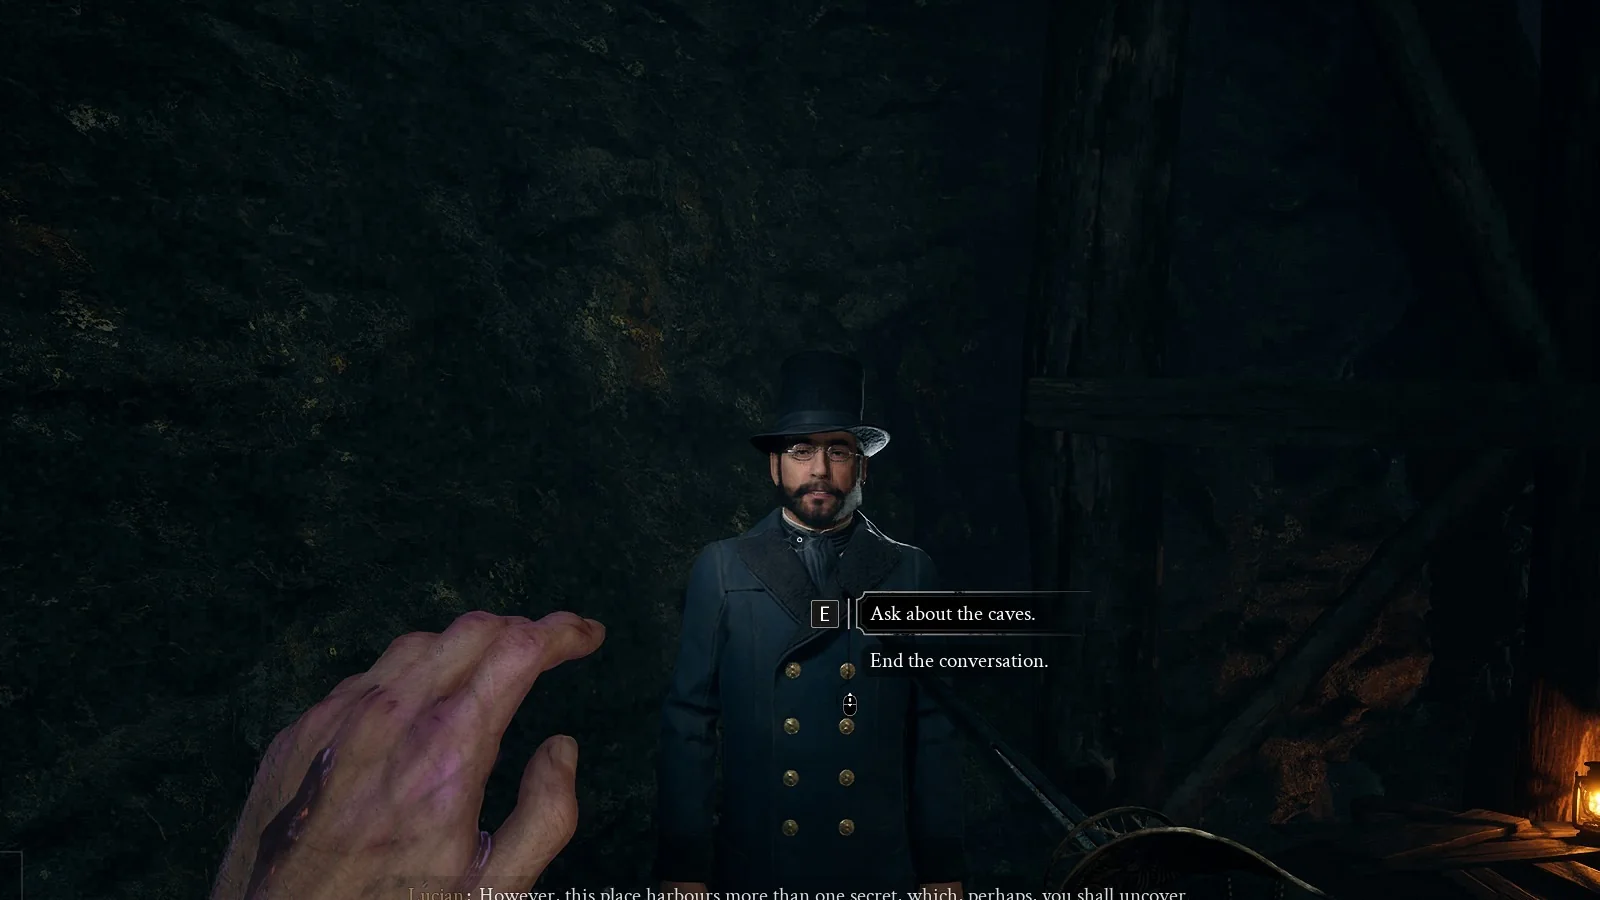
Lucjan, the merchant in a top hat and long navy greatcoat, stands about five metres from the Lantern by the walkway. Face him and use “[E] TALK TO”. He tells you “I have set out the lanterns as best I was able.” and “However, this place harbours more than one secret, which, perhaps, you shall uncover.”
Pick “Ask about the caves.” over “End the conversation.” and he adds: “Should you make your way through these caverns, you shall reach the salt mine – the largest in the region. Salt from said mine was once exported across half of Europe.” and “Naturally, when Bonaparte’s army arrived here, they seized it in its entirety.” A follow-up choice, “Why this place?”, appears, and he closes with “Farewell. May you soon see sunlight again.”
You won’t get a prompt at barred mine doors from this side, including the iron grille beside the Old Mine Lantern. Their mechanisms work only from the opposite side, making these doors shortcuts to open as you progress. Don’t look for a lever on the doors.
How to get the Stasis Transmutation
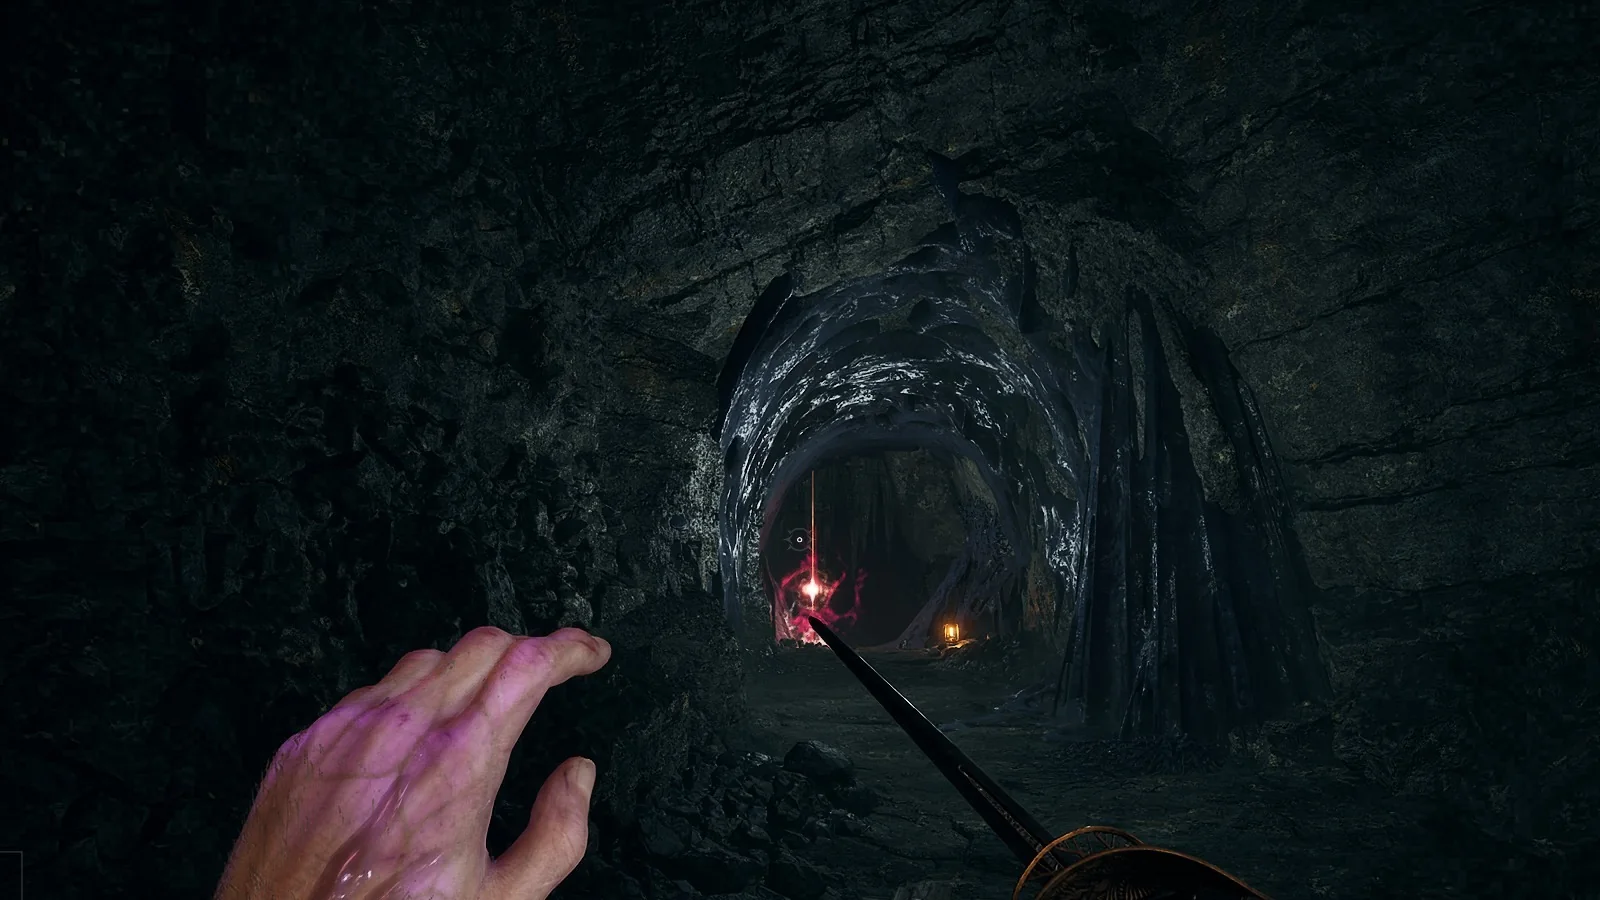
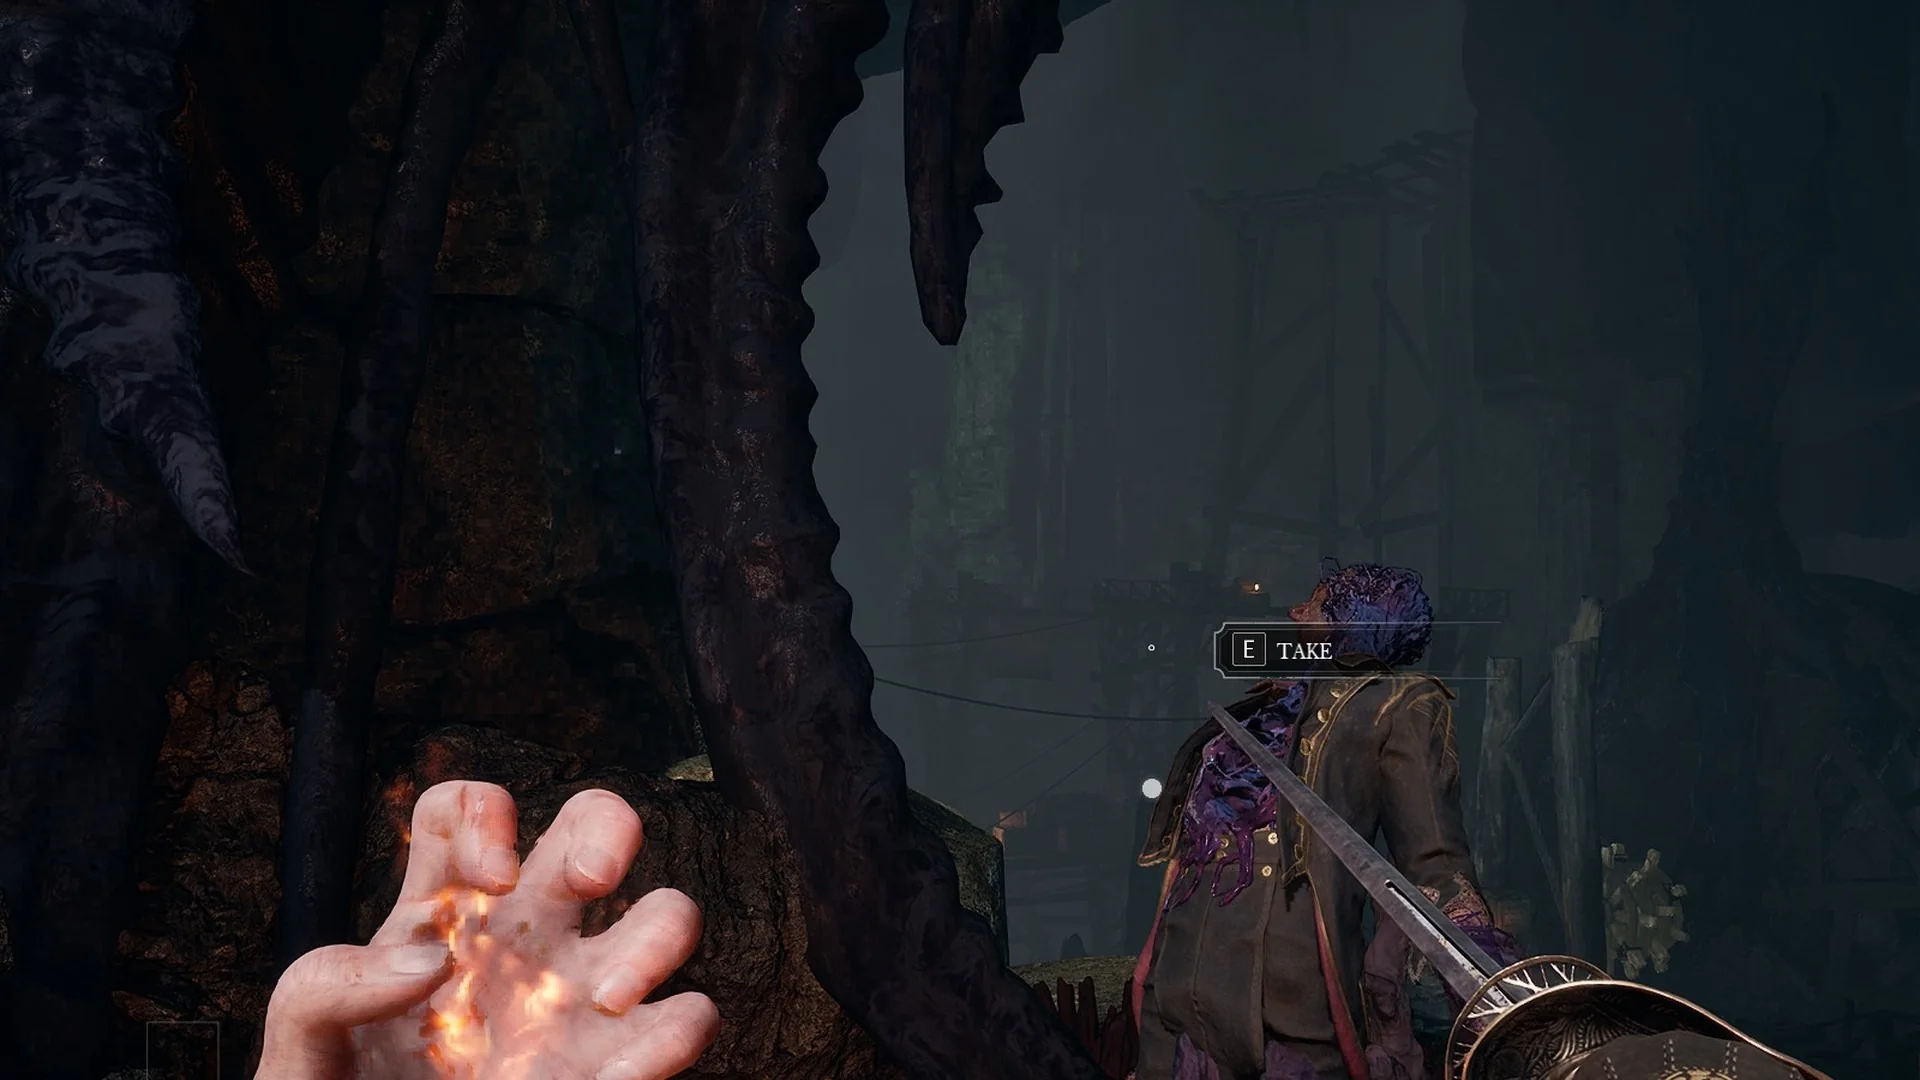
In a misty cavern among huge dark roots, a dead officer in a long coat stands with his chest turned into a cage of blue-purple veins. Put the crosshair on him for “[E] TAKE” and hold E. In the cutscene William reaches into the glowing violet core and says: “To command the very passage of moments in time… ‘Tis dispiriting.”
A “QUEST UPDATE / DARK DESCENT” banner shows, then a two-page tutorial. The first page reads: “Stasis Transmutation: Hold [right mouse] to use the Stasis Transmutation and freeze enemies in their tracks. Once fully frozen, attack them to deal massive damage. Press [right mouse] while looking at moving gears to stop them and all the machinery connected to them.” The second reads: “Stasis Segments: Completely filling a Stasis Segment deals damage and expels a Nephtoglobin Remnant from the enemy. The stronger the enemy, the more Stasis Segments must be filled to freeze it.”
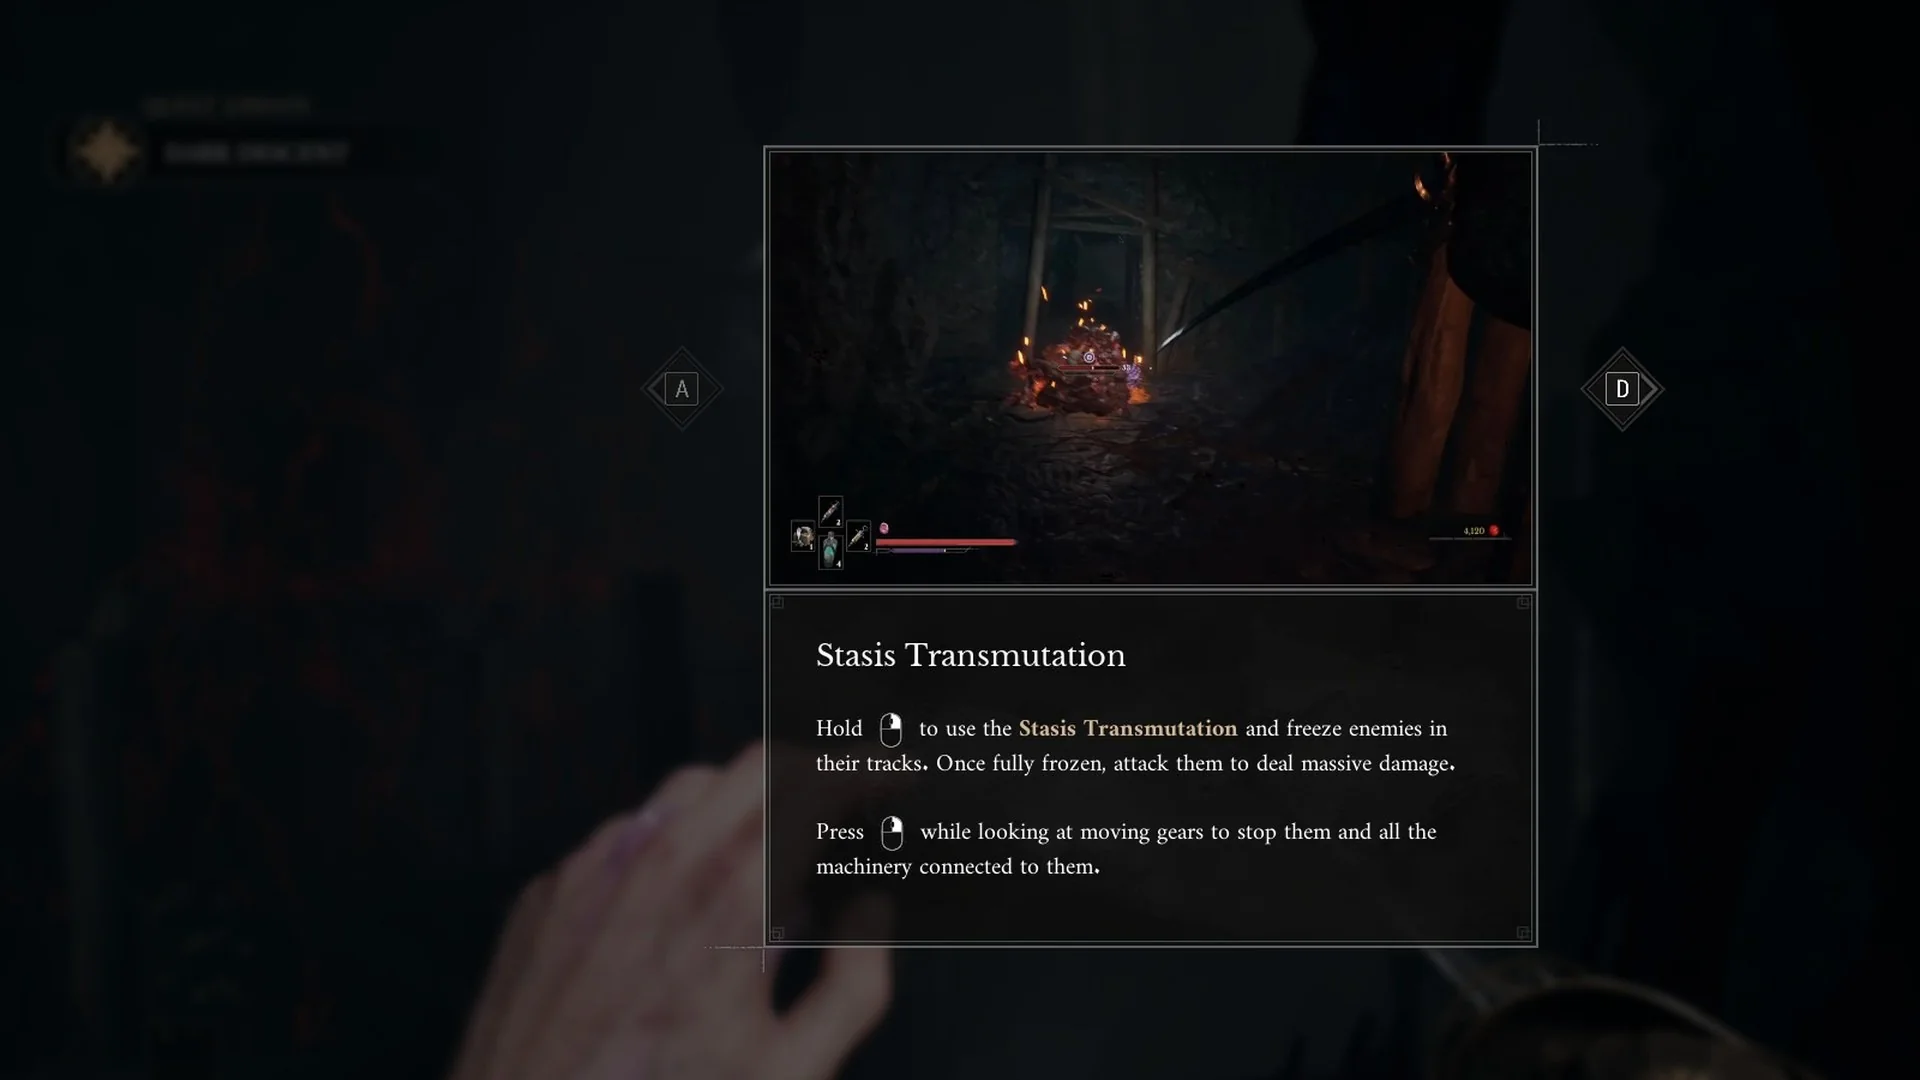
The journal stage then reads: “Once again, I have been granted power by one of the poor souls at the altar – an ability that seems to manipulate motion. I’ll need training to truly understand the benefits of this gift.”
Violet veins on your left hand indicate that Stasis is equipped. Hold Q to open the weapon wheel, then switch your left-hand selection between the Pistol and your Transmutations. Keep this rule in mind throughout the chapter: freezing a moving gear with Stasis halts everything it powers, including gates, wheels, and platforms. Purple crystals cluster on a frozen gear.
Through the mine to the Mine Cart Route Lantern
The way down from the Old Mine threads through lifts, ladders, a zipline, and grapple points across the galleries. The Mining Shaft Key, “An old, rusty key leading to the mining shaft.”, is found somewhere in this stretch, so grab it when you spot it. Pullable Nephtoglobin mechanisms here use the same hold as the Blossoms, shown as “[E] PULL (HOLD)” with blue tendrils trailing from your left hand.
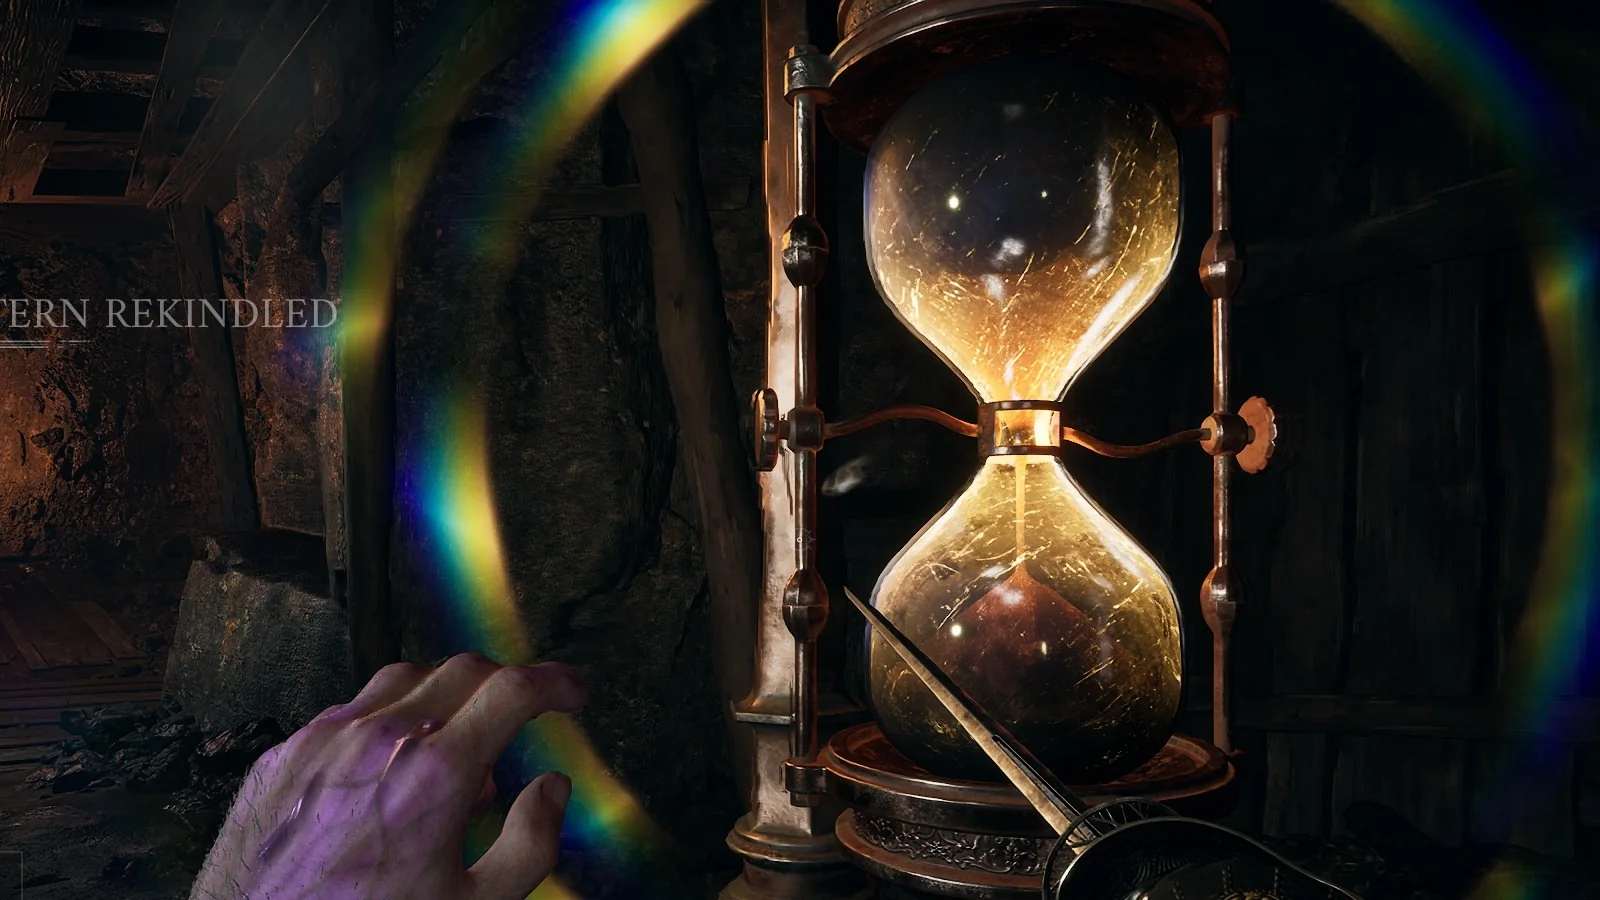
Walking up to the Mine Cart Route Lantern lights it, with “LANTERN REKINDLED” on screen. It is a tall brass hourglass Lantern in a timber-propped gallery, and it carries the same LEVEL UP / TRAVEL / UPGRADE FERROFLUID FLASK / LEAVE menu. Rest here, because it is your checkpoint for the minecart ride.
The minecart ride: levers, gates, and Stasis
About 25 metres east of the Mine Cart Route Lantern, through a root-lined tunnel, a mine cart sits on the track. Step in and the ride starts on its own. William notes: “Well, for a mine, this seems a rather clever means of transport.” You can only look around and use your hands. There is no jump and no steering, so every obstacle is cleared with grapple pulls (hold E), Stasis (right mouse), and the Pistol.
A collision with a shut gate causes instant death, displaying “YOU ARE DEAD”. You restart at the Mine Cart Route Lantern; dropped Catalysts remain in the tunnel before the cart.
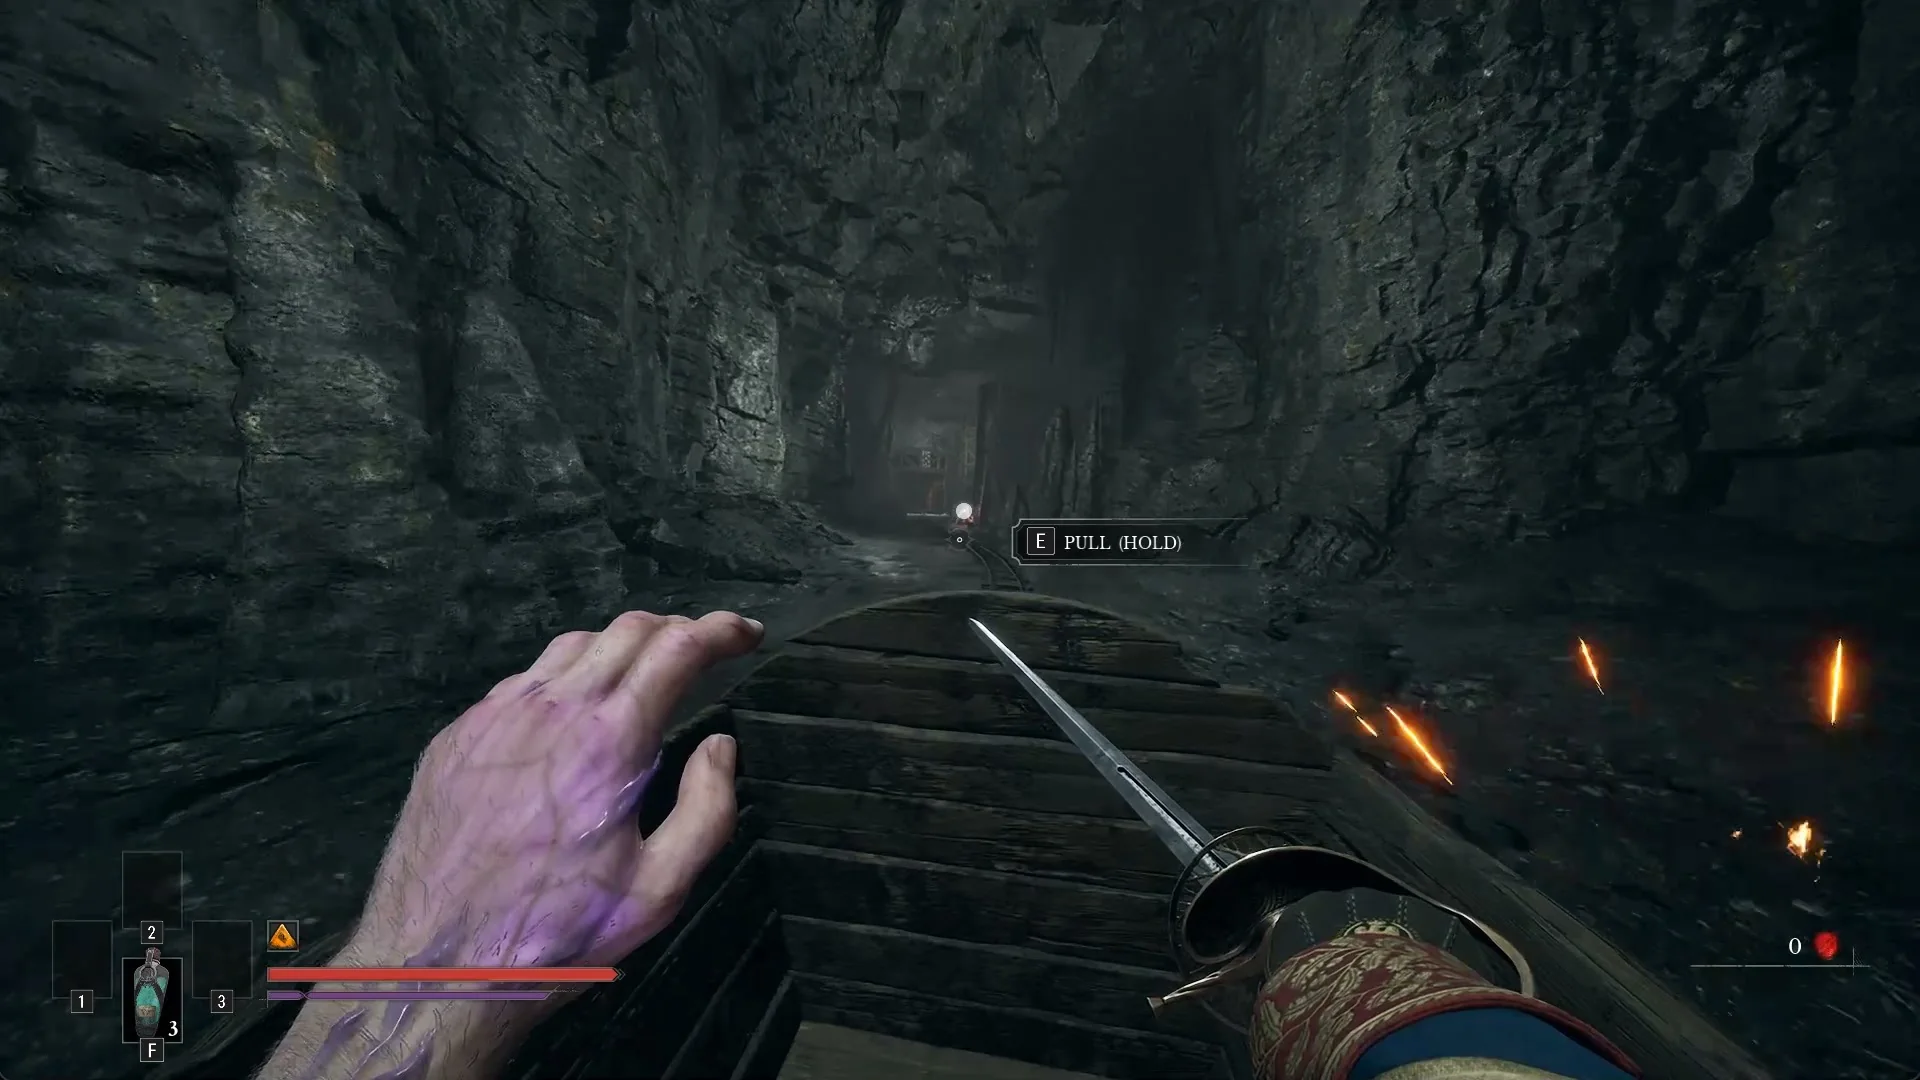
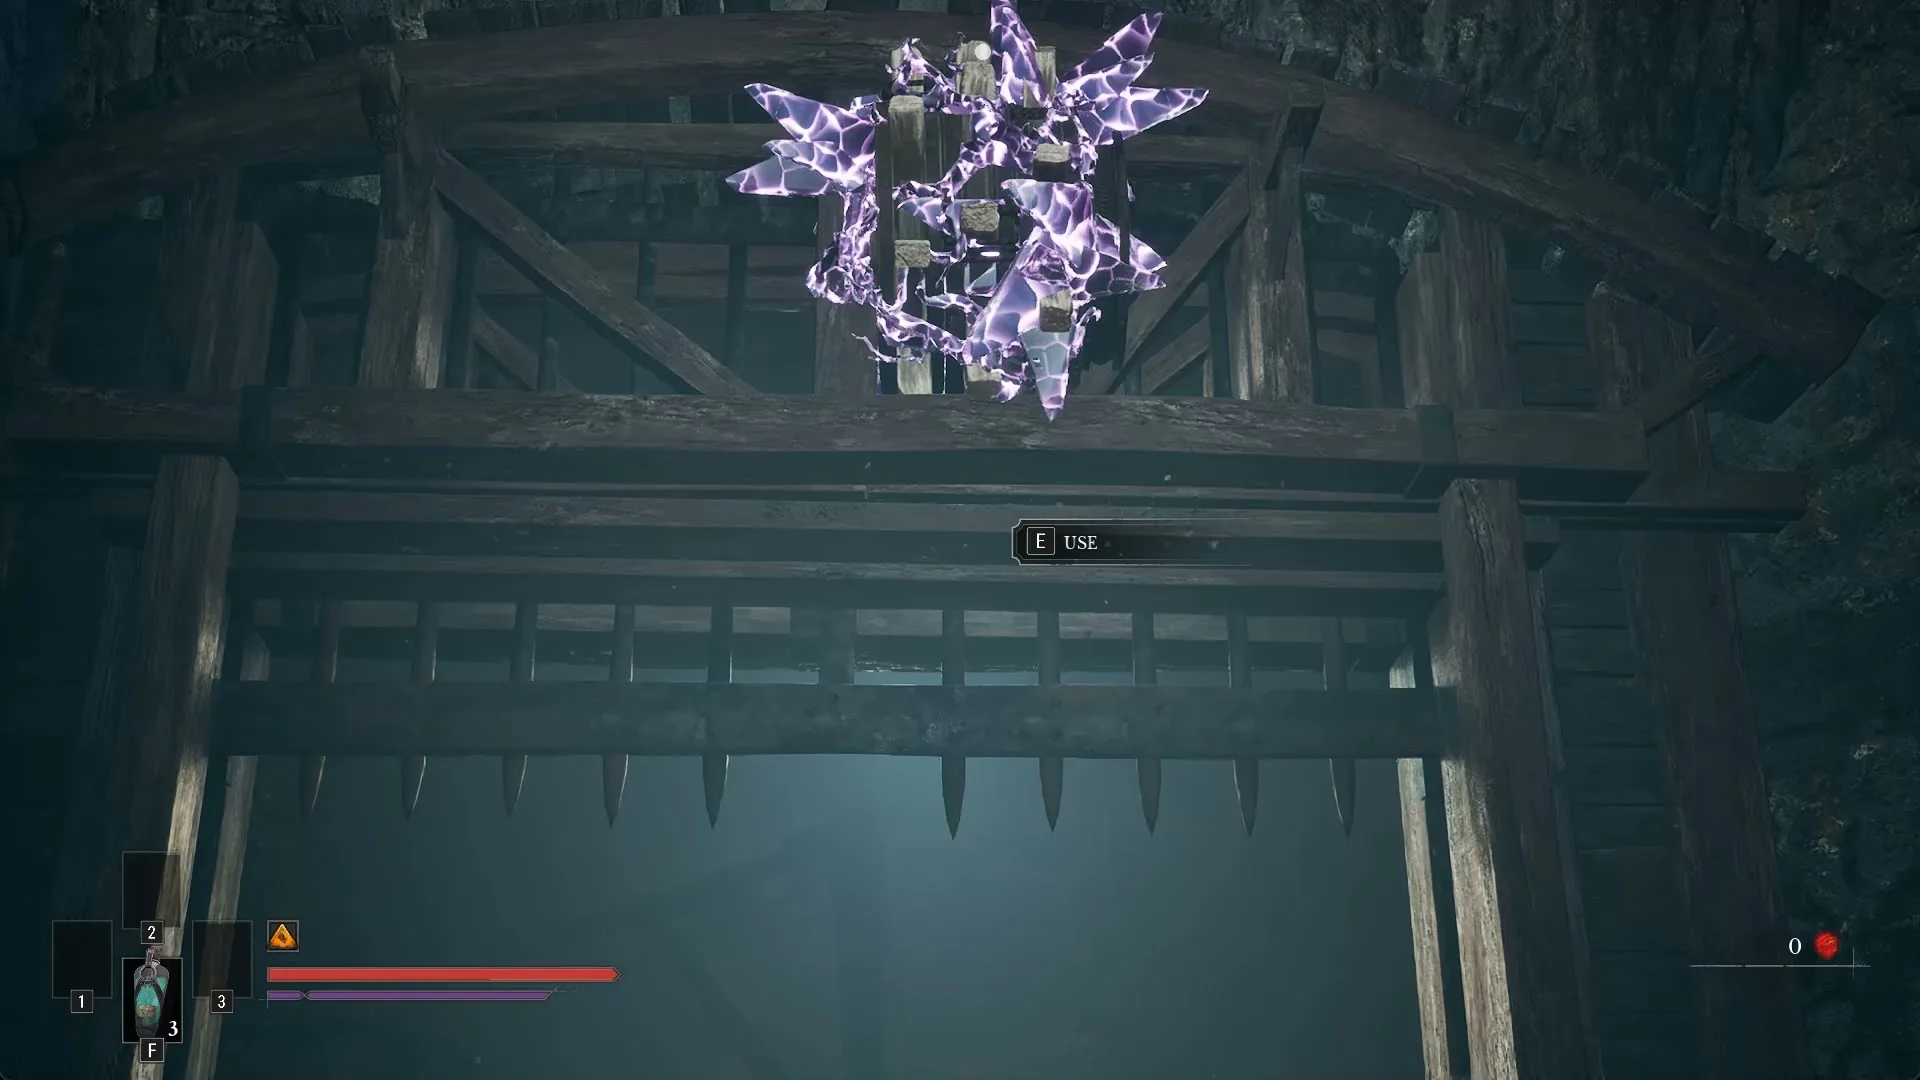
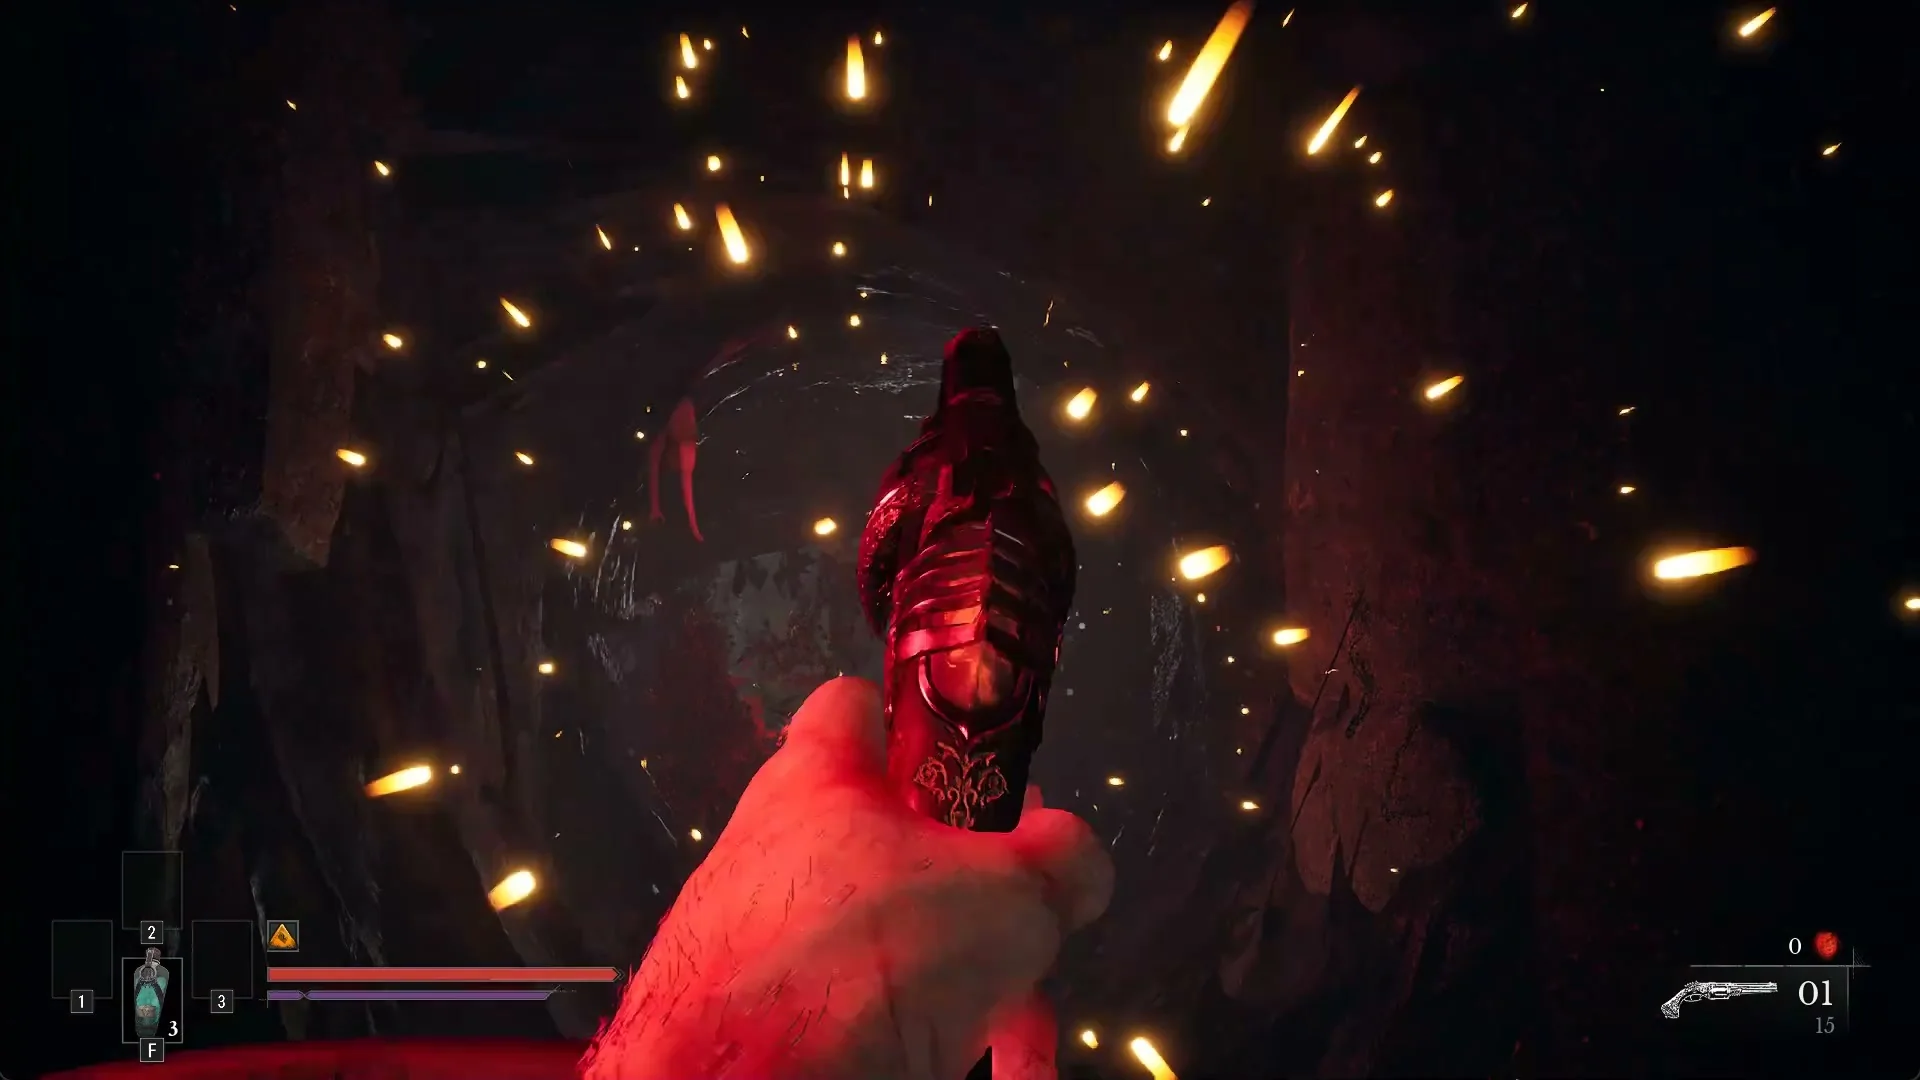
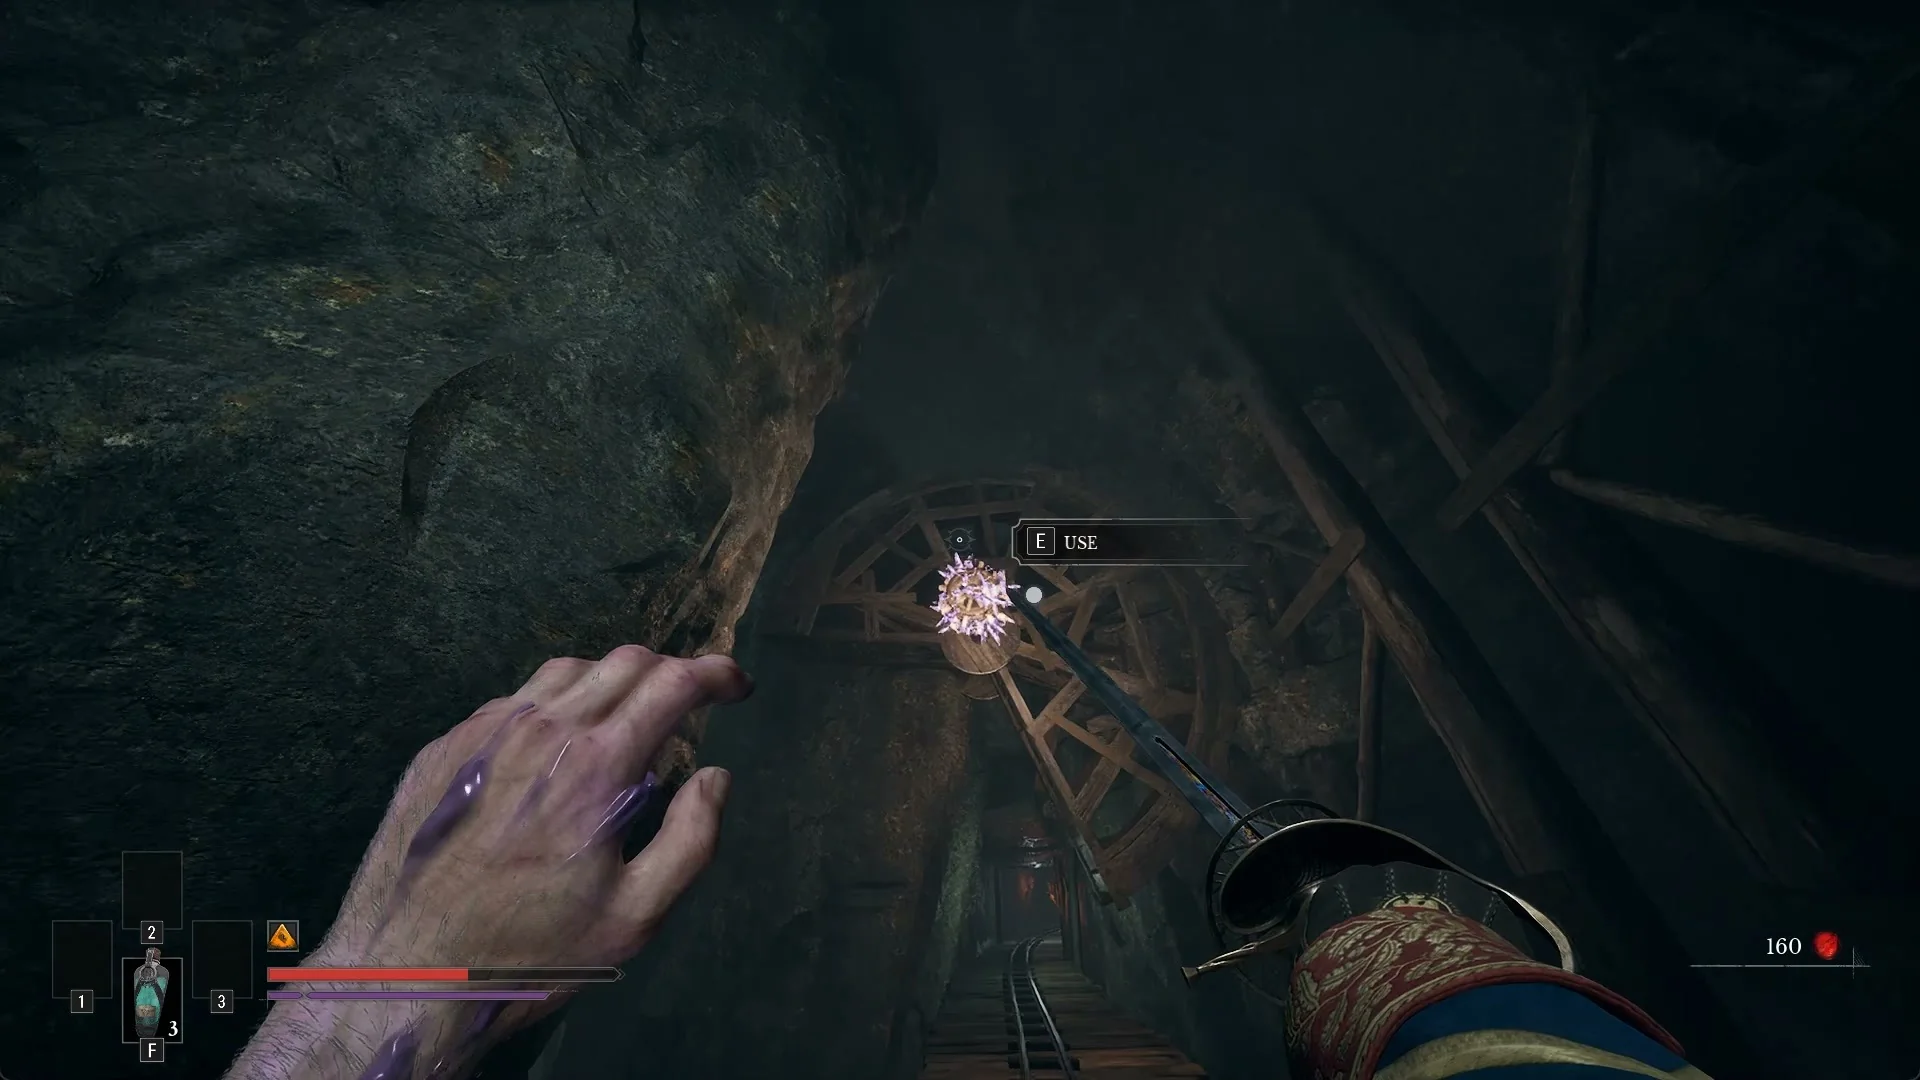
There are grapple points along the track too. Aim at one, then press E as soon as the “[E] GRAPPLE” prompt appears to leave the cart.
Ancient Lair Lantern and the Sphinx
Ancient Lair is the first Lantern you’ll reach after the ride. It is an hourglass Lantern in a cave, marked with an “[E] REST” prompt. Rest there before fighting the boss; this Lantern is the Sphinx’s checkpoint.
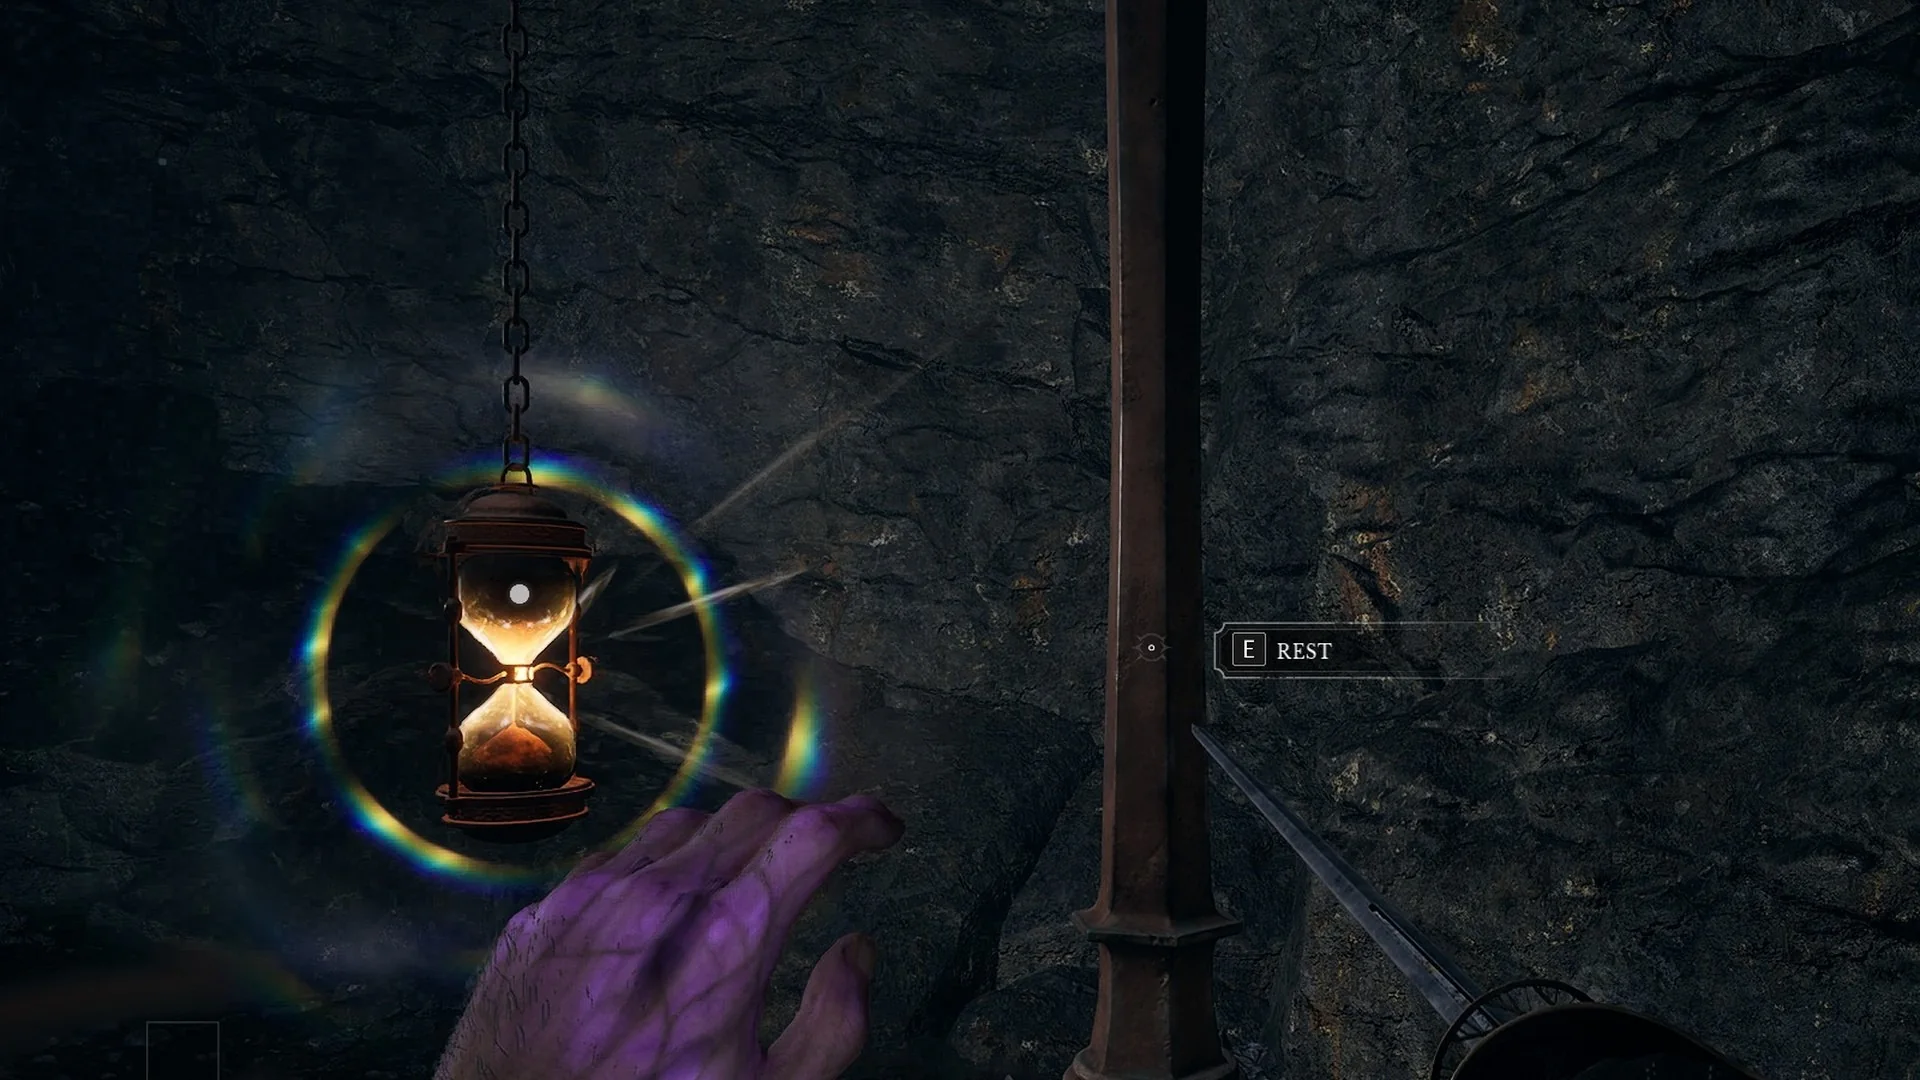
Beside the Lantern, a wall of swirling golden sand fills a gateway. Walk up to its face from the Lantern side and hold E on “[E] INTERACT”.
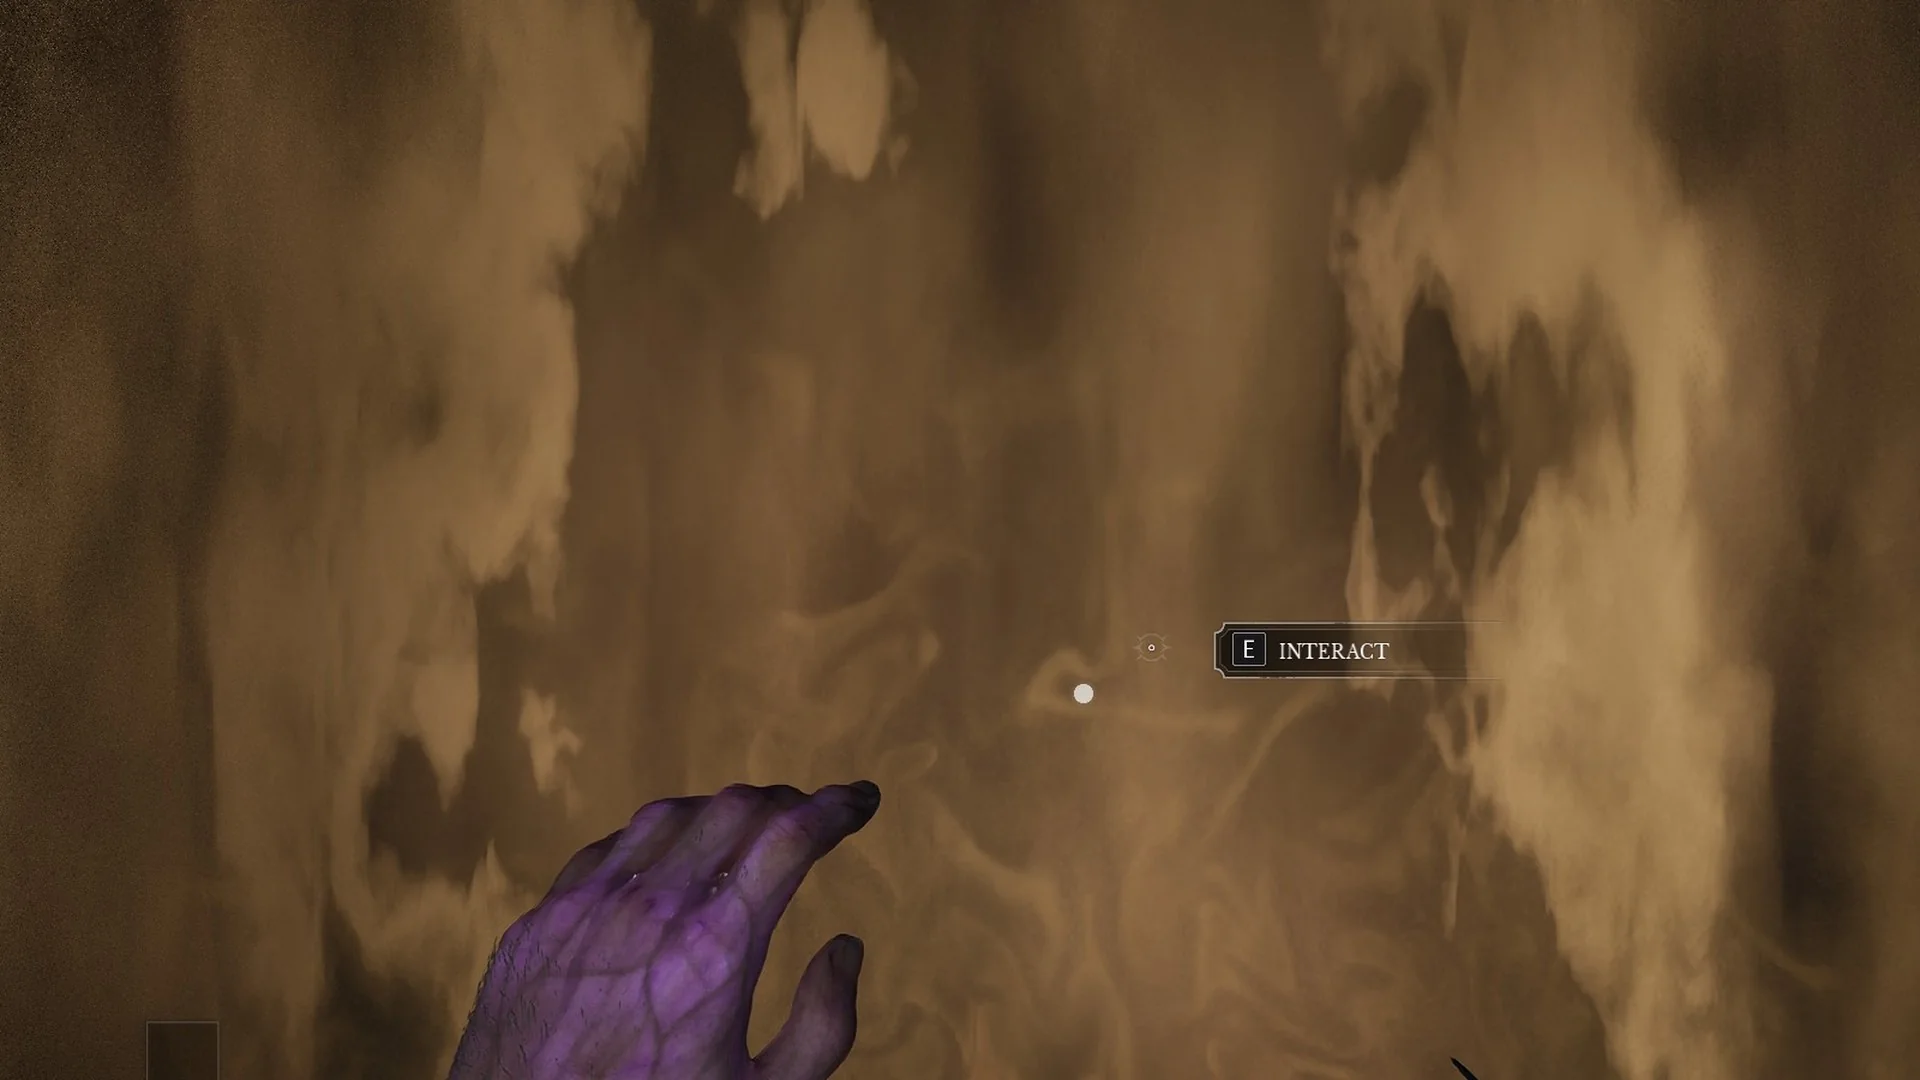
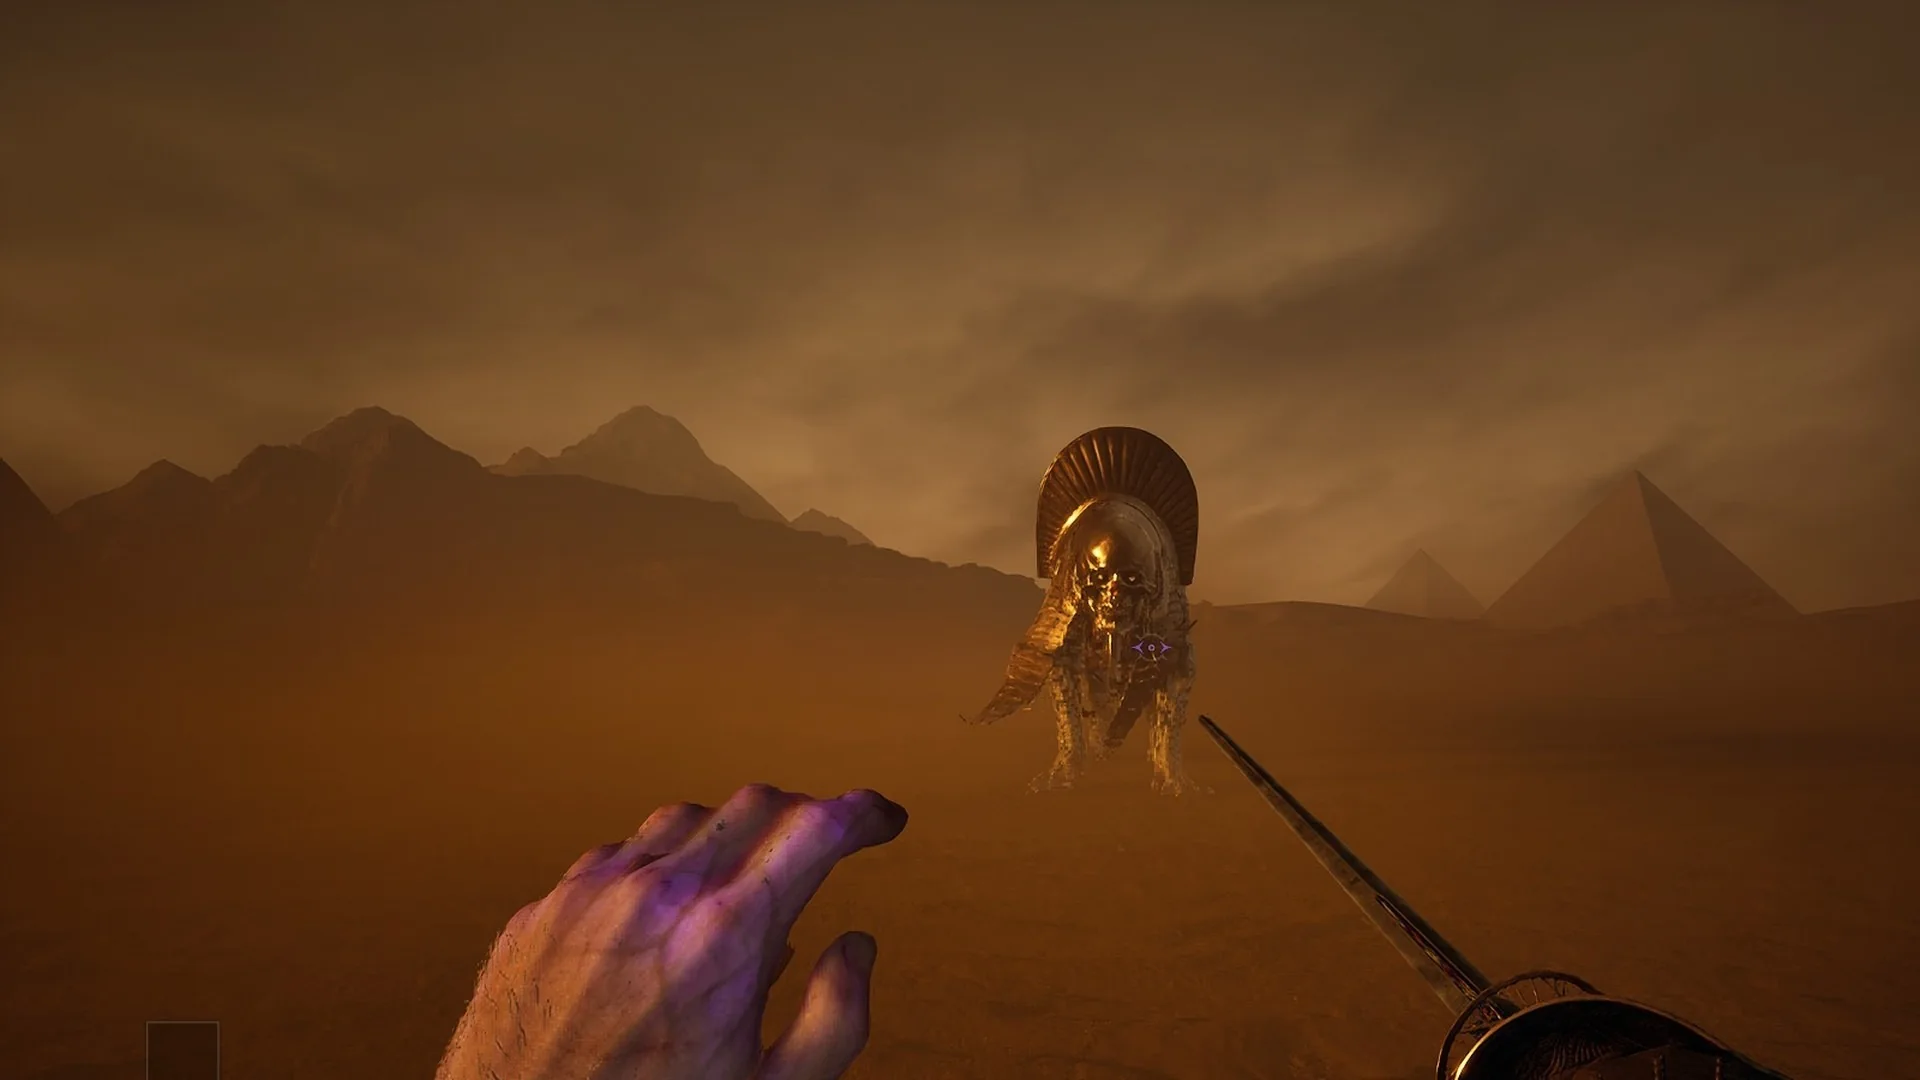
On the first visit the boss intro plays, you are carried through the sand into a desert arena with pyramids on the horizon, and the Sphinx, Devourer of the Unworthy attacks. Its boss bar reads “SPHINX, DEVOURER OF THE UNWORTHY”. For the fight itself, follow the Sphinx boss guide.
After the Sphinx: back to the church
Defeating the Sphinx displays “ABOMINATION ERADICATED / REWARD: 20,000 CATALYSTS” and grants the “Not a Cat Person” achievement for defeating it. Back off and keep moving after the killing blow: attacks already in the air stay live for a moment before the ending starts.
The ending then plays: the Sphinx’s body crumbles into sand, William touches a red core pulsing in a carved stone wall, and you wake in the Abandoned Church. If a leftover attack kills you first, “YOU ARE DEAD” appears; the kill still counts, so hold R and the ending plays, but the 20,000 Catalysts drop in the arena as lost Catalysts.
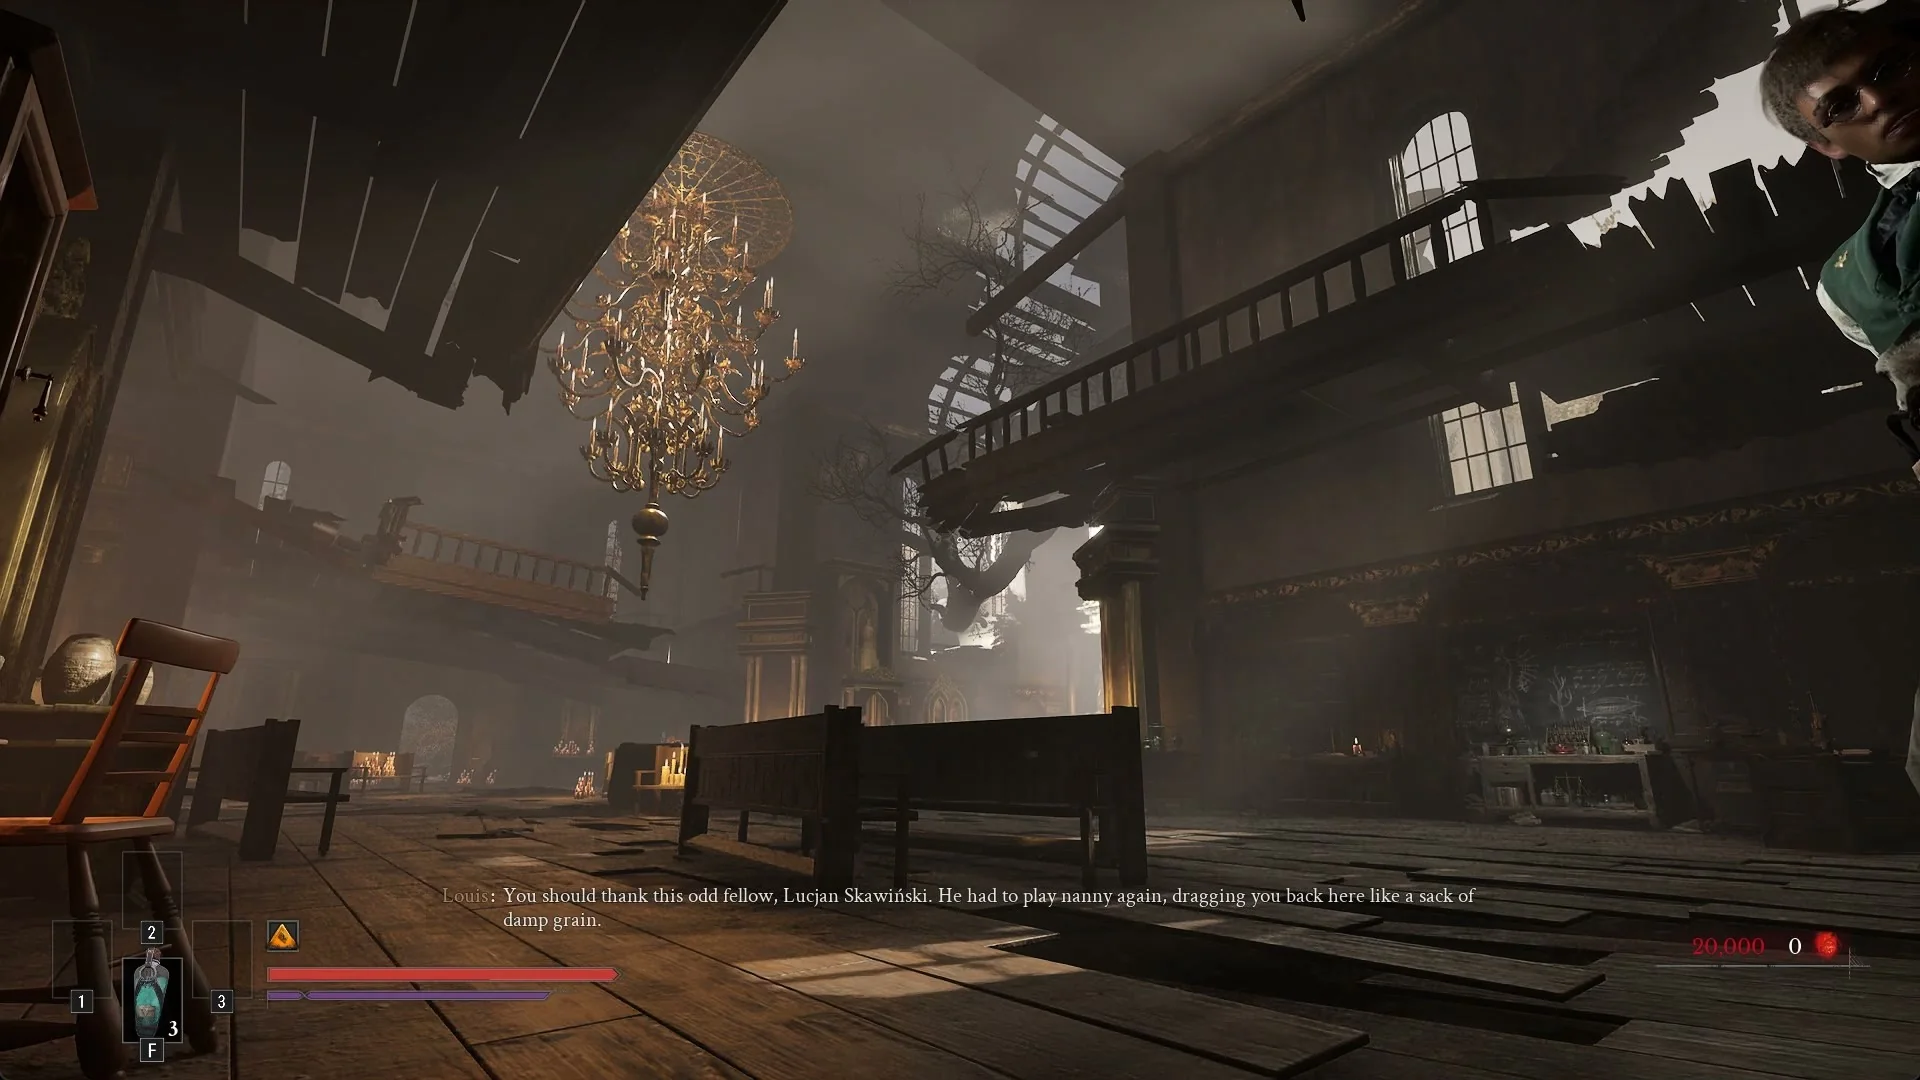
Louis speaks to you at once by his Laboratoire. William says: “My vision…. It has not cleared. Everything has a… faint, blue glow.” Louis answers: “Do not fight it, William. It’s a gift.” He then sends you on with: “James sees the world through a rifle scope. Go talk to him – he will find you a path that doesn’t involve a bayonet to the gut.” Talking to James begins Chapter V.