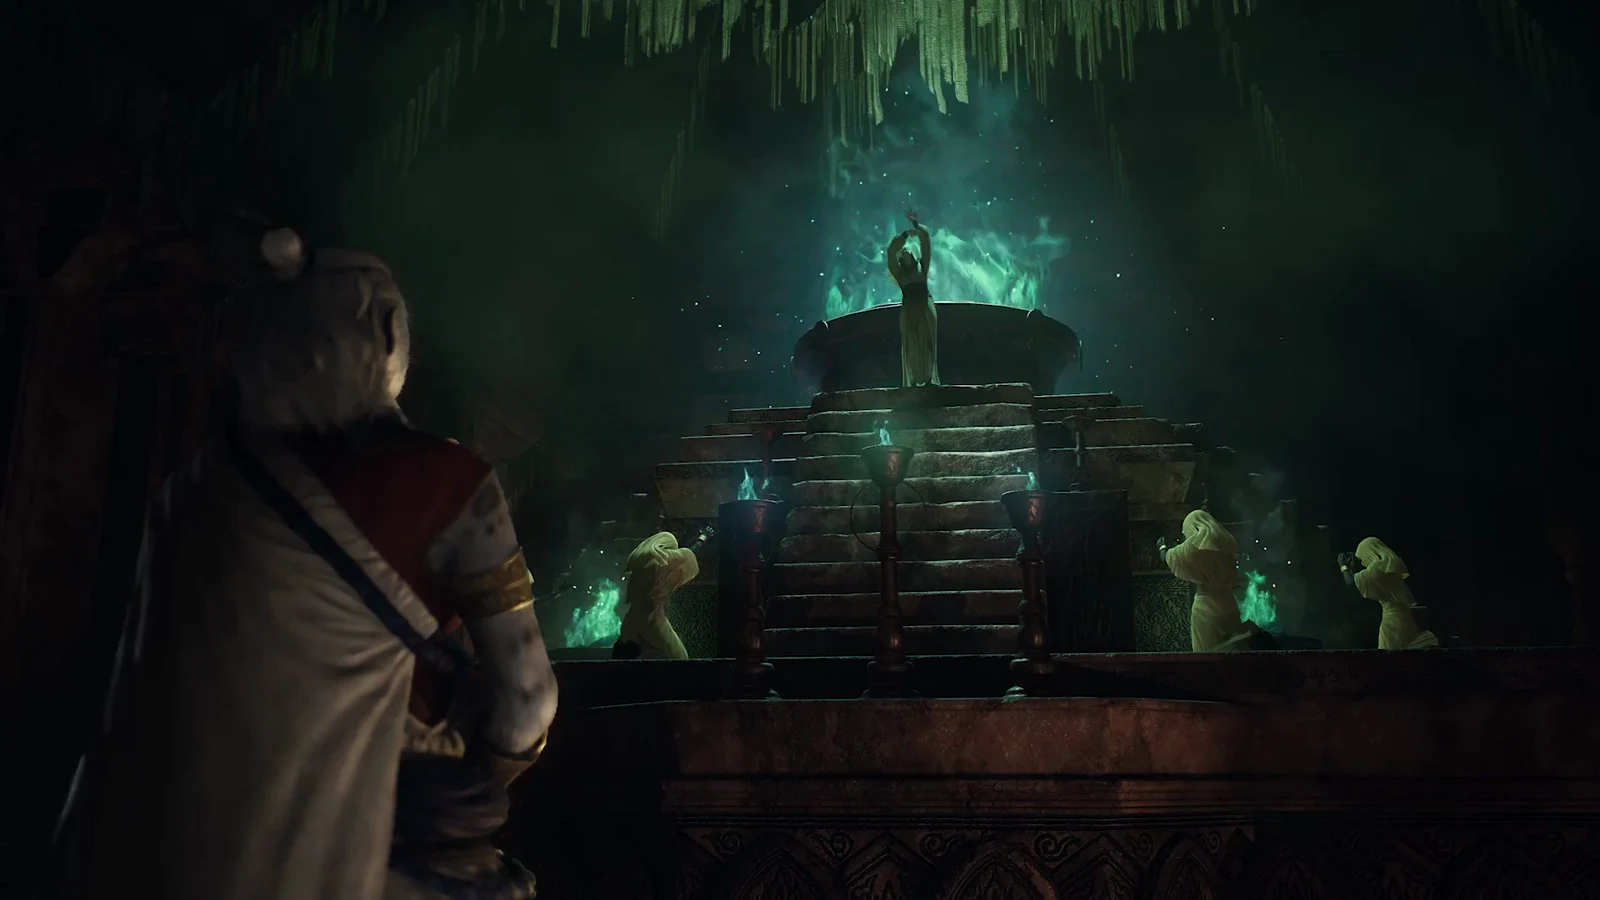
Root Rot picks up the moment Necrosis ends, dropping you at Ooi Colony beneath the Giant Tree after two Nushi launch a night raid. The chapter is a vertical climb toward the tree, a key hunt to open a sealed bulkhead, and two boss fights against agile Corvus that keep fleeing to new arenas. Because each Corvus is fought at a separate location, the route matters more here than the combat does.
Quick answer: Ride the ropeways to the Giant Tree gate, defeat the Keymaster Golem for the Giant Tree gate key, open the bulkhead, then kill the Level 38 Corvus on Line 0 and the Level 41 Corvus (two phases) on Line 1 using ranged attacks. Inspect the destroyed golem deeper in, return to the lair, and the closing cutscene ends the chapter.
Reach the Giant Tree gate at Ooi Colony
The opening cutscene leaves you at the base of the Giant Tree. Your first objective is simply to get to the tree and locate one of the two Nushi, and the whole approach runs on ropeway carts and elevators. Expect scattered monsters along the way, but nothing here is a required fight.
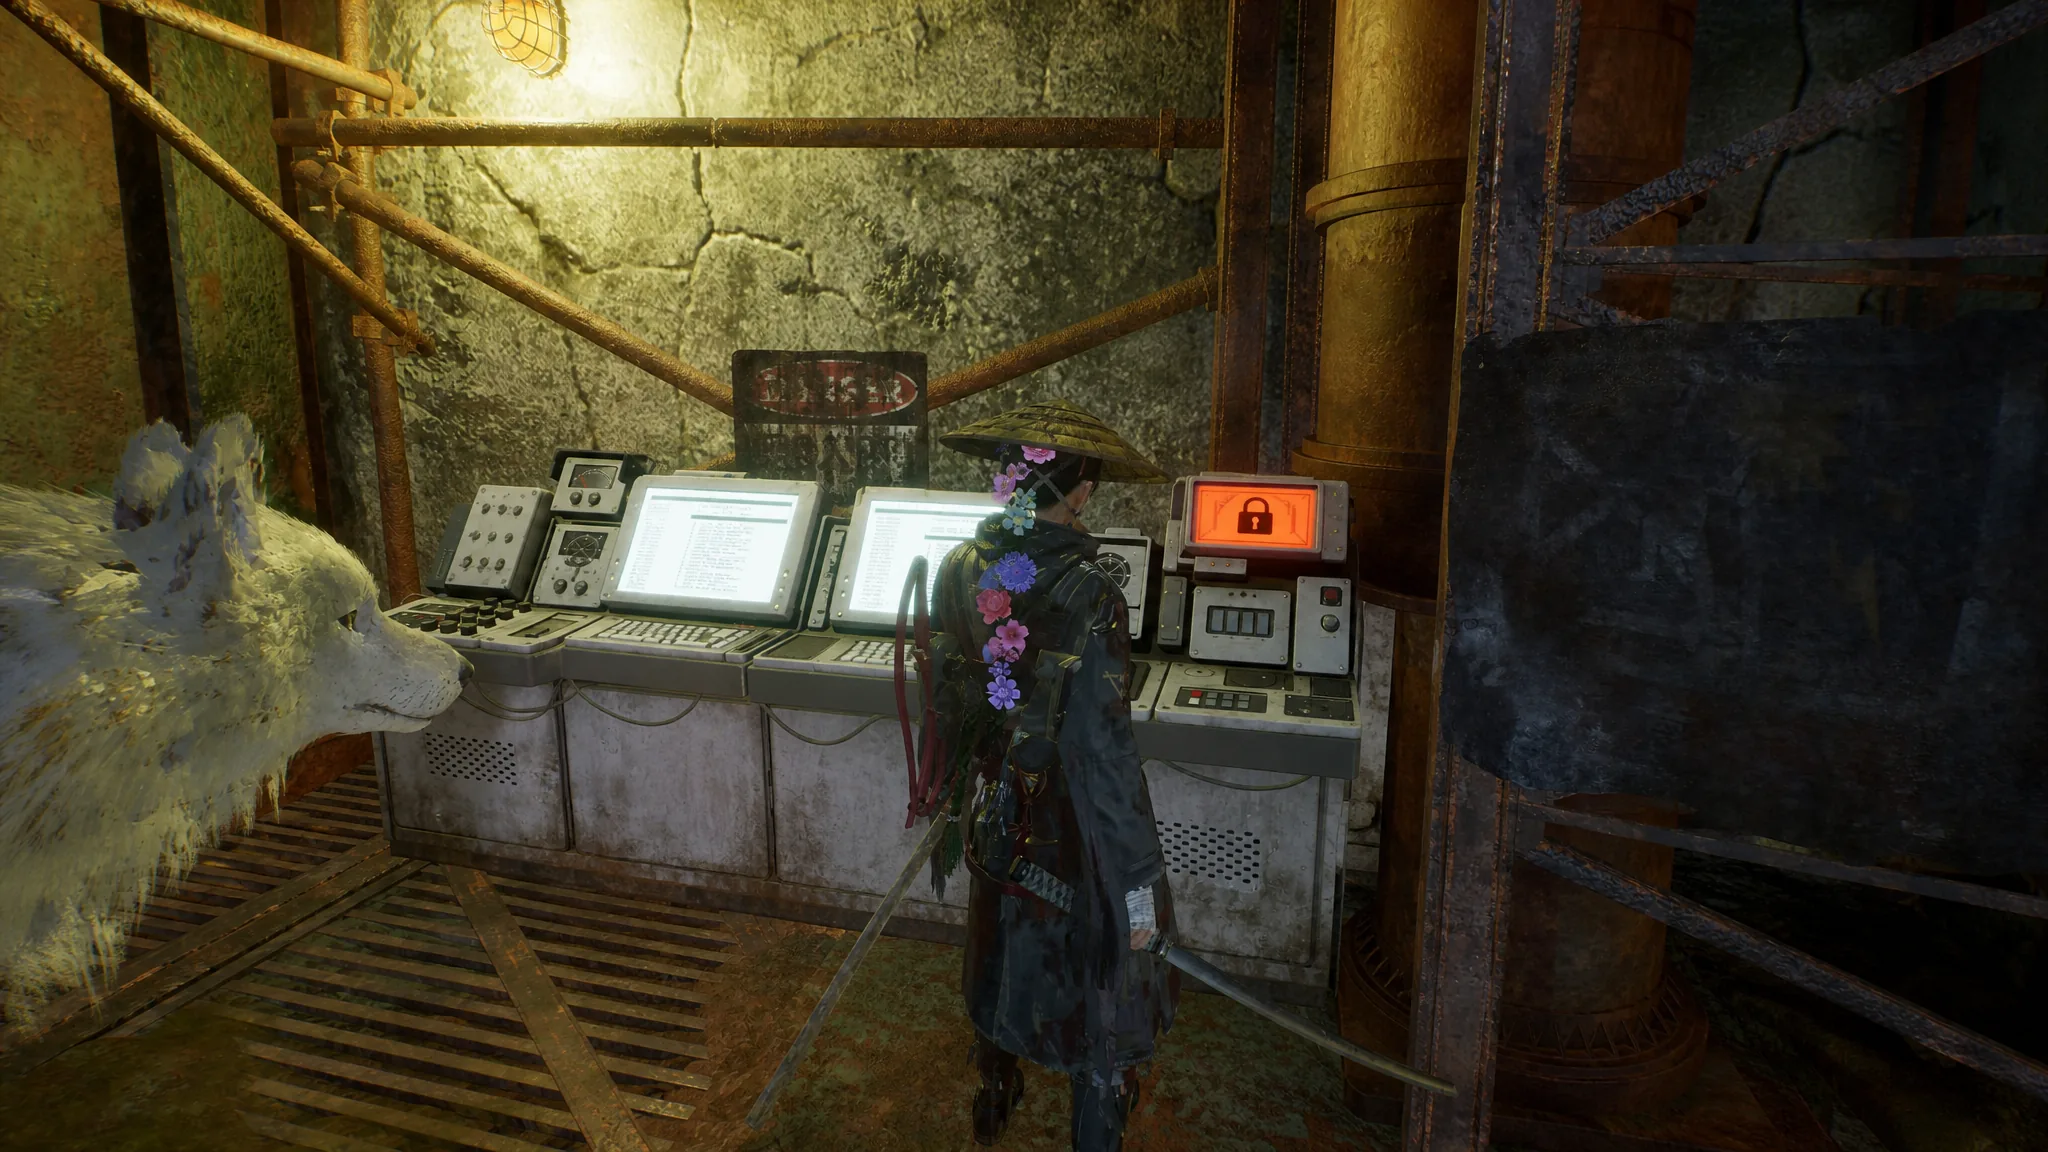
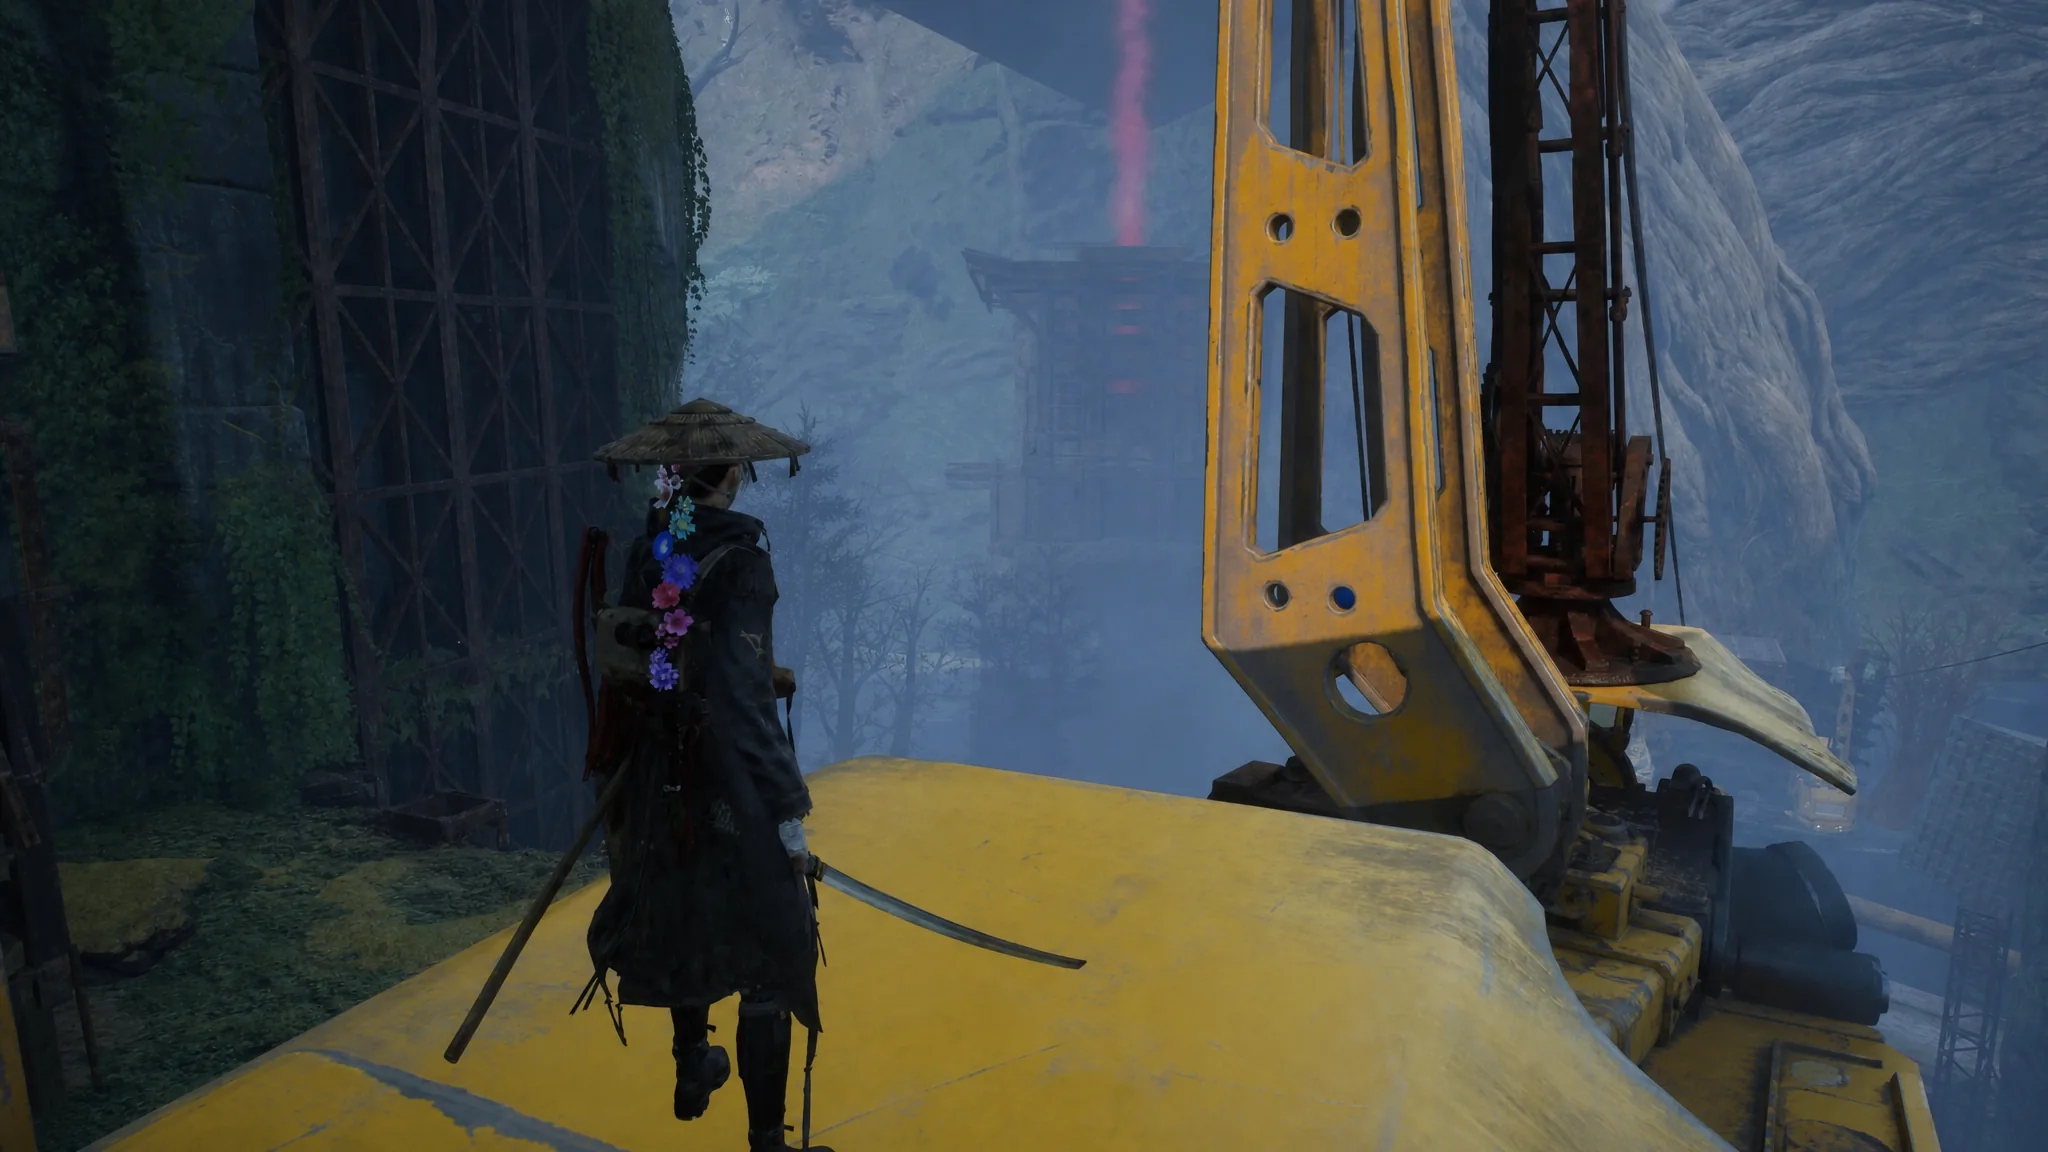
Get the Giant Tree gate key and open the bulkhead
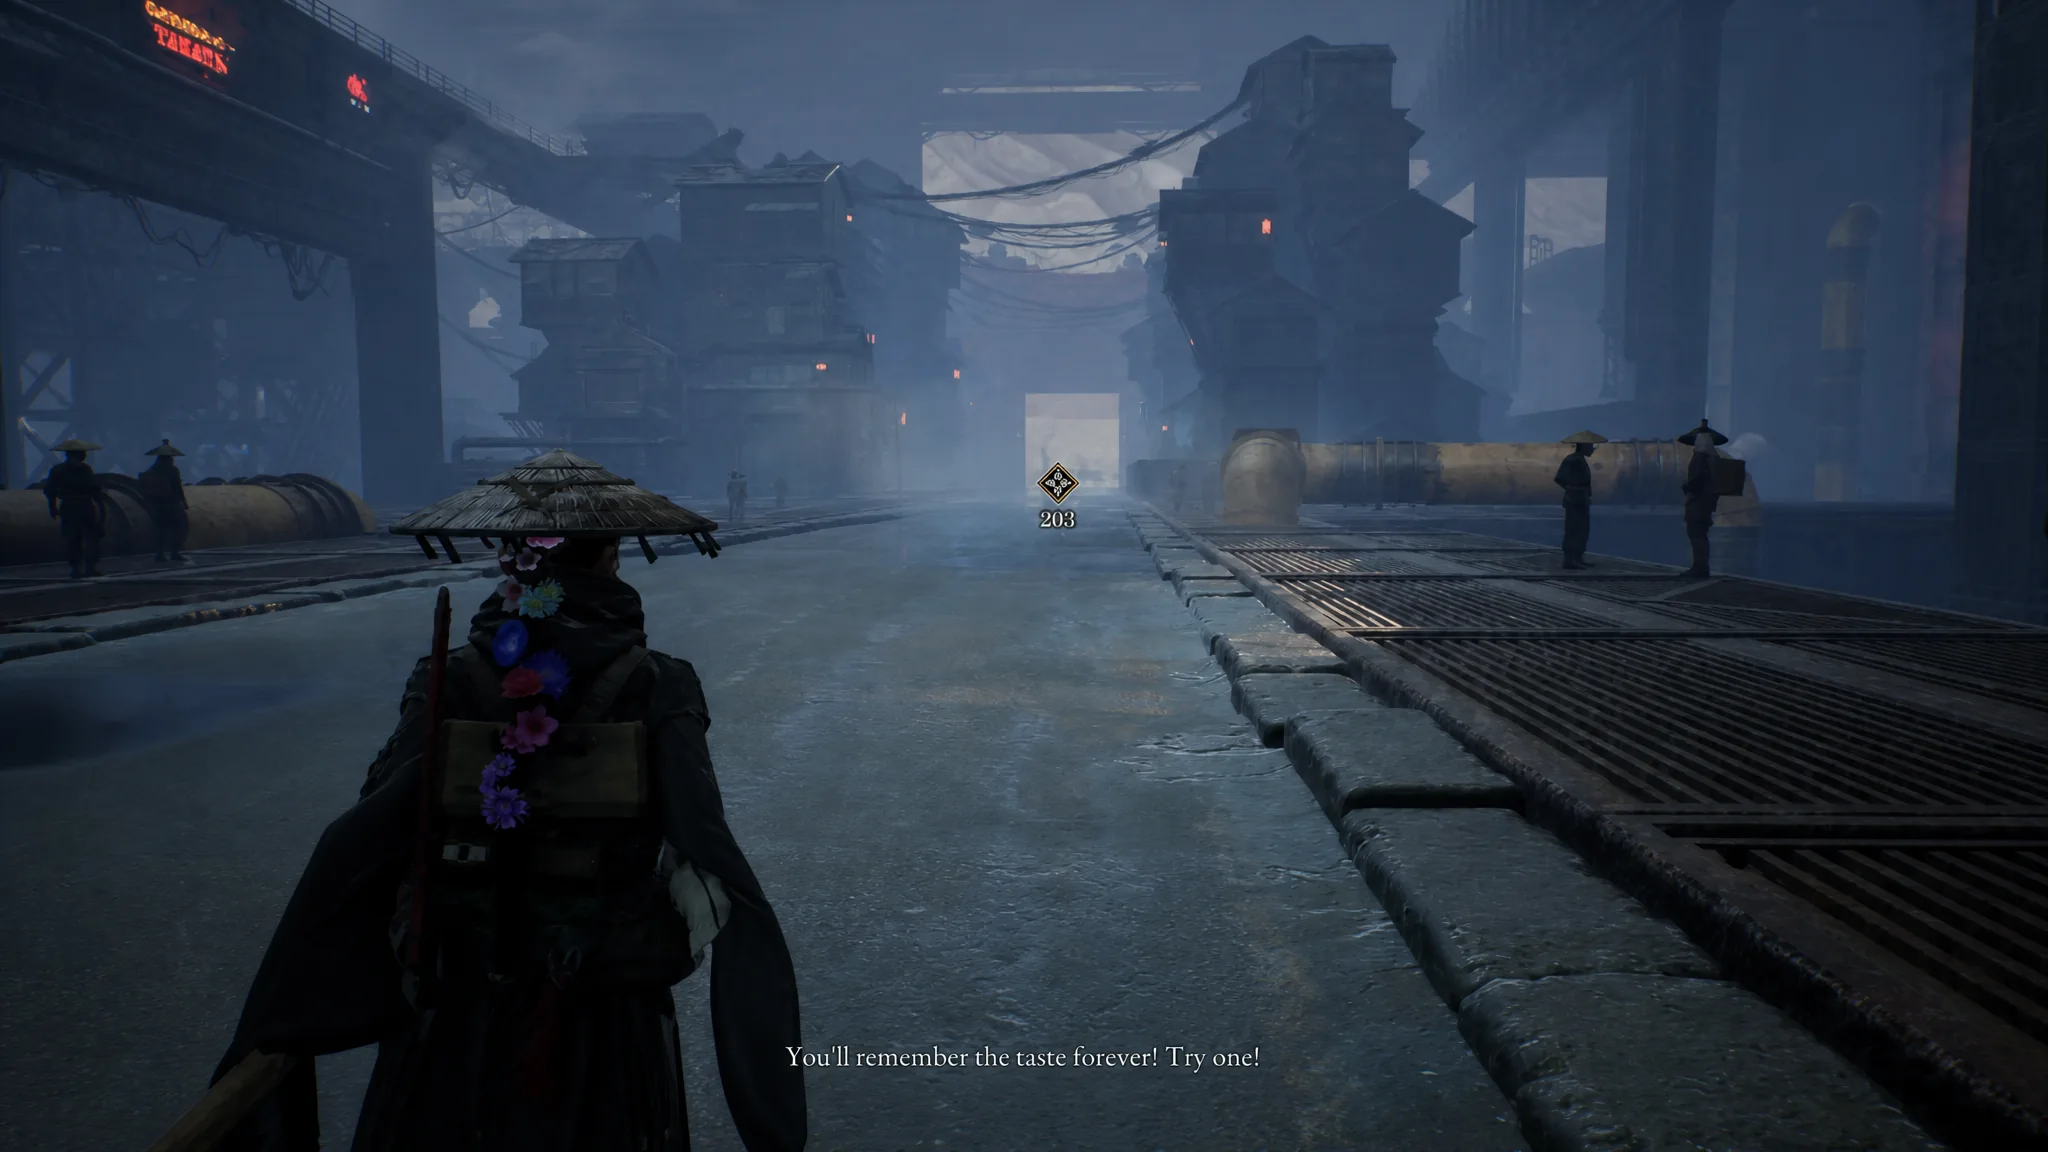
The gate to the tree is sealed until you retrieve a key from a golem inside a nearby building. That building is easy to spot because it is venting red smoke.
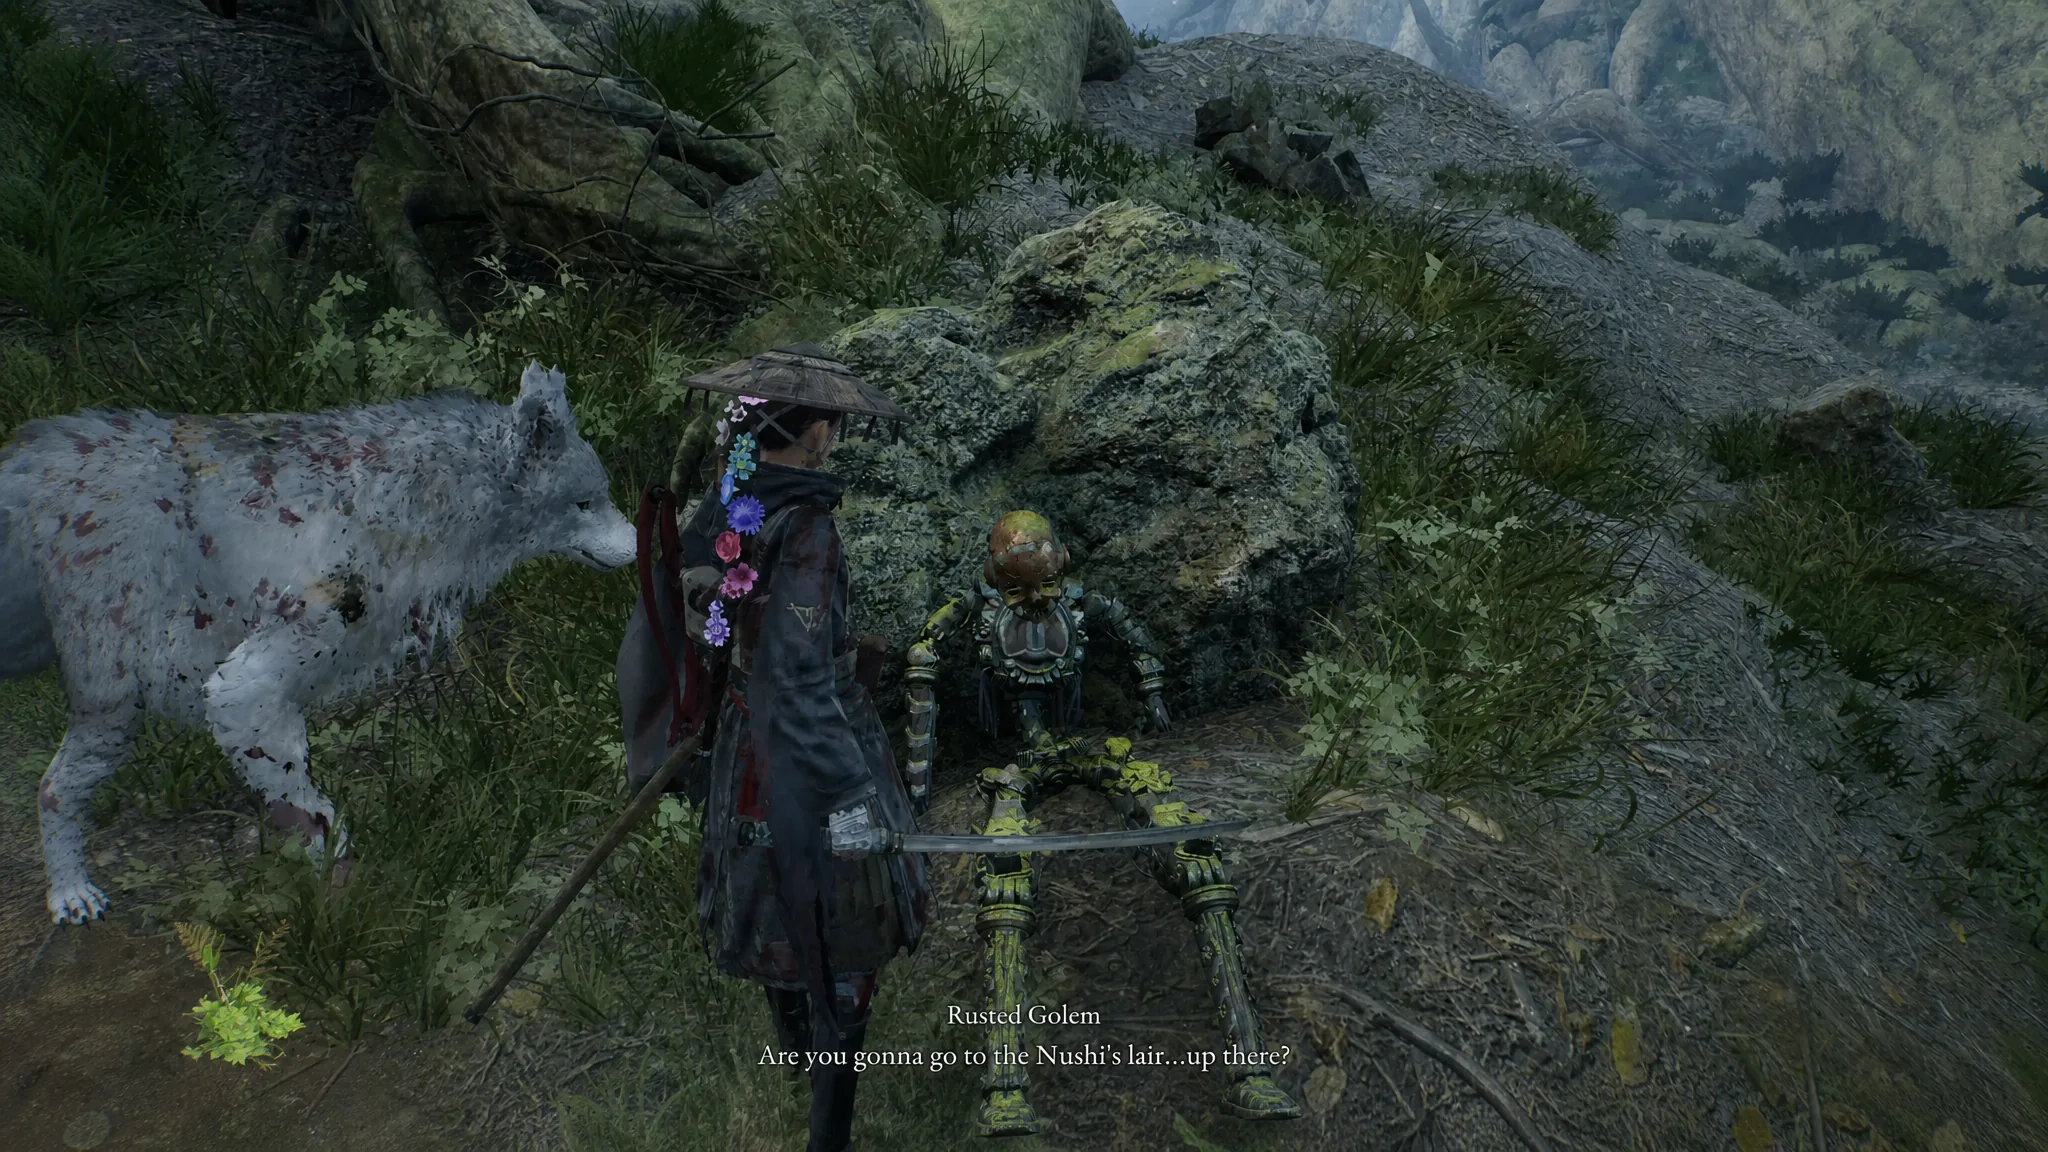
Defeat the first Corvus on Line 0
The first Nushi waits at the end of the Line 0 ropeway. Getting there means pushing through a tunnel and a short fight before you activate the cart.
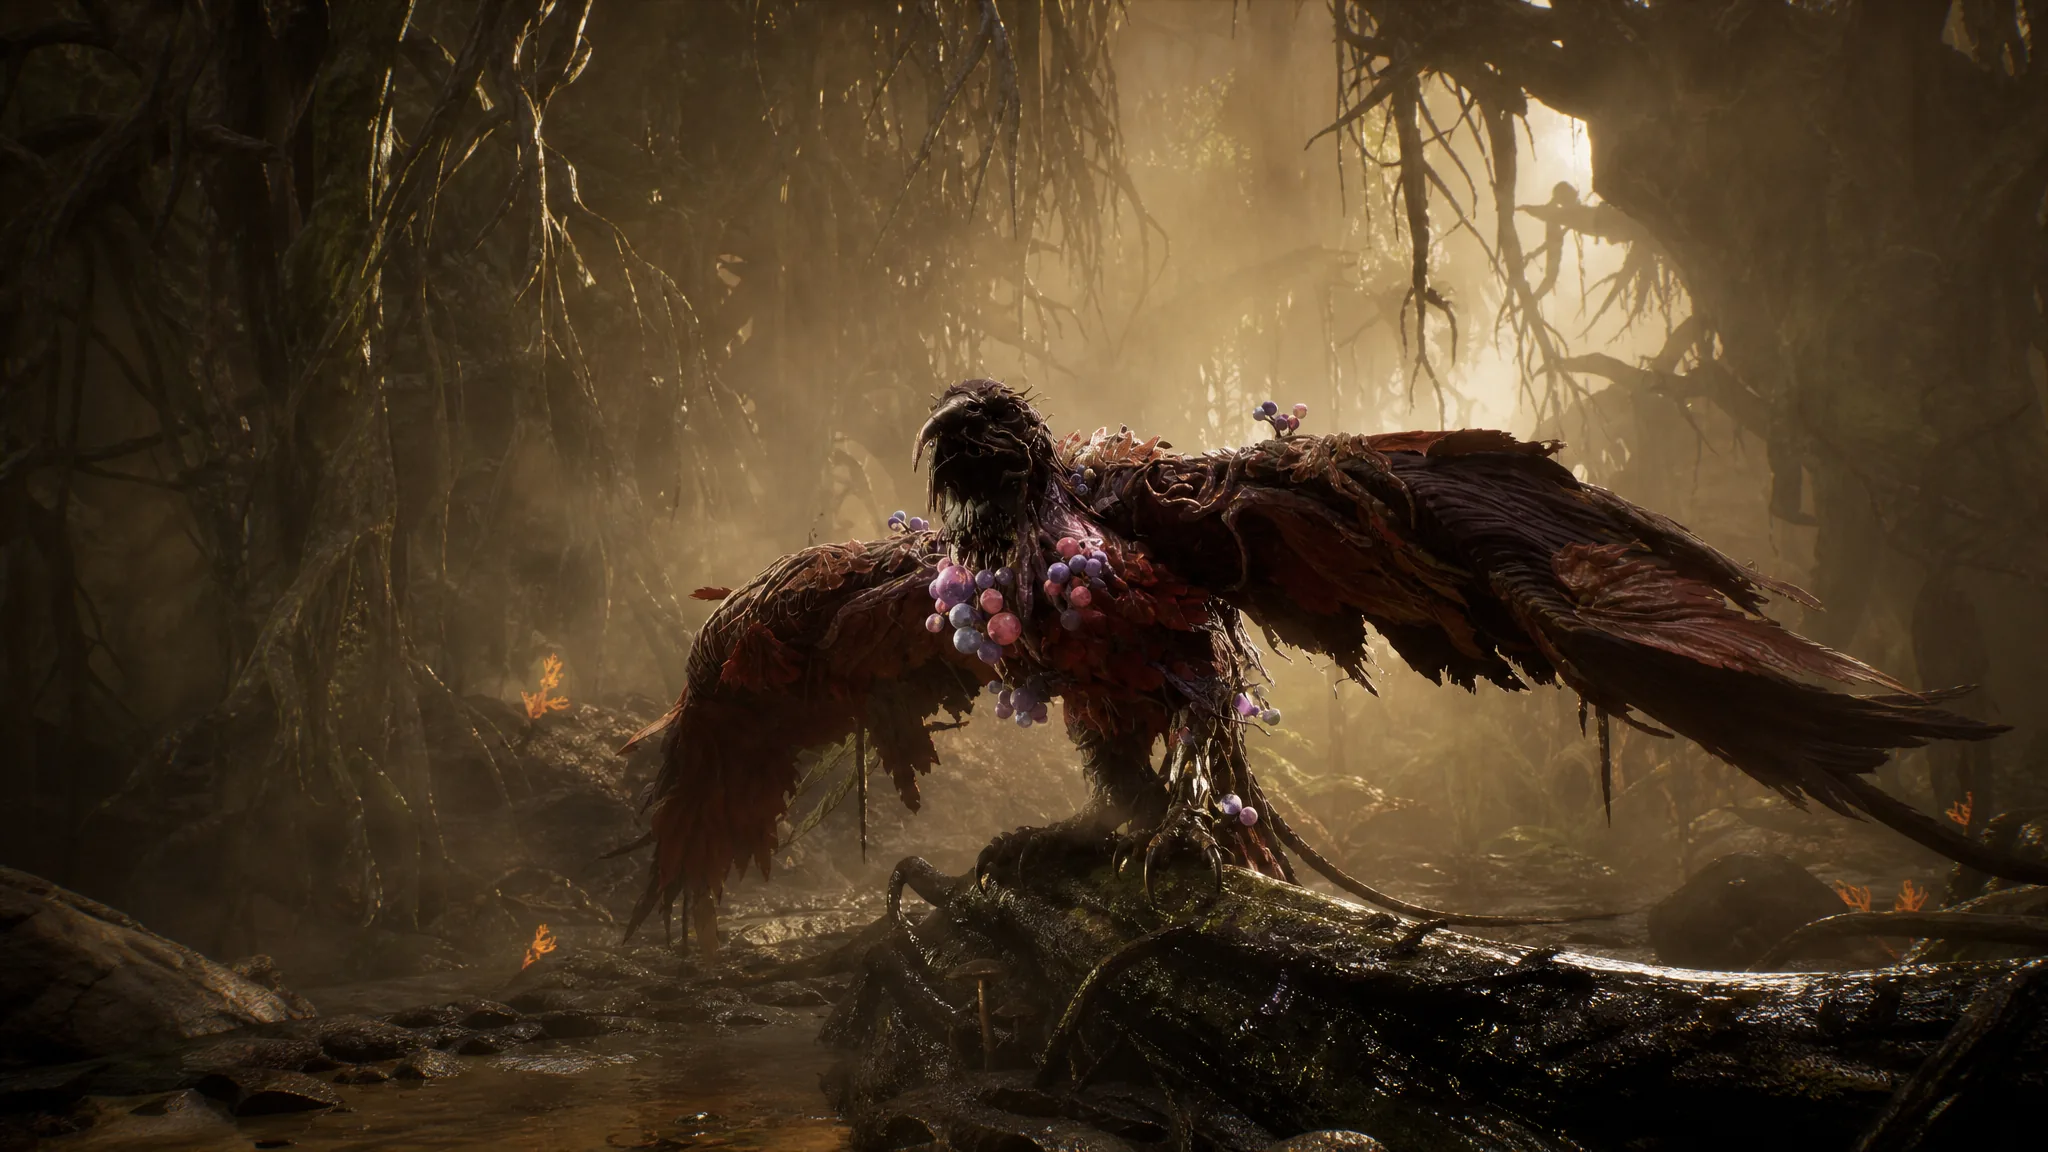
The boss here is a Corvus at Level 38. It is fast and spends much of the fight airborne, flying out of melee range and diving in for aerial attacks. Ranged weapons are the reliable answer because you can keep chipping its health while it is out of reach.
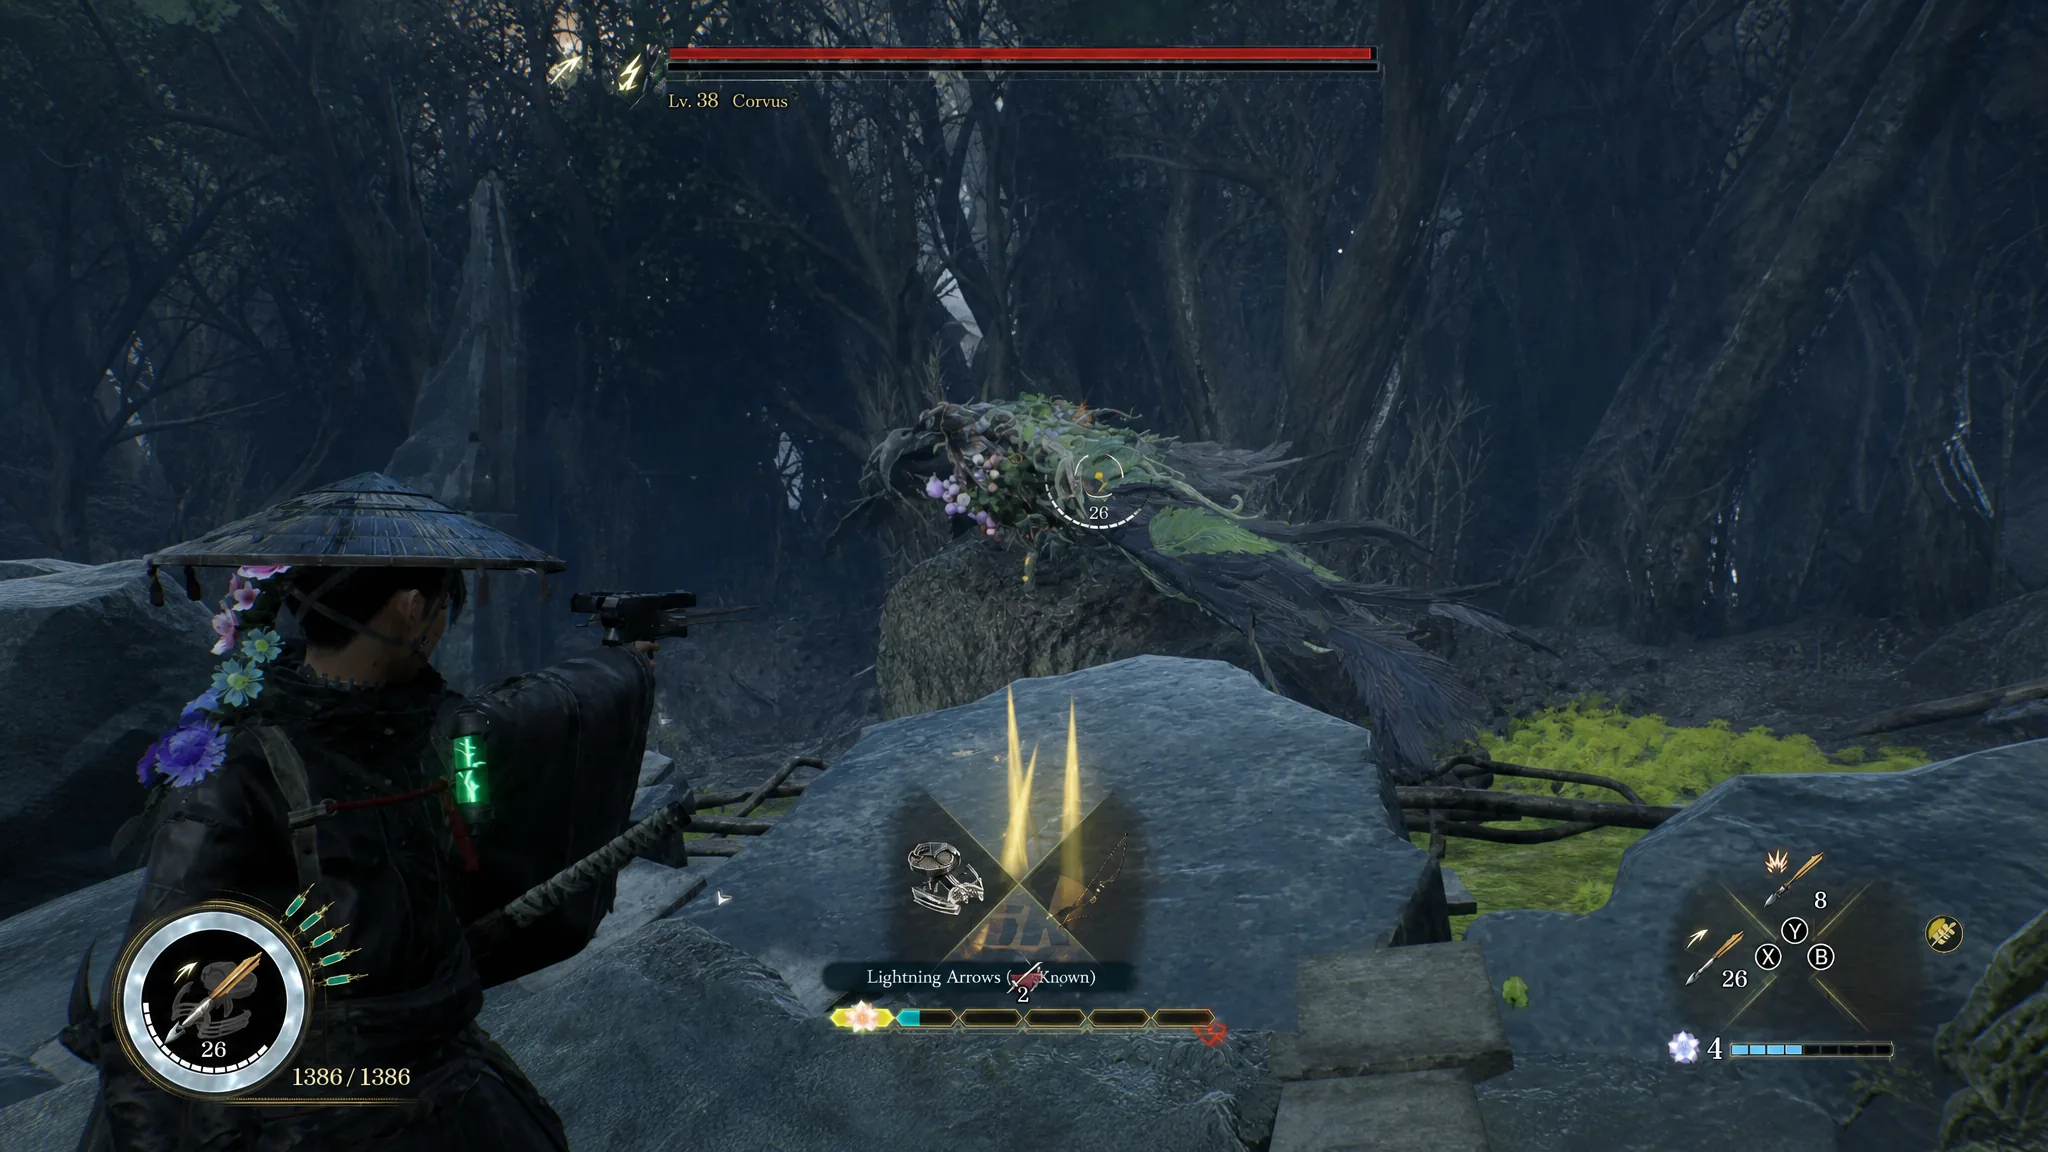
Watch for two moves in particular. When the Corvus hovers directly overhead, it drops acid onto the ground, so keep moving out of the pool. Up close, its beak peck deals heavy damage, so avoid lingering next to it and punish from distance instead.
Defeat the second Corvus on Line 1 (two phases)
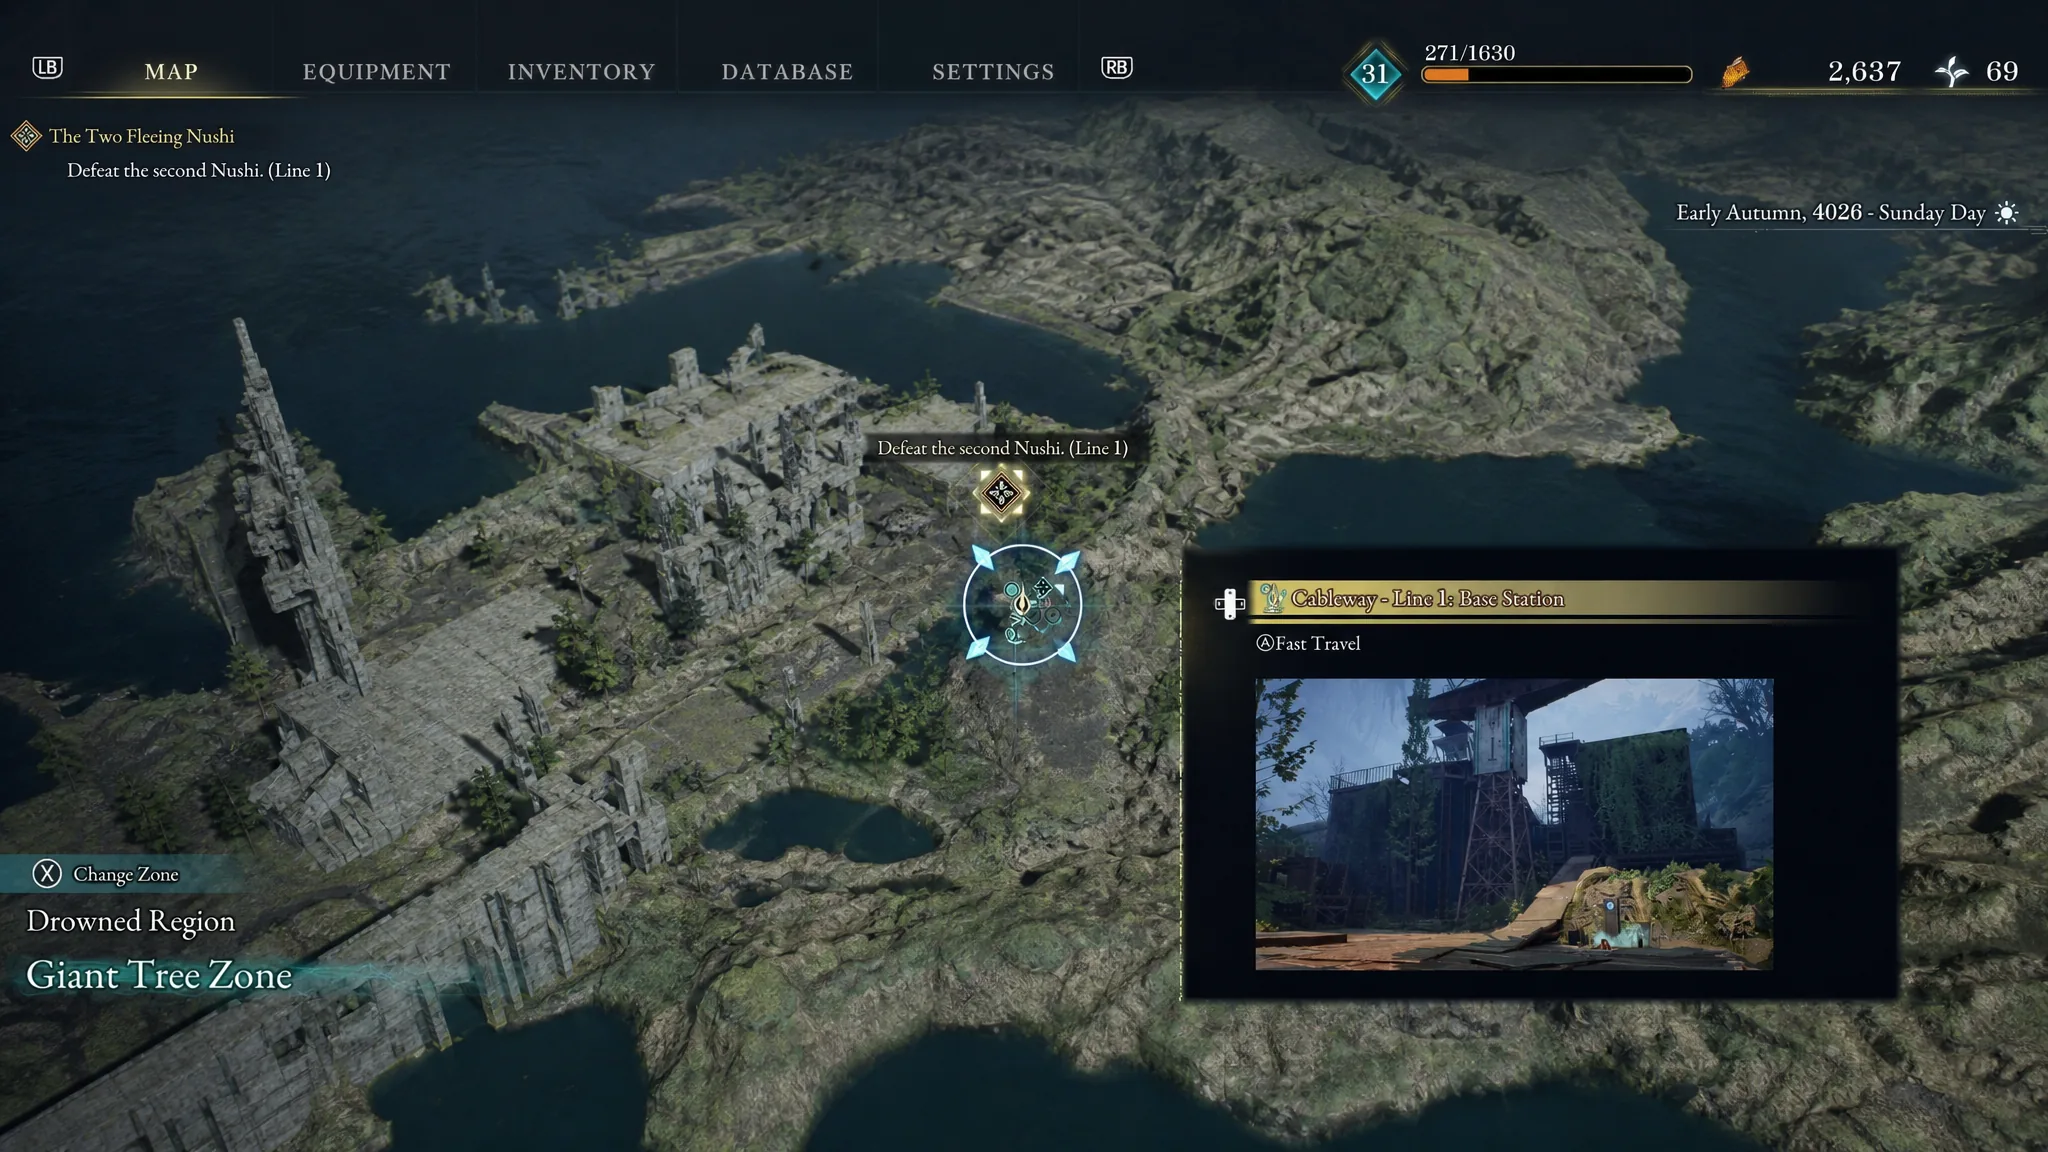
With the first Corvus down, the next objective is to hunt the second one, which sits at the top of a different cableway. Fast travel saves the return trip.
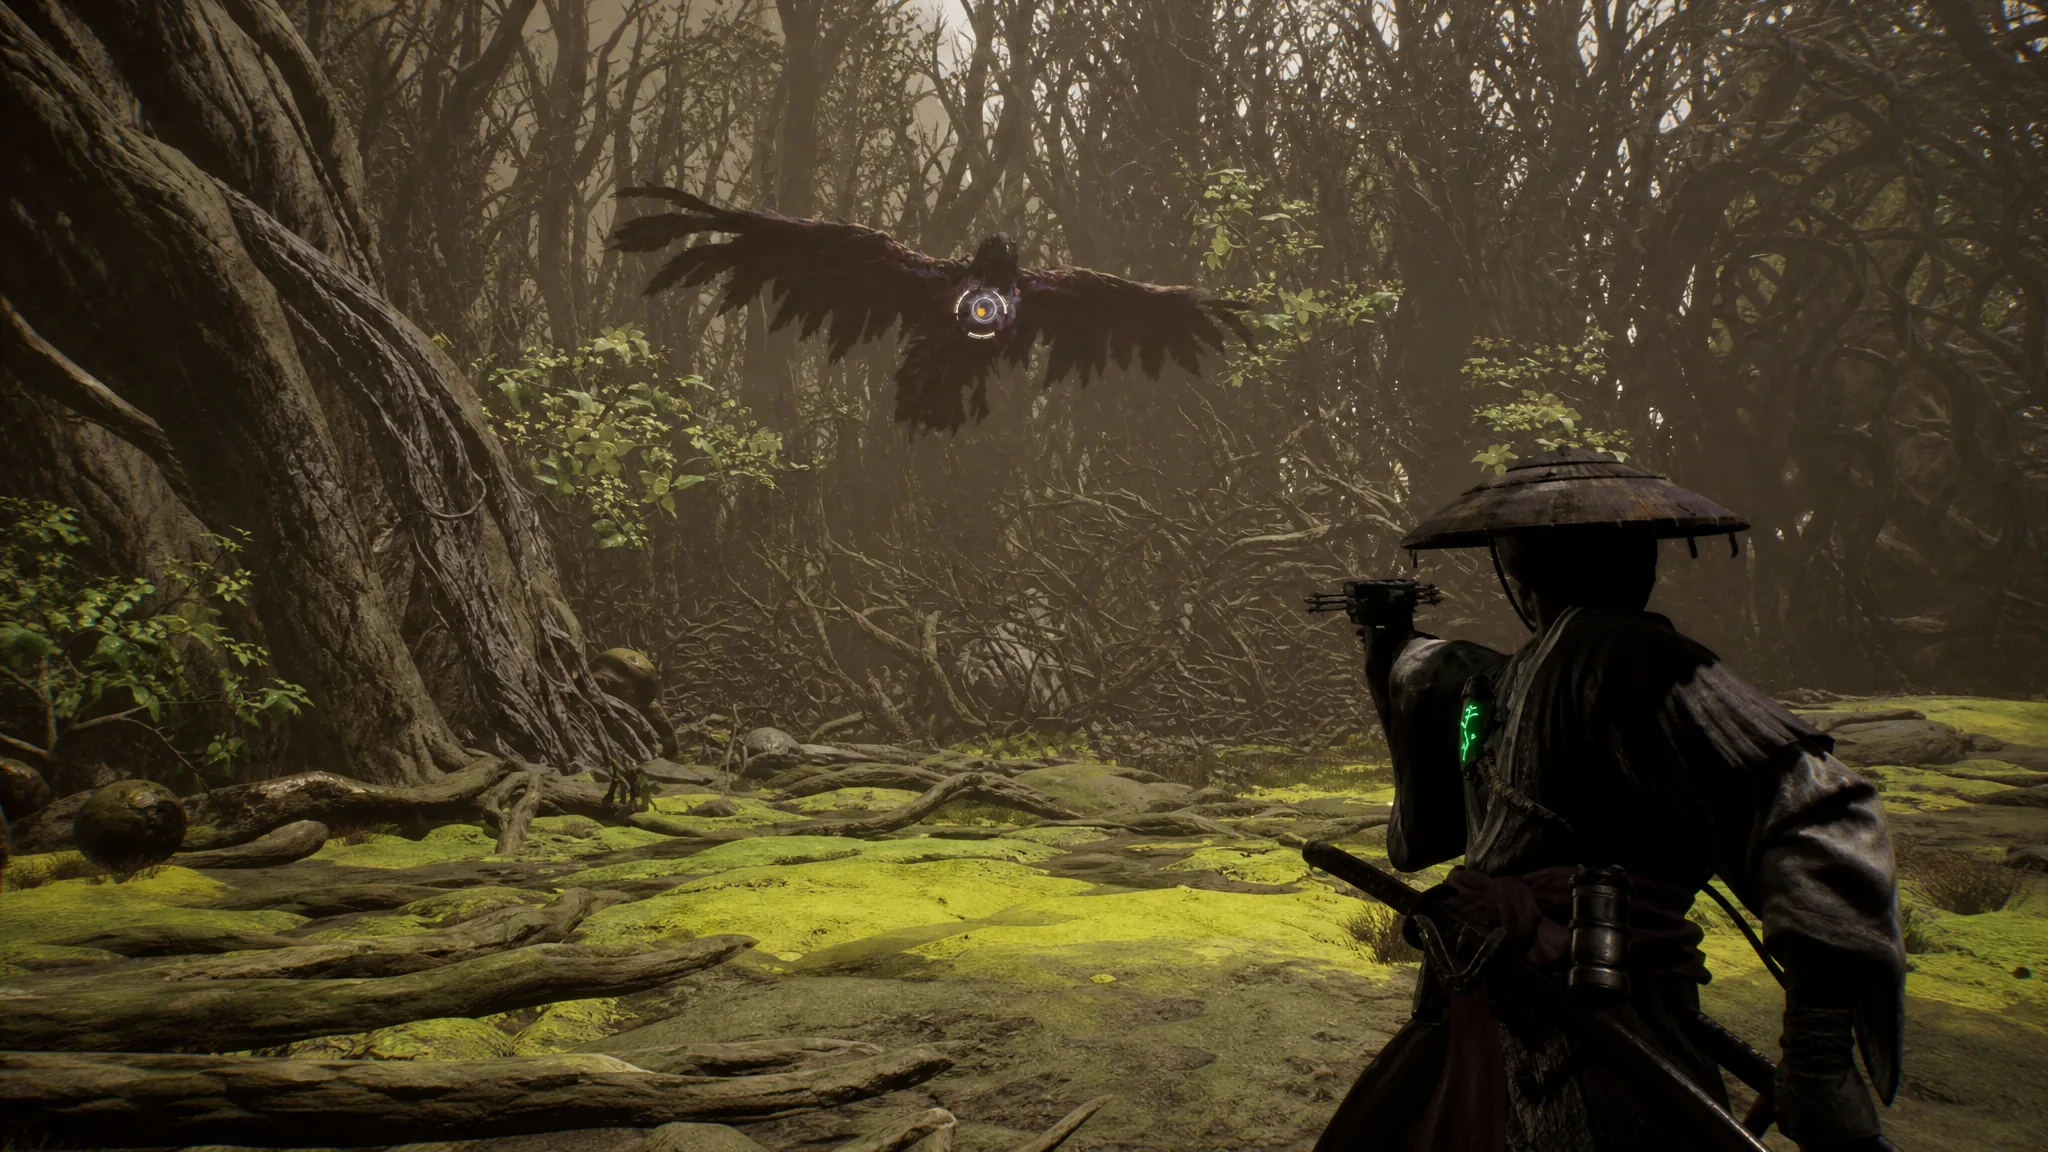
This Corvus is Level 41 and uses essentially the same moveset as the first, so the plan holds. Stay out of its immediate range and grind its health down with ranged weapons. Once its HP is gone, a cutscene plays in which Emma finishes it with an arrow.
It does not die. The Corvus re-emerges for a second phase that is far more aggressive and considerably harder than anything before it in the chapter. Keep the same spacing discipline, treat every opening as a chance for ranged damage, and don’t get greedy up close where its attacks hit hardest.
Finish Root Rot after the fight
Beating the second Corvus opens the final stretch. There is a short bit of exploration before the chapter formally closes.
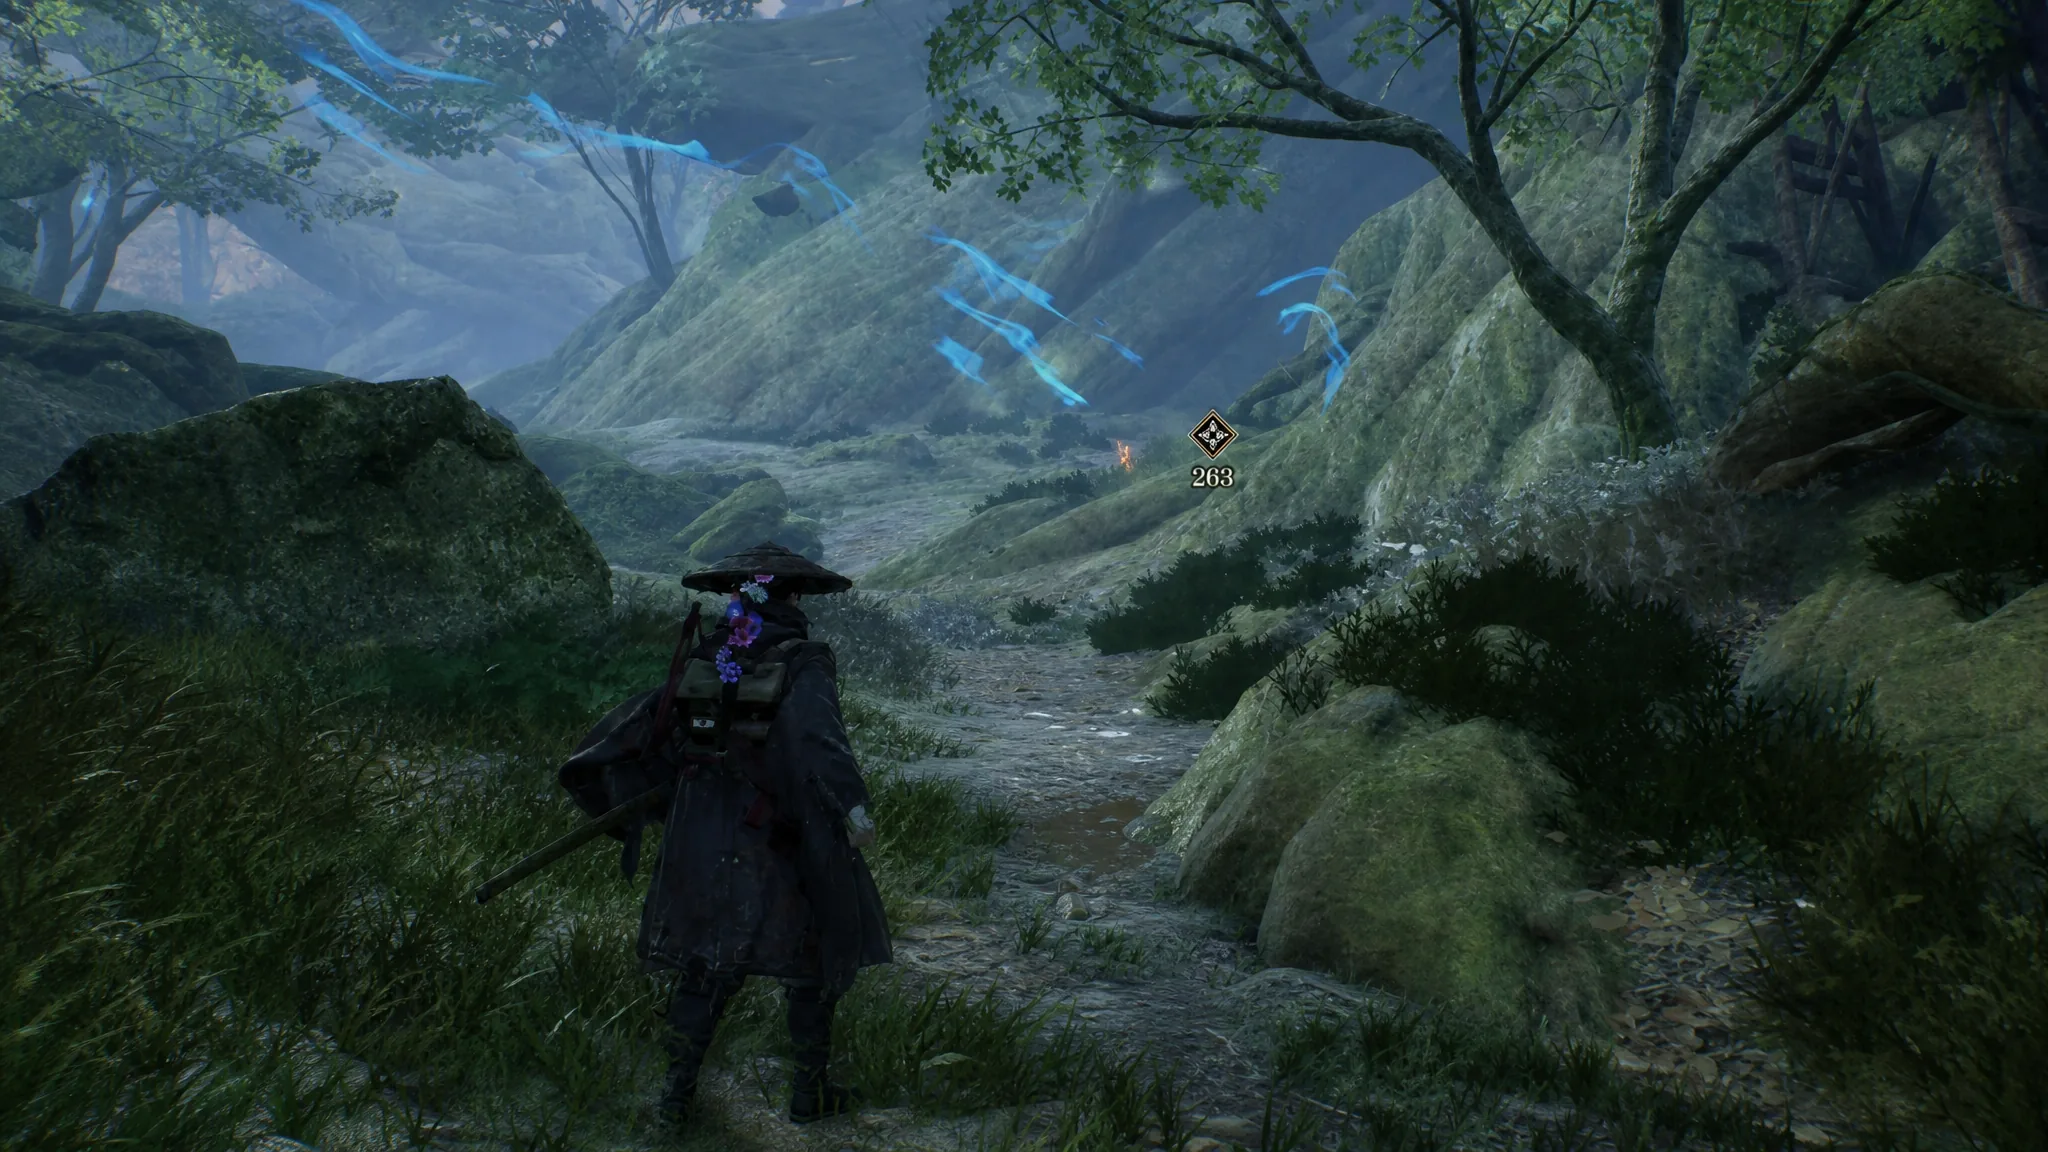
When that closing cutscene plays, Root Rot is complete and you can rest in the Cleanse Walker before Chapter 8, Worm Food, begins in the Crater Zone. If both Emma and Koo are fed at the camp beforehand, they will auto-heal between the fights here, which saves you from burning Stimpacks on the ropeway climbs.