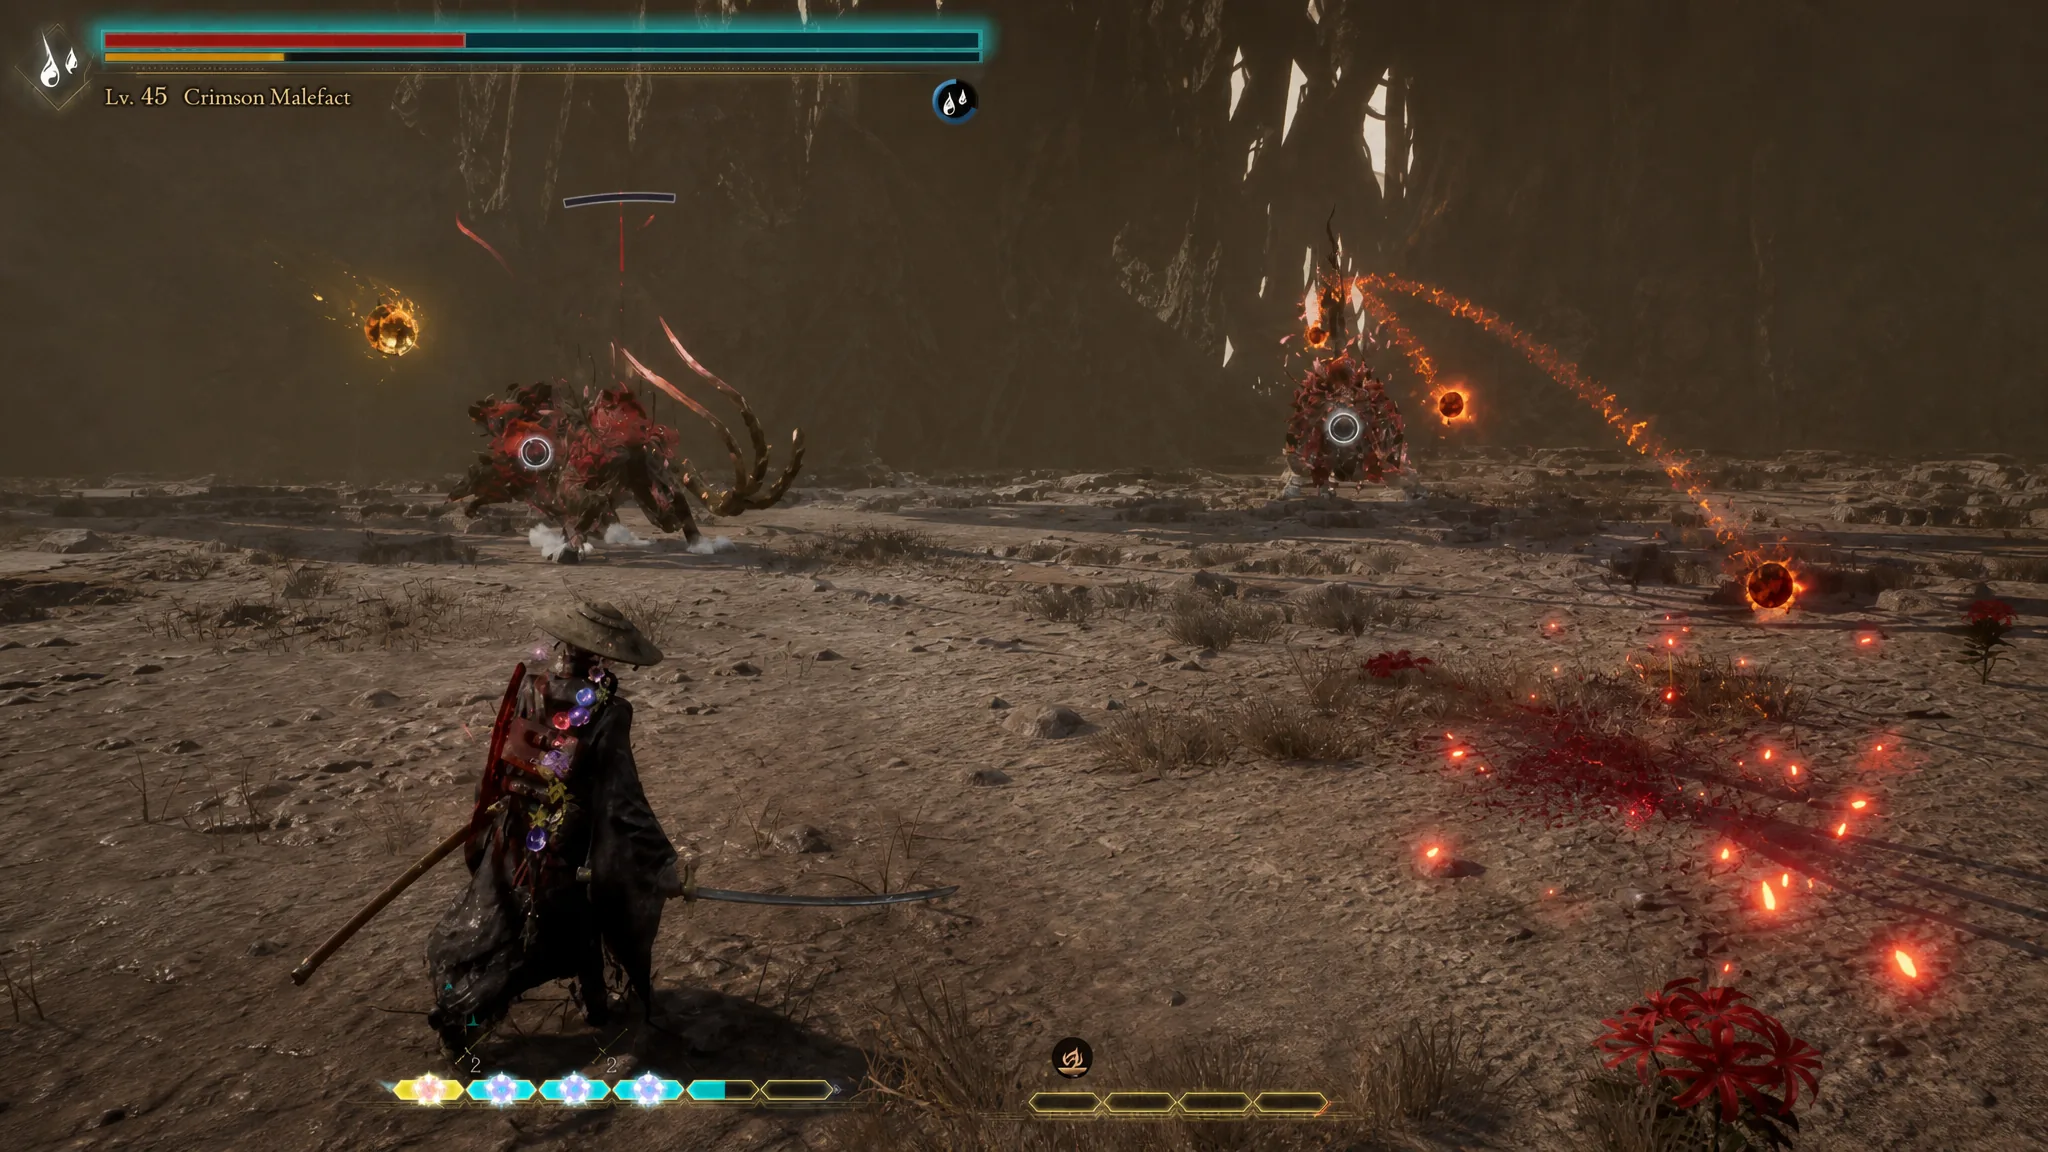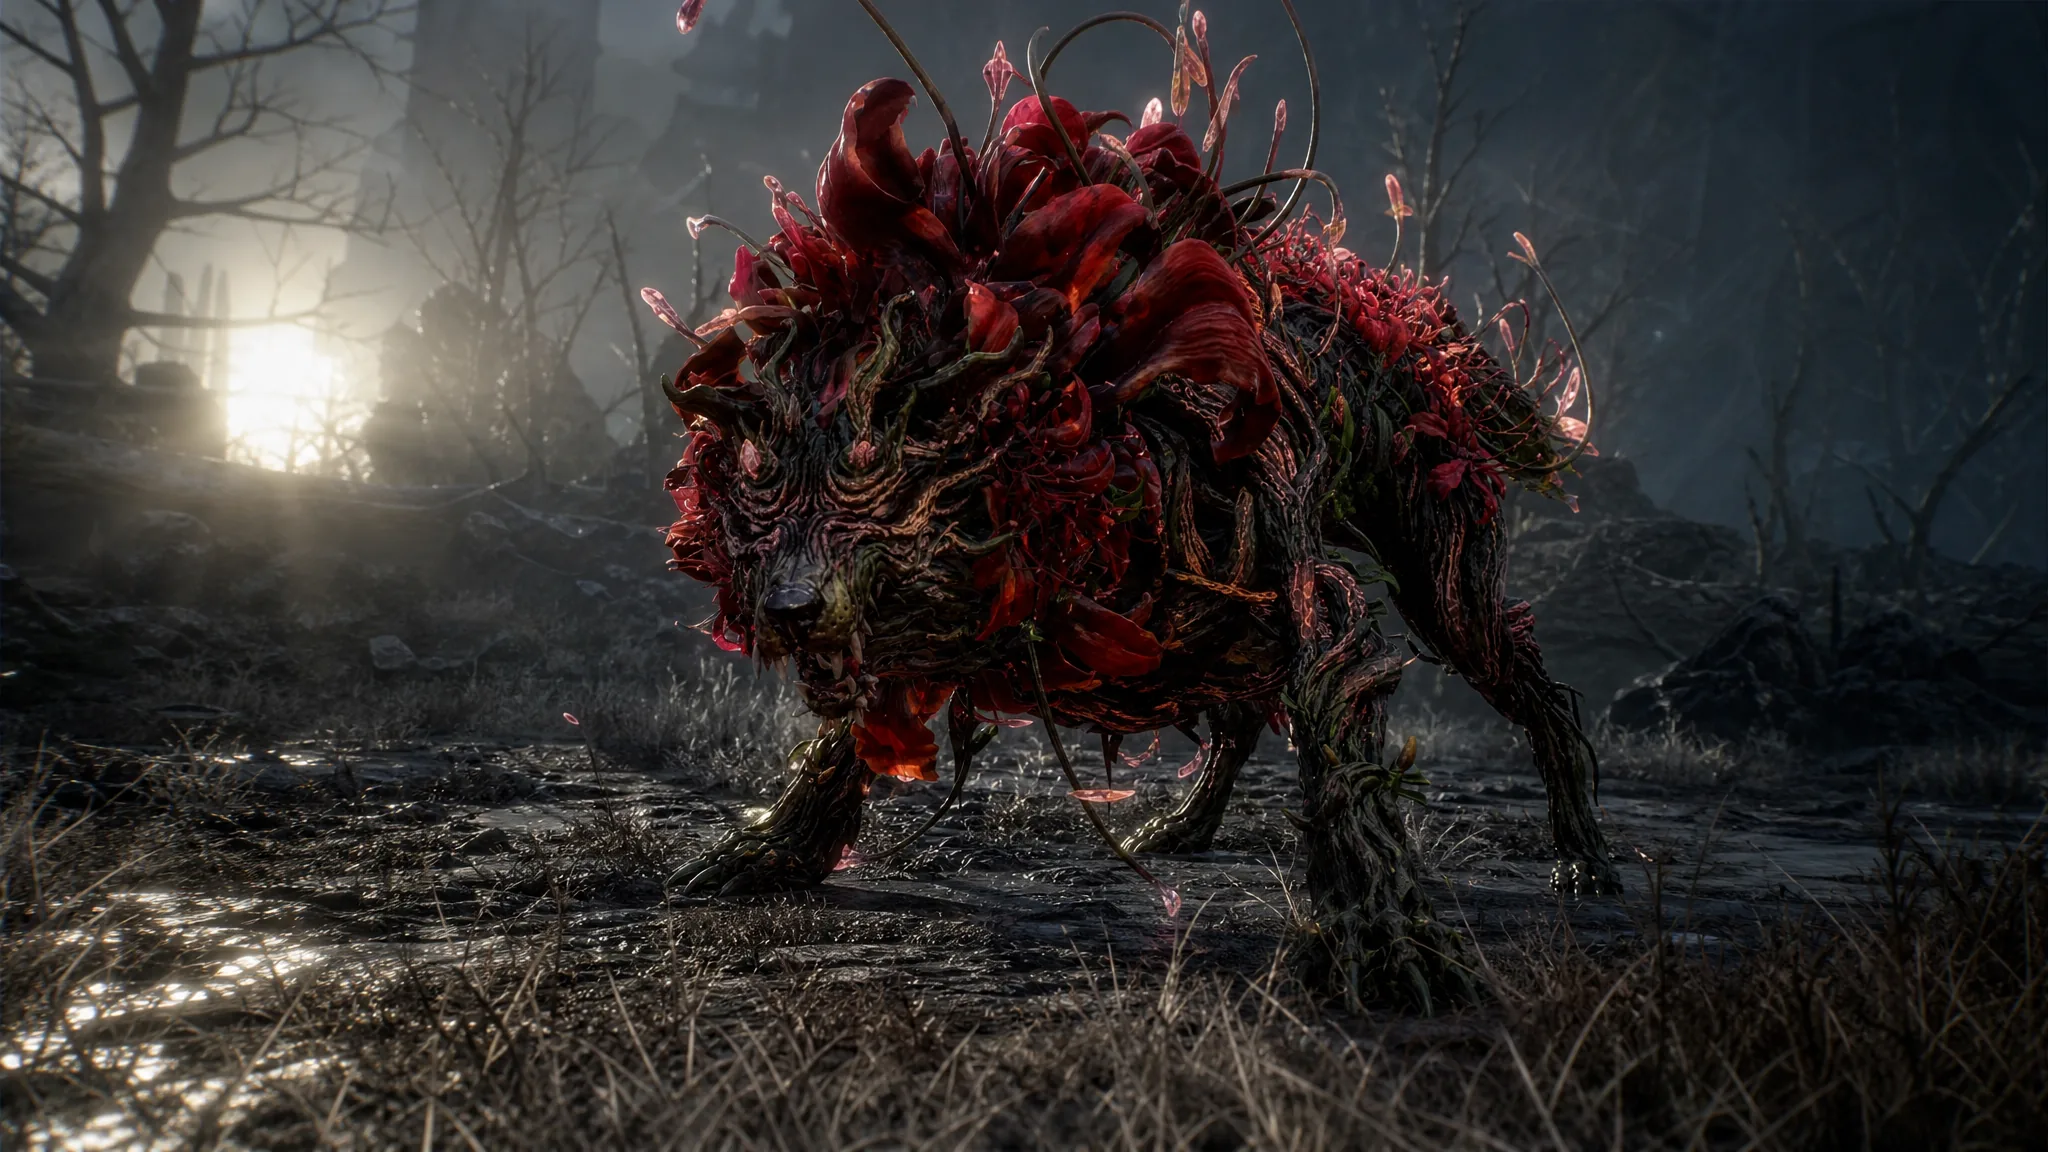
The Crimson Malefact is the Nushi at the heart of Chapter 9 in Beast of Reincarnation, and it is the one fight where Emma stands completely alone. Koo is absent after the events of Chapter 8, which means no Bloom Arts and no commanded techniques. You are left with your katana, ranged weapons, dodging, and parrying. The beast is fast, hits hard, and punishes a single missed input.
Quick answer: Equip a water-infused katana, stay aggressive to keep the boss in melee range, parry its close claw and bite attacks, and dodge every red-glowing move. Drop it to 50% HP to start Phase 2, then survive the lightning, fire, and blight-vine attacks to finish it.
Where the Crimson Malefact lair is
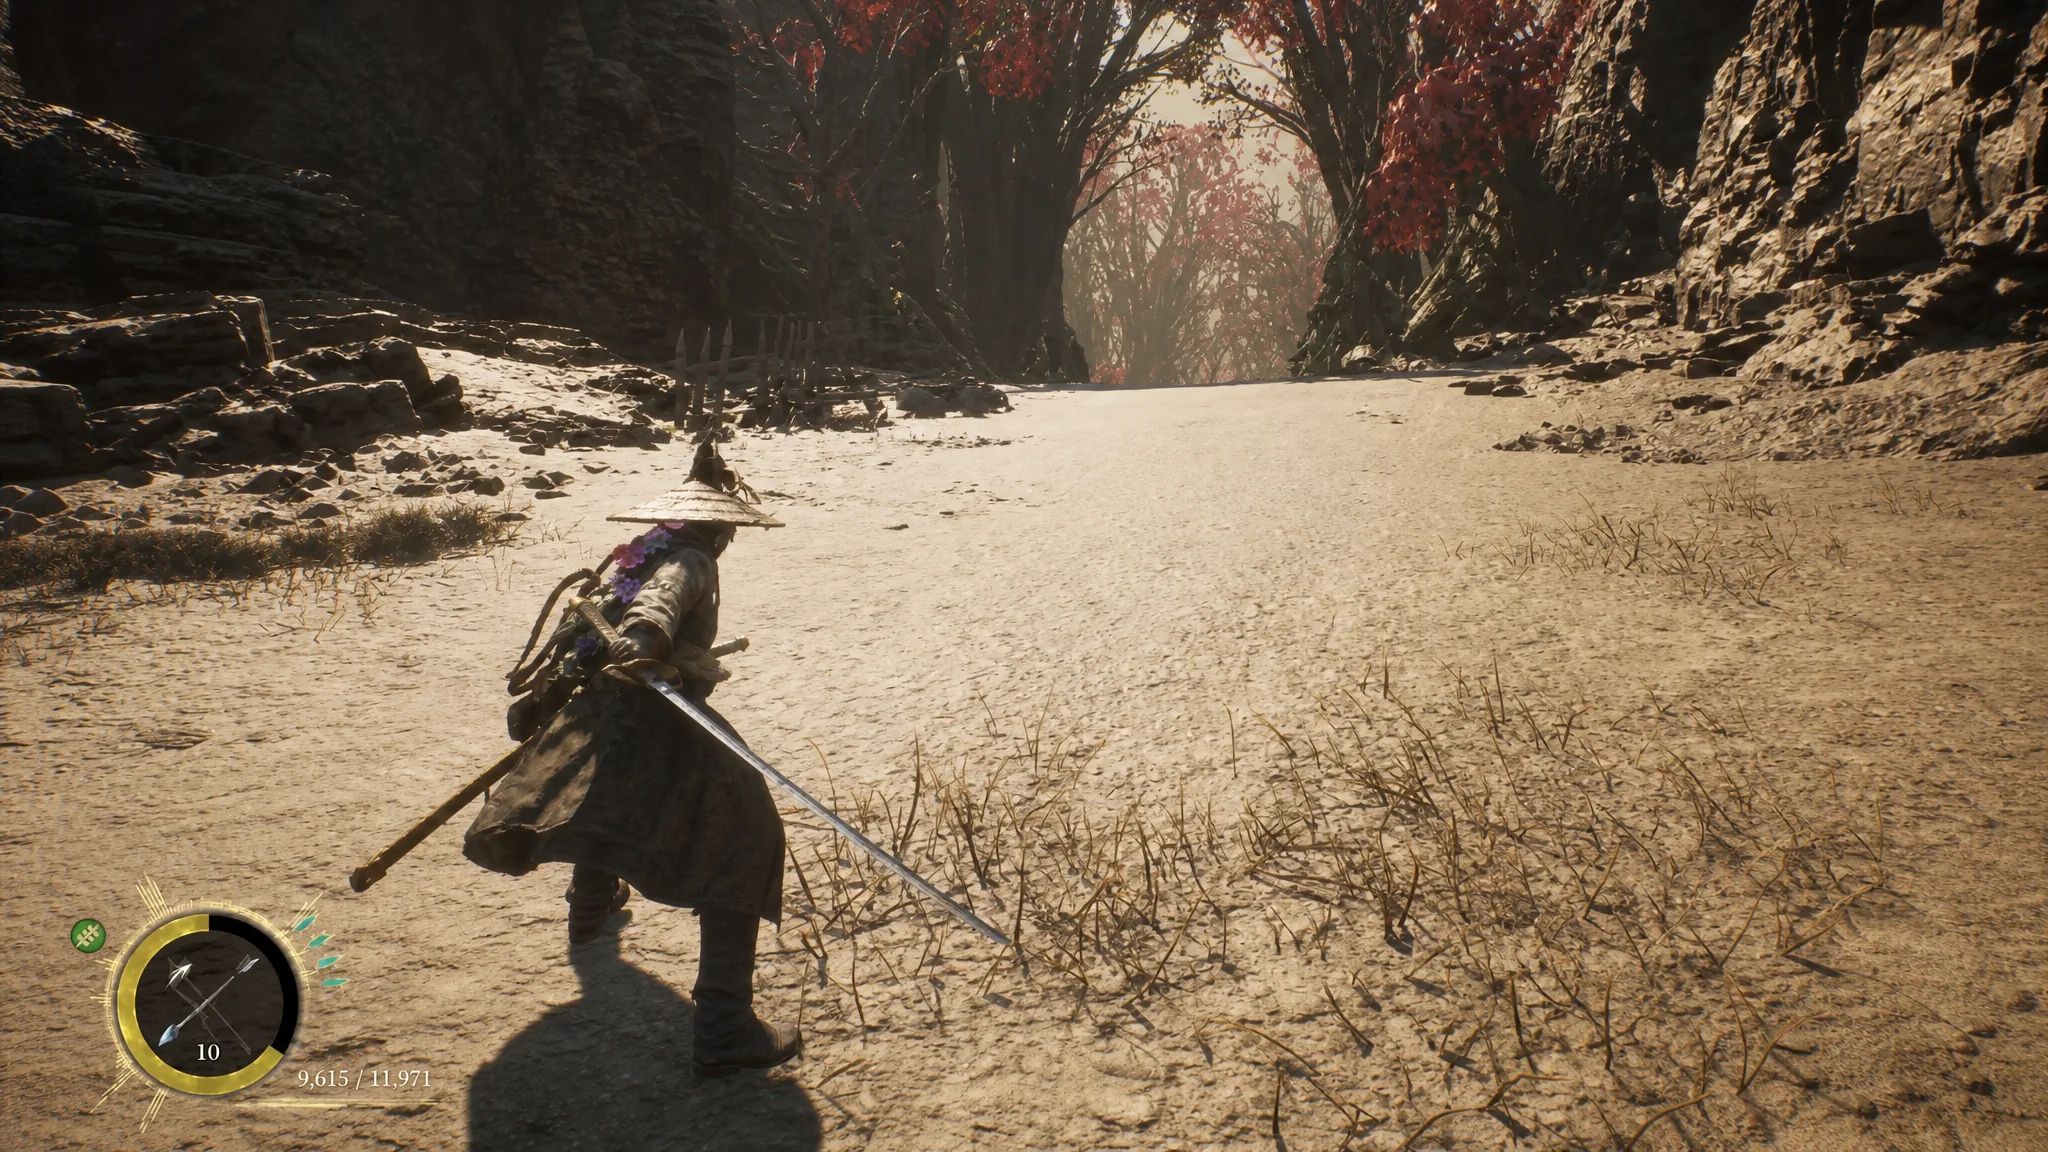
After you wake up inside the Bauera, head into the Inukami River Colony and talk to the residents to pick up the trail on the Crimson Malefact. Once you speak with the Scout Golem, take the trams to the next part of the map. From the circular platform, go left, and the lair sits just outside the colony. Reaching it is straightforward; the challenge is entirely in the fight itself.
Prepare before the fight: water weapon and no Koo
The Crimson Malefact is weak to water. A water-infused katana cuts the fight down noticeably, so slot one in before you enter. This is the only major encounter without Koo, so plan around Emma’s own kit. Ranged weapons matter here more than usual, because they let you chip damage when the boss opens distance and starts throwing ranged attacks.
Play aggressively. The Crimson Malefact’s strongest attacks are its ranged ones, and it only reaches for them when there is space between you. Staying close forces it into slashes and bites you can parry.
Phase 1 attacks and how to counter them
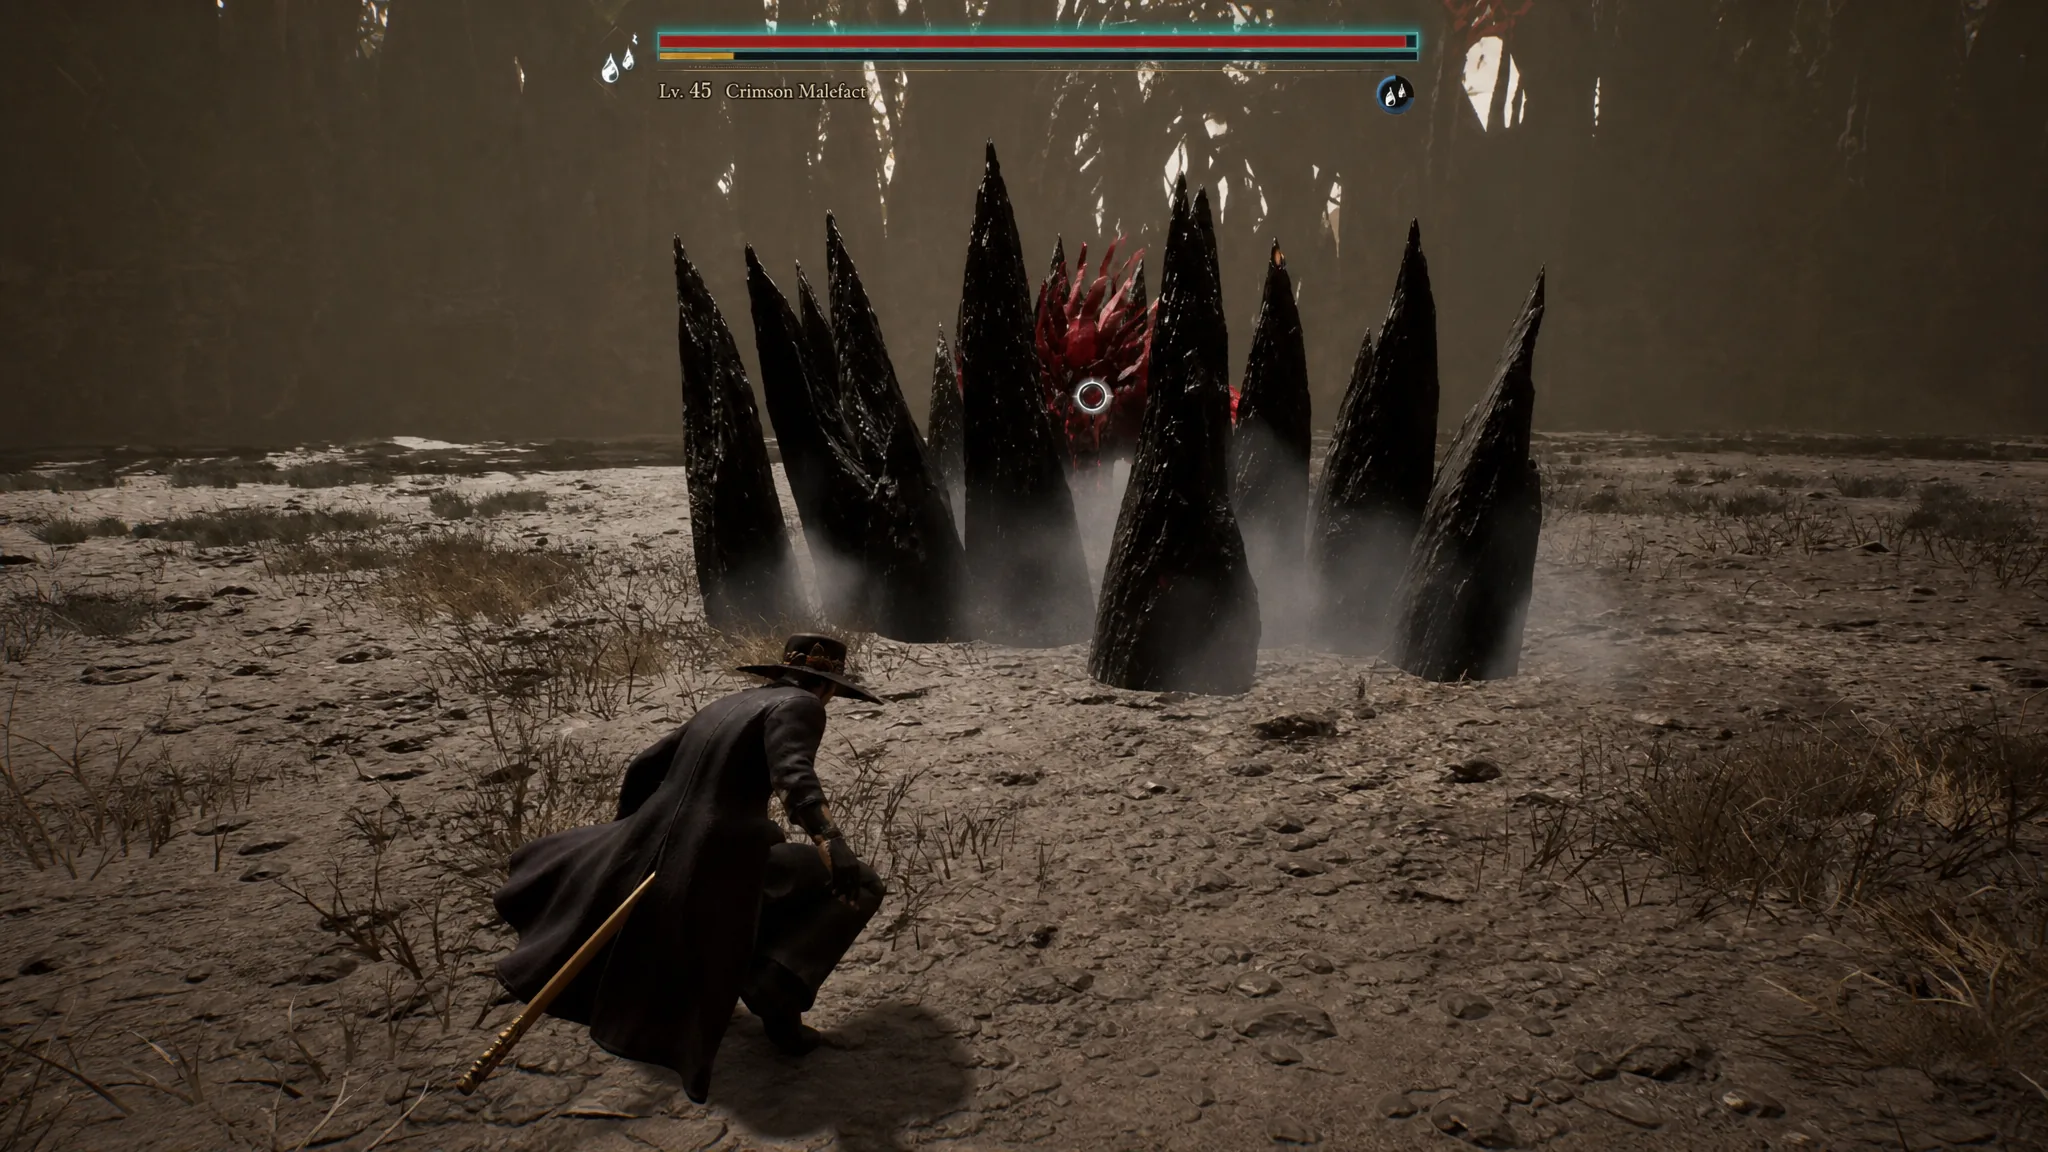
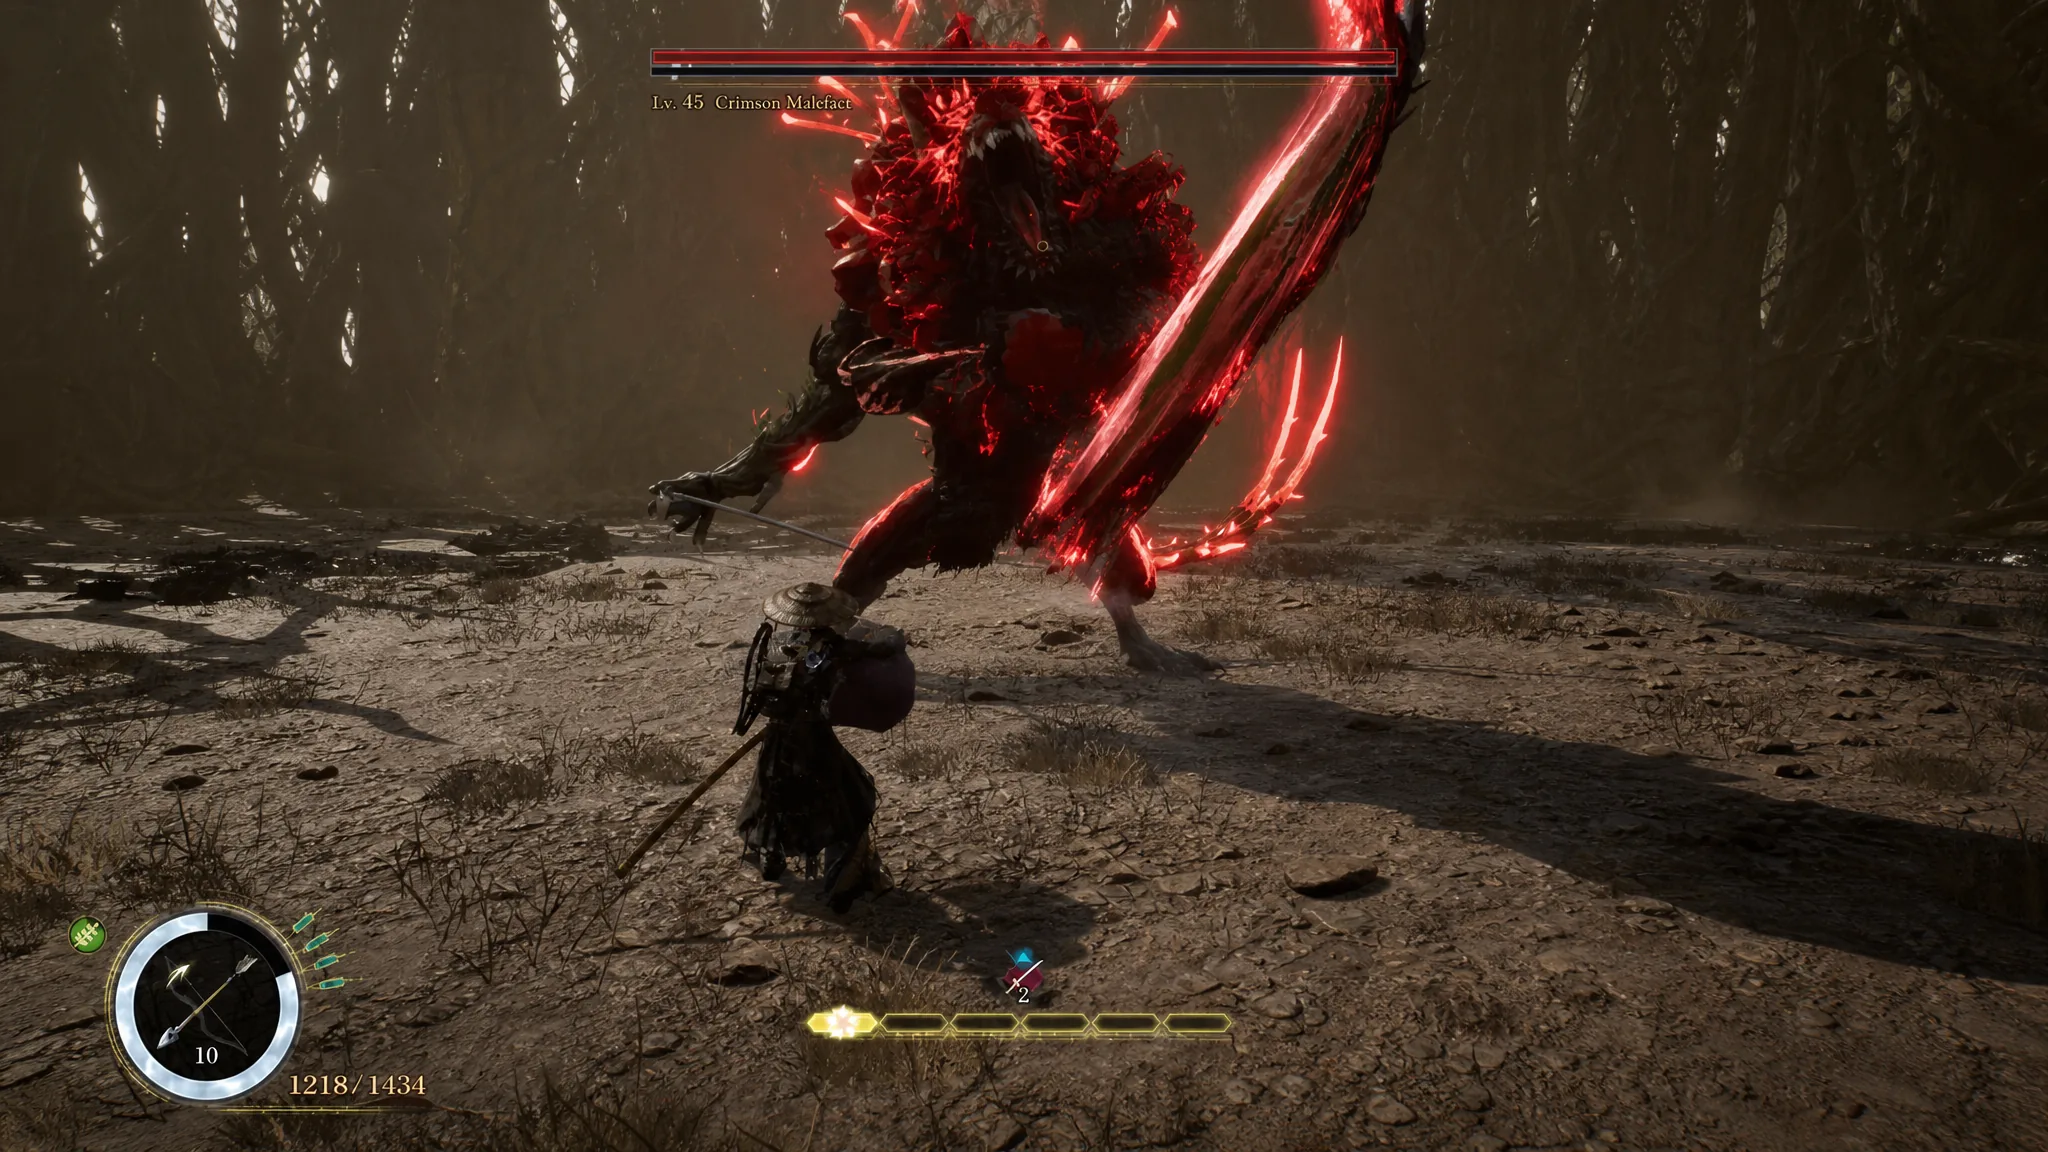
Phase 1 runs until you take the boss down to half health. There is no fixed attack order, so read the tells rather than memorizing a rotation. The core rule is simple: anything that glows red cannot be parried and must be dodged. Everything else in close range can be parried for a counter window.
| Attack | What it does | Counter |
|---|---|---|
| Pounce / Ground Spikes | Jumps back, then leaps in and slams down, raising spikes from the ground for heavy damage. Sometimes used point-blank with no windup. | Cannot be parried. Perfect-dodge it, ideally toward the boss to land a counterattack. |
| Rock Throw | Leaps backward, then hurls a cluster of rocks at you. | Cannot be parried. Dodge to the side, or dodge toward the boss to close the gap. |
| Bite | Rears up on its hind legs and charges a heavy downward bite, sometimes twice in a row. | Parry when its head starts dropping. A clean parry opens it up for hits. |
| Tail Swipe | A fast, sudden tail swing for moderate damage. | Parry with precise timing, or dodge the swing. |
| Triple Bite Combo | Three quick bites in close range that can chain into a kill. | Dodge away, or parry all three if your timing is exact. |
| Triple Slash Combo | Three rapid claw swipes, often between ranged attacks. The windup is easy to read. | Parry or dodge each swipe. A single miss can end the run. |
| Enraged Combo | The boss glows red and unleashes a long multi-hit combo capped by a tail swipe. | Cannot be parried. Dodge the whole thing; a hit here is nearly always fatal. |
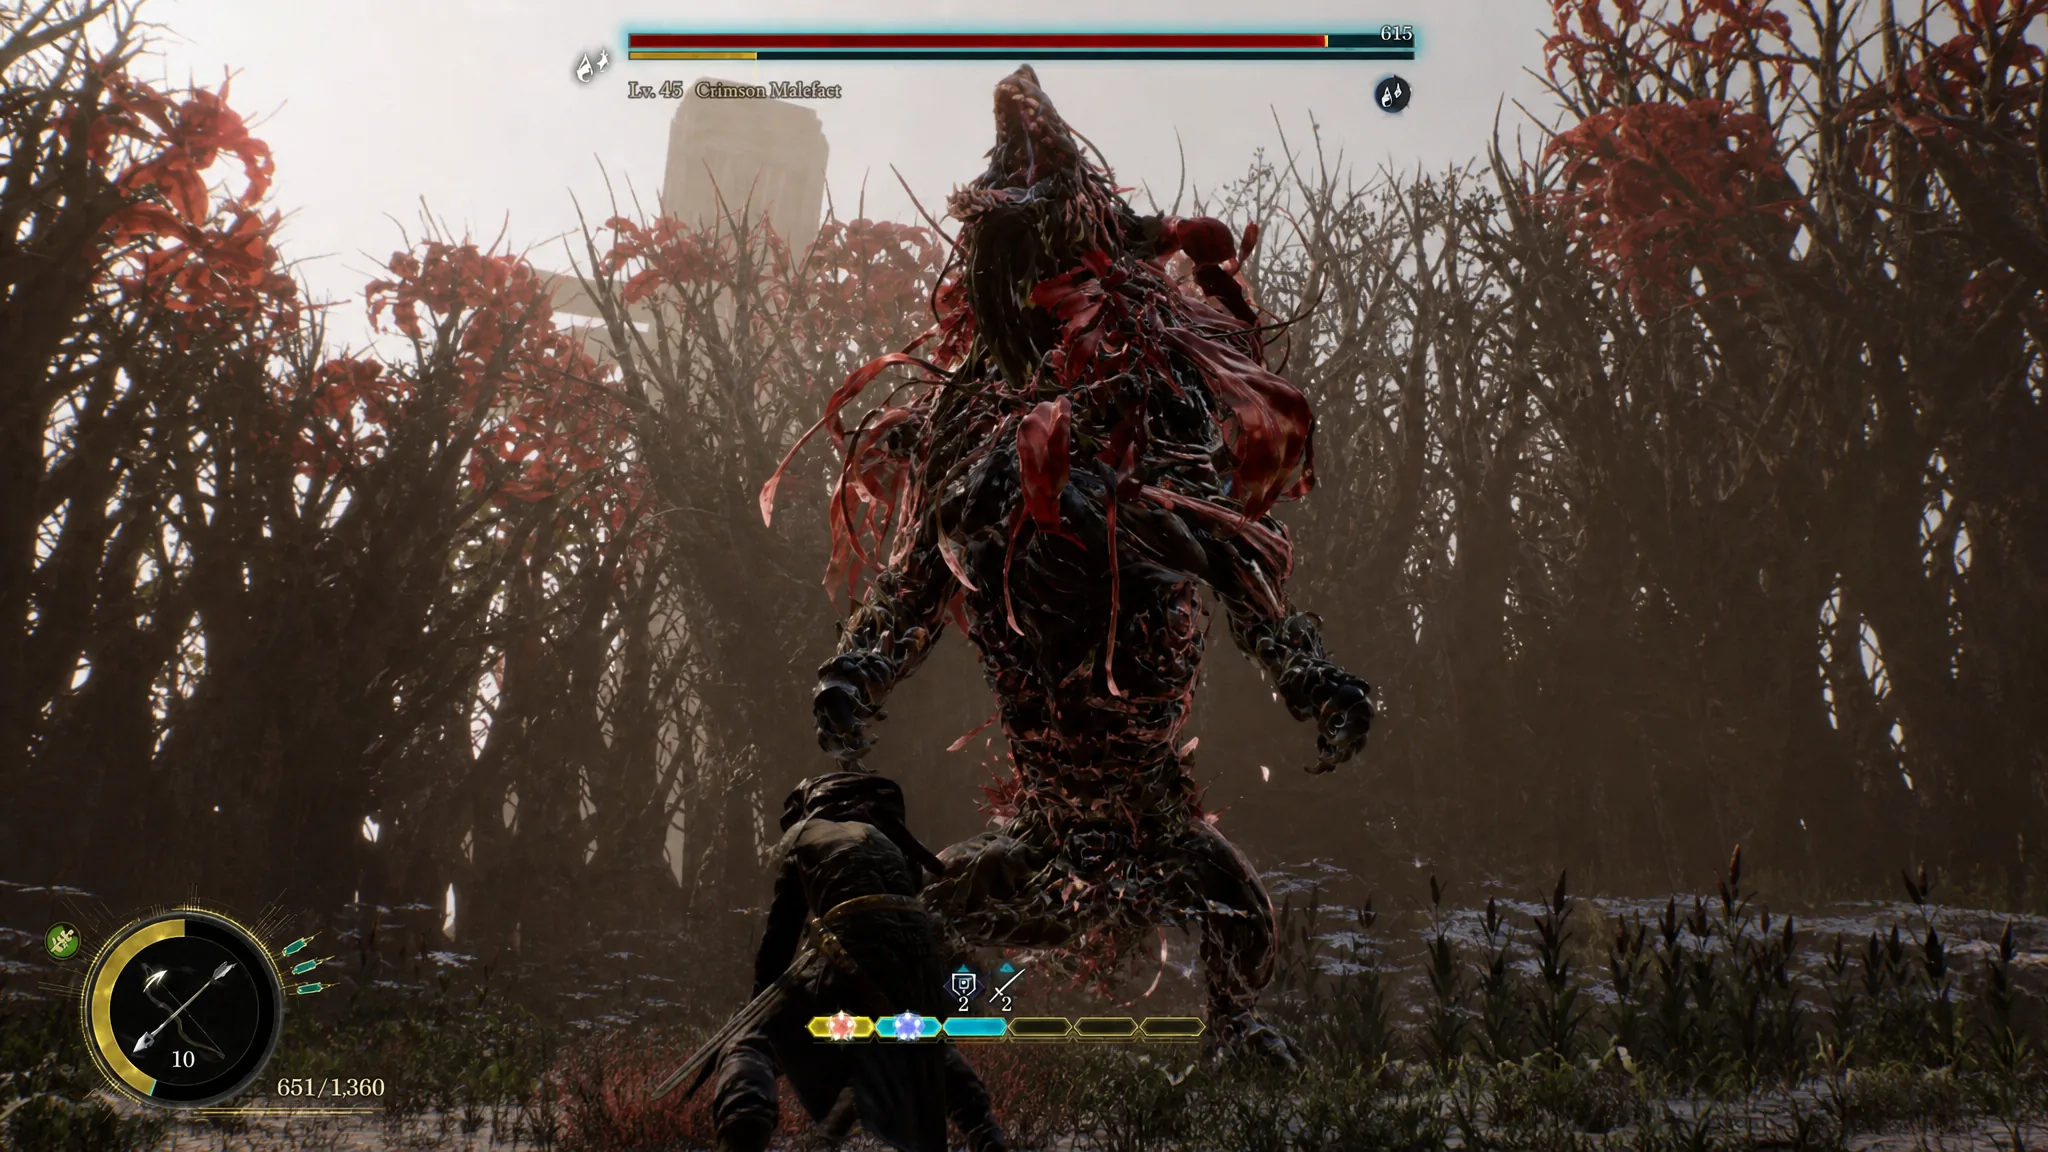
For its claw attacks, keep your eyes on the paws through the entire animation and hit parry the moment a claw begins to drop. The parry window in this game is fairly forgiving, so you have some room even if your timing is slightly off.
Phase 2: blight and elemental attacks
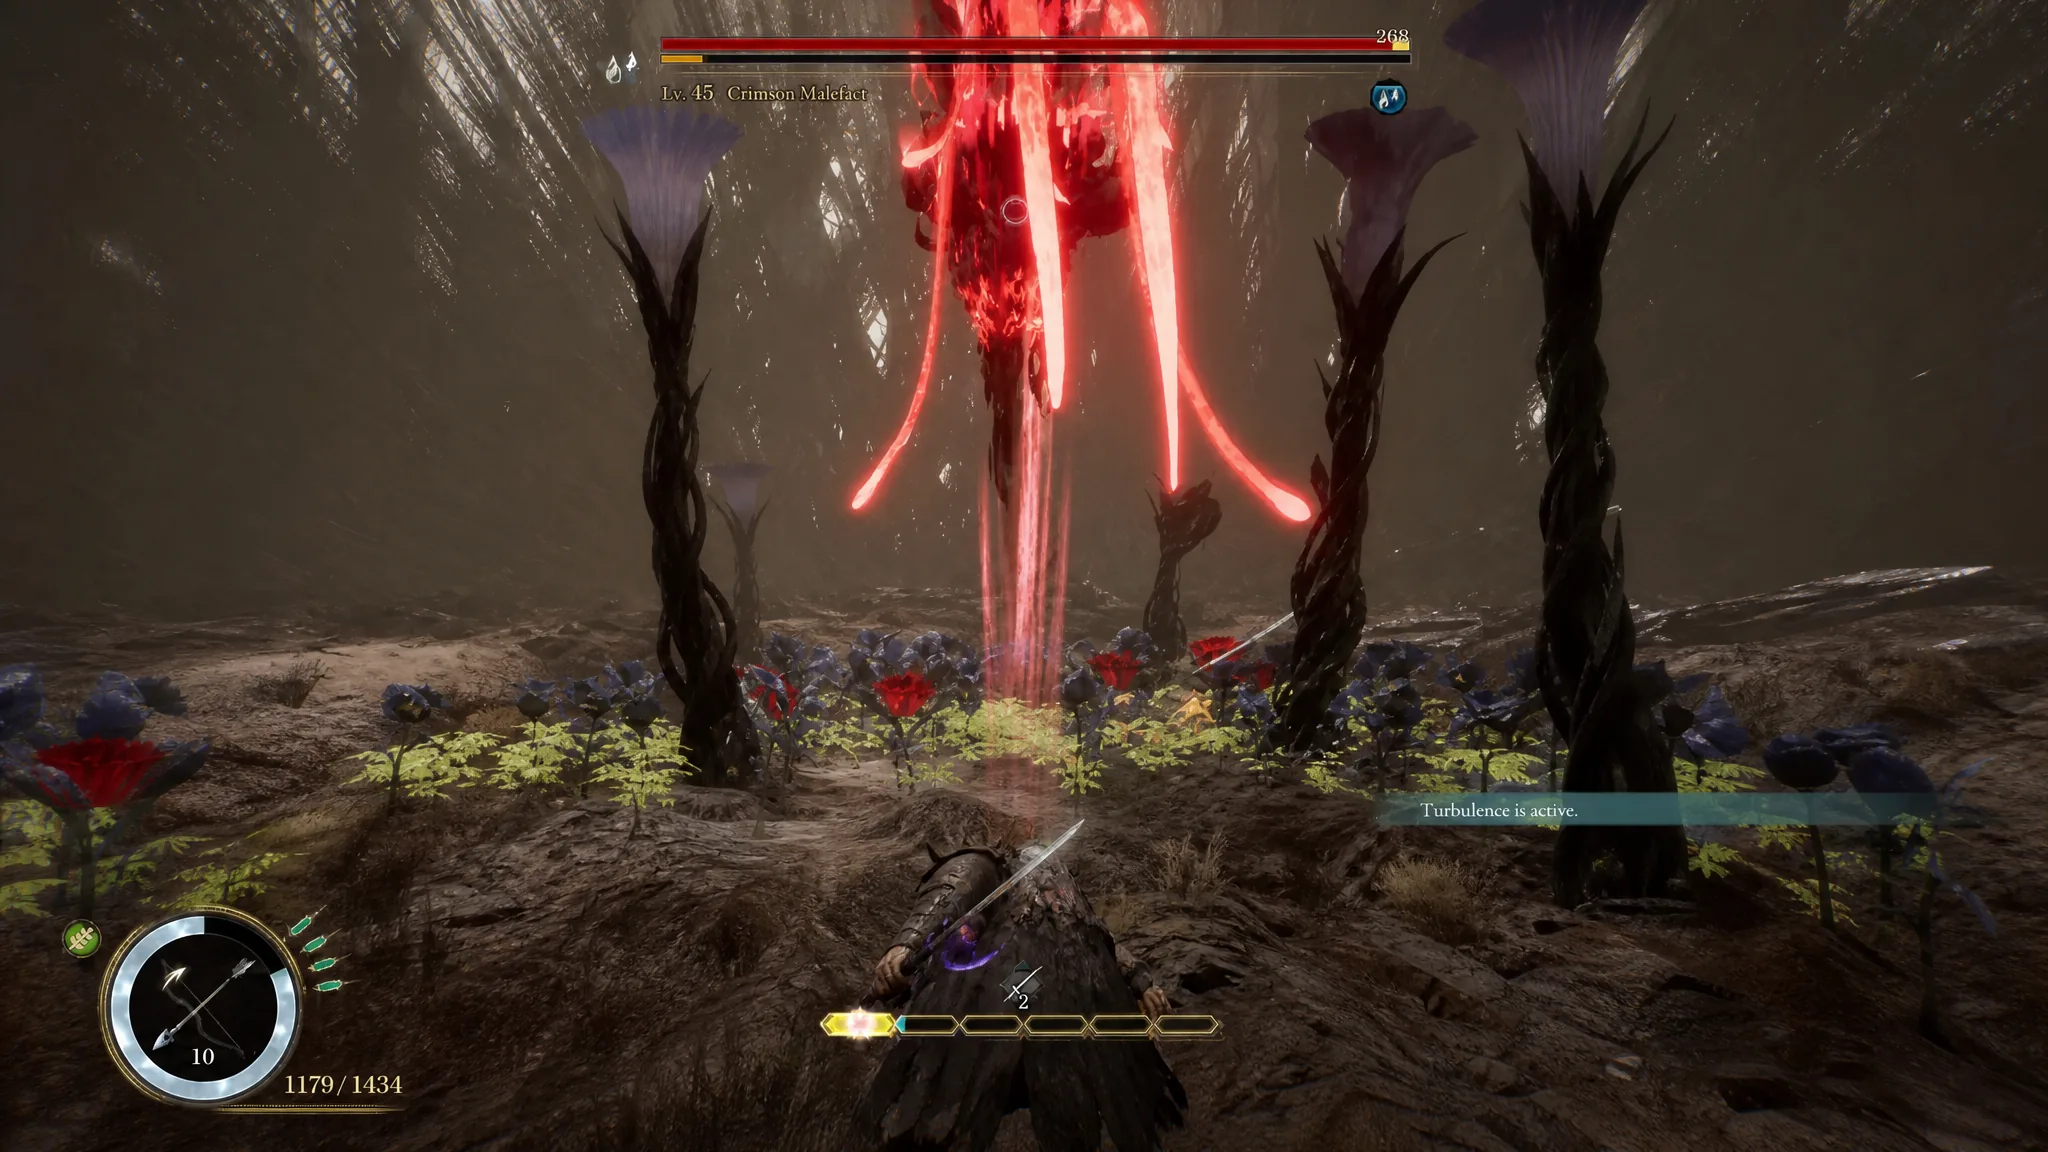
Phase 2 begins the moment the boss hits 50% health. It keeps every Phase 1 move and layers on blight and elemental attacks that punish spacing even harder. These new attacks are the main reason people wipe late in the fight.
| New attack | What it does | Counter |
|---|---|---|
| Blight Vines | Launches vines toward you that burst into thorns when they reach your position. | Dodge before they detonate to avoid being caught. |
| Lightning Projectile | Throws a single lightning bolt that triggers follow-up strikes on you if it connects. | Dodge it outright; getting tagged chains extra damage. |
| Fire Projectiles | Fires multiple fireballs that can stagger and quickly kill. | Dodge and avoid; do not try to tank them. |
Winning strategy: stay close and dodge into the boss
The whole fight tilts in your favor when you refuse to give the Crimson Malefact room. Dodge its red-glowing attacks in the direction of the boss rather than to the side or backward. A perfect dodge toward it lets you press the attack button immediately after for a strong counterattack, and it keeps you glued to its body where its ranged options are useless.
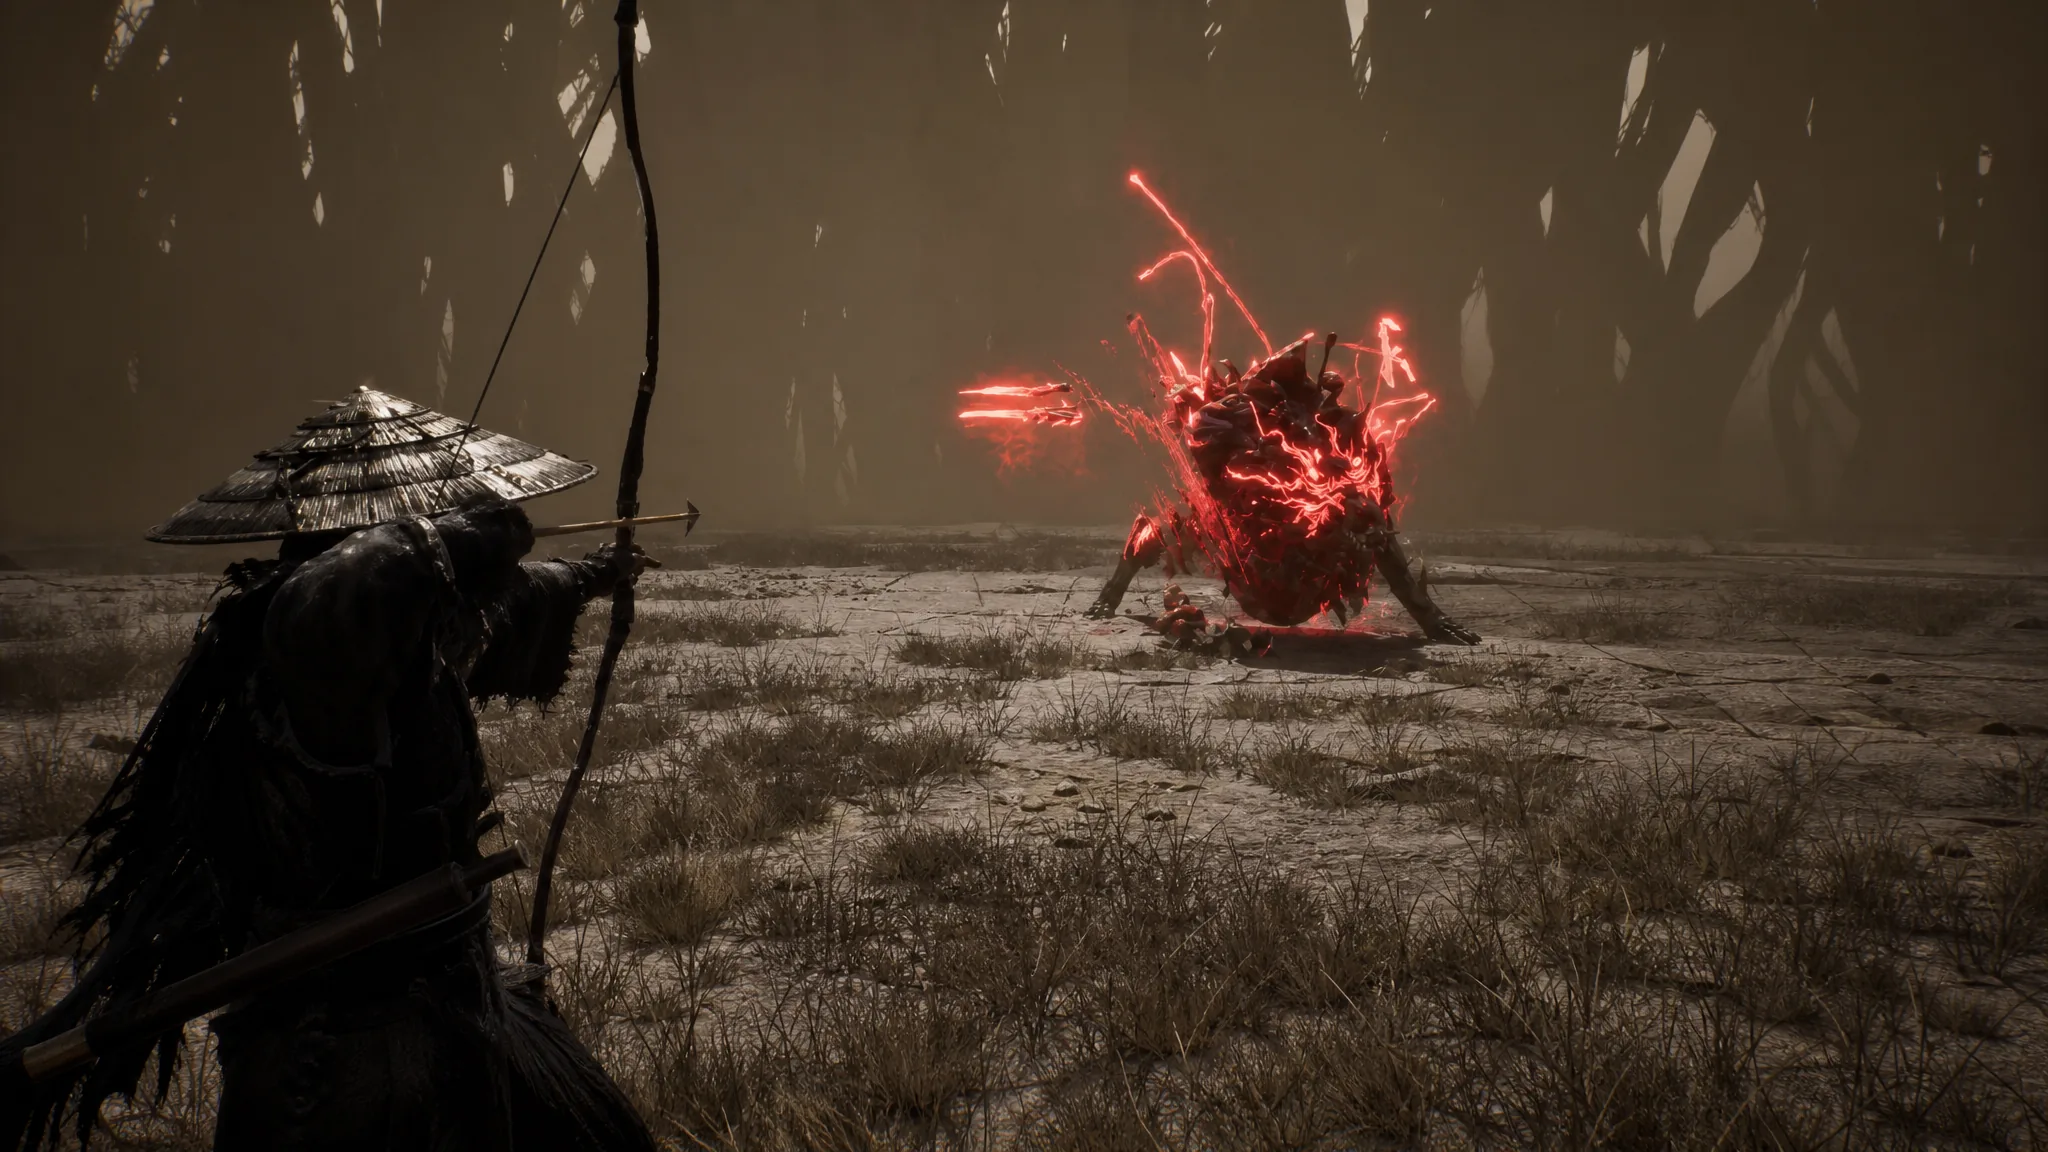
When the boss is too fast to catch and keeps escaping, switch to your bow or crossbow and land ranged hits for chip damage until you can close in again. Use Entanglement Overdrive the instant the meter fills, right after one of the boss’s attacks ends. It slows time, giving you a wider window to string together several Nushi skills during those short punish gaps.
- Avoid every glowing attack; each one deals massive damage.
- Parry close-range slashes and bites; dodge the rest.
- Keep a water-infused weapon equipped to shorten the fight.
- Learn the tells rather than the order, since attacks are sporadic.
Reward for defeating the Crimson Malefact
Unlike other bosses, the Crimson Malefact does not hand you a new Nushi Skill or Blade Finisher. Instead, you are rewarded with Koo’s memories, described in-game as “A large piece of amber imbued with memories.” The win is confirmed once the fight ends and this reward appears. The Crimson Malefact was Koo in his Nushi form, and beating it in combat does not harm him; it pulls him back from being fully consumed by the sickness.
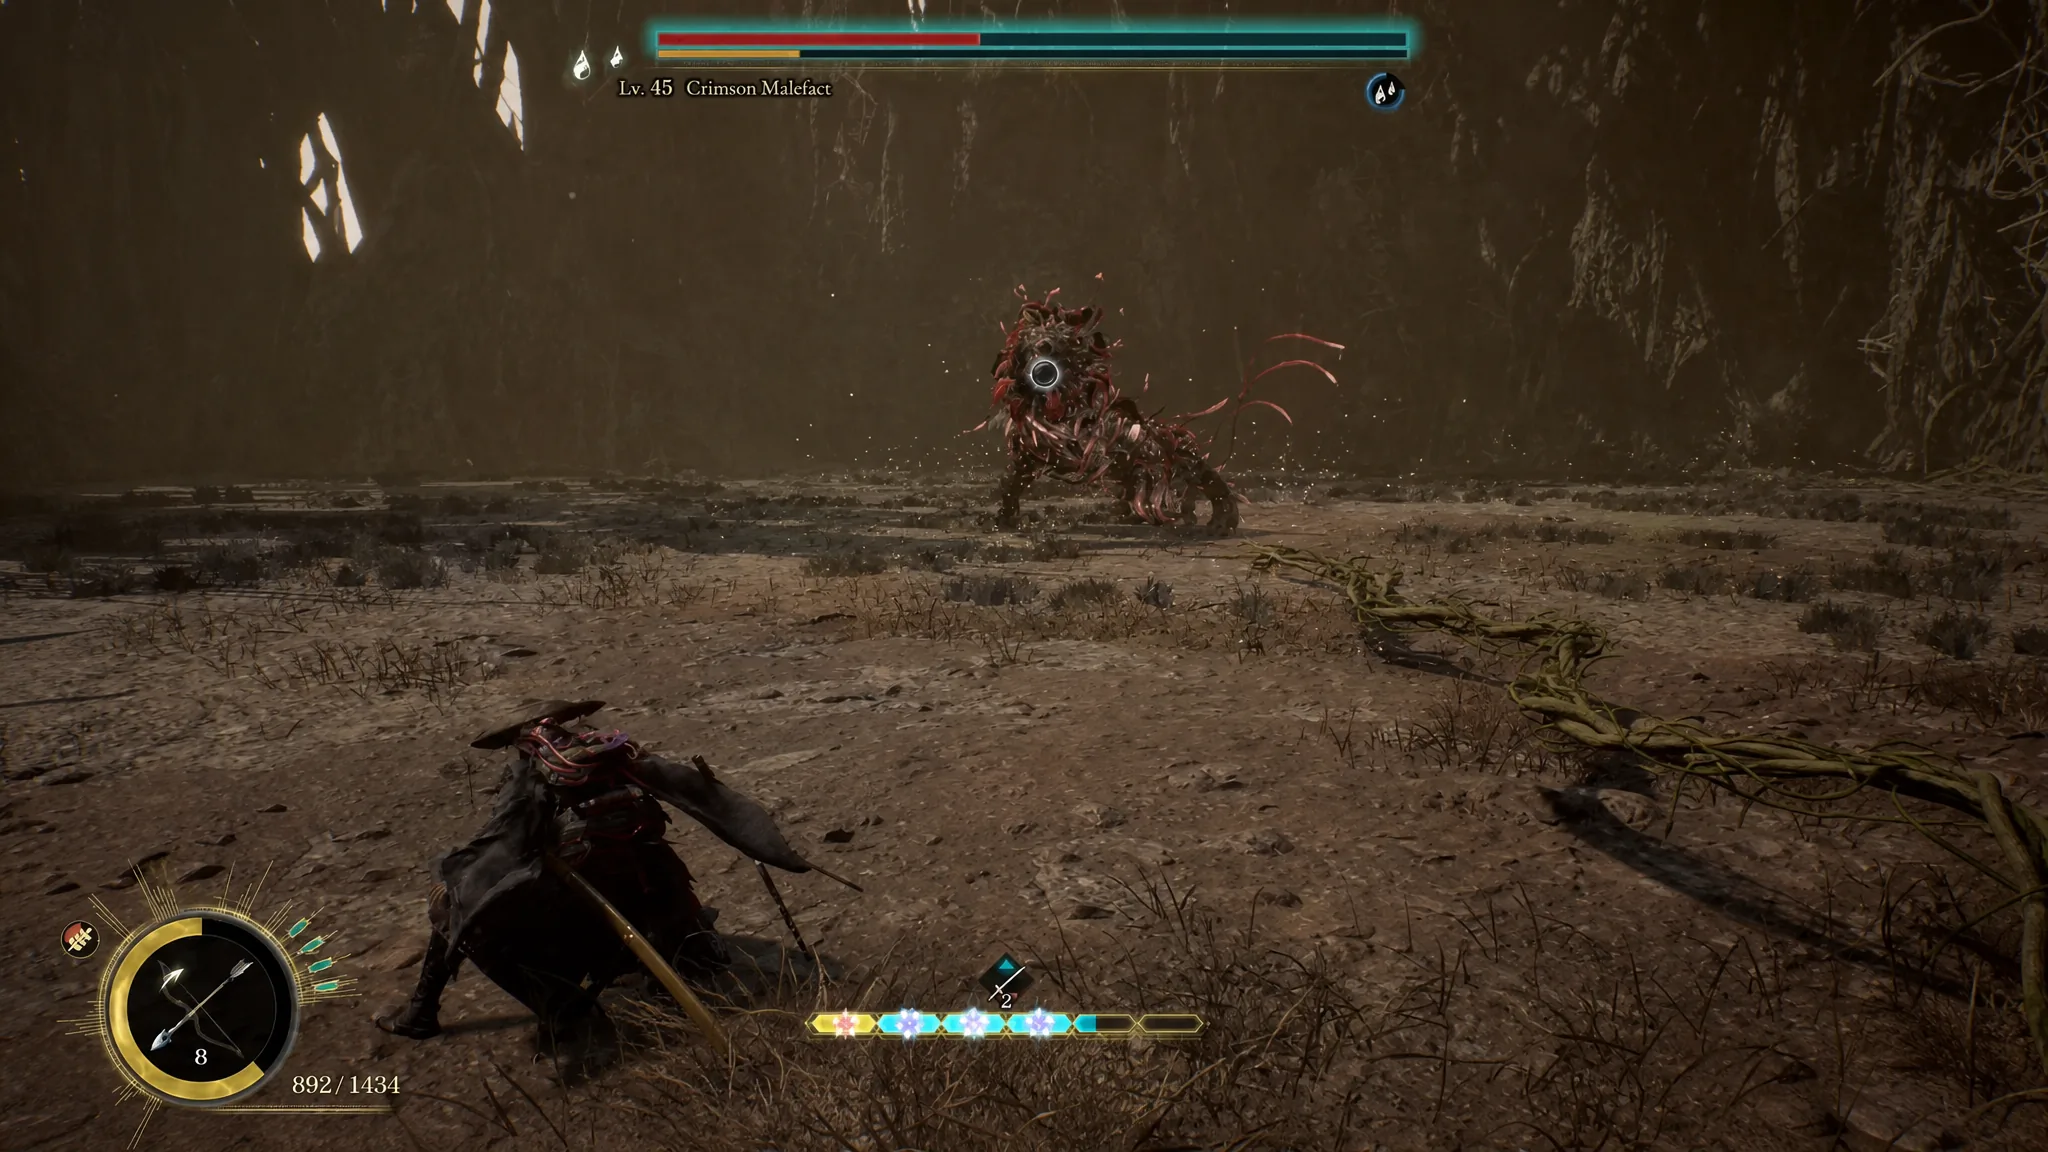
Once you internalize which attacks glow red and drill the parry rhythm on its bites and slashes, the Crimson Malefact stops feeling overwhelming. Stay aggressive, punish through Entanglement Overdrive, and keep that water infusion on your blade, and the solo Nushi fight becomes a matter of patience rather than luck.