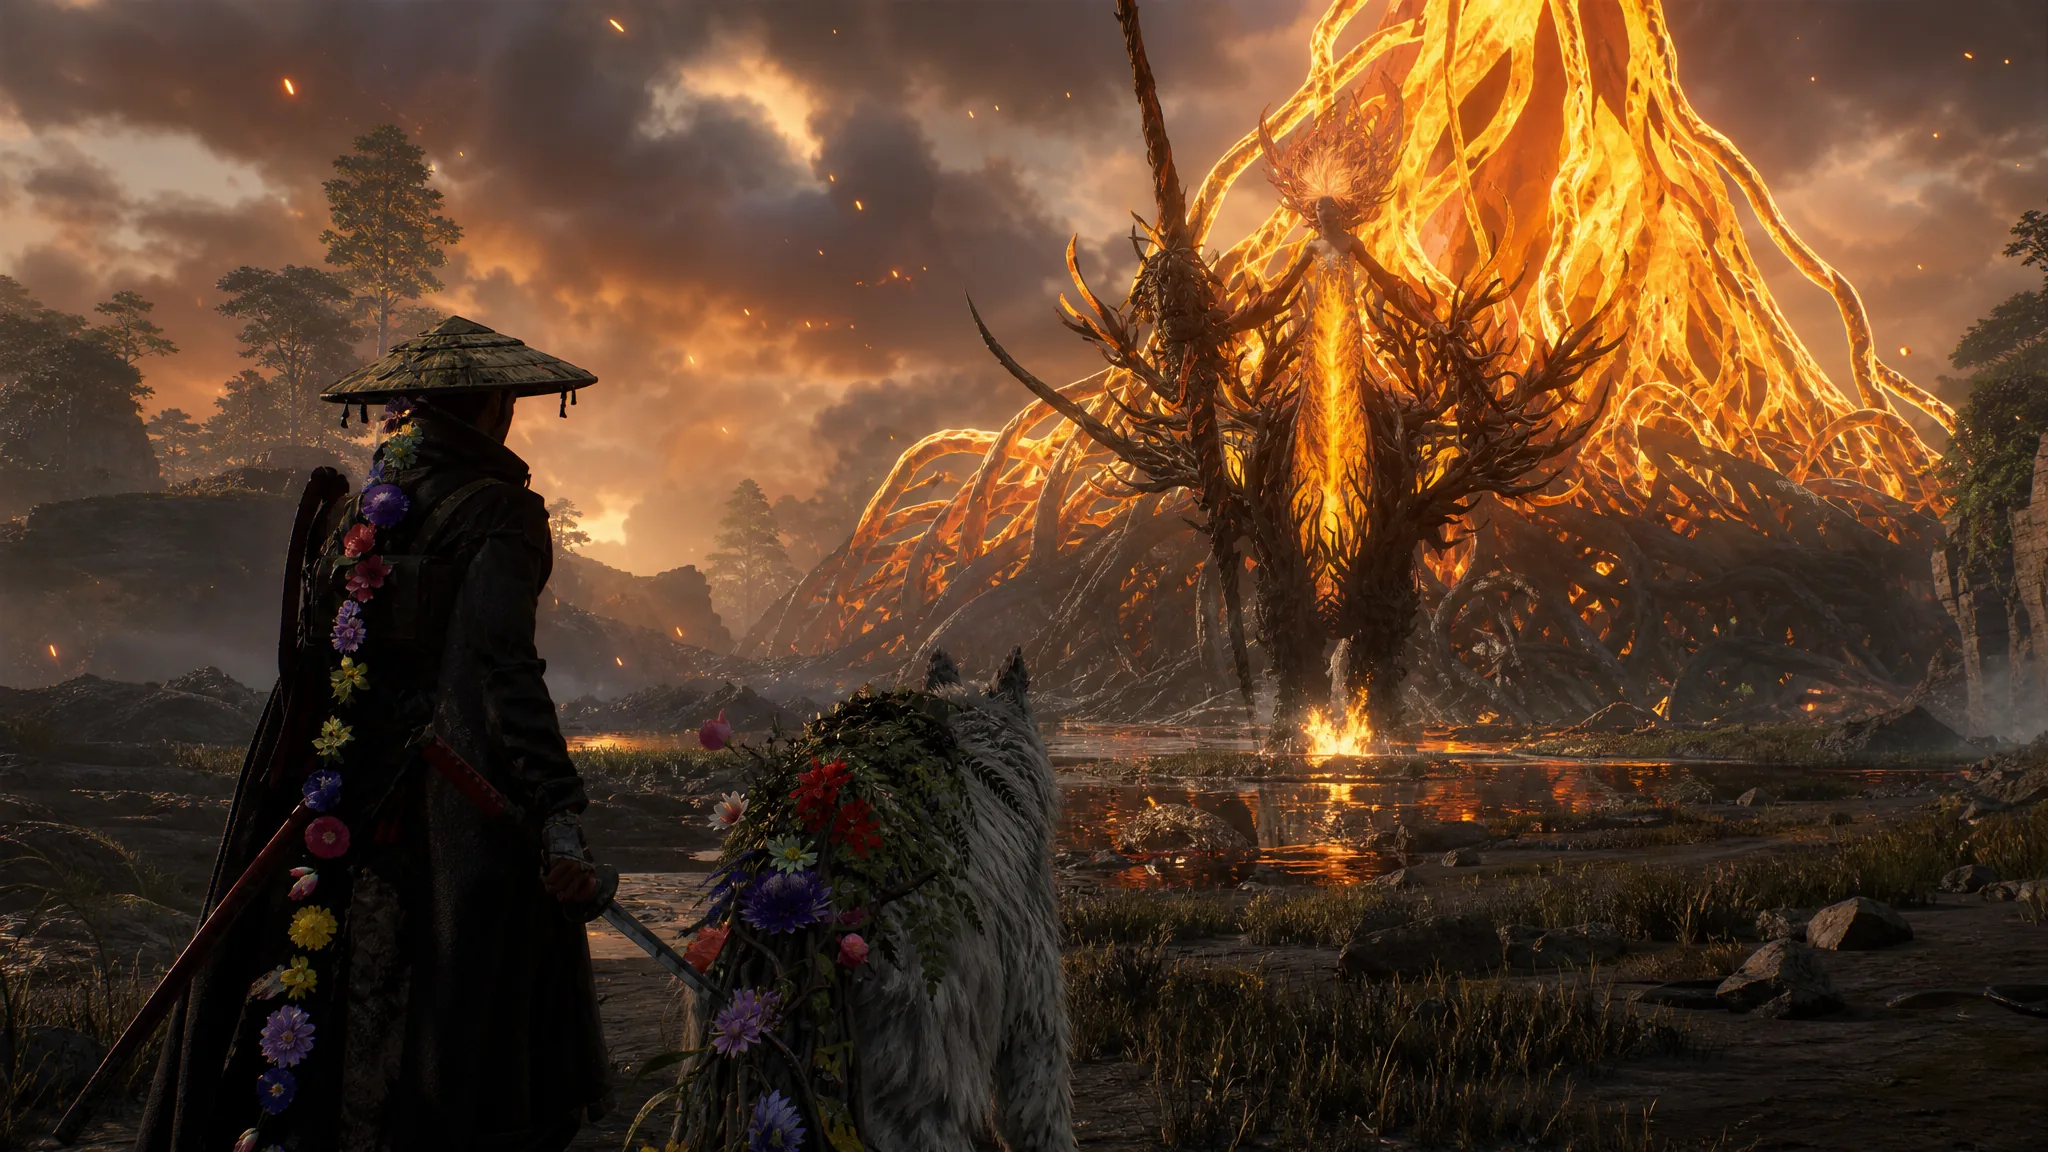
The Beast of Reincarnation is the last thing standing between Emma, Koo, and the end of the game. It waits at the very close of the journey, and the fight runs across three distinct phases. There is no elemental gimmick or hidden trigger to shortcut it. Winning comes down to reading its moveset, knowing when to parry and when to dodge, and staying patient while its health bar refills between phases.
Quick answer: Drop the boss to 50 percent health in Phase 1 so Emma can deactivate its Nanite Shield, survive the full-health reset in Phase 2 by parrying its combos, then punish its enraged swings in Phase 3, where a scripted event hands Emma new abilities that let you finish it off.
Does the final boss have a weakness?
No. The Beast of Reincarnation has no exploitable weakness, so there is no ailment or element that shortcuts the fight. You rely entirely on the abilities you have collected across the game and your own timing. Because of that, the whole encounter rewards clean defense far more than raw aggression.
Every attack and how to answer it
The boss uses the same core moveset throughout the fight, so learning these responses early carries you through all three phases. The single most important distinction is which moves you can parry and which you must dodge. Getting that wrong is what ends most runs.
| Attack | Response |
|---|---|
| Flurry combo (chains up to six hits, sometimes stops early) | Parry every strike |
| Pounce at the end of a completed combo | Dodge |
| Lightning strikes | Dodge (cannot be parried) |
| Laser fired after the barrier drops | Step back to escape the line |
| Poison cloud from its planted weapon | Move away from the purple mist; heal here |
| Crescent-shaped projectiles | Parry |
The flurry combo is inconsistent and can cut off partway through, so keep parrying until the boss commits to the pounce. Treat the pounce as your cue to roll rather than deflect.
Phase 1: Break the Nanite Shield window
The boss opens the fight protected by a Nanite Shield that slowly heals it. Your only goal here is to burn through that regeneration and force its health down to 50 percent. Once you hit that threshold, Emma steps in to deactivate the shield, which moves the encounter forward.
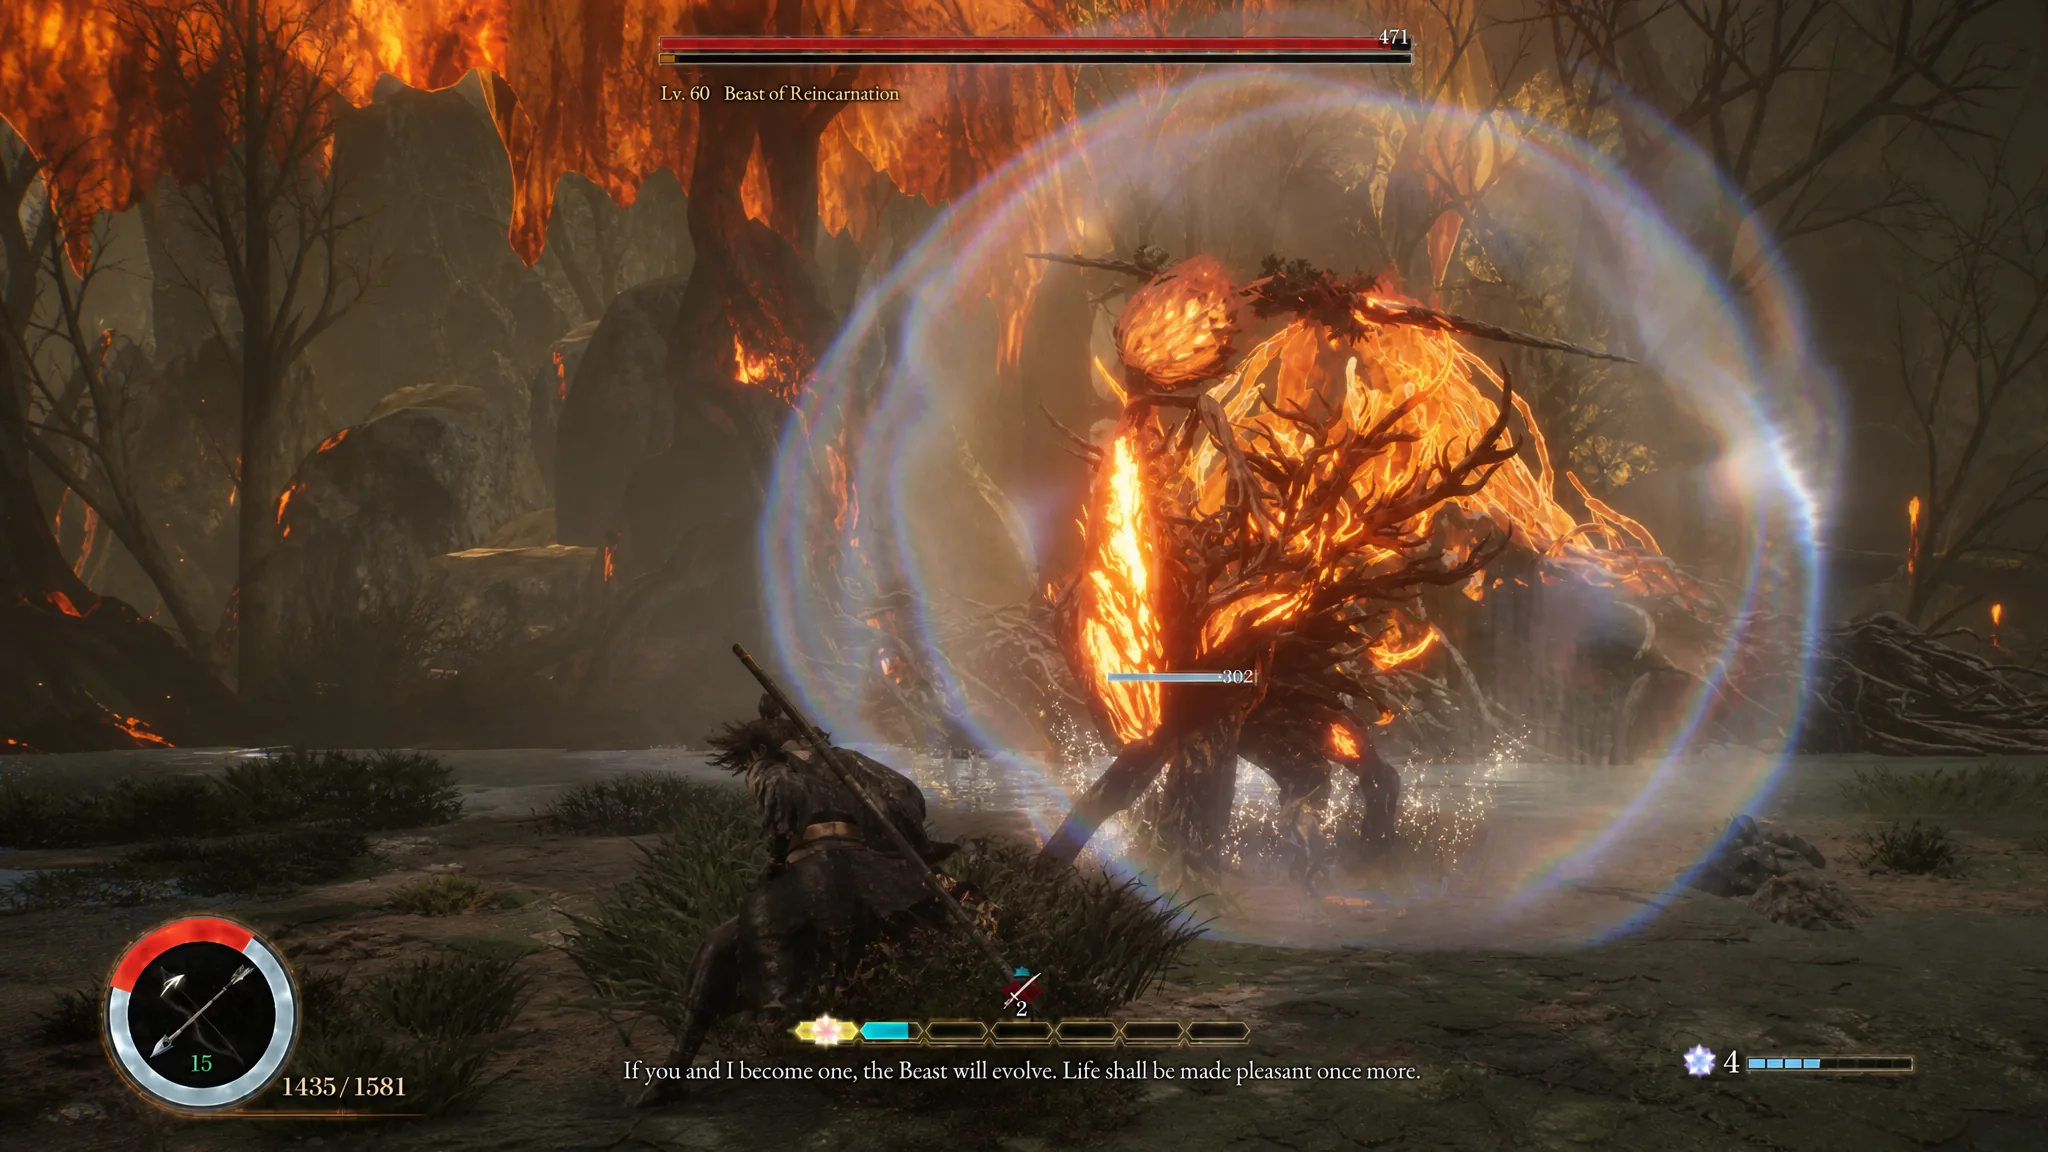
Because the shield heals over time, hesitating stretches the phase out and eats through your healing items. Stay on the offensive between its attacks and use the poison cloud downtime to recover instead of retreating for long.
Phase 2: Survive the full-health reset
When Emma breaks the Nanite Shield, the boss’s health bar is restored to full and Phase 2 begins. This reset feels punishing, but the moveset does not change, so everything you practiced in Phase 1 still applies. Lean on parrying its flurry combos and crescent projectiles to keep the pressure steady.
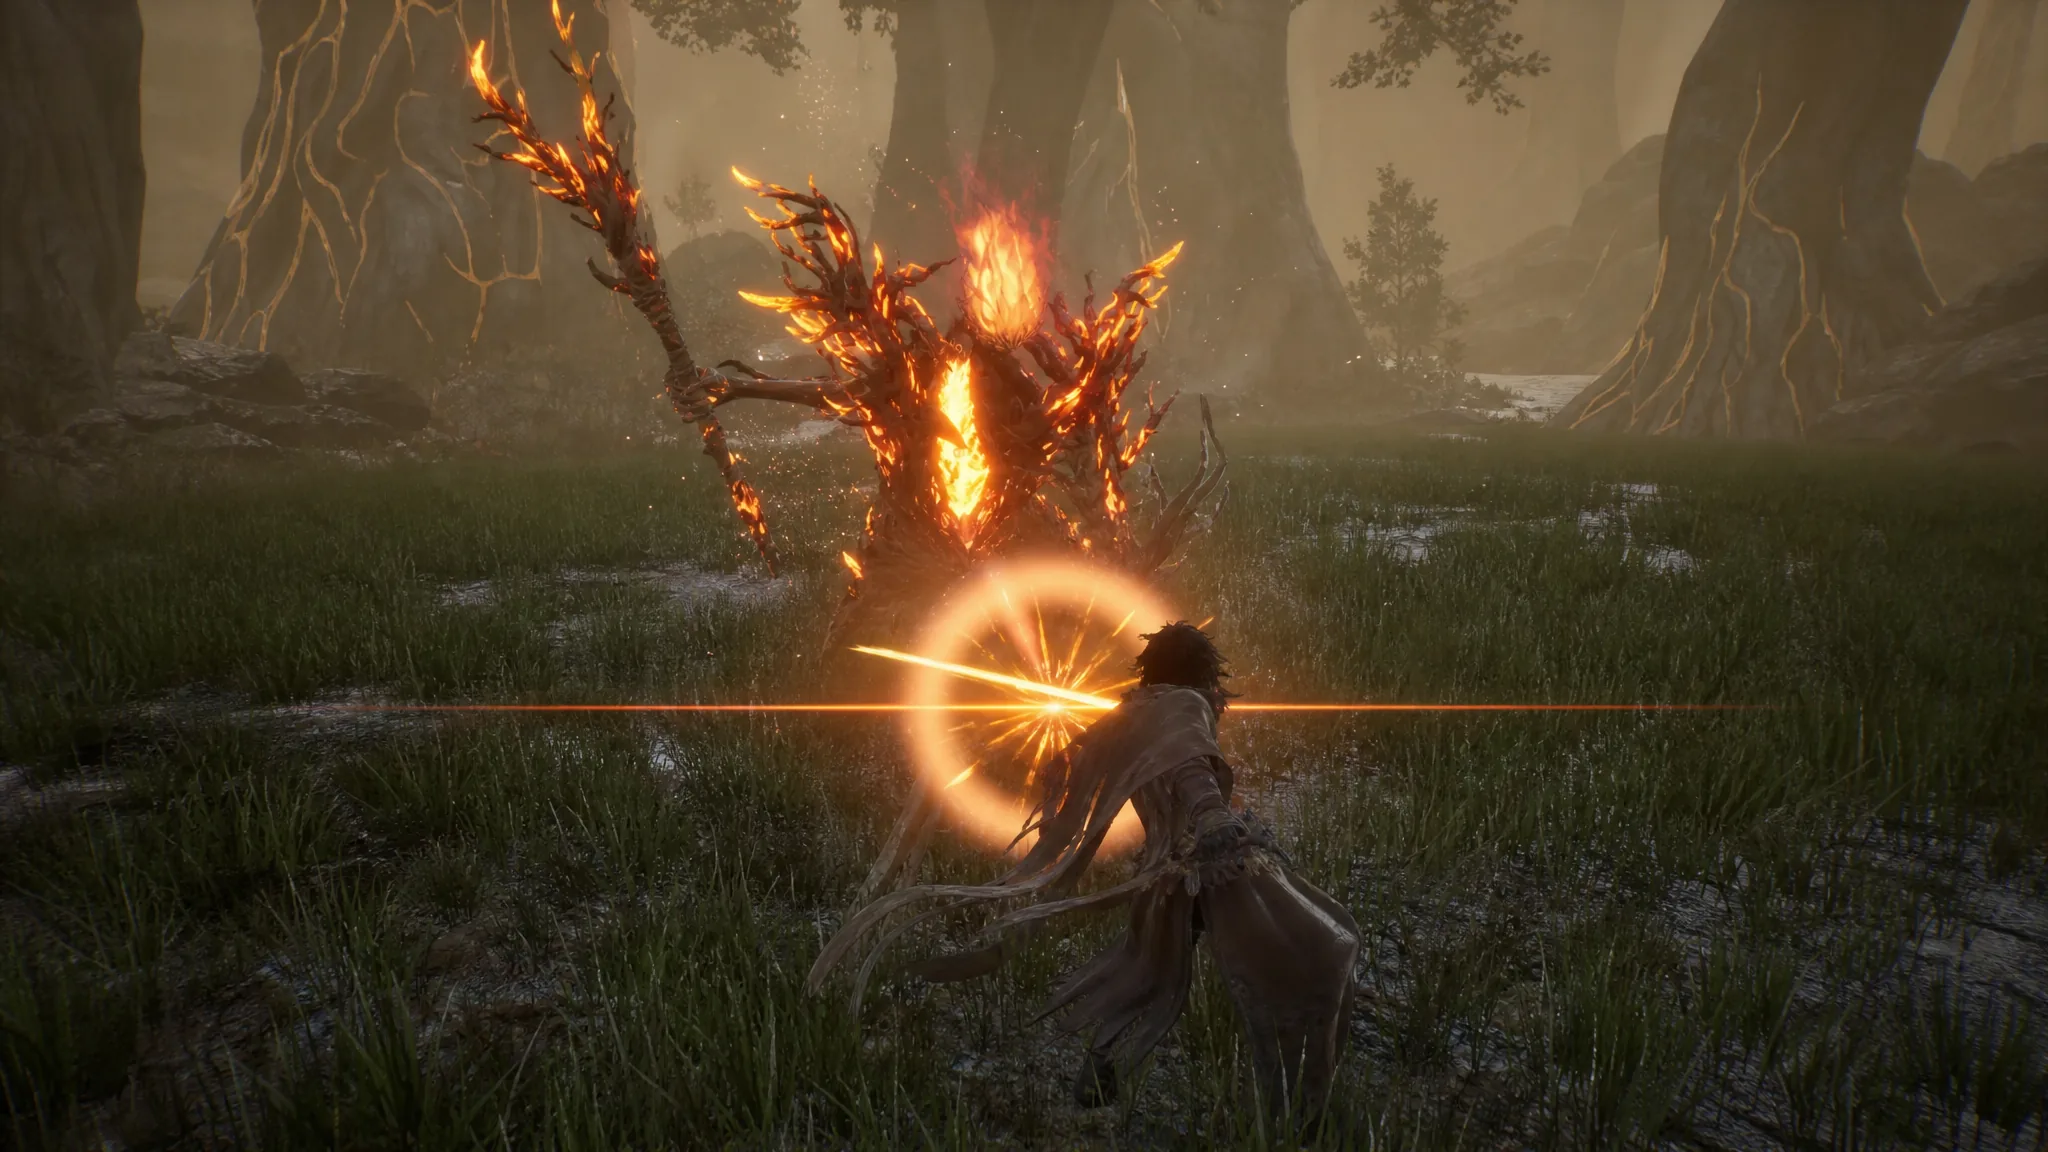
Keep dodging the lightning strikes and the pounce, since those are the hits that can quickly undo your progress. After the barrier is down, watch for the laser and step straight back to clear its path.
Phase 3: Ride out the enrage
Phase 3 removes the boss’s special attacks. It keeps most of its earlier moveset but slips into an enraged state more often, swinging faster and more aggressively. If you already know its rhythm from the first two phases, this stretch is the most manageable of the three.
The boss will start absorbing your power to grow stronger, but this works in your favor. A scripted event grants Emma new abilities mid-phase, and those tools are what let you close out the fight. Stay defensive, wait for the openings after its enraged swings, and let the scripted turn do the rest.
How you know the fight is won
The encounter resolves in Phase 3 once the boss’s health is depleted after Emma gains her new abilities. There is no fourth health bar and no surprise recovery beyond the single reset at the end of Phase 1. When the final phase ends, the game transitions into its closing sequence, which is your confirmation that the Beast of Reincarnation is down for good.
If you keep losing, the cause is almost always trying to parry the unparryable moves. The lightning strikes and the finishing pounce must be dodged, and the laser needs a backward step rather than a deflect. Correct those three reactions and the rest of the fight becomes a matter of patience.