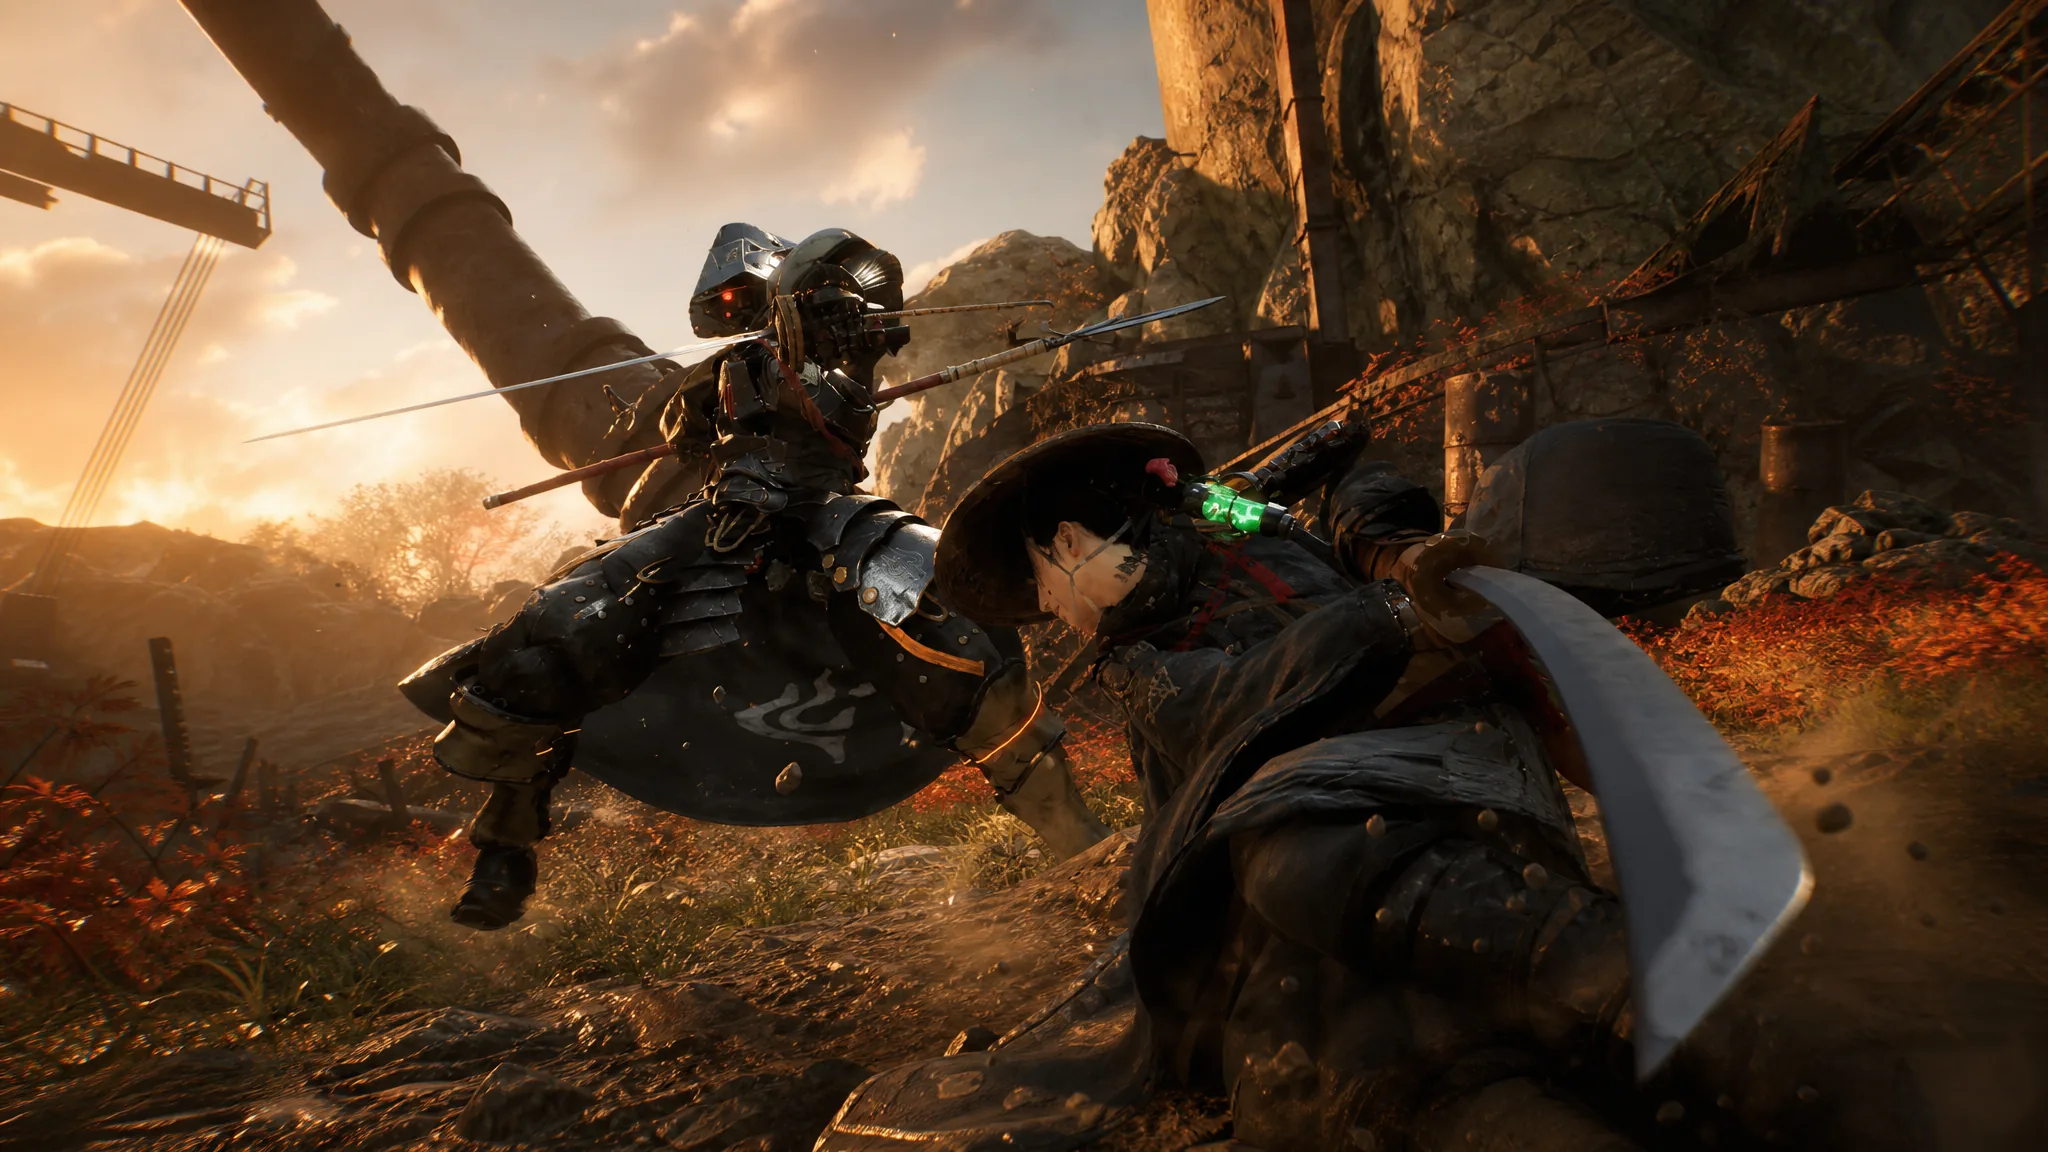
Beast of Reincarnation runs on Unreal Engine 5.4.4.0, and its default presets leave a lot of performance on the table. Even capable systems hit frame drops in dense forests, particle-heavy fights, and world transitions. The good news is that a handful of settings account for most of the loss, and lowering just those recovers a large chunk of frame rate without gutting the visuals.
Quick answer: Set upscaling to DLSS or FSR 3 on Quality, drop Shadows, Foliage, Lighting, Effects, and Volumetric Fog to Low or Medium, keep Textures matched to your VRAM, turn Motion Blur and Depth of Field off, disable Ray Tracing (it does nothing here), and cap the frame rate at 60 to avoid stutter.
Recommended graphics settings for high FPS
This configuration keeps textures and image clarity high while pulling back the expensive lighting and shadow work that causes the biggest slowdowns. It targets a stable 60 FPS on mid-range GPUs at 1080p or 1440p.
| Setting | Value |
|---|---|
| Display Mode | Fullscreen |
| Resolution | Native monitor resolution |
| Upscaling | DLSS (Nvidia) or FSR 3 (AMD), Quality |
| Frame Rate | Cap at 60 |
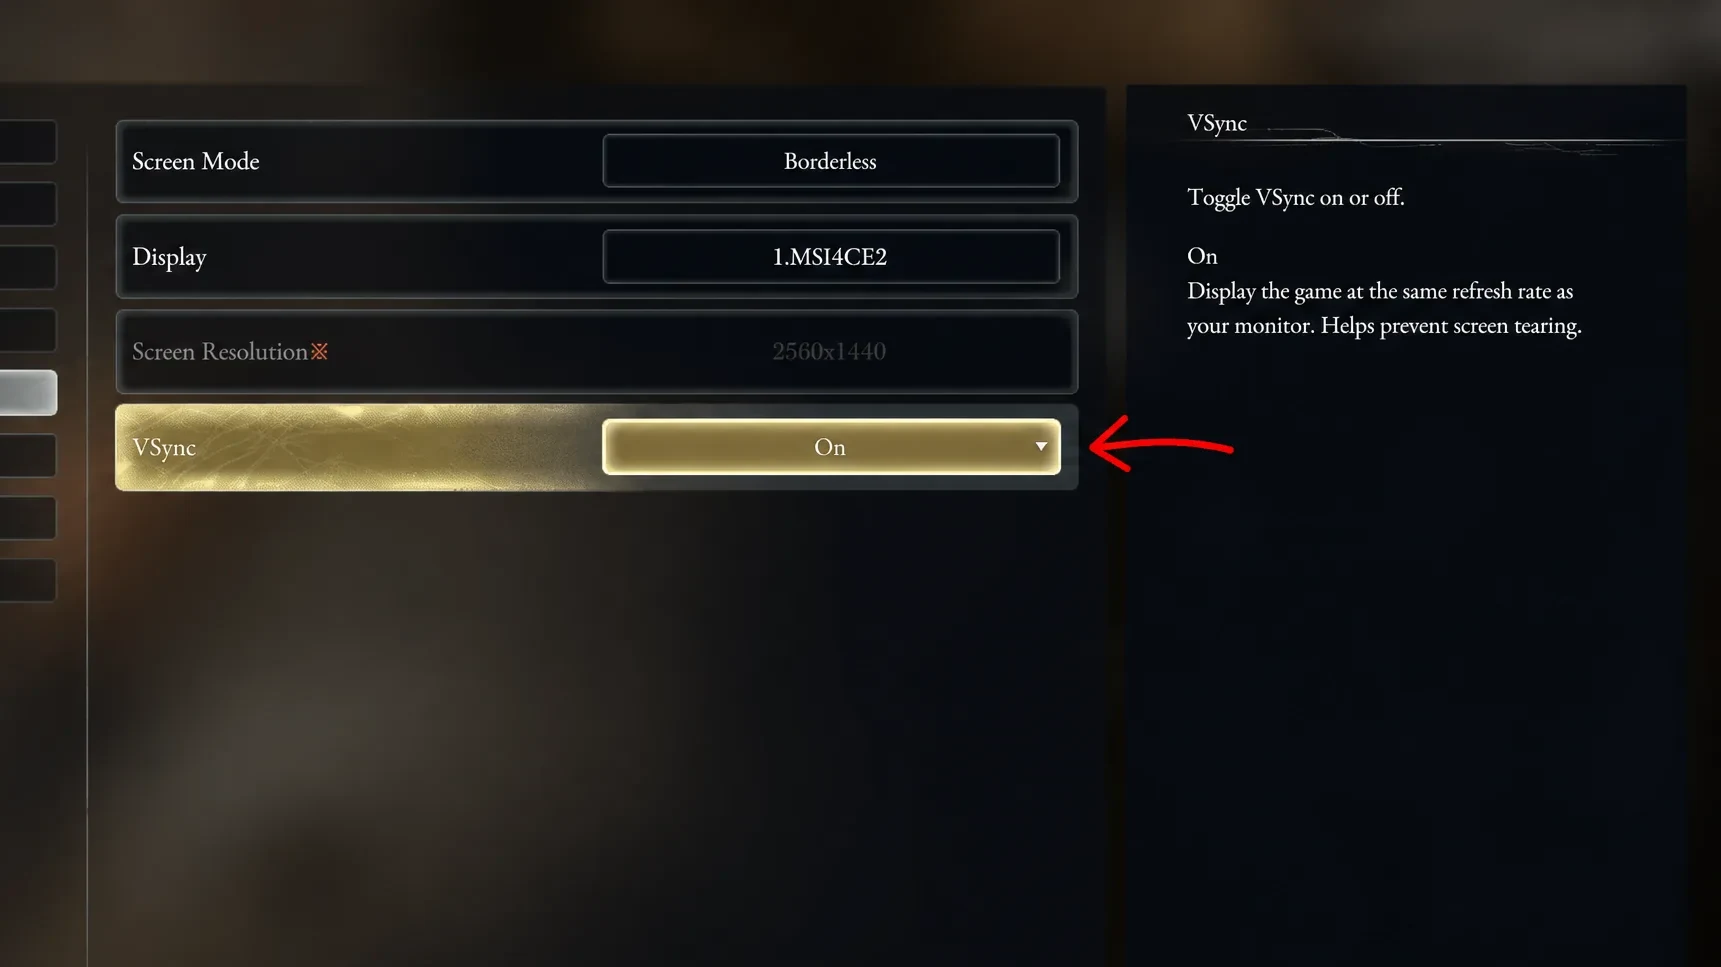
| V-Sync | Off (on only if you get tearing) |
| Ray Tracing | Off |
| Texture Quality | Match your VRAM |
| Shadow Quality | Low to Medium |
| Lighting | Medium |
| Effects | Medium |
| Foliage | Medium |
| Volumetric Fog | Low |
| Post-Processing | Low to Medium |
| Anisotropic Filtering | 2x |
| Motion Blur | Off |
| Depth of Field | Off |
| Contact Shadows | Off |
Note: Frame Generation and Intel XeSS are not supported, so DLSS and FSR 3 are your only reconstruction options. If you want extra headroom on a weaker card, Resolution Scaling at 80% eases the load, though the sharpest result comes from 100% with the upscaler doing the work.
Upscaling is the single most important setting
The game’s performance targets assume image reconstruction is switched on, so native rendering is not really the baseline. Enabling DLSS or FSR gives the biggest frame-rate jump of any option in the menu. Stick to Quality for the cleanest image, and reserve Performance mode for hardware that genuinely cannot hold a playable frame rate, since it softens foliage and distant structures noticeably.
| Resolution | Upscaling mode |
|---|---|
| 1080p | Quality (or Balanced) |
| 1440p | Quality |
| 4K | Quality or Balanced |
On an RTX 3060 Ti at 1080p, DLSS lifts the frame rate from around 54 FPS native to roughly 68 on Quality and 78 on Performance. At 4K the same card climbs from 24 FPS native to about 35 on Quality, which turns an unplayable setting into a workable one.
Match texture quality to your VRAM
Textures barely affect frame rate as long as they fit inside your video memory. Push them past your VRAM and the game constantly swaps assets, which produces the frame-time spikes many players mistake for low FPS. Use your card’s memory as the deciding factor rather than defaulting to Ultra.
| Graphics memory | Texture setting |
|---|---|
| 6 GB | Medium |
| 8 GB | High |
| 10–12 GB | High |
| 16 GB or more | Ultra |
The settings that cost the most frames
A few options carry an outsized performance penalty while adding little you notice in motion. Lowering these is where most of the frame rate comes back.
- Volumetric Fog: The heaviest single setting. Dropping it from Ultra to Low can recover close to 18% in atmospheric areas with little visible change.
- Shadows: Very expensive on both CPU and GPU. Medium keeps convincing depth around characters and objects; Low is fine on older hardware and can recover close to 20 FPS in forest zones.
- Lighting: Moving from High to Medium frees up meaningful GPU headroom while the atmosphere stays intact.
- Foliage: The world is dense with vegetation. Medium looks nearly identical up close and steadies the frame rate during large fights.
- Effects: Combat abilities hammer the CPU and GPU. Medium preserves clarity while preventing sharp drops in busy encounters.
Turn these off for clearer combat
Reading enemy telegraphs and parry windows depends on a crisp image, so disable the effects that smear or muddy the screen. Motion Blur, Depth of Field, Chromatic Aberration, and Film Grain all add visual noise without helping gameplay, and switching them off also trims a little GPU load.
Ray Tracing is a special case. The setting is effectively broken in the current build, with no measurable difference in visuals or performance whether it is on or off. Leave it disabled and spend that GPU budget elsewhere.
Why capping at 60 FPS helps
Unlocking the frame rate above 60 tends to introduce stutter even on strong hardware, so a 60 FPS cap delivers the smoothest, most consistent frame pacing. For cutscenes, the Performance option keeps them steady. If you own a variable-refresh display, enable G-Sync or FreeSync and leave in-game V-Sync off to keep input latency low while avoiding tearing.
Stop the stutter, not just the frame drops
Frame pacing matters as much as the average frame rate. Traversal stutter and shader hitching are the two most common complaints, and both have direct fixes outside the graphics menu.
Engine.ini tweaks for streaming stutter
If streaming stutter persists, you can adjust the engine’s memory and shader behavior. Open the game’s Engine.ini file from your configuration folder under %localappdata% and add the block below.
[SystemSettings]
r.Streaming.PoolSize=3000
r.Streaming.LimitPoolSizeToVRAM=1
r.ShaderPipelineCache.BatchTime=20
r.CreateShadersOnLoad=1
r.Shaders.Optimize=1
The most important line is r.Streaming.PoolSize. Set it to match your card so the texture pool has room without spilling into system memory.
| VRAM | Pool size |
|---|---|
| 6 GB | 3000 |
| 8 GB | 4000 |
| 10 GB | 5000 |
| 12 GB | 6000 |
After saving, mark the file as read-only so future updates do not overwrite it. This will not fix every issue, but it noticeably cuts streaming hitches during exploration.
Steam Deck settings for a stable 40 FPS
On Valve’s handheld, aim for 40 FPS rather than 60. At 40 FPS the frame time sits at 25ms, roughly halfway between 30 and 60, which gives you much more responsive parry and dodge timing than 30 FPS without pushing the APU past its limits.
| Setting | Value |
|---|---|
| Refresh Rate | 40Hz |
| Framerate Limit | 40 FPS |
| TDP Limit | 12W |
| Resolution | 1280×800 (native) |
| Upscaling | FSR, Quality or Balanced |
| Texture Quality | Medium |
| Shadow Quality | Low |
| Volumetric Fog / Lighting | Low |
| Foliage Density | Medium |
| Motion Blur | Off |
Capping TDP at 12W prevents thermal throttling, which otherwise triggers heavy stutter during intense fights. Setting the UMA frame buffer to 4GB in the Deck’s BIOS pre-allocates video memory and smooths out the 1% lows when new zones stream in.
Once these values are in place, you should see steadier frame times rather than a higher benchmark number. Camera pans stay smooth, heavy encounters stop hitching every few seconds, and loading into new areas no longer causes long freezes. Performance patches are likely to land over the coming months, but this setup already delivers a consistent 60 FPS on mid-range hardware and keeps the game’s combat sharp and readable.