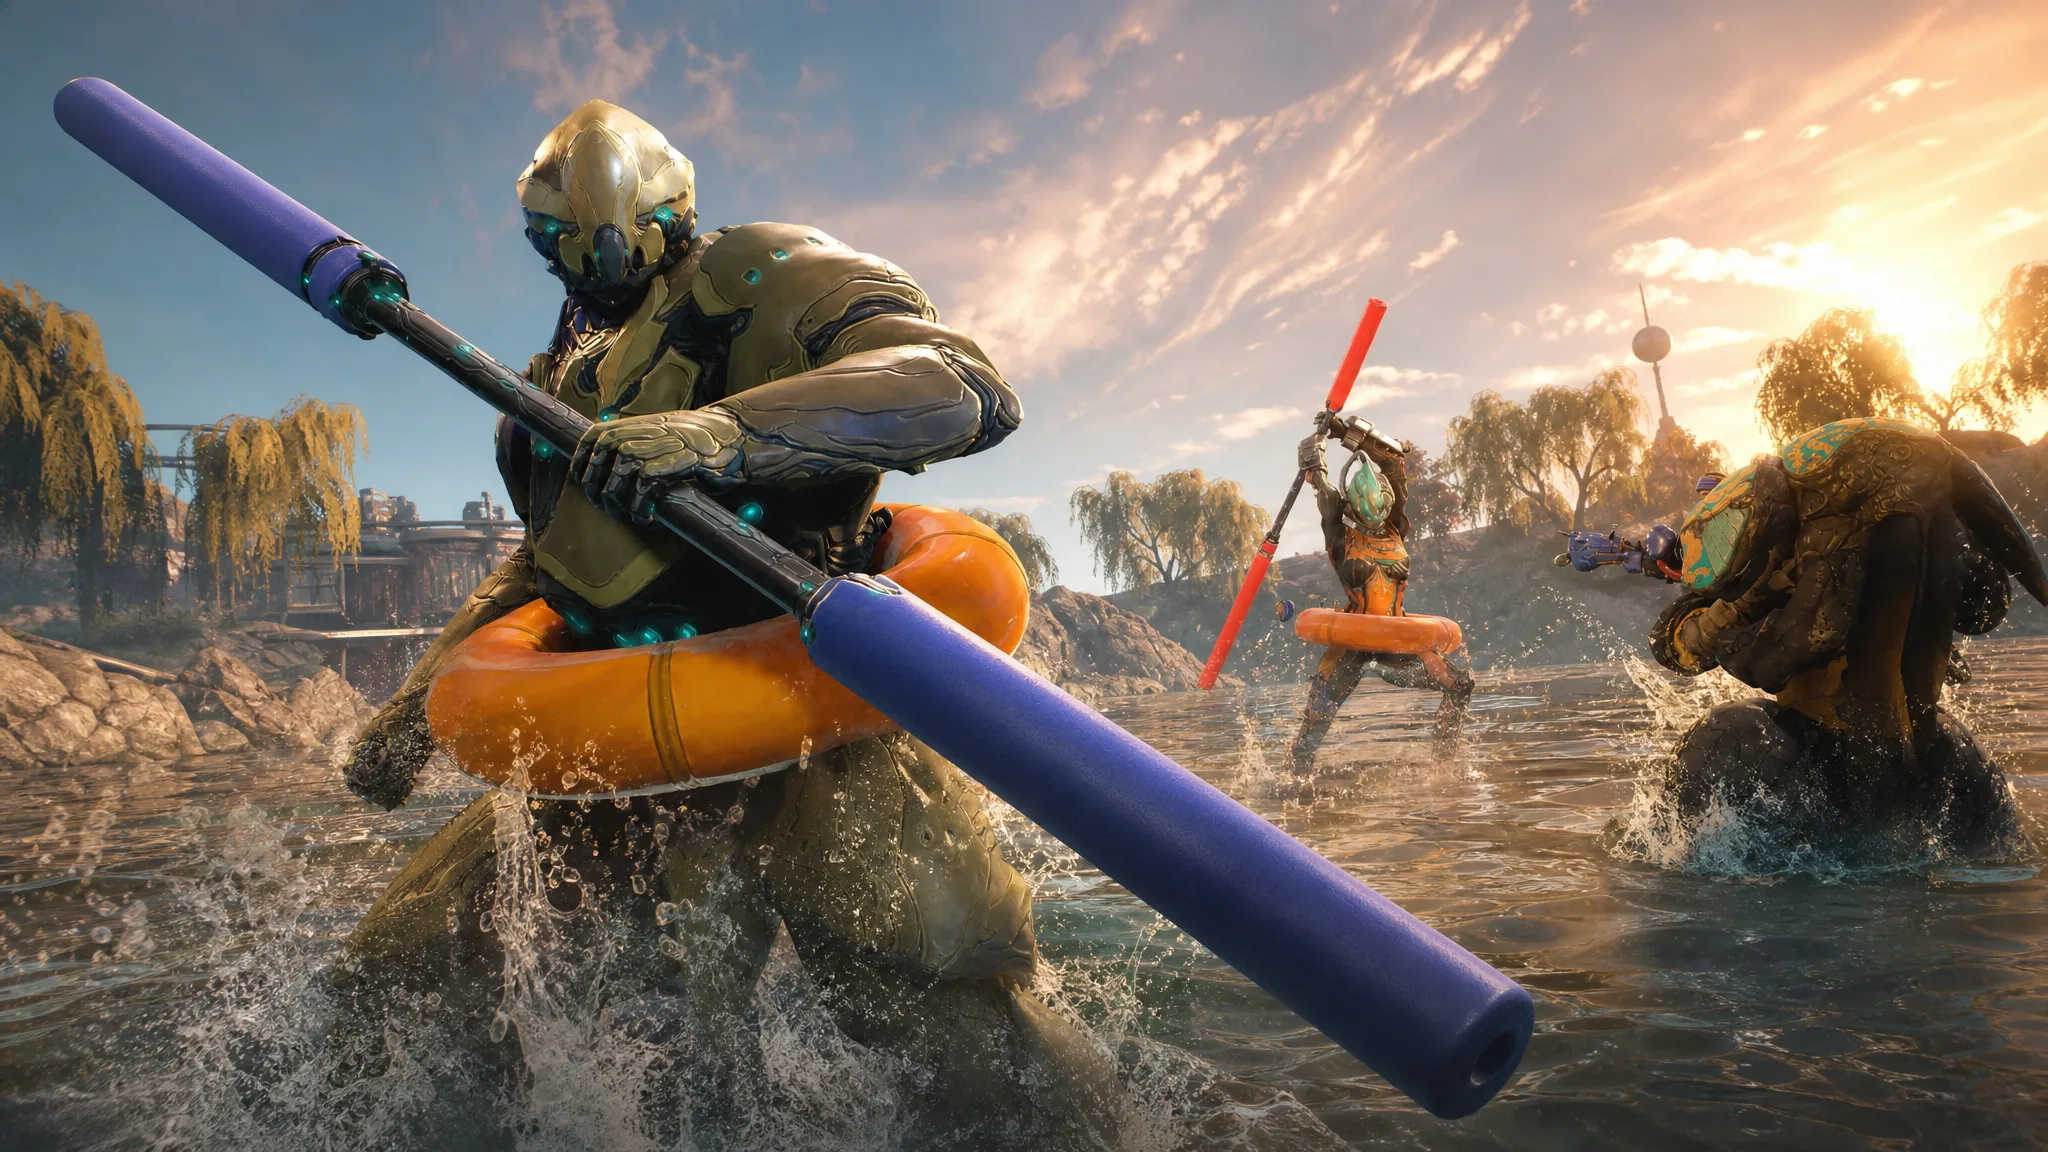
Nakak Pearls are the event currency for Dog Days 2026, and the fastest way to stockpile them is to grind Mission 4 over and over. This water-fight mode strips away your abilities, mods, and companions, so a good run comes down to positioning and squeezing out kills. Get the routine right and every five-minute round pays off.
Quick answer: Clear Missions 1 through 4 once for the first-time Pearl bonuses, then spam Mission 4. Each run gives a 30-Pearl base plus 2 Pearls per enemy you personally soak and 1 per assist. Camp next to a Lob Blob sprinkler on a raised vantage point and one-shot enemies as they wander into range.
Pearl payouts per mission
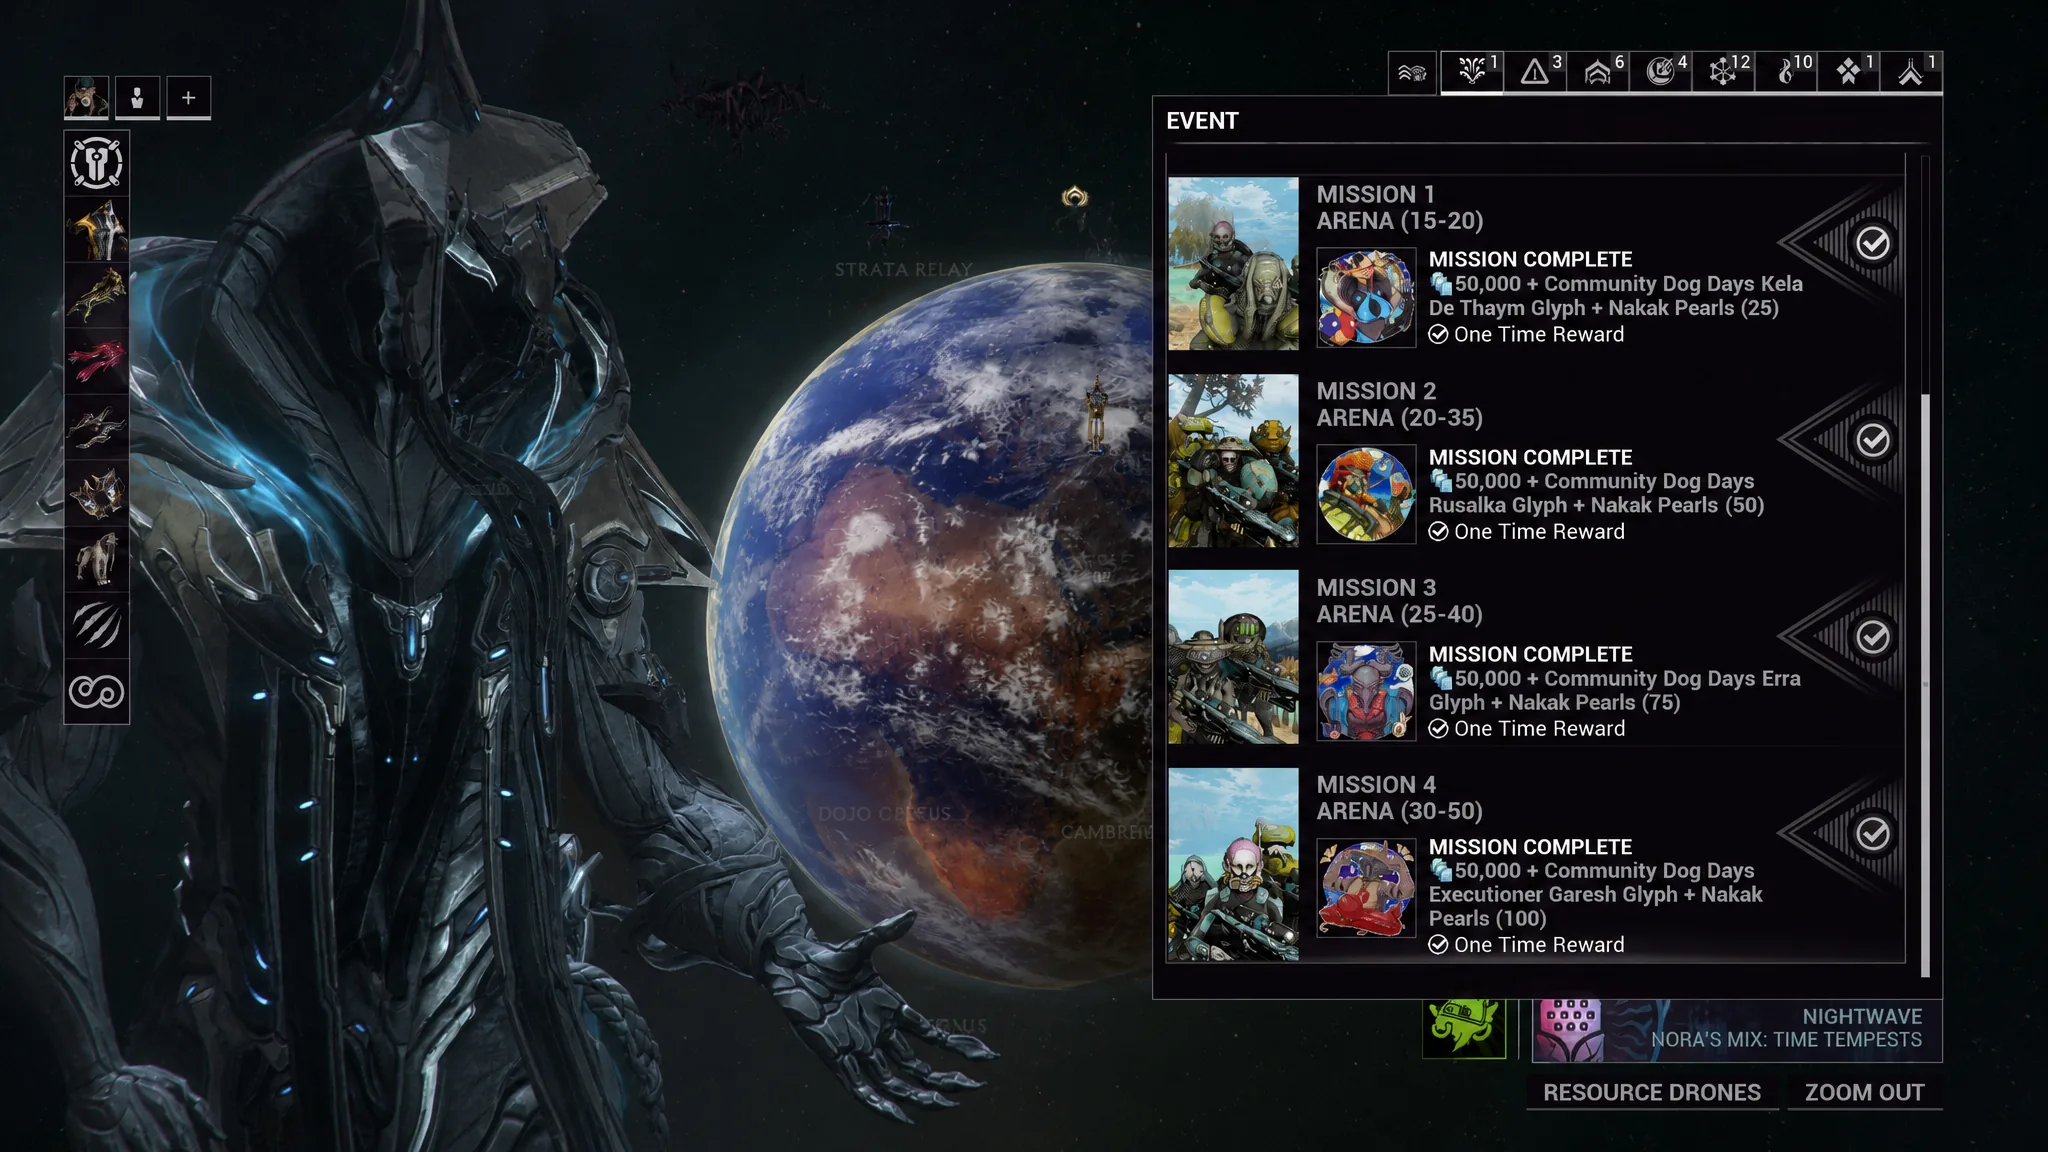
Open the Event tab from Navigation and play Missions 1 through 4 in order. The first-time clears hand out Community Glyphs, 50,000 Credits each, and a chunk of guaranteed Pearls. After that, Mission 4 is the only node worth repeating because it scales with your personal performance.
| Mission | Enemy level | Base Pearls per run | First-clear bonus |
|---|---|---|---|
| Mission 1 | 15-20 | 10 | +15 Pearls, Glyph, 50k Credits |
| Mission 2 | 20-35 | 20 | +30 Pearls, Glyph, 50k Credits |
| Mission 3 | 25-40 | 30 | +45 Pearls, Glyph, 50k Credits |
| Mission 4 | 30-45 | 30 + 2 per kill + 1 per assist | +70 Pearls, Glyph, 50k Credits |
Because Mission 4 adds Pearls for both kills and assists, your total harvest is 30 plus whatever your score adds. Solo, that lands around 30 to 35 kills a run once you have the rhythm down.
Use Lob Blobs, not the Soaktron, for kills
Lob Blobs are the water balloons that make this farm consistent. They explode on impact and one-shot enemies within their splash radius, which is far more reliable than chasing kills with the Soaktron. Picking up a spawn gives you a full stack of three, and three is the most you can carry.
There are four Lob Blob spawn points on the map, all on the outer ring, and each sits on a single-column sprinkler. A spawn is active when a ball is sitting on top of the sprinkler. Touch it to grab the stack. Each pickup respawns exactly 20 seconds later, and it is per-player, so grabbing one does not deny your teammates.
The core loop is short and repeatable:
- Grab a Lob Blob stack from the sprinkler.
- Jump onto your vantage point, or glide around the center of the map.
- Throw at approaching enemies, leading for the projectile’s slow arc.
- By the time three or four enemies are down, another Blob has respawned.
- Repeat until the timer ends.
Take a few throws to learn the curve, maximum range, and blast zone. You do not need to walk over to a kill to collect the Pearl. As long as you land the finishing hit, it drops into your tally automatically.
Best camping spots for the day and night maps
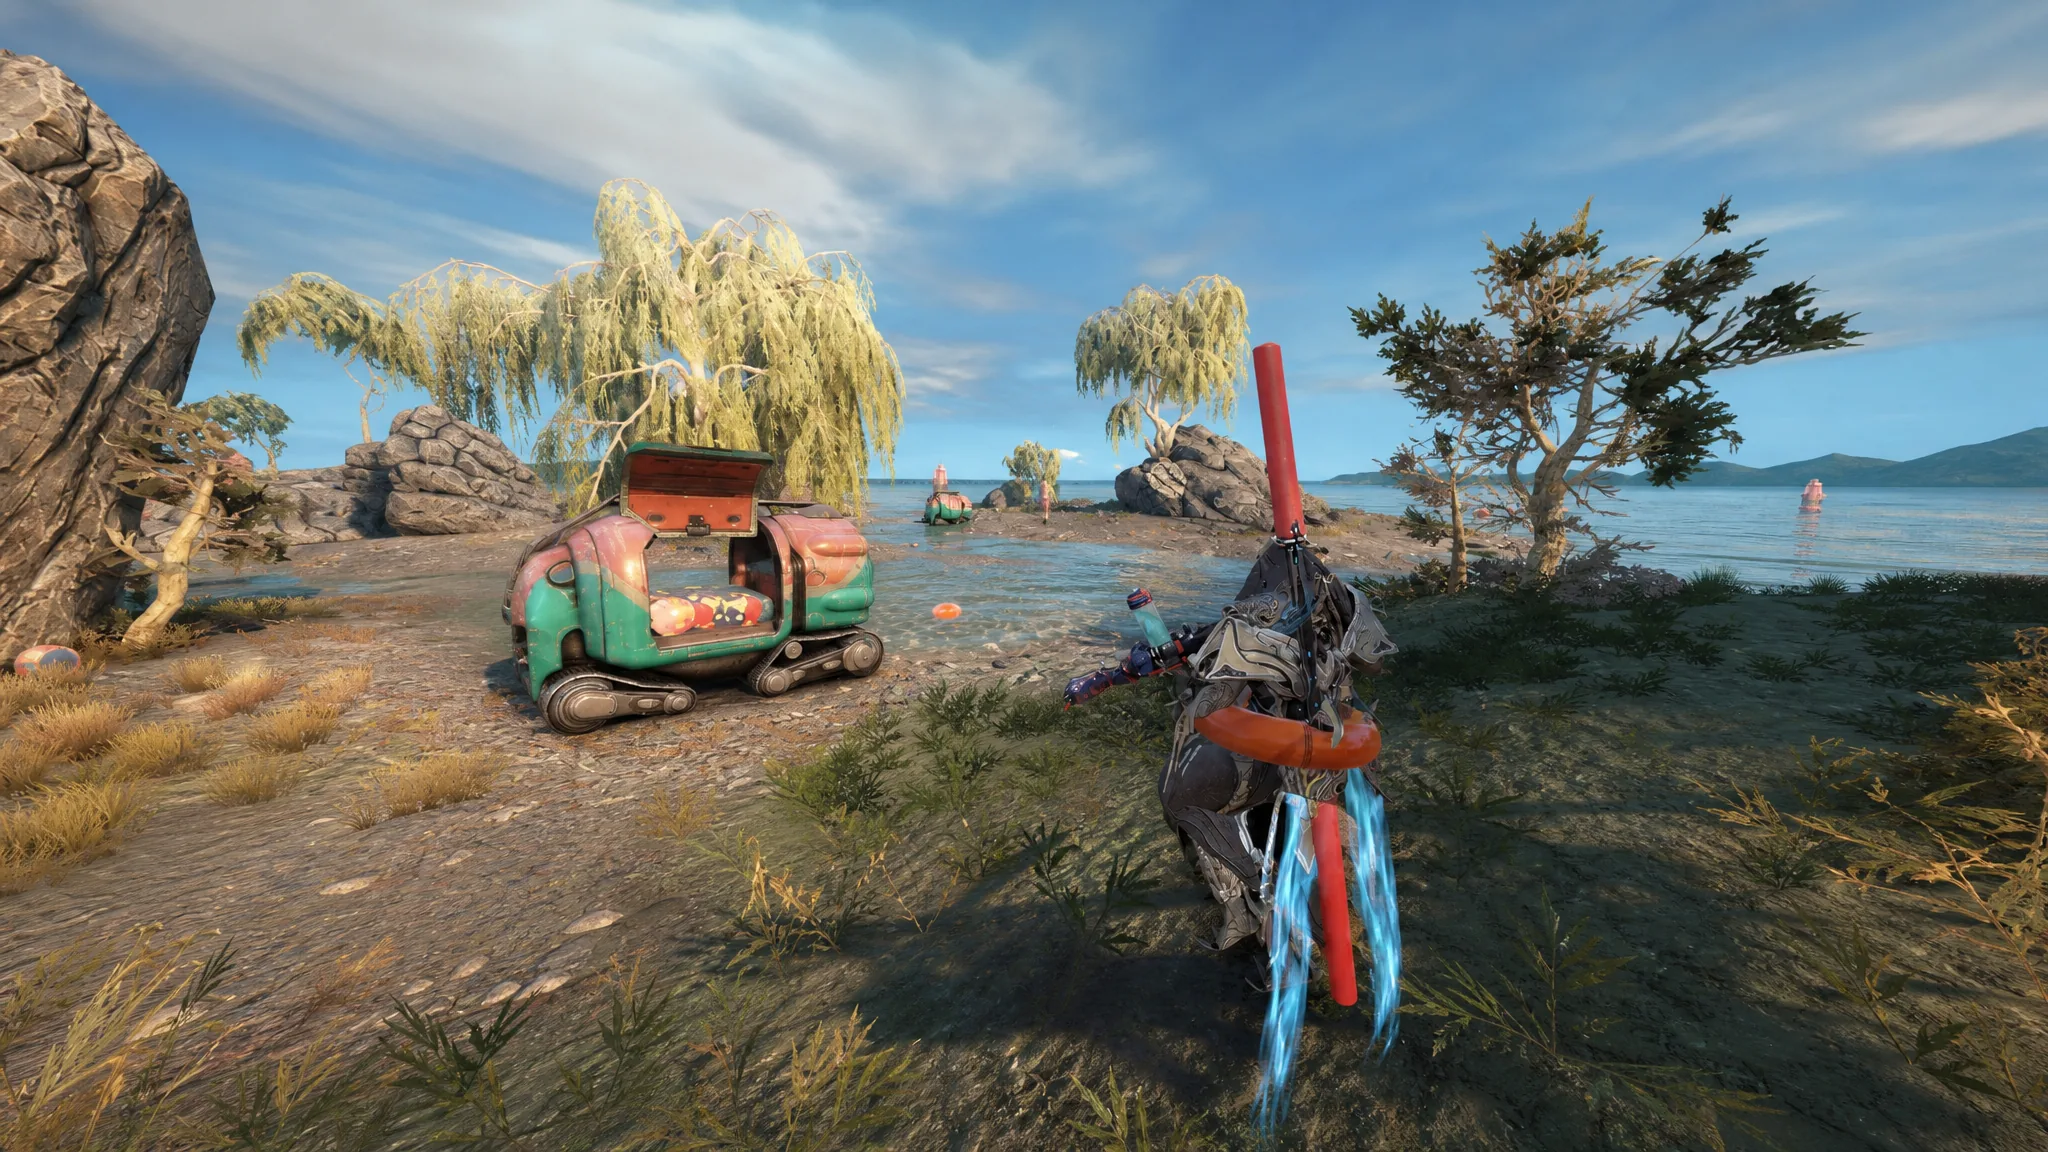
Dog Days rotates between a day arena and a night arena, decided by the Cetus and Plains of Eidolon day-night cycle, so you will usually load into the day version. The Lob Blob spawn placements differ slightly between the two, which changes where you should set up.
| Map | Best spot | Why it works |
|---|---|---|
| Day | Next to the colorful Grineer RV-style camp | Doubles as a decent vantage point, and enemies reach you quickly so kills come faster |
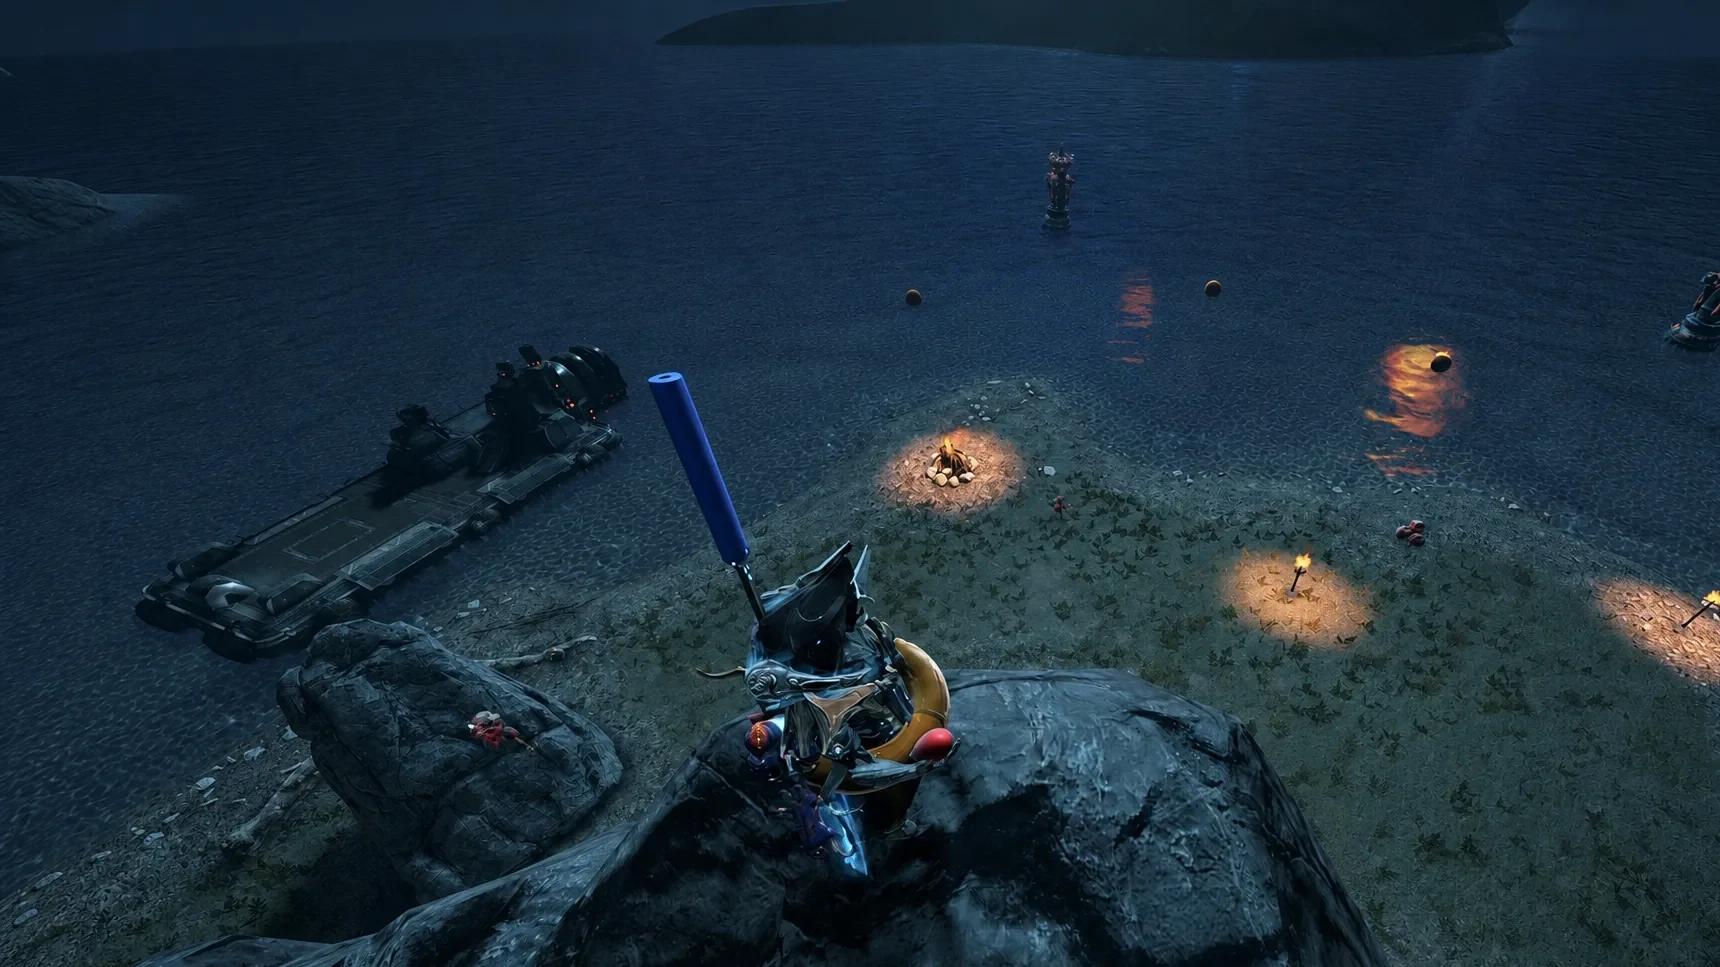
| Night | The tallest cliff near the beach, by the bonfire | A Lob Blob spawn sits right beside it; bullet-jump down for refills as needed |
The day map is the stronger farm of the two. Elevated spots also help you survive, since the enemy AI is poor at hitting you from above. Expect roughly 30-plus kills on the night map solo and a little more on the day map.
Solo runs vs. an organized squad
The farm is labeled solo, but it works fine in a four-person lobby as long as nobody is cheesing kills. Kills spread out fairly evenly, and a coordinated group actually raises everyone’s totals because more players killing enemies fast forces faster spawns.
The sweet spot is a three-person squad that splits the map into three zones, each person parked next to a Lob Blob spawn in their area. With that setup, per-map kills can climb to 45-plus, pushing a single Mission 4 run toward 75 Pearls, or well past 120 with a Resource Booster active.
Enemy spawns are randomized and slow to reach you. The only way to speed them up is to find and kill them quickly after they appear, which is exactly why camping a tight zone beats roaming.
The Sirius and Orion Archgun bug (fixed August 12)
Right now there is a bug tied to the Sirius and Orion Warframe that lets you bring an Archgun into a mode meant to be limited to the Soaktron, a paddle, and Lob Blobs. An Archgun far outscales everything else and can vacuum up kills across the whole map, which breaks the competition for everyone else in the lobby.
This is patched out on August 12 with the Amir’s Shockwave update, so it is only doable until then. If you use it, do it solo or only with a lobby that has agreed to it. Stealing teammates’ kills by unintended means is grief-worthy in this mode and can get you reported.
Rules and modifiers that change your Pearl count
Because abilities and passives are disabled, you cannot lean on frames like Zephyr for longer glides or Ivara for radar. A few mechanics still matter for maximizing output and staying alive.
| Factor | Effect |
|---|---|
| Resource Booster | Doubles on-kill Pearl drops, so 2 per kill becomes 4 |
| Kill looting | Automatic; score the kill and the Pearl is added with no pickup |
| Lob Blob respawn | Exactly 20 seconds after pickup, tracked per player |
| Soaktron | Usable for headshot kills once you learn to lead its slow projectiles |
| Melee slams | Inconsistent this year; heavy slams can one-shot but are unreliable |
| Post-timer kills | You can still score and earn bonus Pearls during Kela’s monologue |
Keep moving, jumping, and rolling to avoid damage. Aiming down sights slows you enough to get soaked repeatedly and killed, so stay mobile and throw on the move. A quick melee swing is fine to finish a straggler when you are mid-reload, but Lob Blob spam is the reliable kill tool.
Weekend Floaty of Fury alerts for extra Pearls
Alongside Mission 4, a set of one-time weekend alerts appear on the Star Chart, each handing out 175 Nakak Pearls and 50,000 Credits. These override your melee with the Noodletron and lock your Primary and Secondary, with faster melee speed to compensate. Double Affinity Weekends run at the same time.
| Window | Mission (planet) | Reward |
|---|---|---|
| Aug 6-10 | Defense (Uranus) | 175 Pearls + 50k Credits |
| Aug 13-17 | Exterminate (Venus) | 175 Pearls + 50k Credits |
| Aug 20-24 | Interception (Jupiter) | 175 Pearls + 50k Credits |
| Aug 27-31 | Survival (Sedna) | 175 Pearls + 50k Credits |
| Sep 3-7 | Sabotage (Pluto) | 175 Pearls + 50k Credits |
Where to spend Nakak Pearls
To cash in, travel to Cetus on Earth and fast-travel to Nakak, then open her Beach Toys shop. If you are farming purely to make Platinum, keep it simple. The two highest-value picks are the Kela de Thaym augment mods and the Furax Wraith set.
- Acid Shells and Nightwatch Napalm (140 Pearls each): the augments sell fast and cheap, so buy multiple copies. Acid Shells in particular now scales with Saryn, Cyte-09, and Oraxia.
- Furax Wraith (120 Pearls per part, 360 total): the full set sells for more per unit but has lower demand.
Profits from these build up over the long haul rather than overnight. Prices tend to peak around December, when the event is long gone and Warframe’s biggest updates draw the largest player spikes. Farm now, hold, and sell later.