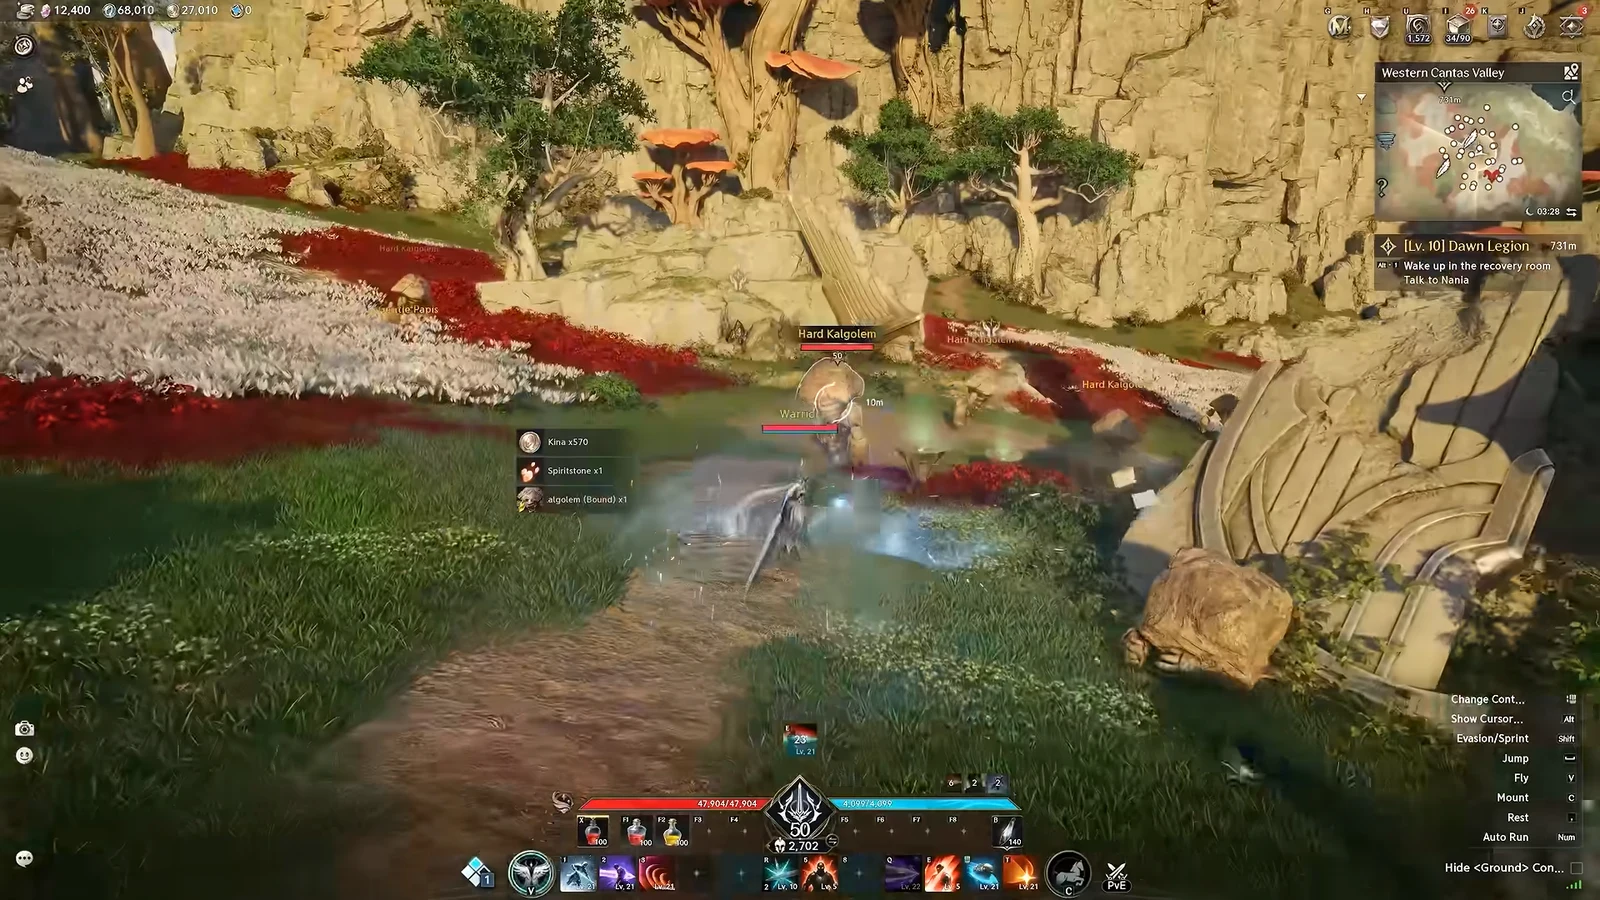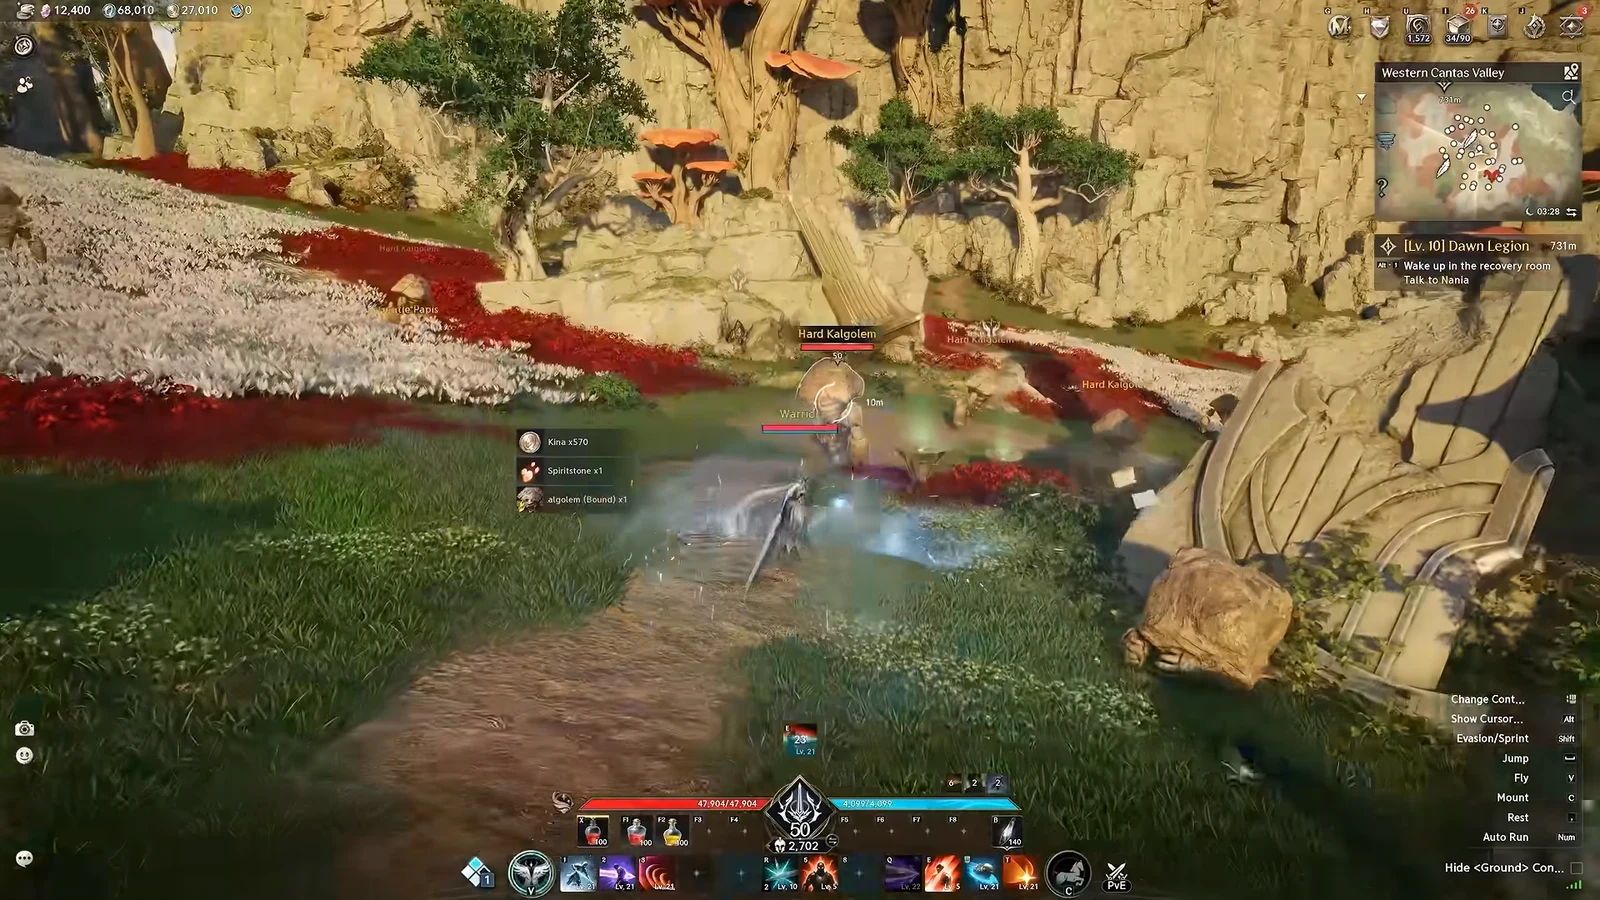
Your hotbar in AION 2 holds two separate things: usable consumables like potions, and your active combat skills. Both are placed by opening the main menu, picking the item or skill, and clicking the slot where you want it. You can also save several skill layouts as presets and build an automatic macro chain of up to 20 skills.
Quick answer: Open the menu, go to the Cube for items or the Skill menu for abilities, select the entry, then click the hotbar slot to bind it. An icon appearing in the slot confirms it worked.
Add items to the hotbar from the Cube
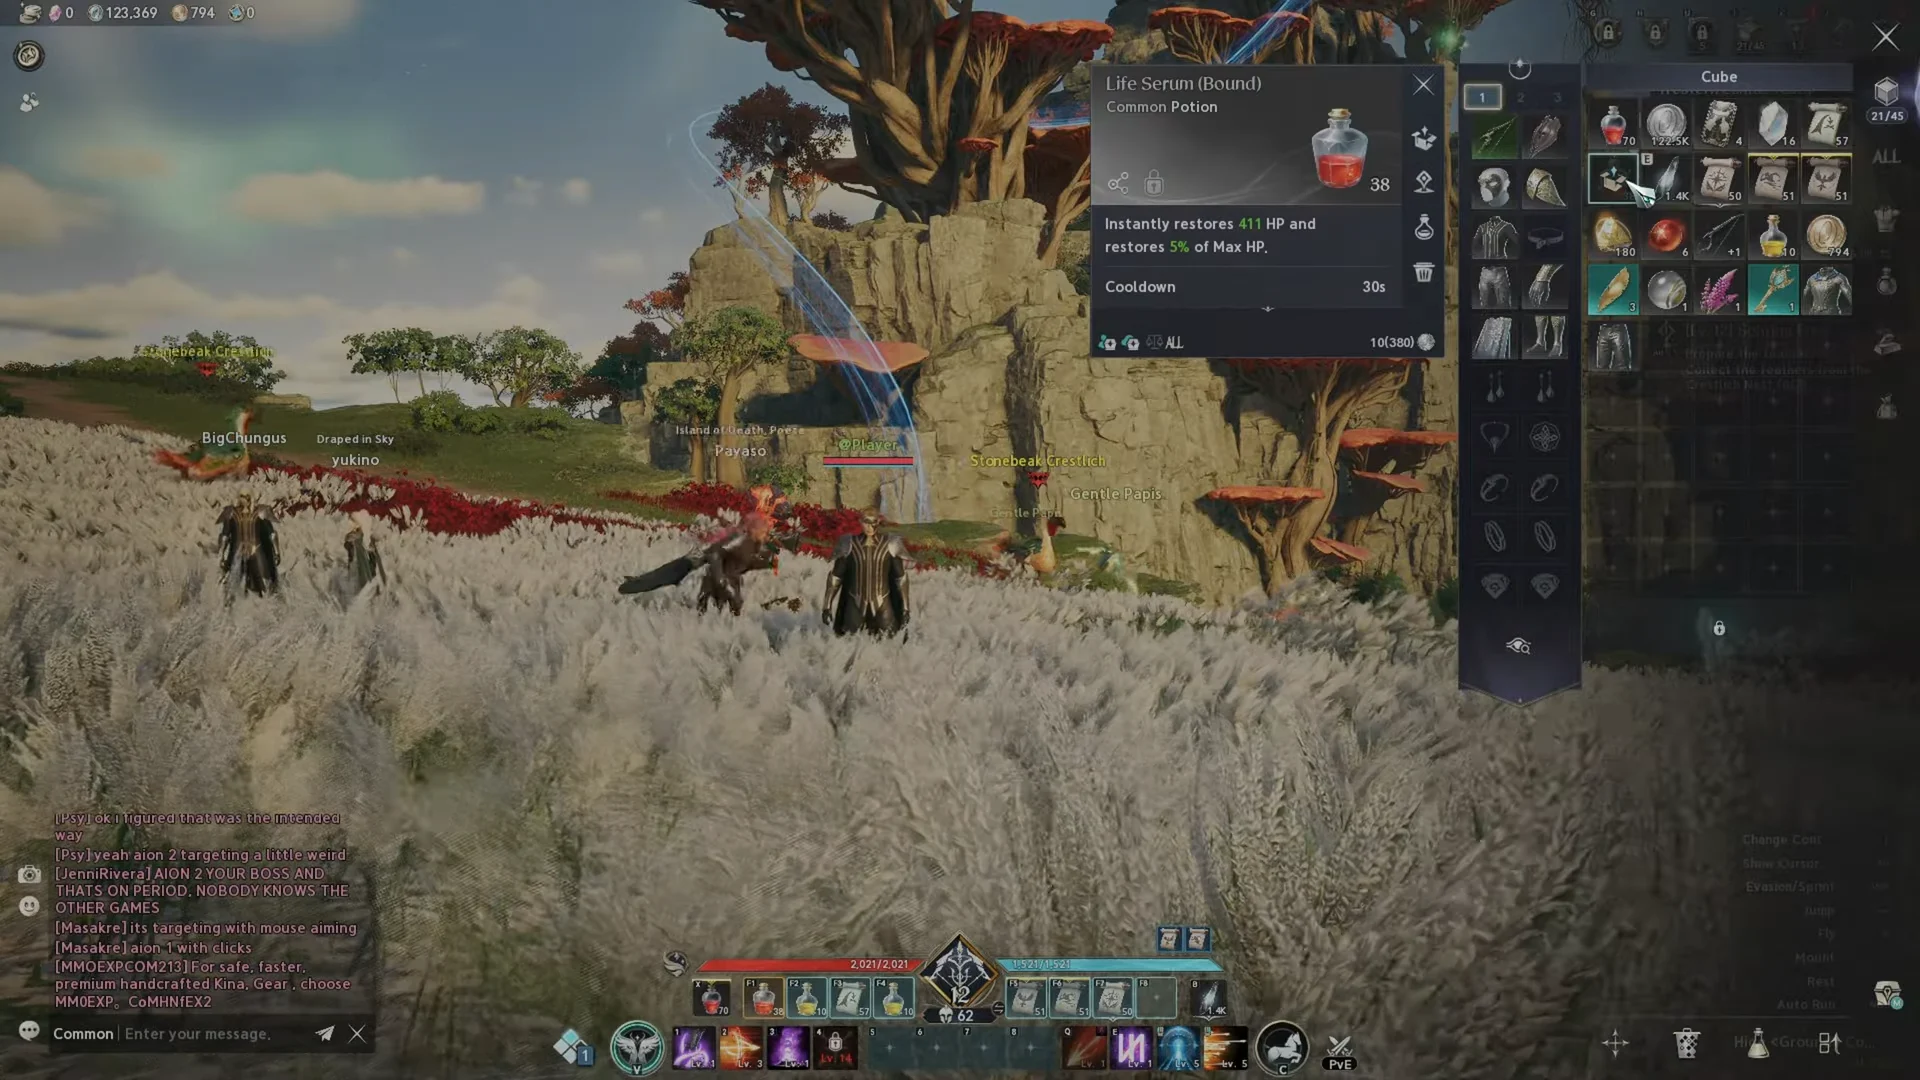
Consumables such as Healing Potion (Bound) and Life Serum (Bound) live in your inventory until you assign them to an item slot. The Life Serum restores 411 HP plus 1% of your Max HP, so keeping it one keypress away saves time during pulls.
Place active skills on the hotbar
Active abilities are assigned from the Skill menu rather than the Cube. Early Ranger skills such as Burst Arrow Lv. 1 and Drill Dart Lv. 1 are placed the same way as any other class’s abilities.
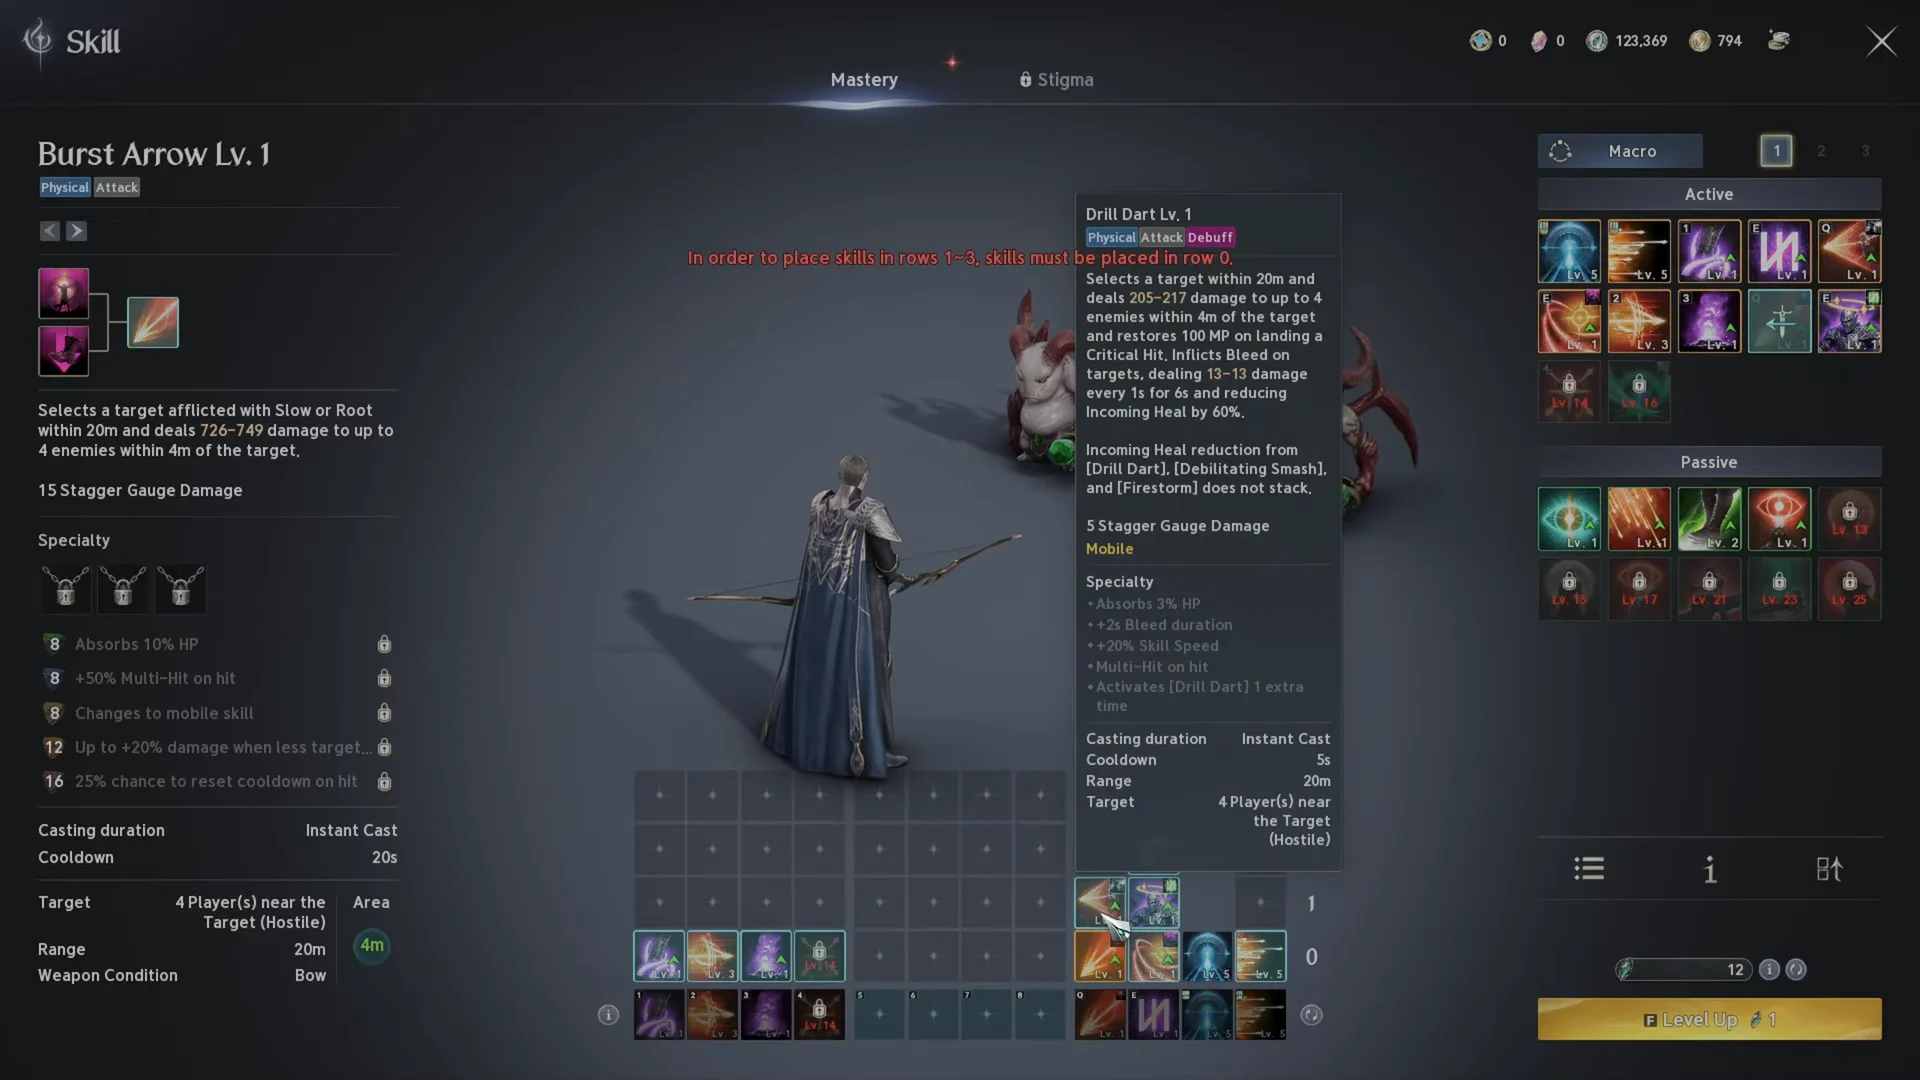
Stigma skills work the same way once unlocked. Open the Stigma tab, select the ability, and click a hotbar slot. The game currently supports up to five equipped Stigma skills.
Save and switch skill presets
You are not limited to one skill layout. The hotbar supports three presets, so you can keep separate bars for different content and swap between them without rebuilding everything by hand.
- Preset 1, 2, and 3 each store their own arrangement of active skills.
- Cycle between presets from the preset controls in the Skill menu.
- Each preset carries its own macro chain, so a questing bar and a boss bar can run different sequences.
Build a 20-slot skill macro
Each preset includes a macro that can hold up to 20 skills in a fixed order, with an adjustable delay between each one. The delay accounts for the global cooldown and animation time so your inputs register cleanly.
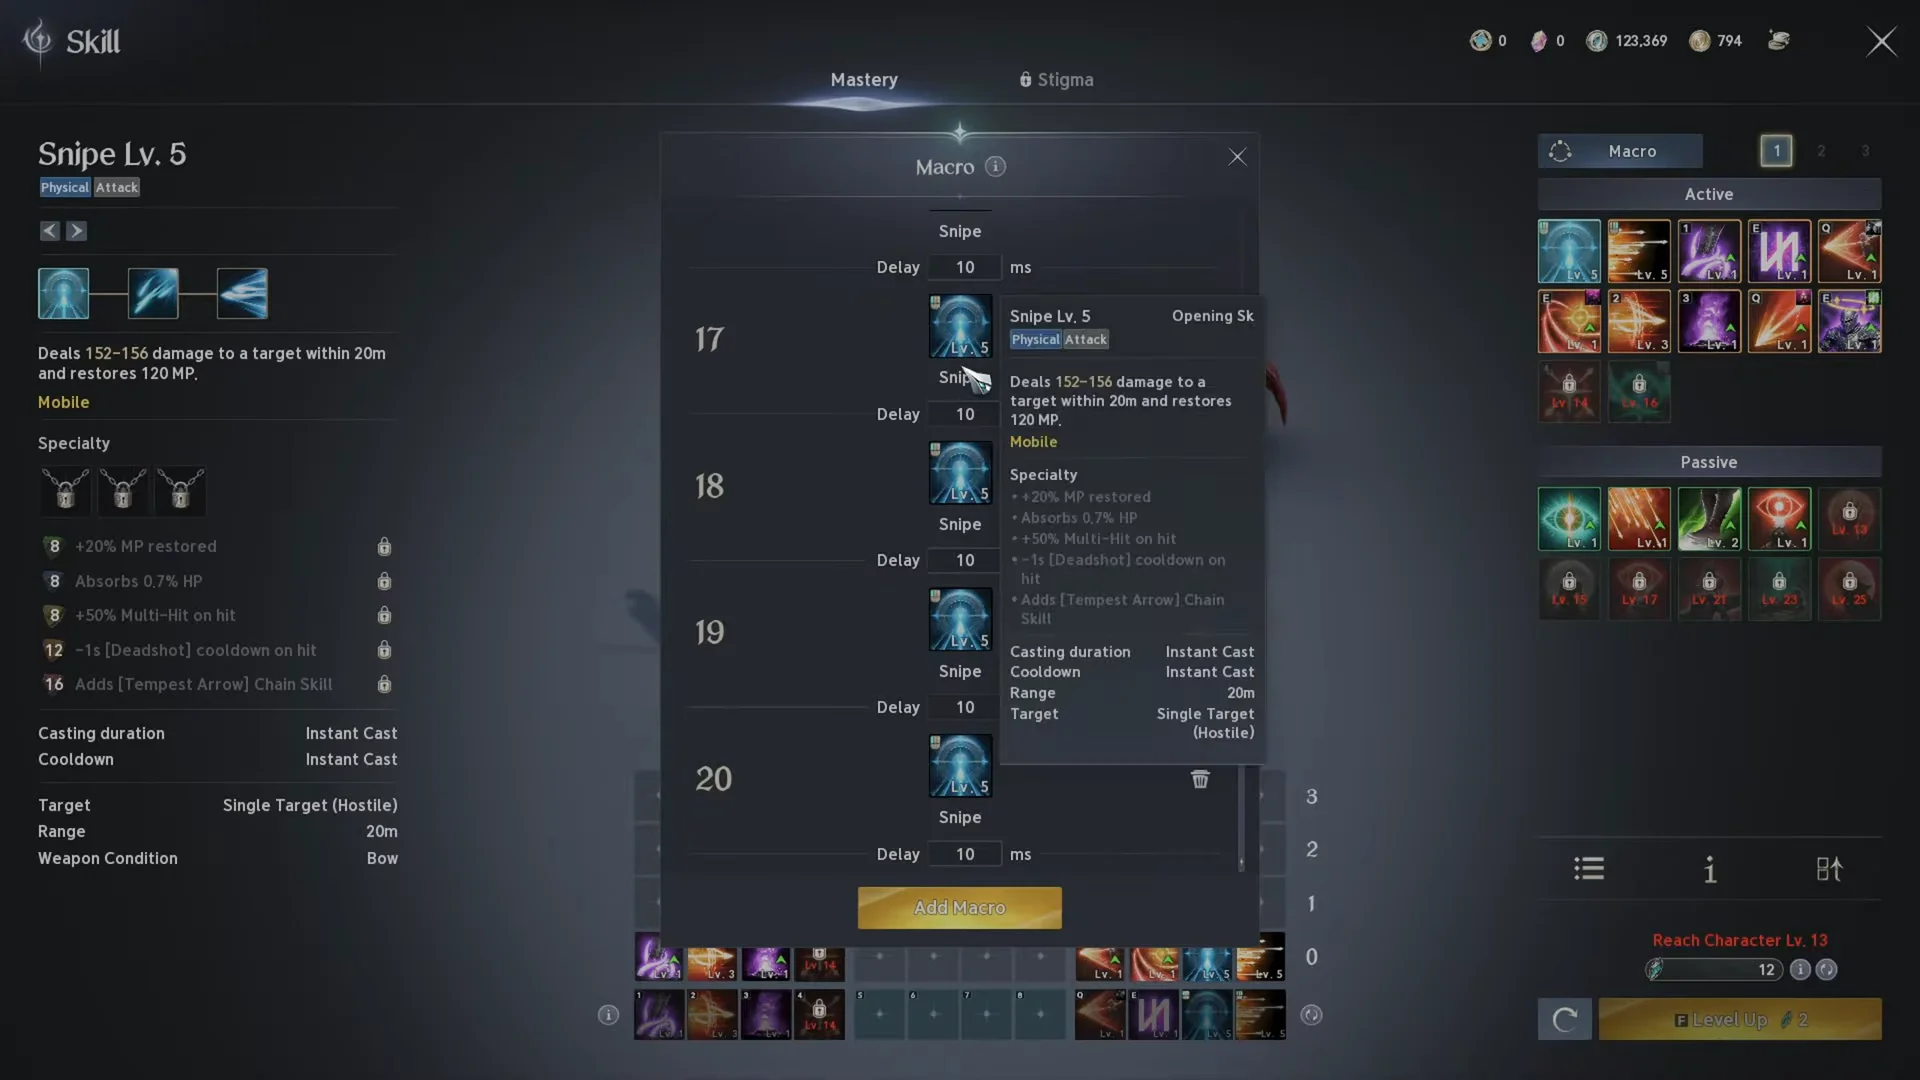
Commands follow a simple format. A skill line reads /Skill [Skill Name] and a wait line reads /Delay [seconds], for example:
/Skill Ferocious Strike II
/Delay 1.5
/Skill Rage II
Test any new macro on a training dummy before taking it into combat, so you can confirm the chain does not drop a skill or lower your damage.
Bind the macro key in Settings
A macro does nothing until you assign a key to run it. The binding lives under the gameplay controls, separate from your normal skill keys.
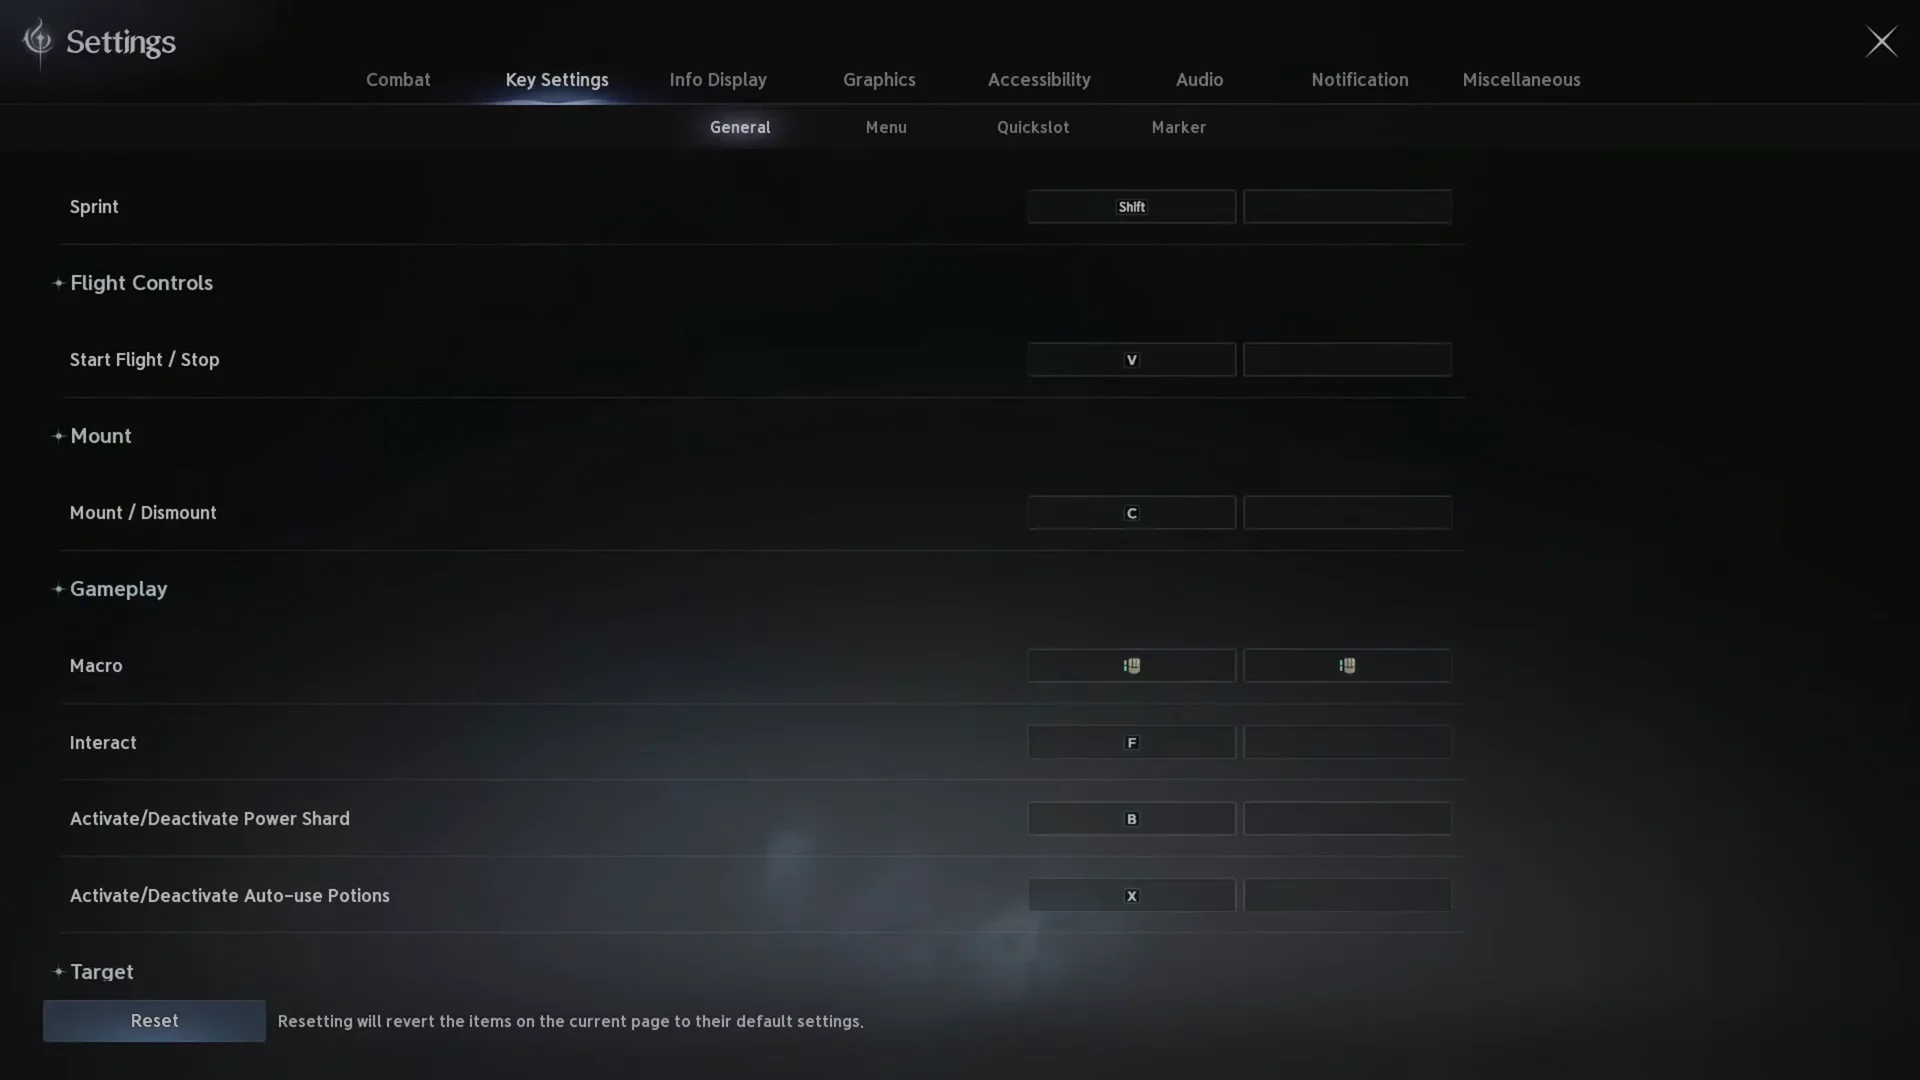
During a fight, keep the assigned key held to continue the skill sequence; tapping it once will not run the sequence automatically. Using a ready skill yourself interrupts the macro, letting your command take precedence. Most players use it alongside auto-target.
In-game macros are allowed for active combat, but using them for AFK farming or running endless loops through third-party software can lead to an account ban.
Rearrange the hotbar with Edit HUD
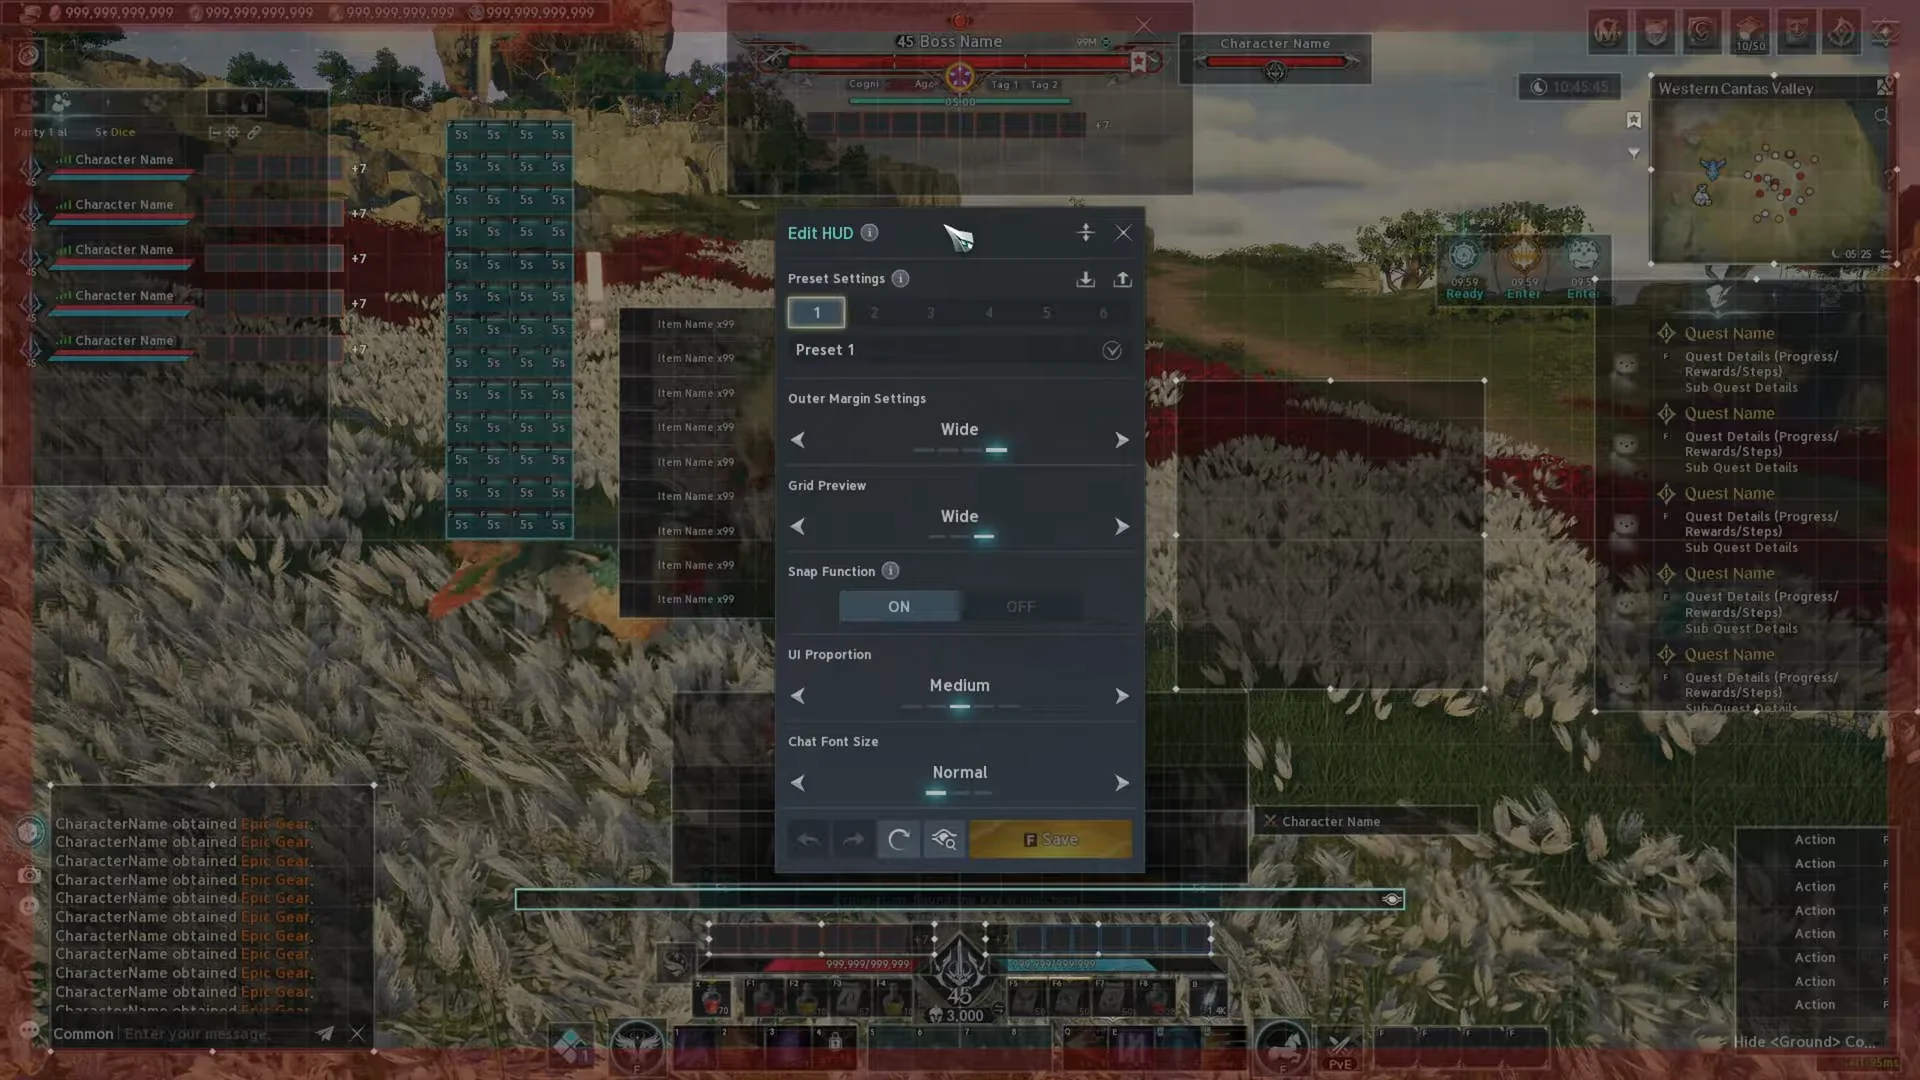
If your bars sit in an awkward spot, open Edit HUD from the main menu to move interface elements. The panel includes preset settings, outer margins, a grid preview, a snap function, and controls for UI proportion and chat font size.
Swap full setups with Batch Preset Equip
You can use the Batch Preset Equip window to update more than skill presets. Access it through the main menu, choose a set, and switch Gear, Skills, Title, Wings, and Genius Insight as a group. Finish by selecting Equip Preset.
This is the fastest way to move between roles, since one action reconfigures your entire loadout instead of changing each piece by hand. When the set applies, your equipped gear, active skill bar, and cosmetics update to match the chosen configuration.
Hotbar Reference: Early Ranger Skills and Potion Items
Use these values to decide what goes on the bar and how long to space a macro. All damage figures are for skill level 1, and every listed skill has a 20 m range unless noted.
| Skill | Required level | Cooldown | Cost / restore | Level 1 damage |
|---|---|---|---|---|
| Dodge | 1 | 0.5 s | None | None (evade) |
| Snipe | 1 | None listed | Restores 120 MP | 47 (+39.6% of Attack) |
| Tempest Shot | 1 | None listed | Costs 120 MP | 56 (+56.7% of Attack) |
| Drill Dart (Active) | 4 | 5 s | Restores 100 MP on a Critical Hit | 112 (+115.5% of Attack) |
| Burst Arrow | 10 | 20 s | None | 544 (+225.5% of Attack) |
Burst Arrow only selects a target afflicted with Slow or Root, so it will not fire on a clean target. Drill Dart, Snipe, and Tempest Shot are tagged Mobile. Snipe’s MP restore pairs with Tempest Shot’s 120 MP cost. Drill Dart also exists as a separate Passive entry with a single skill level, while the Active version goes to level 40.
Usable items worth a slot
| Item | Effect | Level | Tradable |
|---|---|---|---|
| Healing Potion (Bound) | Removes 1 Status Effect other than Incapacitated | 1 | No |
| Mana Serum (Bound) | Restores MP | 1 | No |
| Superior Life Serum | Restores HP plus 10% of Max HP | 10 | Yes |
| Superior Life Serum (Bound) | Restores HP plus 10% of Max HP | 10 | No |
| Wind Serum | Restores Flight Power | 1 | Yes |
| Superior Wind Serum | Restores Flight Power | 10 | Yes |
The Healing Potion (Bound) costs 630 Kina from shops, and the Life Serum (Bound) costs 1,000 Kina. Alchemy can craft the Life Serum (Bound) at mastery 1 from Fresh Aria or Fresh Azpha plus a Glass Bottle (Bound). Superior Life Serum requires Alchemy mastery 55 and consumes a Life Serum (Bound).
Titles that boost potion recovery
| Title | Equipped effect |
|---|---|
| Citadel of the Fallen Daeva Sightseer (Rare) | HP Potion Recovery 200 |
| Dripped Out | HP Potion Recovery 180 |
| Apex Predator | HP Potion Recovery 180 |
| Only One Sacrifice Was Required | HP Potion Recovery 170 |
| Burdened with Responsibility | HP Potion Recovery 160 |
| Defending Market Shares | HP Potion Recovery increase 5.2% |
| Return of the Ring | HP Potion Recovery increase 5.2% |
Big Spender gives HP Potion Recovery increase 1.0% as an owned effect, even when it is not equipped. Titles can be swapped as part of a Batch Preset Equip set.