
Draupnir Conquest is the run most people farm, and almost none of it needs to be fought. The mid-bosses are optional on this difficulty, so a coordinated group can sprint past every trash pack, ride the Windstream up, and drop straight into Transcendent Bakarma’s room. The only real wall is the boss itself, which is built around a stagger check that wipes the party if you miss it.
Quick answer: In Conquest, run past the trash, kill Manager Allahar, dive into the chasm, ride the Windstream up to the Meditation Room, bind at the Kibelisk, then enter the portal to fight Transcendent Bakarma.
Before you enter: requirements and party setup
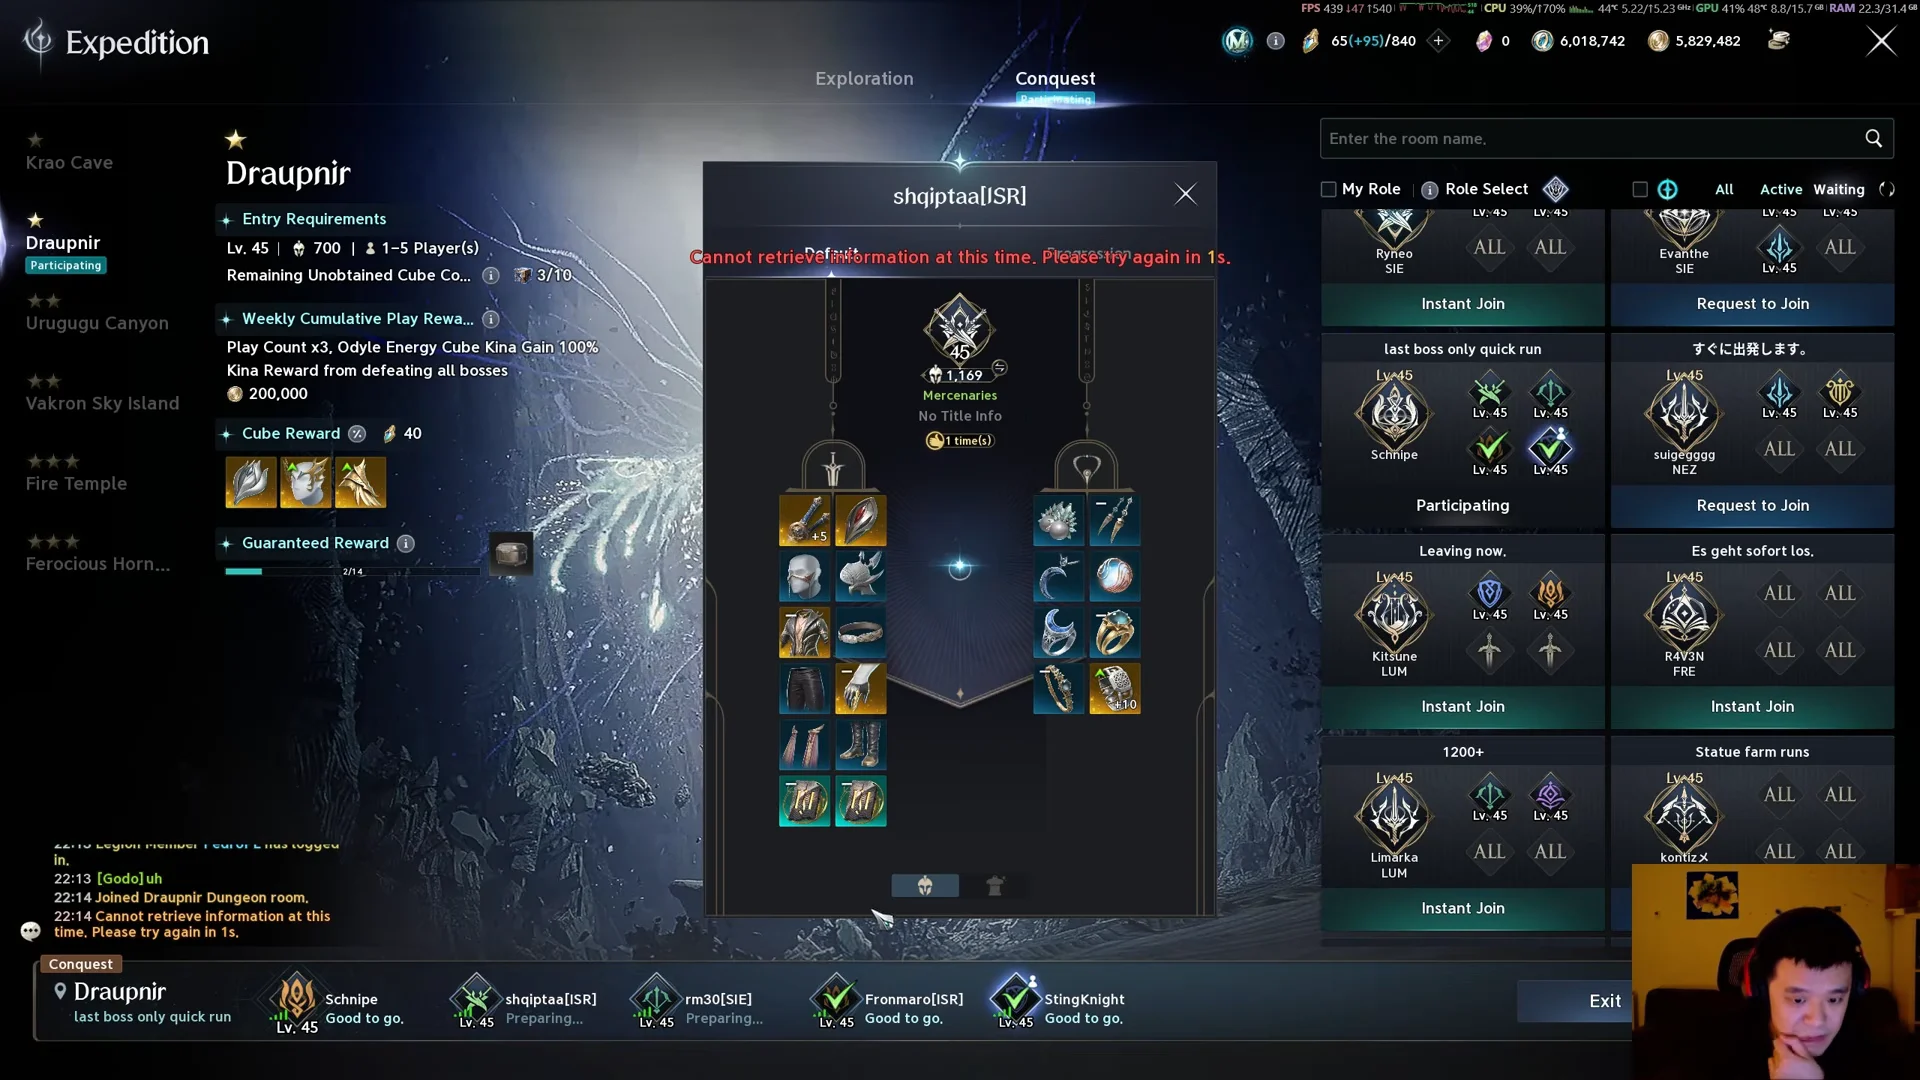
Draupnir is a party dungeon for 1 to 5 players with a 60-minute timer, and it offers Exploration and Conquest. Pick Conquest, not Exploration. The skip only works on Conquest, where Predator Saraswati and Phantasmal Lakshmi are fully optional on the way to the final boss. The entry panel lists Level 45 and a 760 benchmark for the run.
- Character level 45, with Conquest selected in the Expedition menu.
- Running it with five players is the easiest approach, but a smaller party can still clear it with sufficient damage, healing, and stagger.
- Enough stagger skills spread across the party to empty the boss’s stagger gauge inside a short window.
- Cooldowns and buffs saved for the boss, not wasted on trash or the pack before the portal.
A Gladiator, Cleric and Assassin core works well, with a Chanter adding support. The point is to walk in with the stagger tools ready, because the fight punishes a party that burned them earlier.
The skip route to Transcendent Bakarma
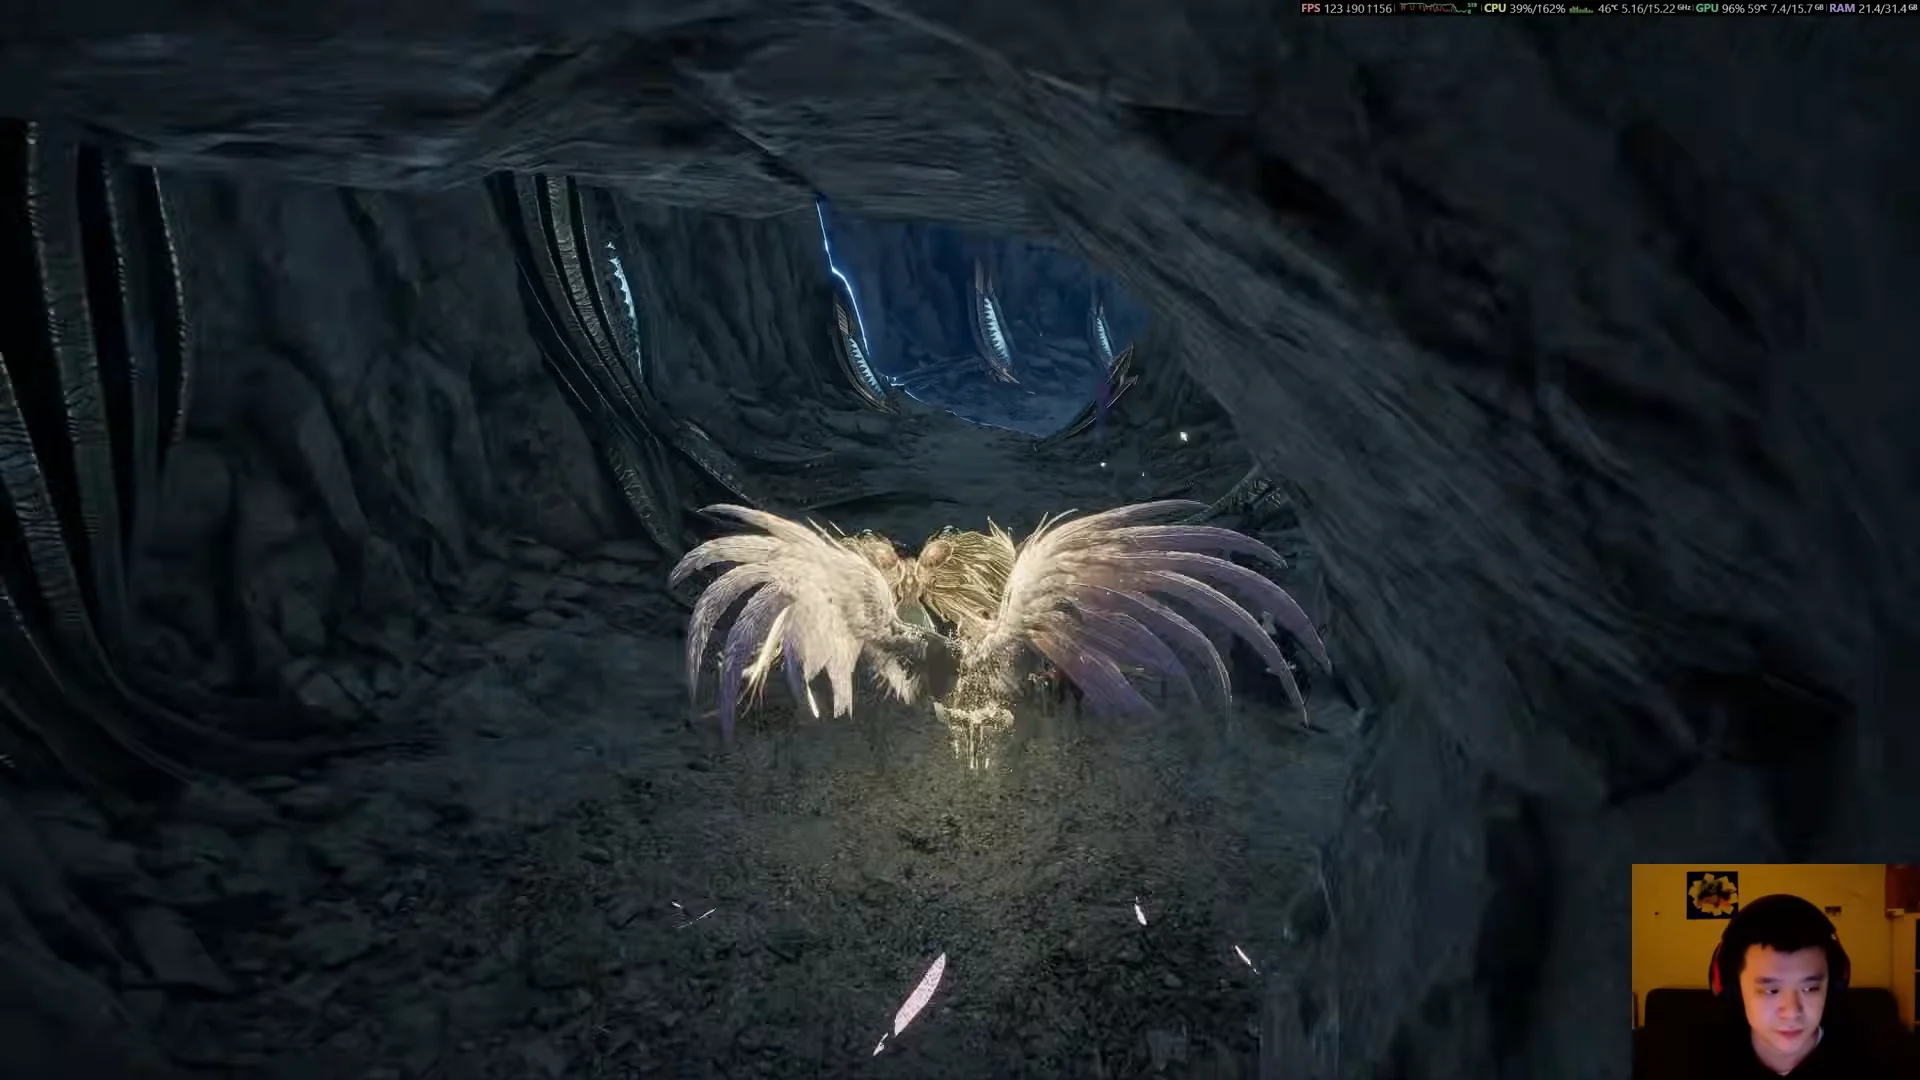
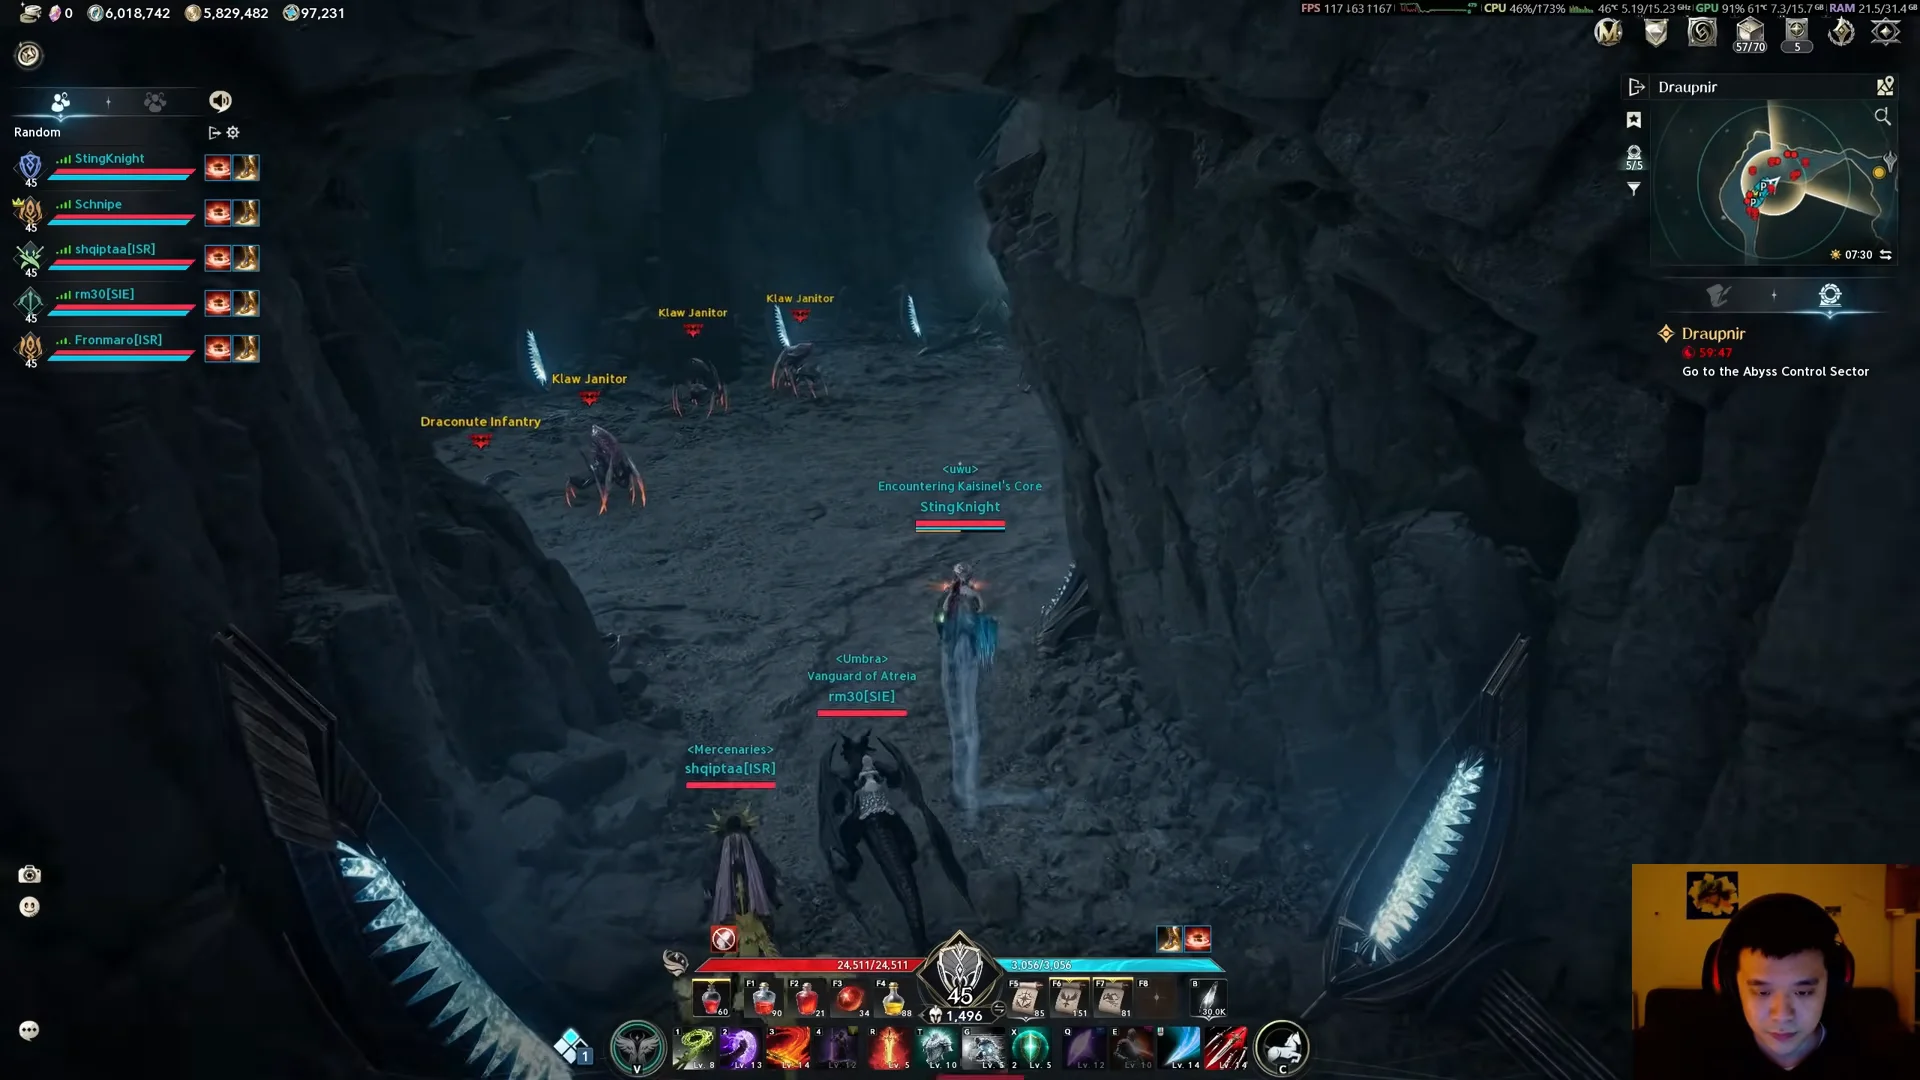

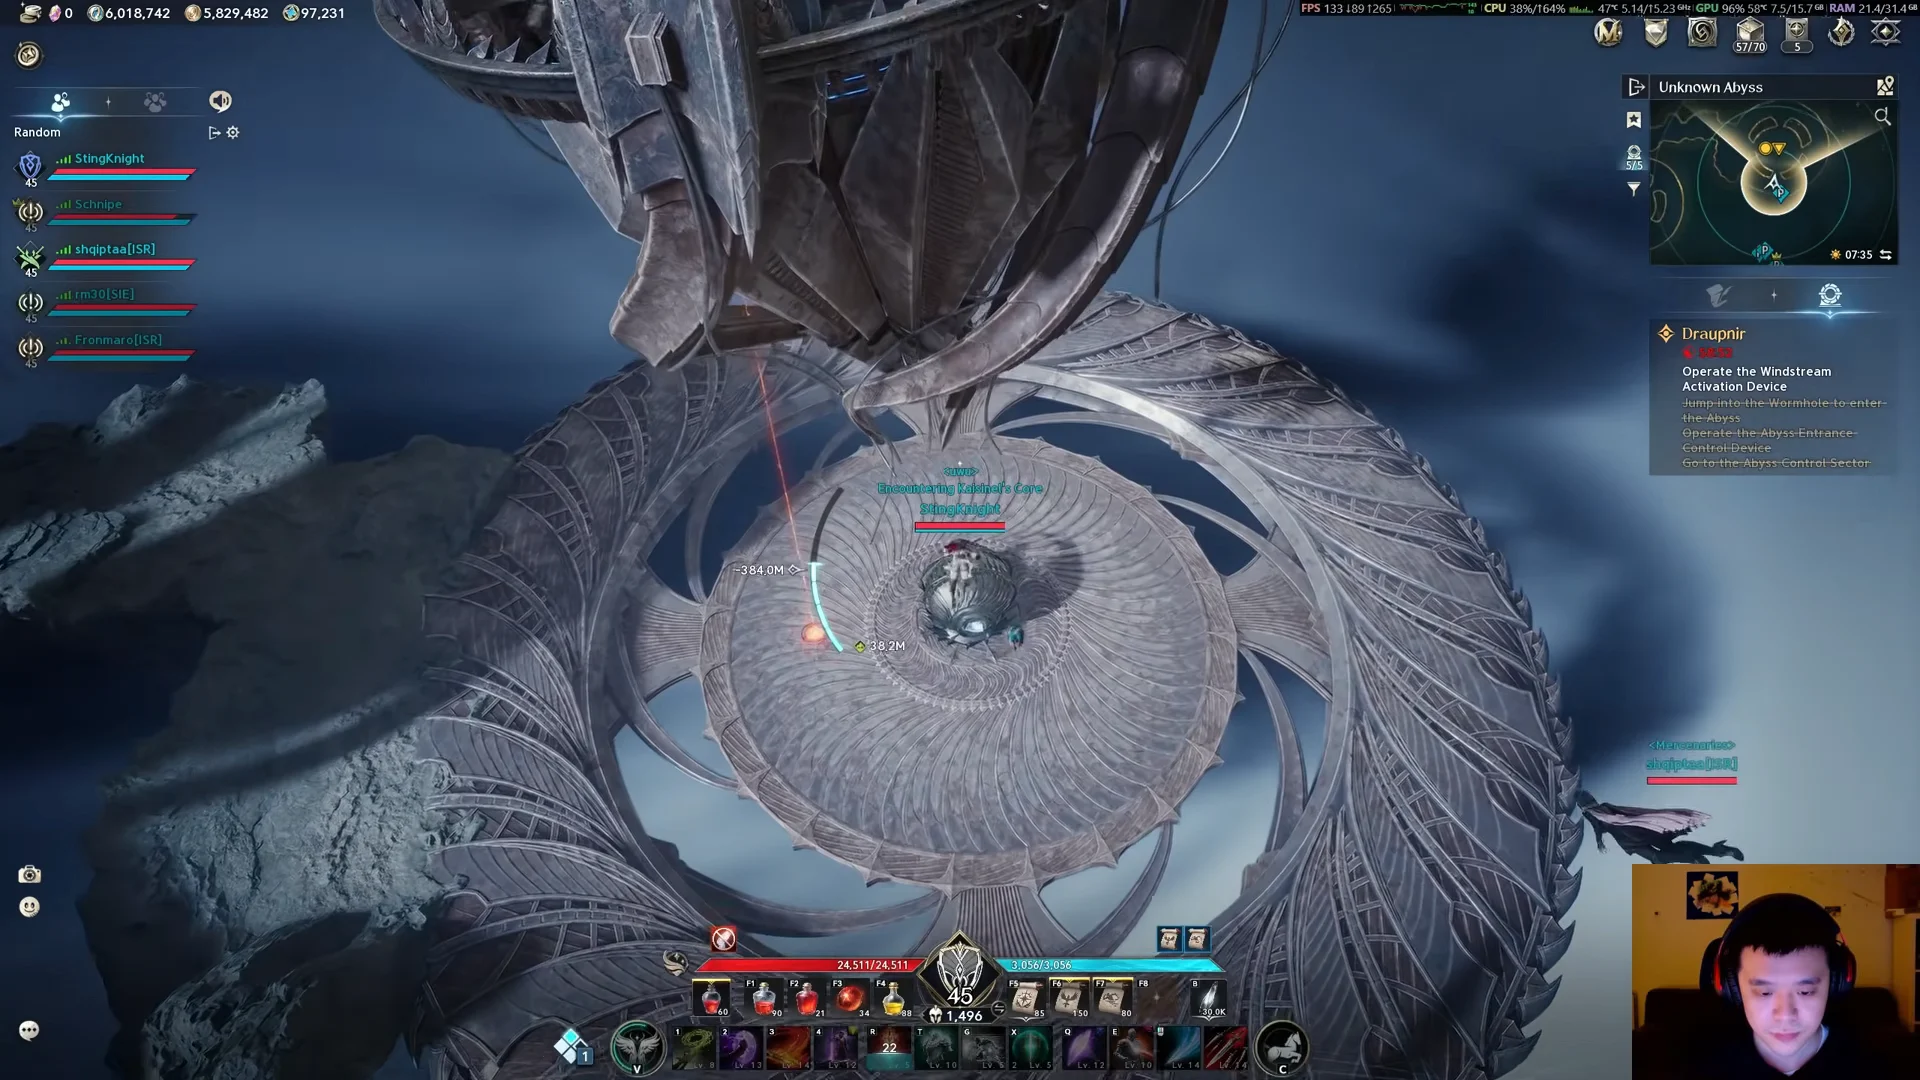
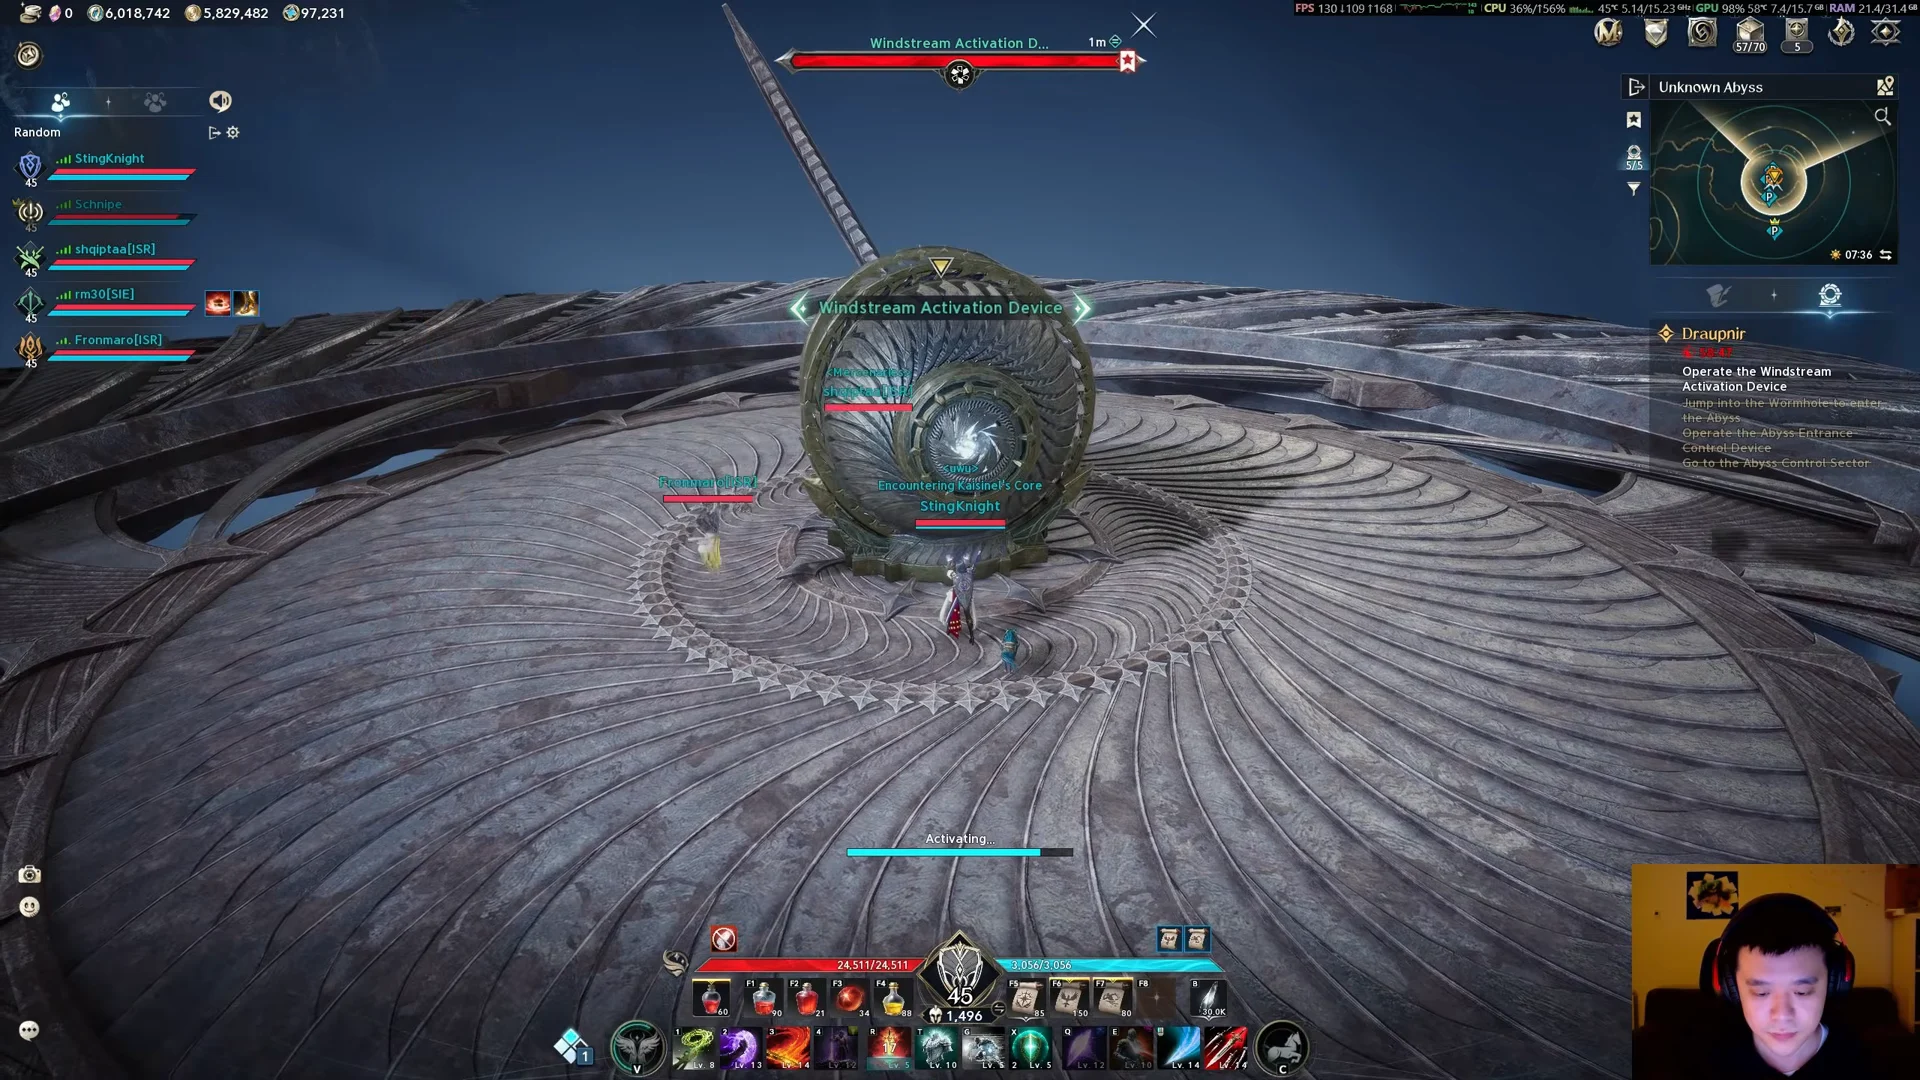
Wait for every member to pass through the portal before you open on the boss, or stragglers can be locked out of the arena.
Beating Transcendent Bakarma and the stagger check
Keep the boss near the middle of the arena. Its two big moments arrive as its health drops, around the 75% and 25% marks, and starting from an outer edge leaves you too far away when the window opens. The tank holds threat at the front because the frontal breath goes to the top-threat player; everyone else stays behind the boss.
At each threshold the screen darkens, a red ring marks the floor around the boss, and water waves roll outward in a steady rhythm. Jump each wave a beat early, as the ripple leaves the body, since they travel faster than they look. Use a double jump and, where your class has one, a gap closer to reach the boss. A single wave hit (Rapid Current) costs 45% of your max HP and slows you for five seconds, so two hits in a row will kill you.
Inside the red ring, the waves cannot reach you. That is where the stagger gauge beneath the health bar unlocks, so fire your high-stagger skills there and bring the gauge to zero. The window is short and the boss turns stagger-immune near the end of the cast, so the whole party needs to commit its stagger tools at once. Before the second check, twisting whirlpools appear on the field; note where they sit and path around them, because they pull you in and cost you the time you need for the stagger.
Fail the stagger check and the boss sends a wave that usually wipes the party, then resets its health to full. The fight also enrages at roughly five minutes, moving faster and hitting far harder, so treat both checks as hard gates rather than optional damage.
What Transcendent Bakarma drops
If you claim the reward cube after the kill, the final boss rolls from the Anguish set at these rates. The ring is the most common piece, and the breastplate the rarest.
| Item | Rarity | Drop chance |
|---|---|---|
 Anguish Ring | Epic | 13.5% |
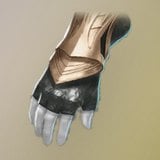 Anguish Gloves | Epic | 10.1% |
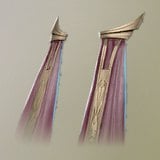 Anguish Cloak | Epic | 10.1% |
 Anguish Helm | Epic | 8.1% |
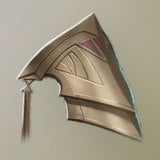 Anguish Pauldrons | Epic | 8.1% |
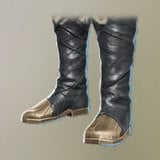 Anguish Boots | Epic | 8.1% |
 Anguish Greaves | Epic | 6.7% |
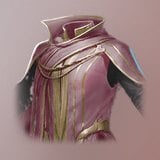 Anguish Breastplate | Epic | 5.1% |
Clearing every boss in the run pays 200,000 Kina, and the dungeon’s guaranteed reward is 760. Claiming loot spends Odyle Energy on the cube, which matters for the weekly cap below.
Farming the skip for the Transcendent Bakarma statue
The skip route exists mostly to repeat it. Clearing Draupnir Conquest on Normal 10 times completes the Draupnir Conquest Clear IV achievement, which hands over Statue: Transcendent Bakarma. Placed in your Pantheon, it adds 36 points: 12 Death, 12 Freedom and 12 Space. Only the kill counts, so you can leave each run without ever claiming the reward cube.

Leaving the cube behind uses a separate allowance. The Expedition menu shows your Remaining Unobtained Cube Count, with 10 unclaimed clears per week shared by all characters on the same server. Each Conquest or Transcendence clear you finish without taking its cube reduces that count. Once it reaches zero, those modes are unavailable until the weekly reset, including for your alternate characters.
Complete any other Conquest and Transcendence runs whose loot you want before using the remaining allowance for statue clears, and check the reset countdown in your client first.
How to confirm the clear and clean up the arena
When Transcendent Bakarma falls, the Expedition Complete screen appears and you can commend teammates. That screen is your confirmation the run counted, and for statue farming your achievement progress ticks up by one. If you are chasing the 10 clears, check that number before and after each run.
Floating Odyle nodes and Odyle Energy Cubes are scattered around the cleared arena. Harvesting them raises extraction proficiency and may yield Radiant Odyle, but neither the rare result nor a double yield is guaranteed. Divide the nodes so everyone gets a share, then teleport out. Gathering here doesn’t spend Odyle Energy on the reward cube, so you can collect the nodes and still leave the cube unclaimed to preserve your weekly allowance.
Transcendent Bakarma Drop Table Beyond the Anguish Set
Transcendent Bakarma, titled Ruler of Draupnir, is a level 45 hero-rank boss that spawns in Bakarma’s Subspace. Its drop list holds 75 entries, and most of the highest-rate ones are not Anguish pieces. These are the top entries, with rates as listed.
| Item | Rarity | Rate |
|---|---|---|
| Balaur’s Essence | Epic | 100% |
| Amplify Stone Fragment (Bound) | Unique | 99.9% |
| Wrathful Mind | Unique | 67.9% |
| Bakarma Gloves | Unique | 32.7% |
| Bakarma Cloak | Unique | 32.7% |
| Bakarma Helm | Unique | 27.2% |
| Bakarma Pauldrons | Unique | 27.2% |
| Bakarma Boots | Unique | 27.2% |
| Thick Balaur Scale | Epic | 24% |
| Thick Balaur Leather | Epic | 24% |
| Thick Balaur Horn | Epic | 24% |
| Bakarma Greaves | Unique | 23.2% |
| Sealed Blue Wave Wings | Unique | 20.8% |
| Artwork: Draupnir | Unique | 20.8% |
| Bakarma Breastplate | Unique | 17.9% |
The Bakarma armor set is a separate line from the Anguish set. Its Gloves and Cloak share the top rate at 32.7%, and the Breastplate is the lowest of the set at 17.9%. Silentium (Bound) also appears in the list, along with Kina, bound Kina and Enhance Stone entries.