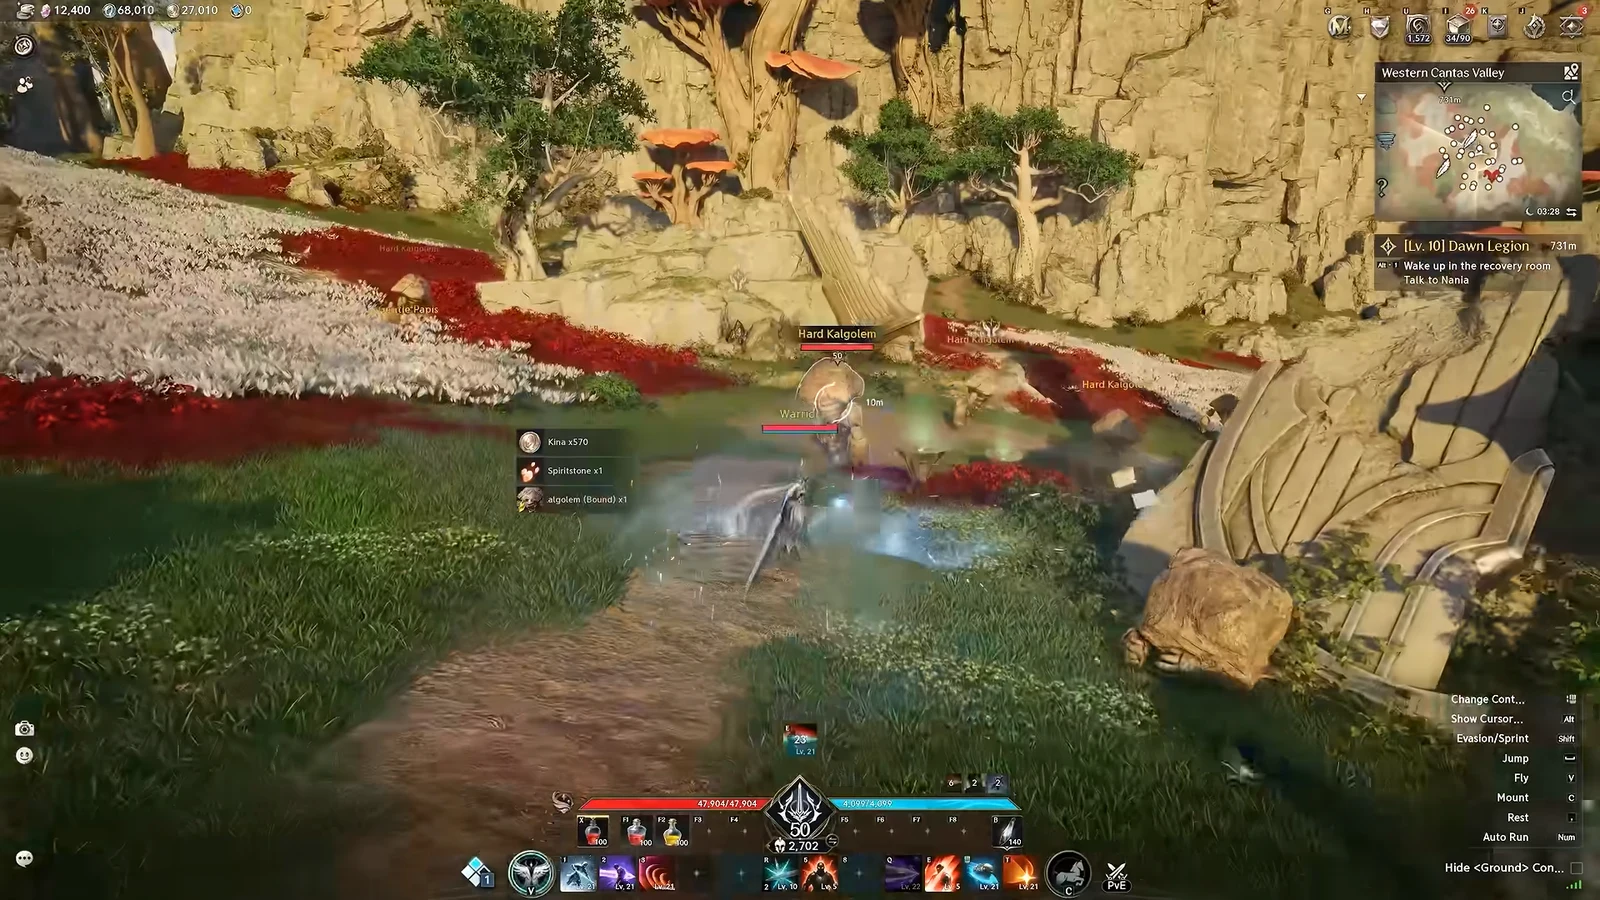
AION 2 combat relies on repeating a small set of skills, so the built-in macro can handle some of that repetition for you. Keep a key held and it activates your hotbar skills sequentially, cutting short the end of each animation so your character can continue attacking without lingering in a recovery pose. A solid setup keeps the rotation going while you manage movement and targets. A poor one can switch off your buff during a boss fight.
Quick answer: Assign a key in Settings → Key Settings → General → Gameplay → Macro. Set up the entries in the Skill window (K) with a 10 ms interval, then keep the key held while fighting.
How skill priority decides the order
First, learn how the hotbar handles skills, because macros follow those same rules. Press K to open the Skill menu and view the expanded hotbar grid. Each column shares one hotkey, which cycles through the skills in that column.
The skill at the bottom of a column gets top priority. When you press its hotkey, the game tries that skill first each time. If it is cooling down or its requirements are unmet, the next skill up gets a turn, followed by the one above it. Put a skill without a cooldown—usually your default attack—at the bottom, with inexpensive, frequently used skills below situational options.
Without the macro, firing all four skills on one hotkey means pressing that key again and again. The macro forces those presses in the background, and if you add several hotbar lines to it, it repeats that across all of them. One point matters here. The macro looks at the hotbar slot, not the skill currently in it, so changing the skill in that slot changes what the macro does.
A few skills will not activate or let the chain continue unless an enemy is locked as your target. Lock on before starting the sequence to prevent it from stopping.
Bind the macro key first
No key is assigned to the macro by default, which is why many players never realize the feature exists. You have to set one yourself before anything works.
Build the macro in the Skill window
The macro links hotbar positions, not individual skills. Each macro slot points at a hotkey, and that hotkey may hold a whole column of stacked skills. Keep the key held and the game runs the entries from top to bottom, weaves in basic attacks, then loops.
The macro checks whether each entry can be used. It bypasses skills that are cooling down, lack mana, or fail a requirement, then tries the next available entry rather than stopping. Put a skill that depends on a condition above the skill that creates it, and it will activate only while that condition holds. Adding rows indiscriminately is not an improvement: the sequence does not always execute with perfect rigidity, so a crowded setup is less reliable than a compact core combo.
Set the delay to 10 ms
Each entry has a Delay setting, measured in milliseconds, for the wait before the following skill. An update lowered the default from 50 ms to 10 ms, the setting used by nearly all current class builds. Keep the delay low; it measures the pause between your inputs.
Ping is where players split. Some set 40–50 ms on a high-latency connection (roughly above 80–150 ms) so commands register reliably. Others argue the delay only measures the gap between your own presses, not the connection to the server, so latency has no effect on it. Start at 10 ms and raise it only if you see skills failing to activate. A longer delay trades a little damage for a steadier feel.
Reducing ping does not raise your damage. It only changes responsiveness, whatever ping-booster ads claim.
Which skills belong in the macro
AION 2 skills fall into roughly six types, and only some of them suit automation. What you want inside the macro are the spammy damage skills. Put the zero-cooldown ones high on the column and the short-cooldown ones (around 5 to 20 seconds) just below. Situational skills can go in too, but only when they fit. The Gladiator’s Sword Aura Rampage, for example, only fires against a Staggered enemy, so it earns a macro slot only if you can reliably apply stagger.
Keep these out of the macro, since they cause more trouble than they save:
- Auras and permanent buffs. The first press activates the toggle, the next loop switches it off. Keep Light of Protection, Chanter Mantras, and the Templar health buff on separate buttons.
- Charged skills. The macro releases them at whatever charge they have reached, so one loop fires stage one and another stage three. Hold the Cleric’s Bolt, Templar’s Punishment, Ranger’s Charged Shot, and Sorcerer’s Hellfire manually.
- Rushes, leaps, and gap closers. In PvP, the macro may use your rush after you have already reached your opponent. This is less of an issue in PvE, except when a boss runs away.
- Skills with lengthy cooldowns mixed into a quick-cooldown sequence. Put a 45-second ability between 5-second and 20-second skills and you get pauses, a blinking “Skill on cooldown” notice, and a minor loss in damage.
- Skills that disrupt your position. Moves that root you or force you to step back, such as the Ranger’s Explosive Trap, can jerk your character around during a fight.
Leave out your basic MP recovery skill as well; you need it as a fallback when mana falls below the threshold. Use manual buttons for self-buffs and 45–60 second ultimates, since they require deliberate timing. There is one other guideline for every class: slot only skills that have been upgraded enough. A level 0 skill consumes animation time in the rotation and lowers DPS, regardless of how neatly it fits.
Animation canceling while the macro runs
Many skills have a lengthy recovery animation after use. During that time, left-click your basic attack to cut the remaining animation without altering the skill’s effect, letting you move directly into the next cast. Light attacks also restore the MP spent on other skills, helping maintain your mana.
Keep the macro key held while also left-clicking; the inputs will work in combination. You can add left-click to the macro, but doing it yourself generally yields more damage, and your manual actions take priority over the active sequence. This lets you charge a charged skill by hand while the macro continues its loop.
A successful cancel leaves a brief black afterimage of your character during the attack. That shadow indicates the animation was canceled.
Test the macro on a training dummy
Don’t bring an untested macro into a dungeon; incorrect ordering can quietly reduce your damage. In Altgard’s Safe Haven, Asmodian players can find a training dummy at the lower-right side of the storage chest. Alternatively, use a Hall Return Scroll (Bound) in your Cube to travel to the Legion Airship, where the Training Scarecrows stand apart from everything else.
Use Ctrl + X to open Combat Analysis. For each ability, it tracks DPS, total damage, battle duration, successful hits, and crit rate. Wipe the results, run the macro for a fixed interval, then reorder it and check the difference. The sequence order can shift the readings more than expected, as a brief Cleric test demonstrates.
| Macro contents | Total damage (20s) | Note |
|---|---|---|
| Earth’s Retribution only | 355,354 | Baseline |
| Judgment Thunder only | 614,879 | Drains mana fast |
| Both alternating | 542,108 | Mana sustains |
| Plus Condemnation chain | 681,183 | 41,136 DPS |
Signs it is working include higher damage from one run to the next, extra basic attacks in the hit total, and the animation shadow trailing your character. If the sequence gets stuck instead of advancing, check that you have a target and have not interrupted the loop with manual input.
Carry three macros with presets
Every preset has a separate macro, identified by 1, 2, and 3 next to the Macro button. For example, leave rushes on manual keys in a PvP build and include them in the PvE macro. This separation is useful because some masteries and stigmas work in only one mode.
Presets can also carry gear, arcana, pantheon, titles, and wings. Assign them in the Batch Preset Equip panel under SET 1, SET 2, or SET 3, and one key swaps your whole loadout. A completed swap shows the message “Skills changed to Preset 2.”
| Action | Default key |
|---|---|
| Batch Preset: Equip Set 1 / 2 / 3 | Ins / Home / PgUp |
| Gear Preset 1 / 2 / 3 | Alt + Num1 / Num2 / Num3 |
| Skill Preset 1 / 2 / 3 | Alt + Num4 / Num5 / Num6 |
All of these can be remapped in Key Settings under the Batch Preset, Gear Preset, and Skill Preset sections.
What’s allowed and what gets your account restricted
The line is clear. The built-in macro is an approved feature, and using it during active combat carries no penalty. Recording macros through your keyboard or mouse, or running them through outside software, breaks the user agreement and counts as cheating. Endless kinah farming loops look like bot activity and can lead to restrictions or a ban.
Using the in-game macro to farm while AFK is forbidden too. It is meant to simplify combat as you play, not take over gameplay for you.
Before copying a chain from another source, account for the stigma difference: the Taiwanese version has six active stigmas, while the global release has four. Those two missing skills occupy many macro slots, so a chain built for TW may not fit. Create your own sequence, try it on a dummy, and revise it as you unlock skills; cooldown, specialty, and combat-speed changes can also affect its performance.
Macro Skill Reference: Light of Protection and Sword Aura Rampage
Two skills the macro advice touches on have fixed values worth checking before you decide where they go.
| Detail | Light of Protection | Sword Aura Rampage |
|---|---|---|
| Class | Cleric | Gladiator |
| Weapon | Mace | Greatsword |
| Learned as | Stigma skill (1 stigma point) | Regular skill |
| Required level | 22 | 5 |
| Max skill level | 25 | 40 |
| Cooldown | 5.0 seconds | Not listed |
| Range | Not listed | 4.0 m |
| Damage type | Magic | Physical |
| Tag | Toggle Skill | None |
Light of Protection is tagged as a Toggle Skill, which is why a repeating macro loop will switch it off on the second pass. While active, it raises PvE Damage Boost and PvE Damage Tolerance by 10.5%, and PvP Damage Boost and PvP Damage Tolerance by 5.25%, for the caster and nearby party members. It does not stack with the Damage Boost effect from the Chanter skill. Its 5-second cooldown is short, so a macro can reach it often.
Its specialisations unlock at set skill levels:
| Skill level | Bonus |
|---|---|
| 5 | +10% Incoming Heal |
| 10 | +100 Accuracy |
| 15 | +10% Max HP |
| 20 | +10% Perfect Chance |
Sword Aura Rampage deals 124 (+82.5% of Attack) damage at skill level 1 and 1,925 (+82.5% of Attack) at skill level 40, against a target afflicted with Stagger within 4 m. The Attack scaling stays the same, so the gain from leveling comes from the base value. Its specialisations change how it plays in a rotation:
| Skill level | Effect |
|---|---|
| 8 | Absorbs HP, restores 120 MP, and changes to a mobile skill |
| 12 | Multi-Hit on hit |
| 16 | -1s to all skill cooldowns on hit |
The level 16 effect shortens every other cooldown each time it lands, so keeping Stagger applied pays off beyond the hit itself.