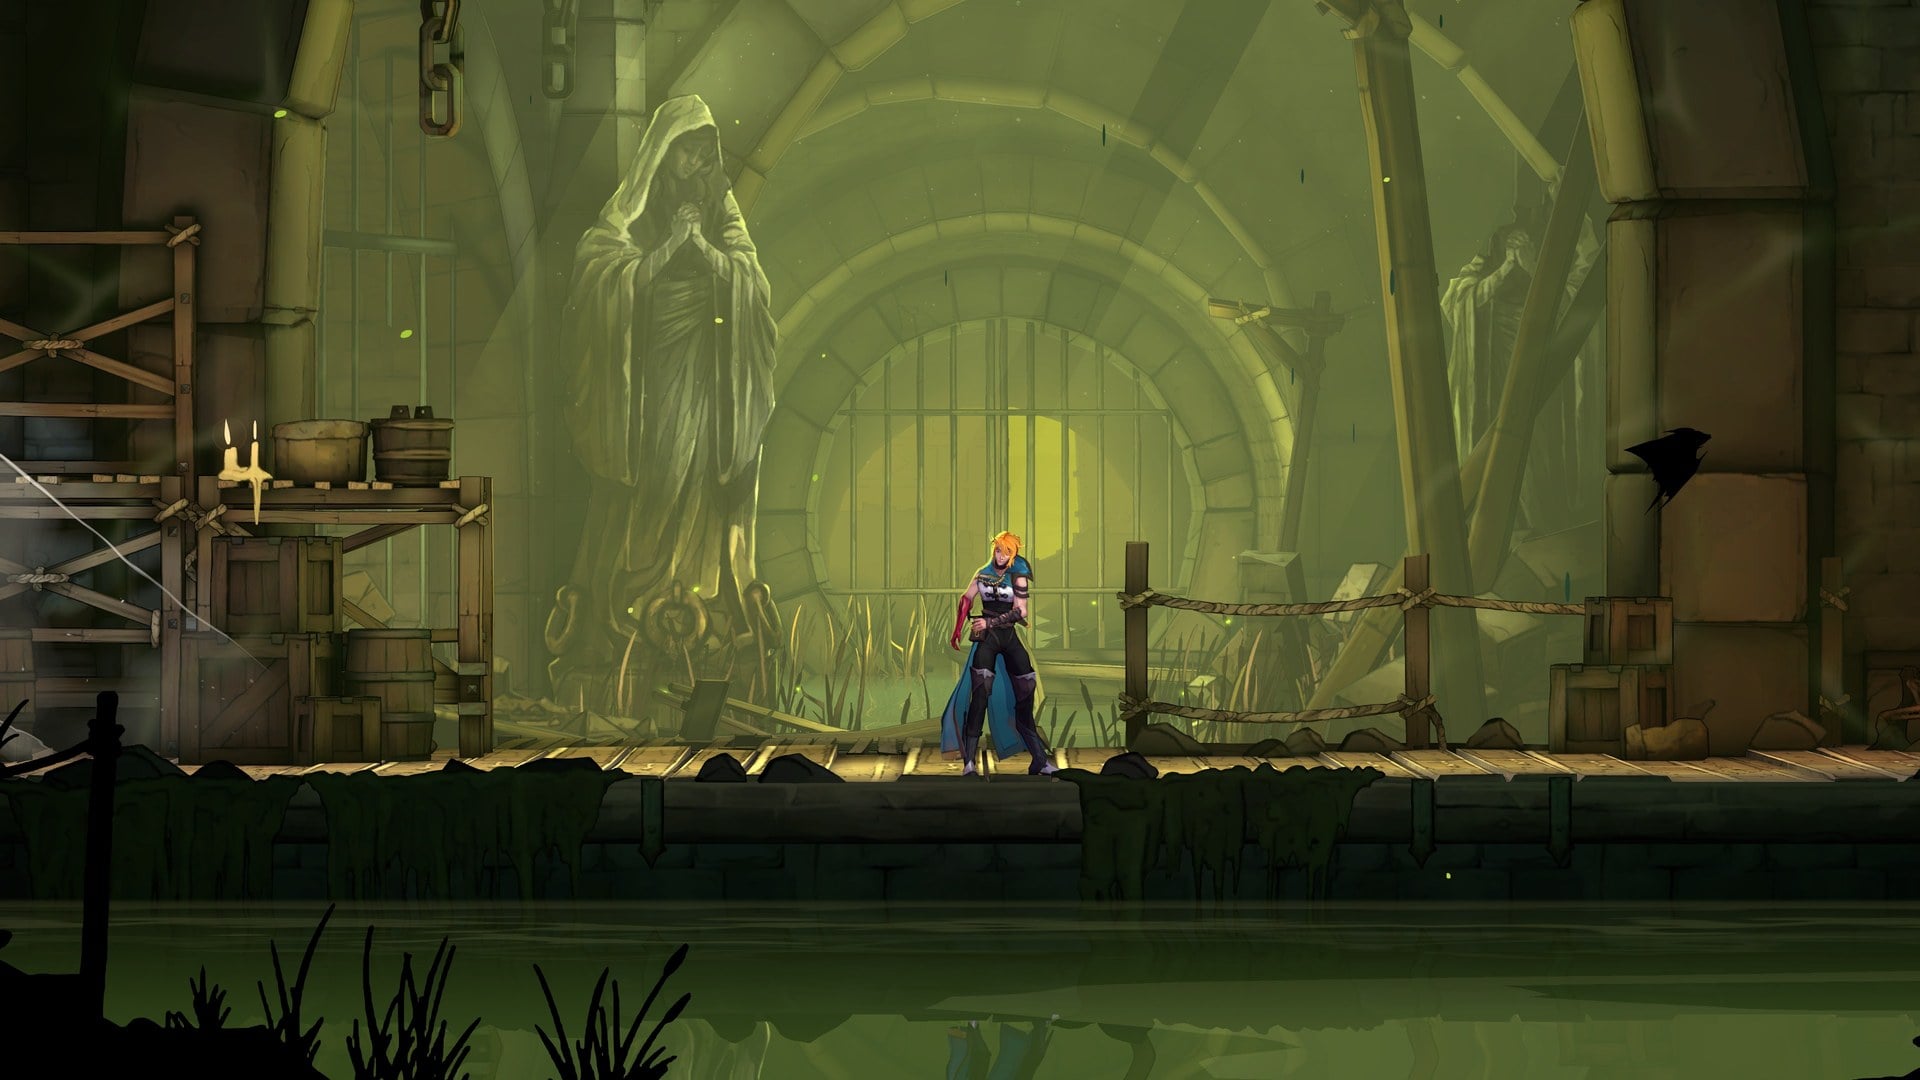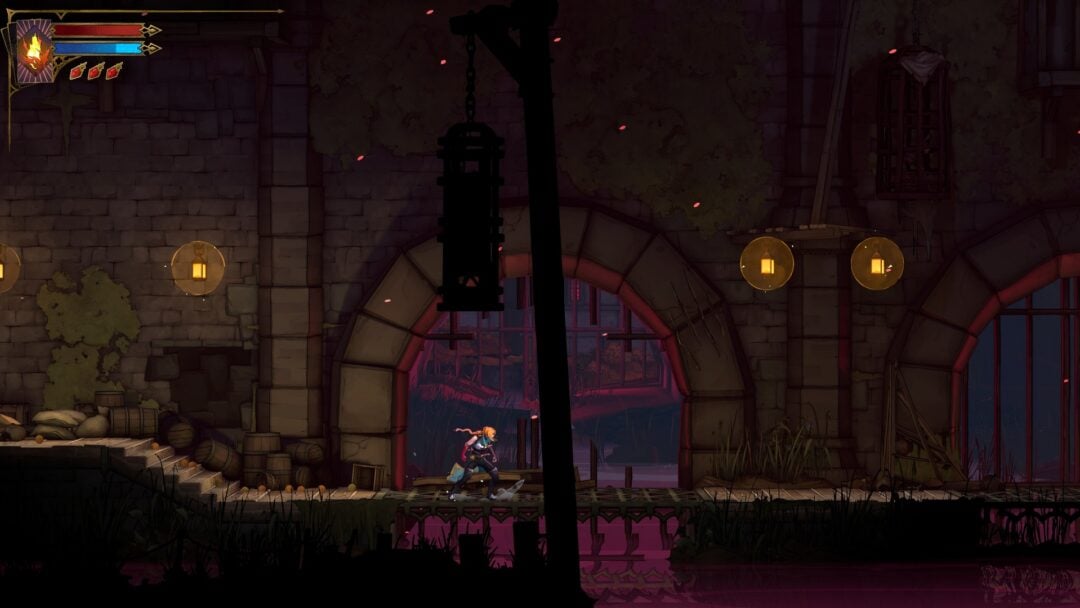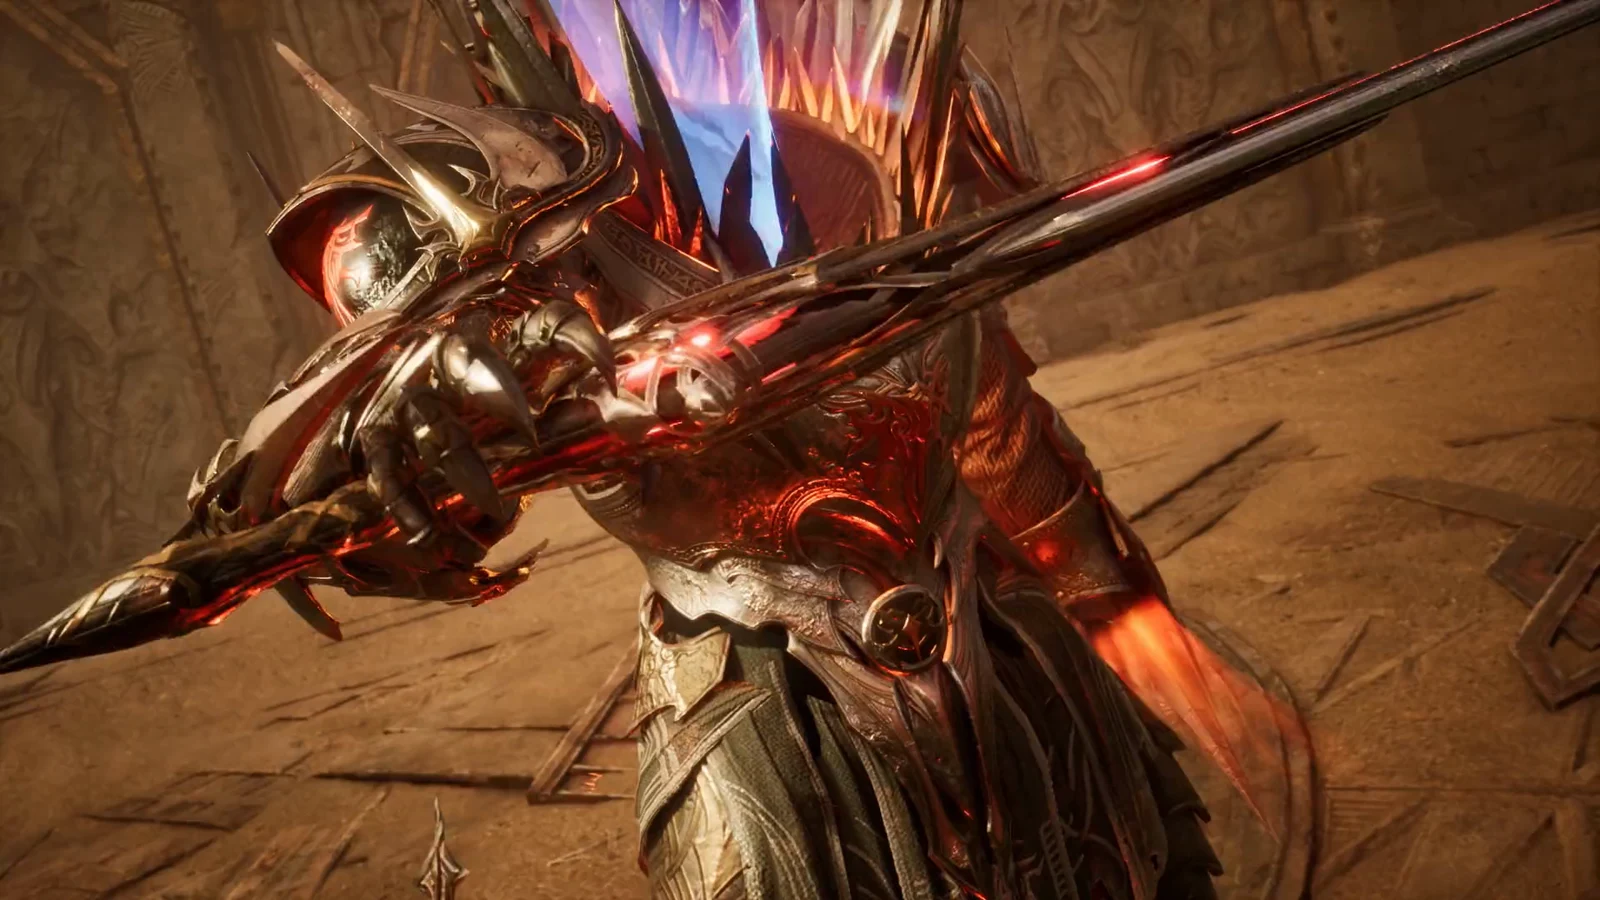
Aion 2’s launch roster has just one dedicated tank: the Templar, armed with a sword and shield. That role makes party invites easy and survival highly reliable, though personal damage is low and solo farming is slow. The build below focuses on the two choices that directly affect your output: the order for spending skill points and the Stigma set to bring to each kind of fight.
Quick answer: Level Pummel → Judgment → Punishment first, run Noble Armor, Doom Shield, Taunt, and Battlefield Banner for PvE bosses, and open every fight with Battlefield Banner, Taunt, a full-charge Punishment, and a Doom Shield dash.
Active skill leveling order
You cannot push everything to high levels, so points go into your damage and threat core first. Raise skills in this order:
- Pummel
- Judgment
- Punishment
- Annihilate
- Vicious Strike
- Warding Strike
- Shield Smite or Debilitating Smash
Leave Flash Rampage alone while leveling. Its damage is too low to justify early points, and it sits at the bottom of nearly every top player’s spend.
Passive skill priority
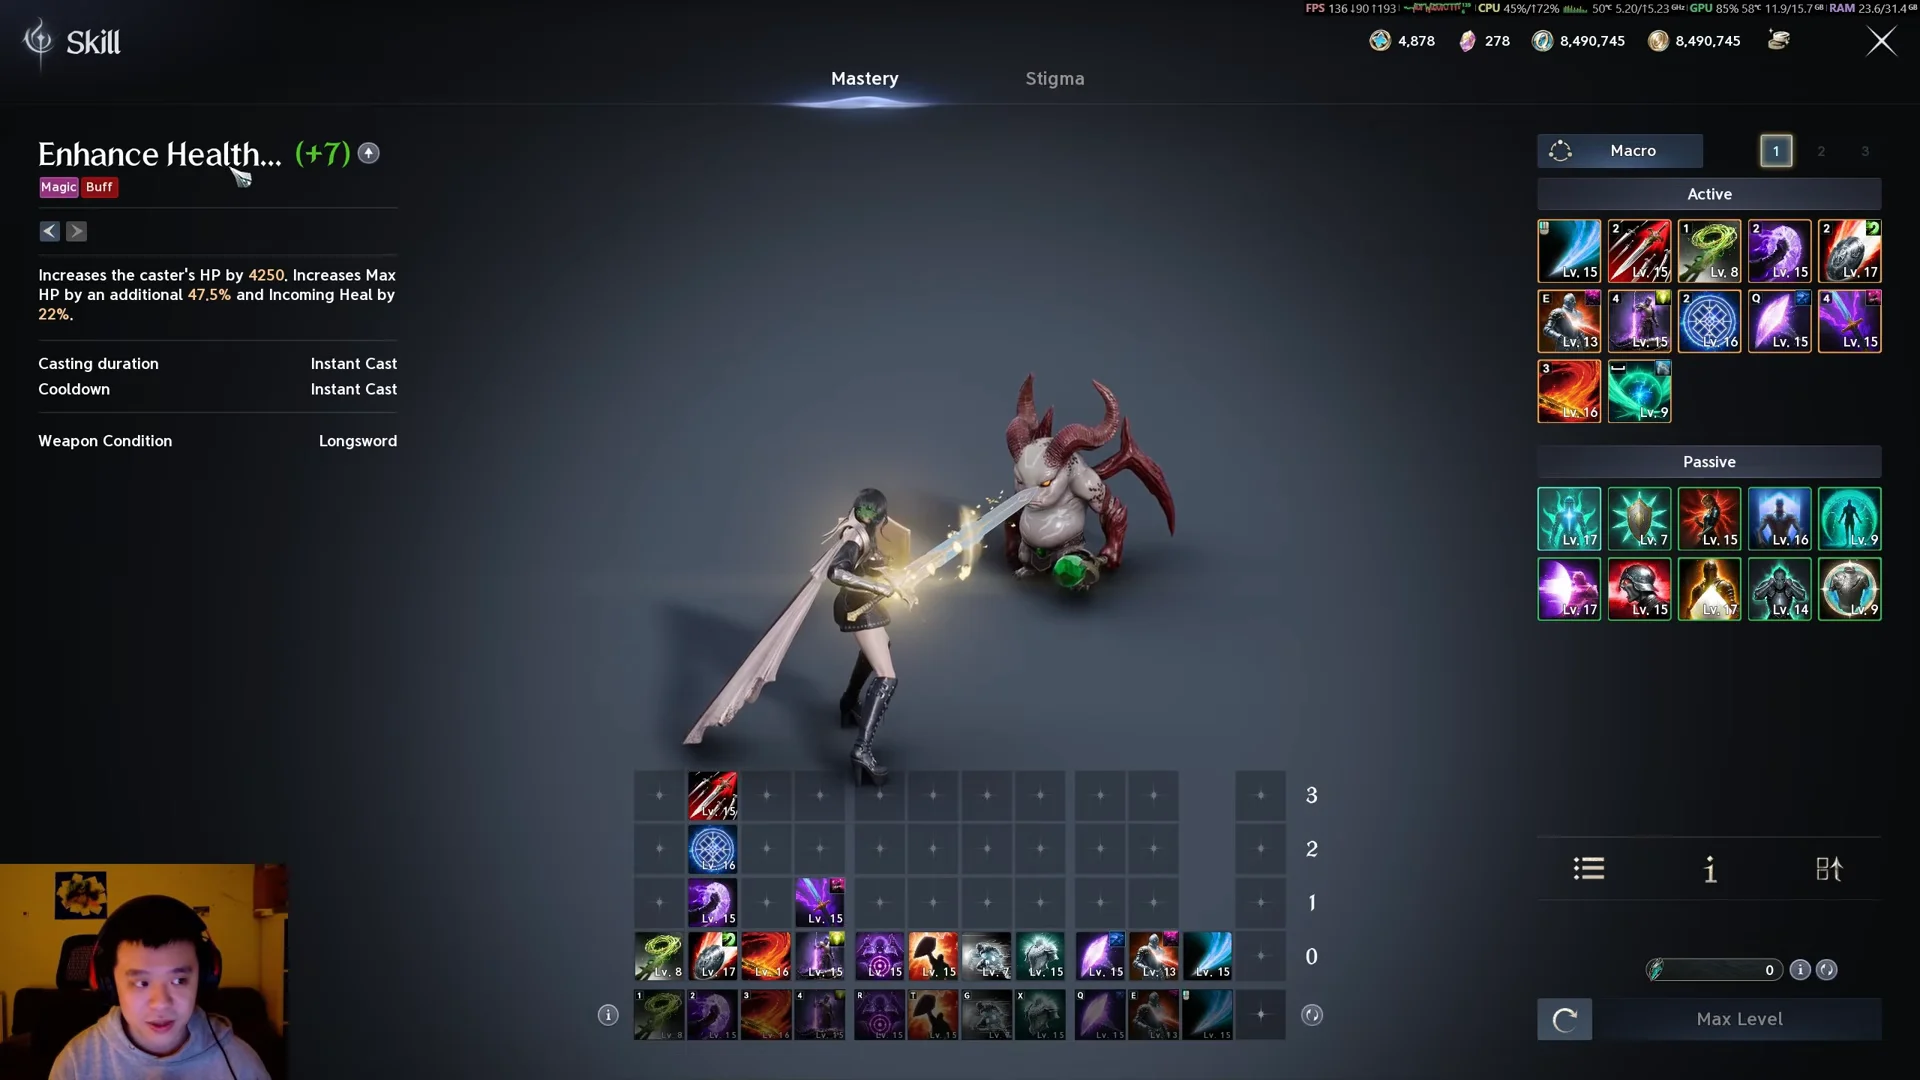
Passives grow from gear and Arcana rather than your bar, so you chase them on armor and jewelry. While leveling, the order is Enhance Health, Insulting Roar, then Fury. Once you are geared, Fury becomes your top passive because it hands every party member a damage boost when you block.
- Enhance Health
- Insulting Roar
- Fury (make this first once geared)
- Punishing Benediction
- Impact Hit
- Ironclad Defense
- Survival Willpower
- Block Pain / Guarding Seal
- Warding Shield
Skill specialty picks
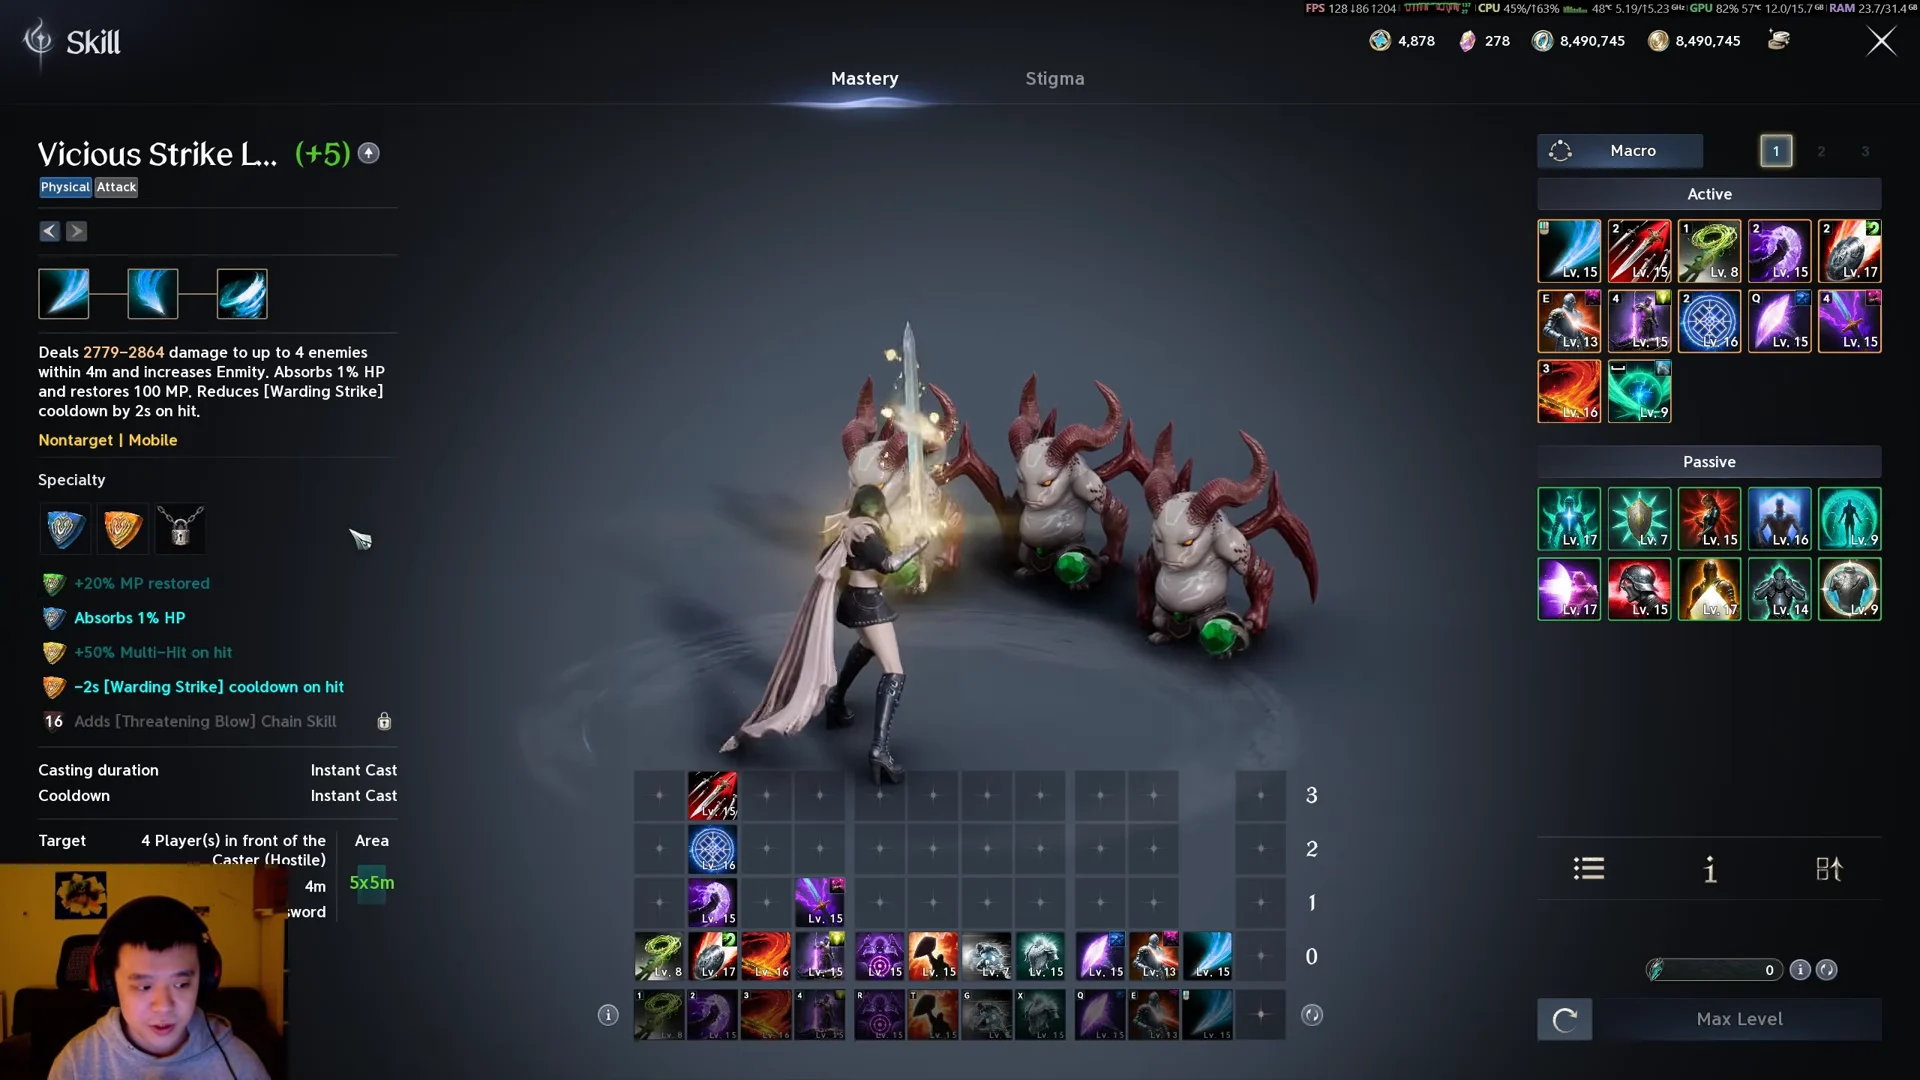
Each active skill opens three specialties at level 8, one at 12, and one at 16. You equip one from level 8, two from 12, and three from 20. These are the picks that matter most:
- Vicious Strike: absorbs 1% HP, and –2s Warding Strike cooldown on hit.
- Pummel: Punishing Strike costs 3% HP; landing a hit trims Punishment’s cooldown by 1s.
- Poach: –20% Status Effect Resist for 5s in PvP; cooldown reset on kill for trash farming.
- Shield Smite: Gives Debilitating Smash a 50% activation chance, cuts its cooldown by 2s, and adds 1s to its Stun duration.
- Judgment: reach level 16 for Remove cooldown; before that, take Extra damage on hit and the 1% HP absorb.
- Debilitating Smash: Debilitate lasts 3s longer; the attack bypasses Block and Evasion and connects as a Multi-Hit.
- Warding Strike: Its cooldown is 5s shorter, and Warding provides healing over time.
- Shield Rush: Gains 10m of range and comes off cooldown 10s sooner.
- Annihilate: Adds 50% Multi-Hit on a hit, with its cooldown reduced by 10s.
- Punishment: PvE takes damage over time and +30% Skill Speed; PvP takes 10% HP absorb; against ranged foes switch to the mobile version so you can charge while moving. Always charge to level 3.
- Defiance: add the Capture Chain Skill for PvP, or the 20% HP restore for PvE.
Stigma setups by content type
You carry four Stigma skills at a time and swap them to match the fight. Levels below are the priority levels to reach, not caps.
| Content | Stigma loadout |
|---|---|
| PvE bosses | Noble Armor (15), Doom Shield (5), Taunt (15), Battlefield Banner — swap in Nezekan’s Shield when the team needs defense |
| PvP 1v1 | Noble Armor (15), Doom Shield (5), Taunt (15), Second Skin (1) |
| PvP 5v5 | Replace Second Skin with Nezekan’s Shield to buff allies within 40m |
| Mass PvP | Grapple (15), Nezekan’s Shield, Noble Armor (15), Doom Shield (5) |
| Mob farming | Doom Shield (15), Noble Armor (15), Executing Blade (10), Empyrean Lord’s Punishment |
Grapple pulls up to four enemies and stuns them, which is why it anchors the mass-PvP set. Doom Shield at level 15 resets its cooldown on a kill, so it carries the farming loop between packs.
Animation-canceling macro
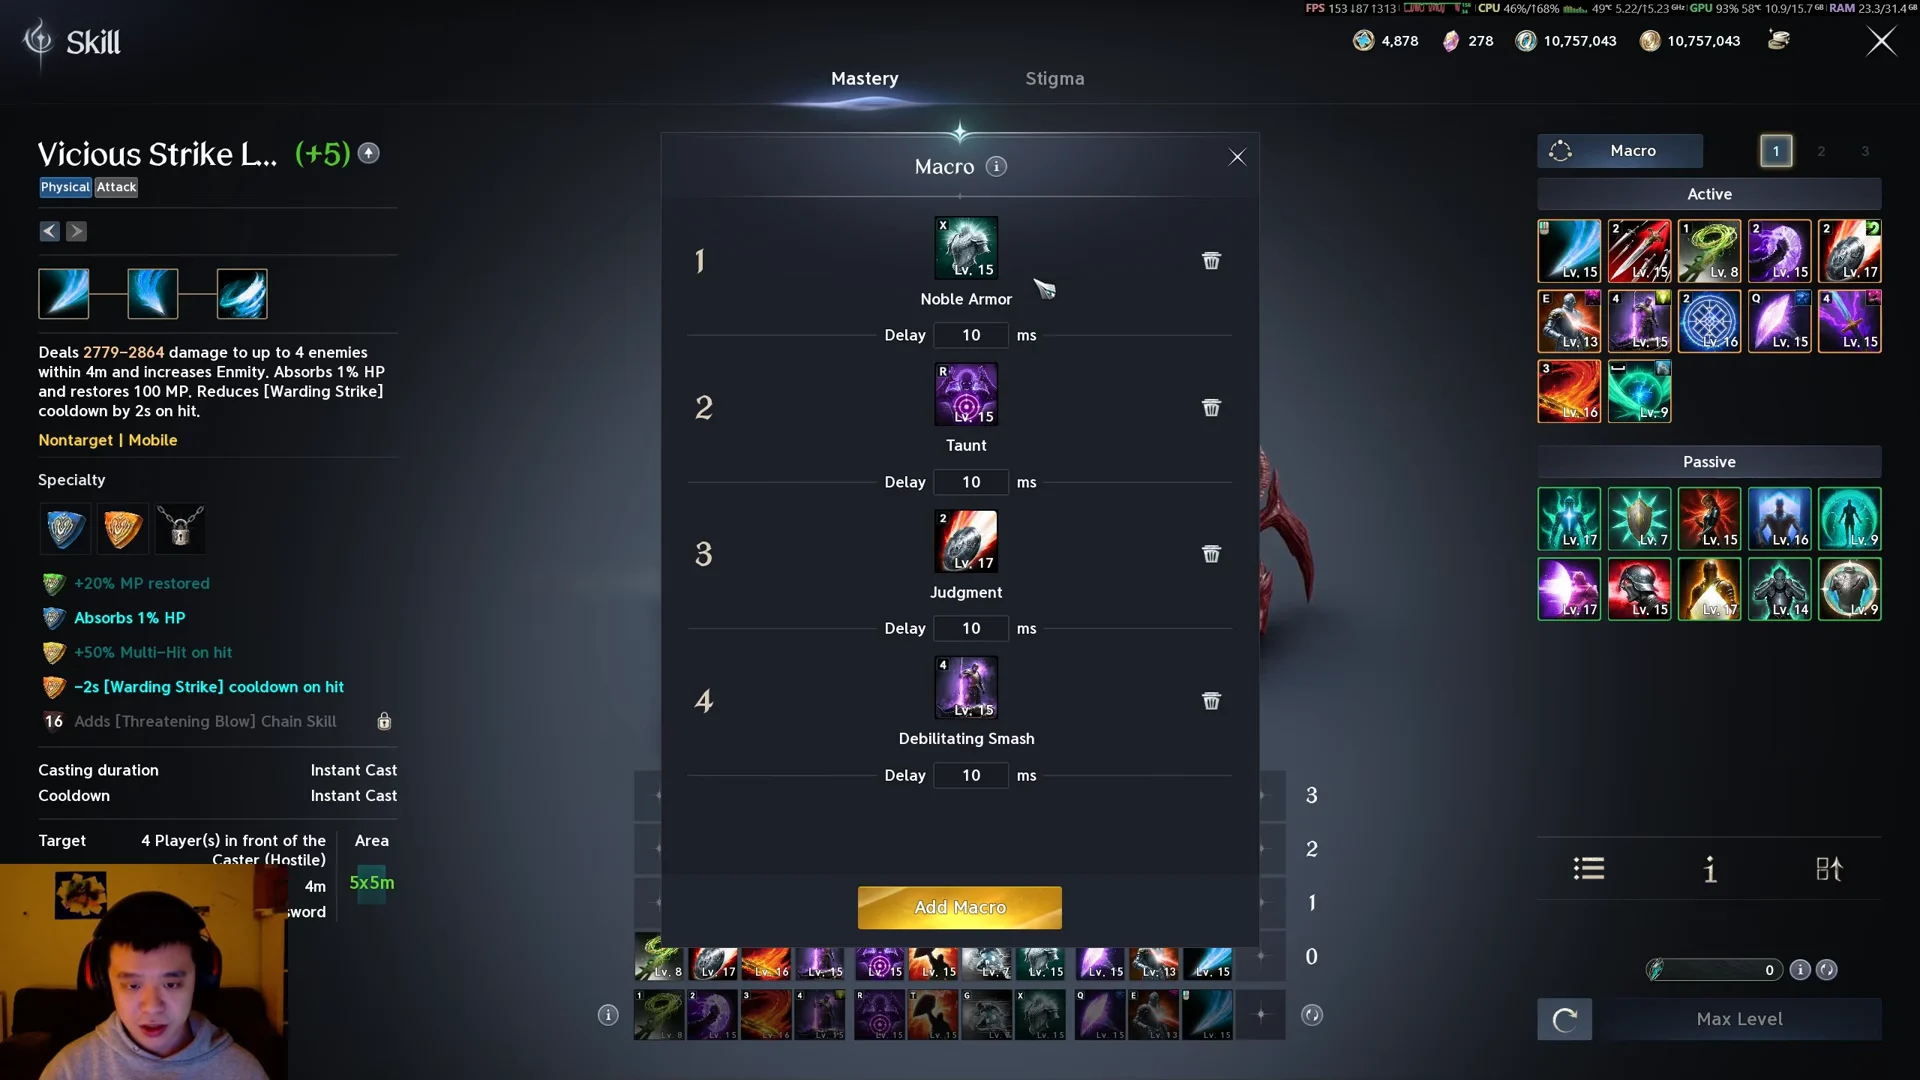
One macro chains four skills with a short delay between each, letting you cancel animations and squeeze the rotation tighter. Build it in this order with a 10 ms delay on each step:
- Noble Armor
- Taunt
- Judgment
- Debilitating Smash
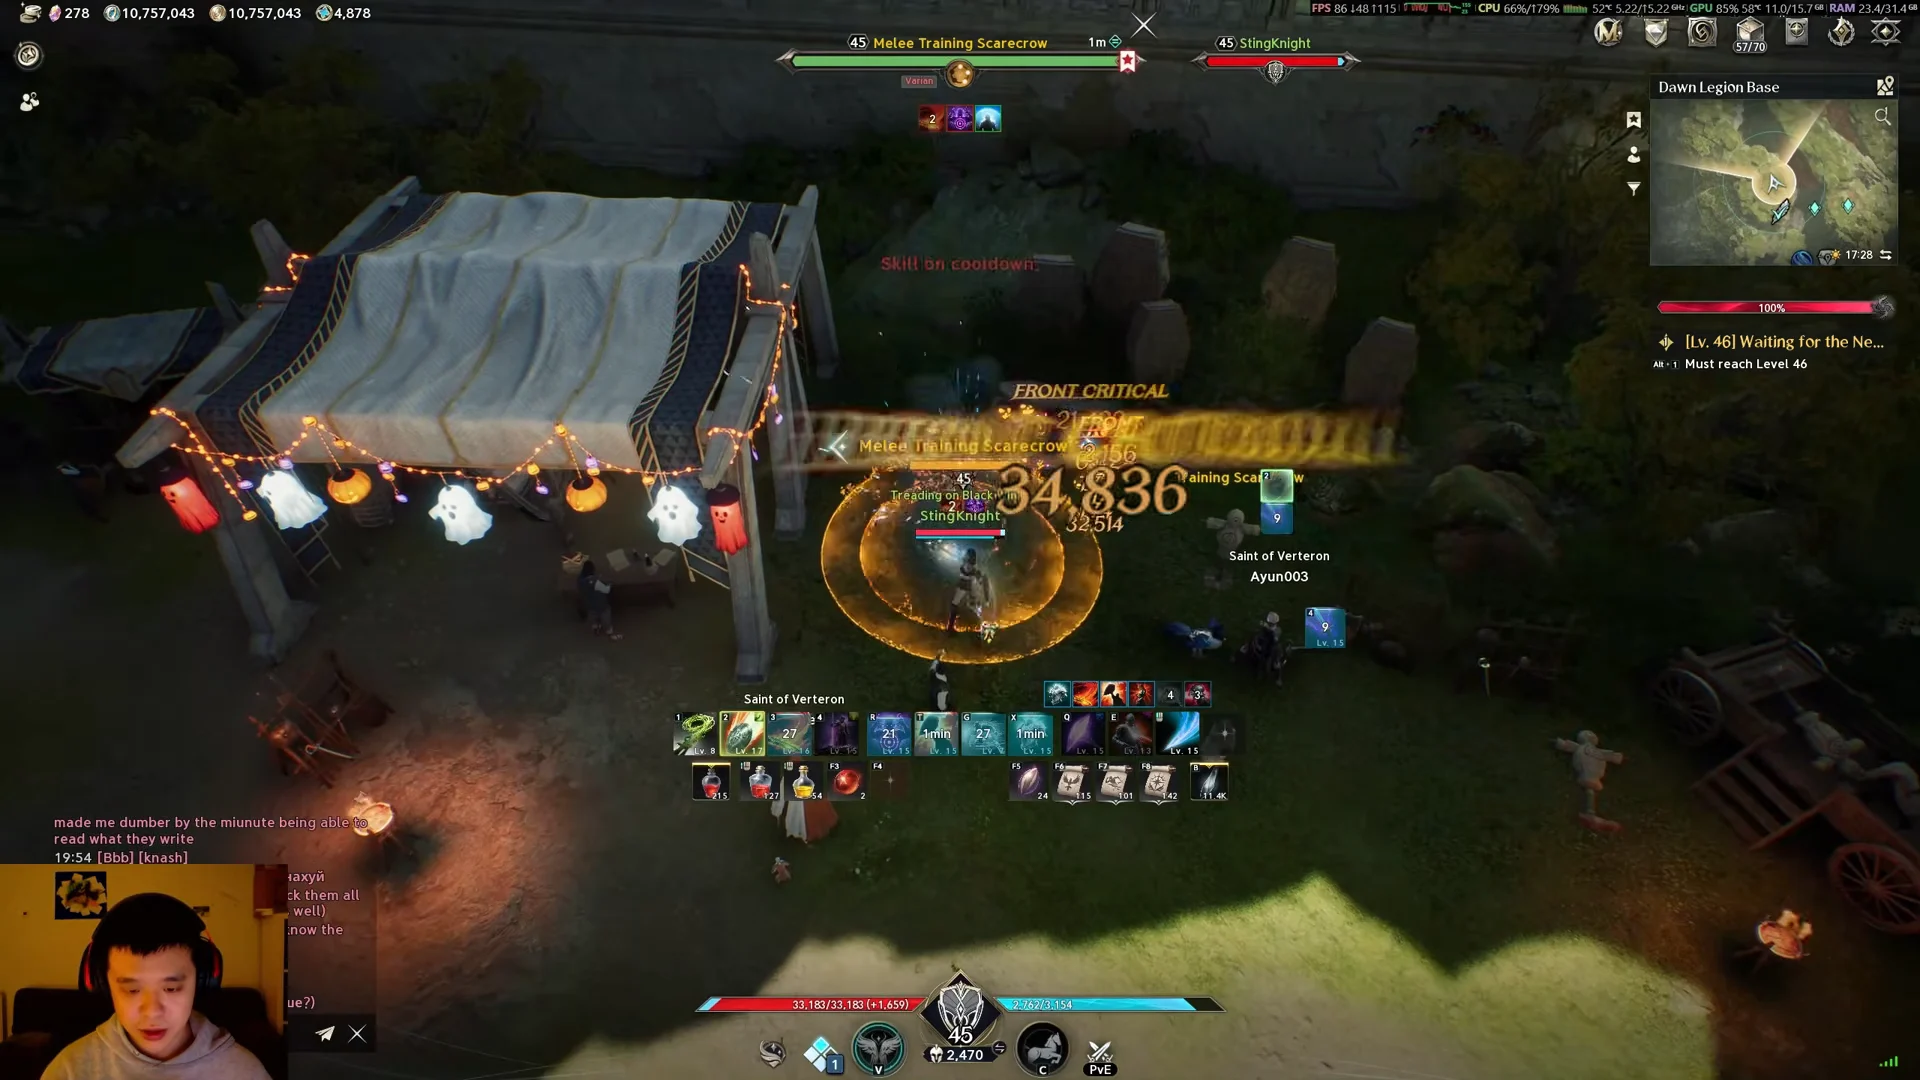
PvE rotation
Against ranged opponents in PvP, swap Punishment to its mobile specialty so you can keep charging while chasing. Lean on your gap-closers and manage the distance rather than standing still to cast.
Daevanion board order
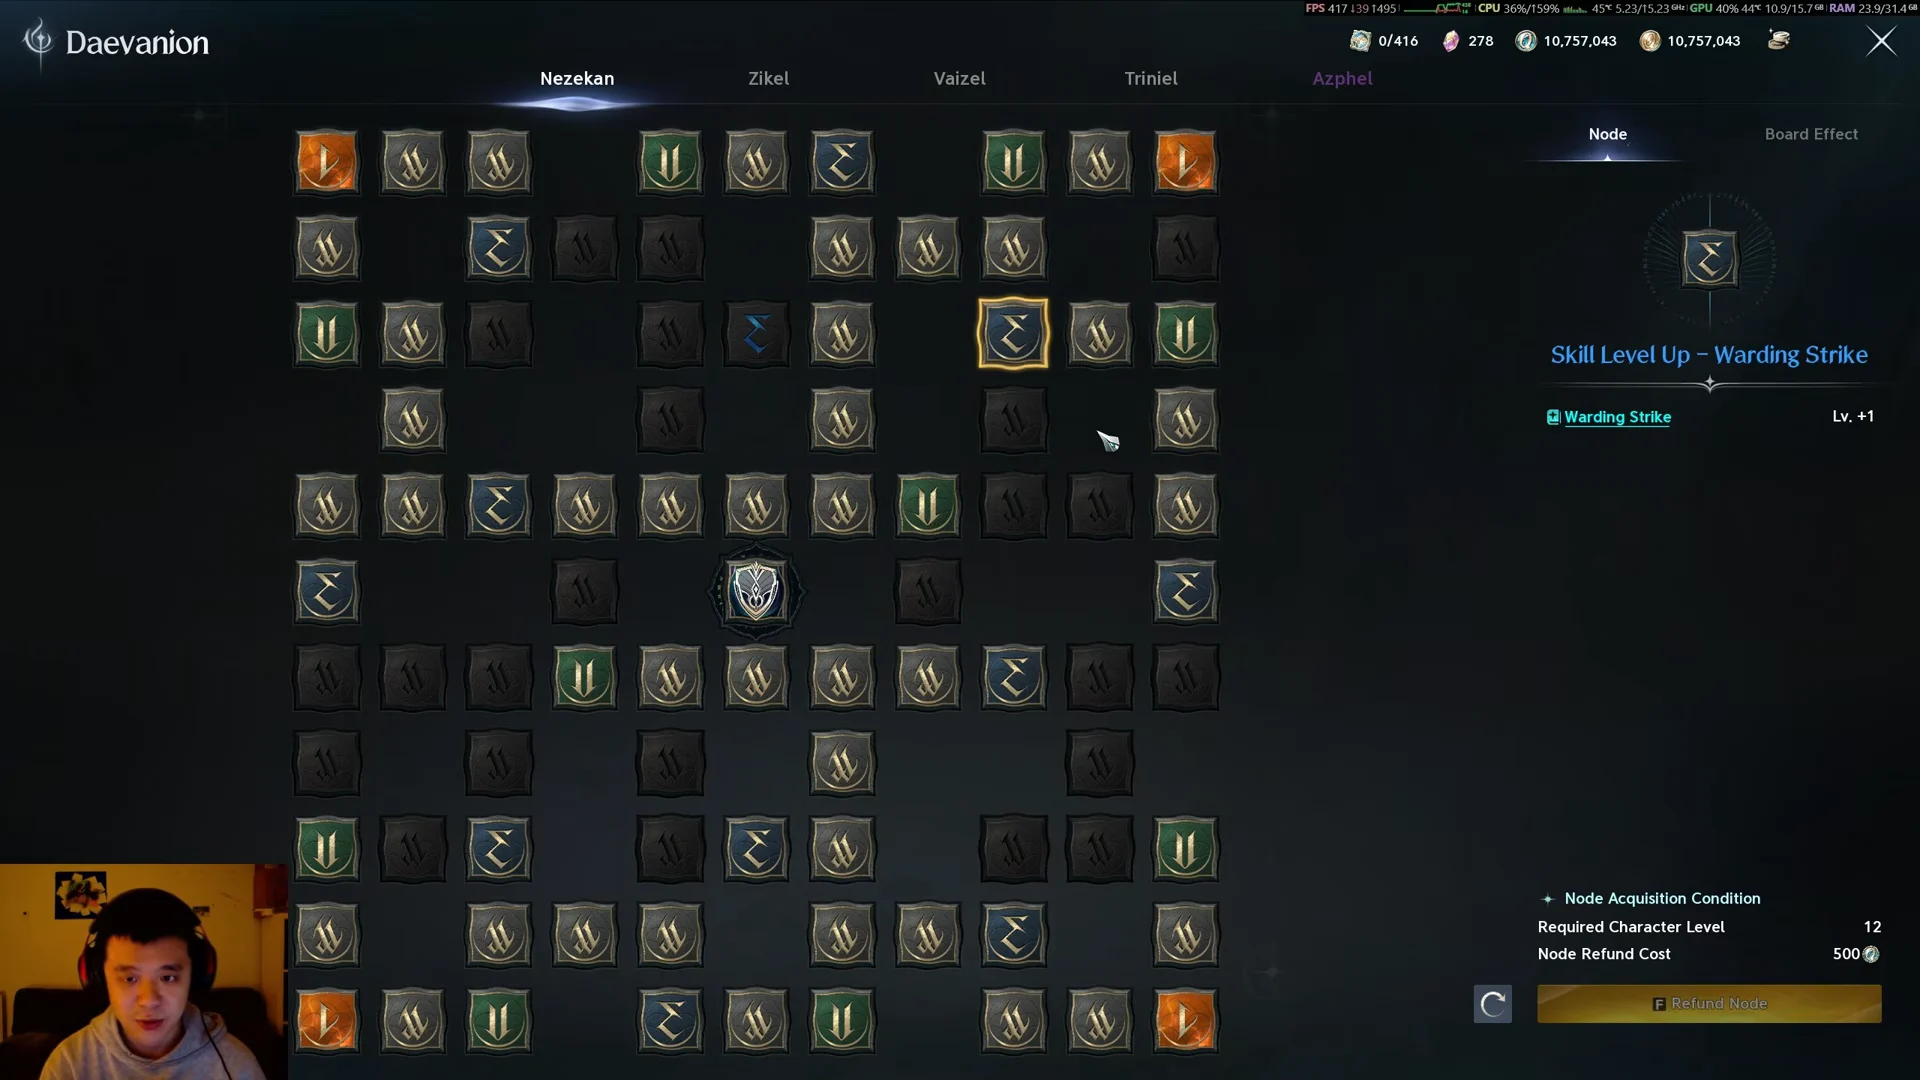
Work across the Nezekan, Zikel, Triniel, and Azphel boards, grabbing core skill tiles first. Prioritize the blue tiles for Judgment, Pummel, Annihilate, Warding Strike, and Punishment.
On each board, unlock the four corner stat tiles before moving to the next board. Those corners give Combat Speed +1.5%, Cooldown Reduction +1.5%, and Damage Boost +1.5%, while Azphel’s corner gives PvP Damage Boost +1.5% instead.
The Nezekan board (the first one, unlocked at level 12) holds 88 nodes and needs 134 points to complete out of its 840 cap. Finishing it grants HP +1,100, MP +550, Defense Bonus +300, Attack Bonus +30, Critical Hit +50, Critical Hit Resist +50, Combat Speed +3%, and Cooldown Reduction +3%, plus skill-level boosts to Punishing Benediction, Judgment, Pummel, Shield Smite, Debilitating Smash, and more. Resetting a node costs 500 kina.
Templar skill reference values
These are the shipped figures for the core Templar skills, useful when deciding where points pay off. Damage shows the base at skill level 1 and at the skill’s maximum level, before the attack-percentage scaling.
| Skill | Cooldown | Req. level | Damage (Lv 1 → max) |
|---|---|---|---|
 Judgment Judgment | 5s | 4 | 227 → 4,936 (+229.5% Atk) |
 Pummel Pummel | — | 1 | 93 → 2,545 (+119.5% Atk) |
 Vicious Strike Vicious Strike | — | 1 | 79 → 2,024 (+94.8% Atk) |
 Shield Smite Shield Smite | 10s | 3 | 173 → 3,780 (+175.75% Atk) |
 Debilitating Smash Debilitating Smash | 10s | 7 | 336 → 4,112 (+184% Atk) |
 Flash Rampage Flash Rampage | — | 5 | 152 → 2,368 (+108% Atk) |
 Poach Poach | 15s | 1 | 49 → 1,845 (+87.5% Atk) |
Judgment carries the highest per-hit scaling at +229.5% of Attack on a 5-second cooldown, which is why it tops the leveling order alongside Pummel. Poach pulls a target from up to 20m and roots it, and against NPCs the root lands at 100%.
Your Stigma skills carry their own costs. Empyrean Lord’s Punishment runs a 60-second cooldown, costs 200 MP, reaches out to 20m, and deals 939 damage at level 1 up to 2,976 at level 25, hitting up to four enemies with a Stun chance. Shield of Protection sits on a 20-second cooldown and guarantees a Block while raising Block Damage Reduction, and Battlefield Banner runs a 90-second cooldown, converting your Defense into Attack for 10 seconds.
Run the macro and full-charge Punishment on a Melee Training Scarecrow first. Once the four-skill chain fires cleanly off cooldown and your Noble Armor and Battlefield Banner buffs stay up through the loop, you are ready to anchor a party.