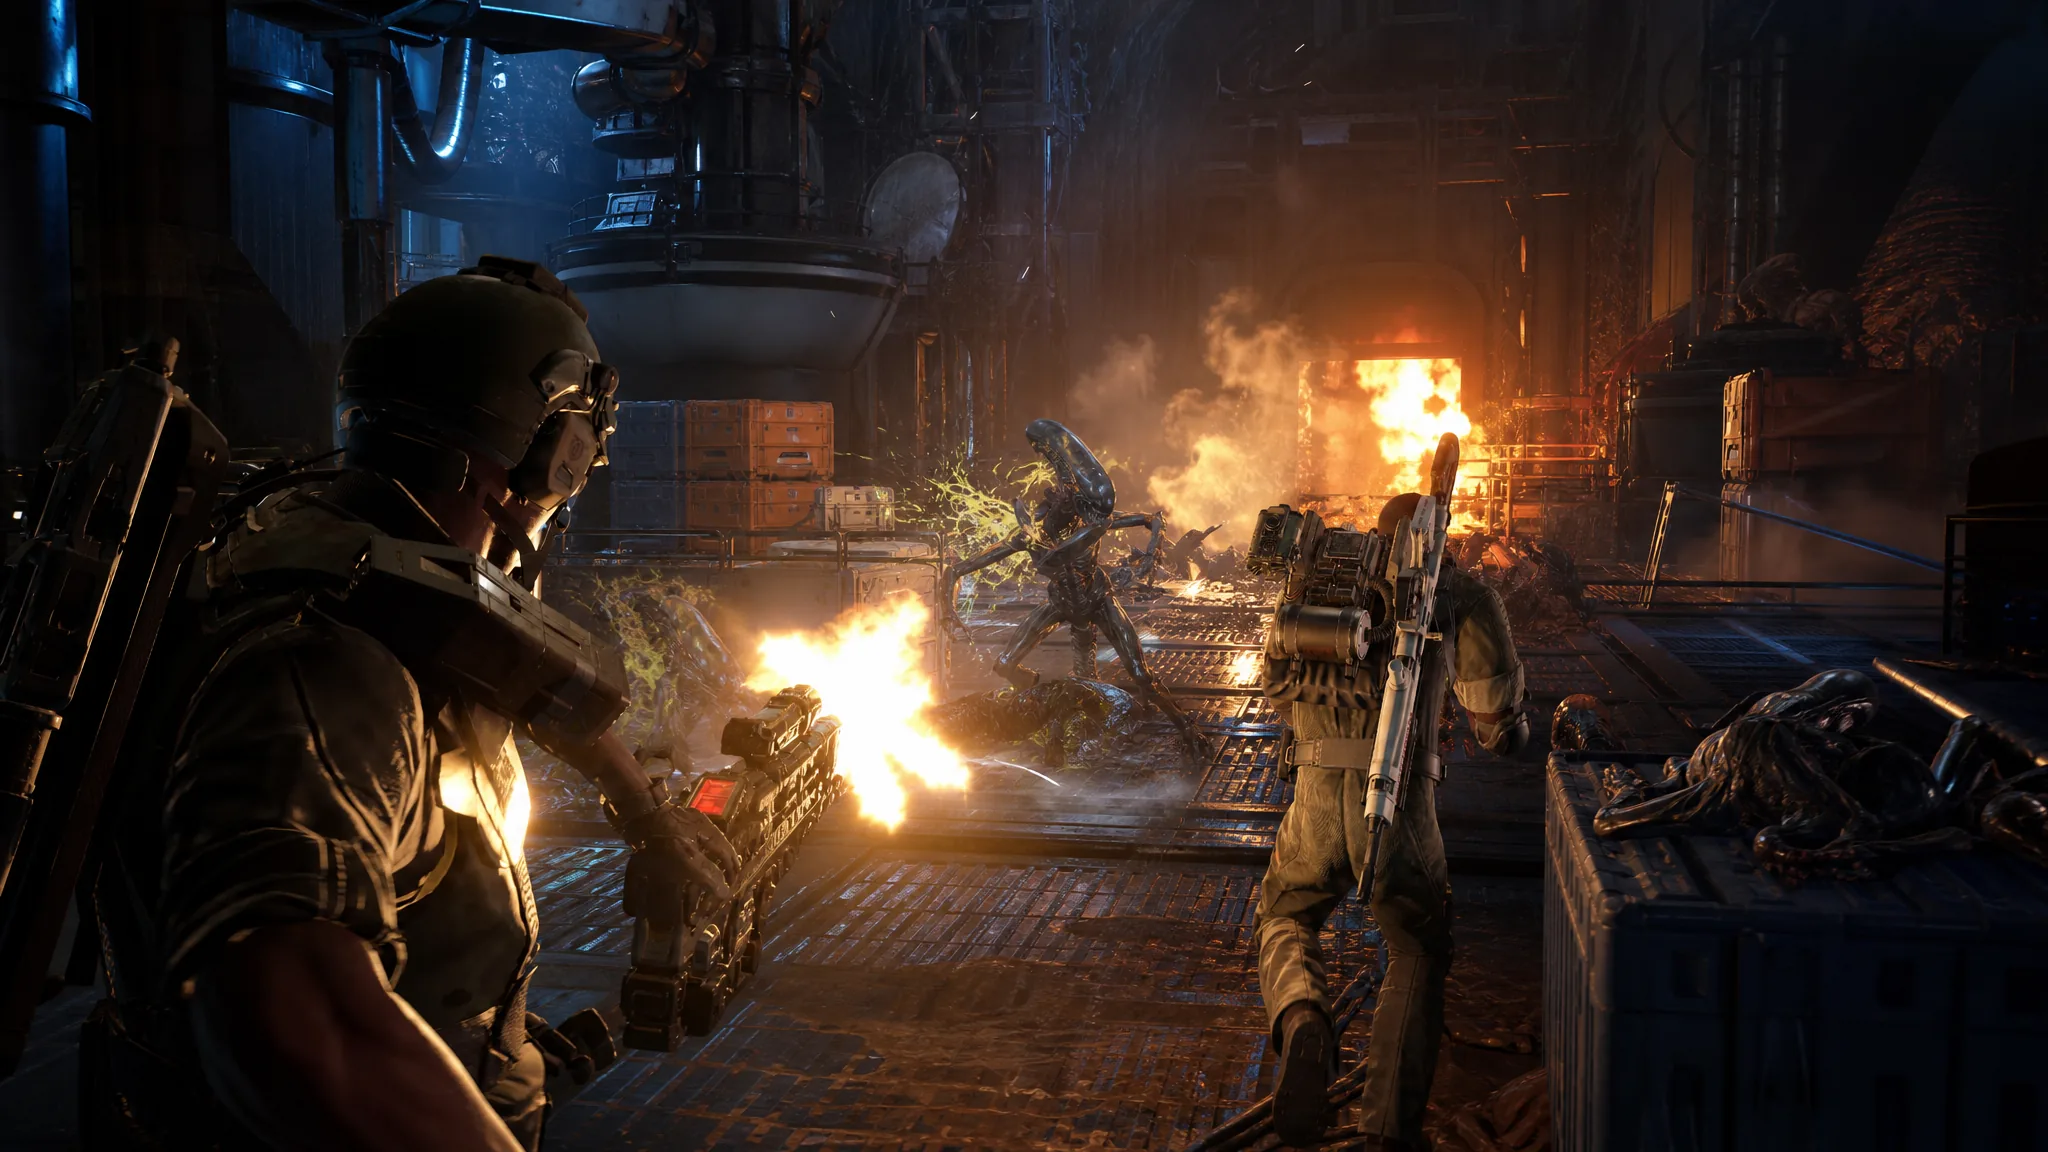
Running missions alone in Aliens: Fireteam Elite 2 puts the whole survival burden on you, because AI teammates will trade fire but rarely make smart recovery decisions. The Medic solves that problem better than any other class. It keeps everyone topped off, revives fast, and turns the squad’s steady damage into a wall of health that carries you through late waves.
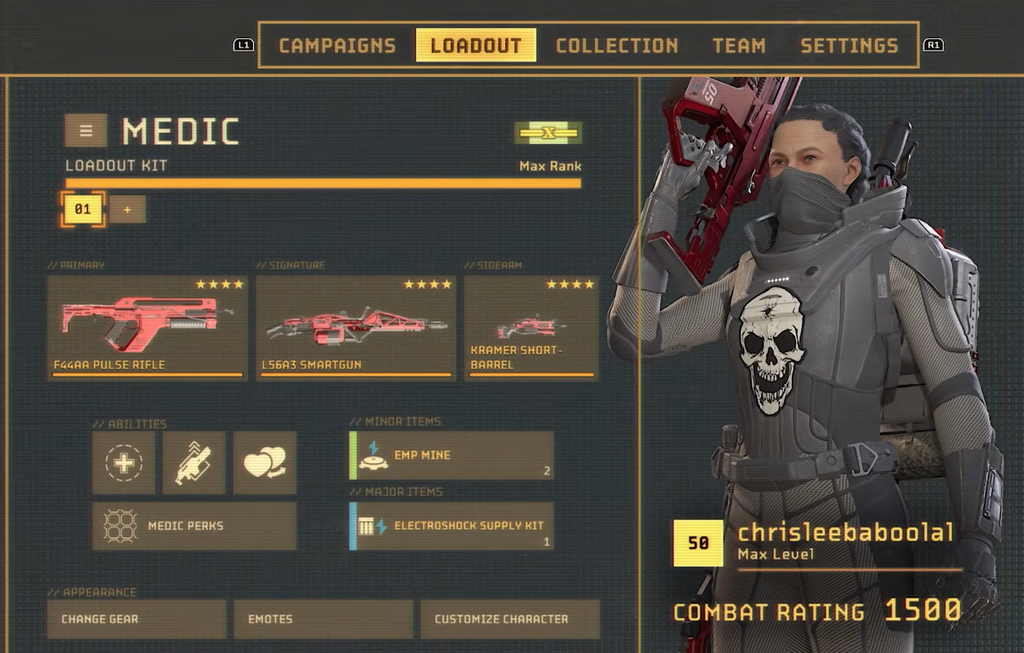
Quick answer: Play Medic, build every perk slot around the Trauma Station, and run the M42A2 Scout Rifle, a Type 21 Tactica Shotgun Mk 2, an automatic sidearm from Wrench, a Sentry Gun in the major slot, and grenades or mines in the minor slot. Use Combat Stim to fill temporary health, then drop the Trauma Station with Overheal so it starts restoring permanent health.
Why Medic is the strongest solo class
The Medic wins solo runs by keeping you and your bots alive long enough for their gunfire to do the work. AI marines already put out reliable damage, so your job is not to out-shoot them. It is to make sure a single bad moment does not end the mission.
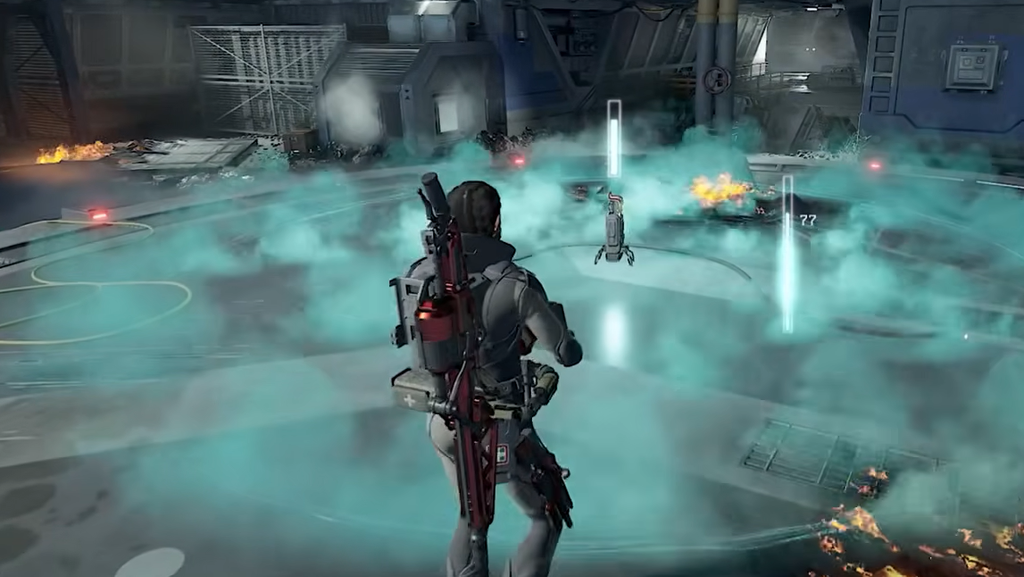
Watch your allies constantly and heal them the second their health drops. Aim to keep their Temporary Health full at all times, since that buffer absorbs damage before their real health bar is touched. When the fighting pauses, usually while moving between areas, park next to your teammates and use the Trauma Station to refill them.
With the Overheal perk equipped, the Trauma Station keeps going after Temporary Health is capped and begins restoring permanent health for you and the squad. The most efficient order is to pop Combat Stim first to fill Temporary Health, then deploy the Trauma Station so its energy goes straight into regenerating permanent health.
Best Medic perks for solo play
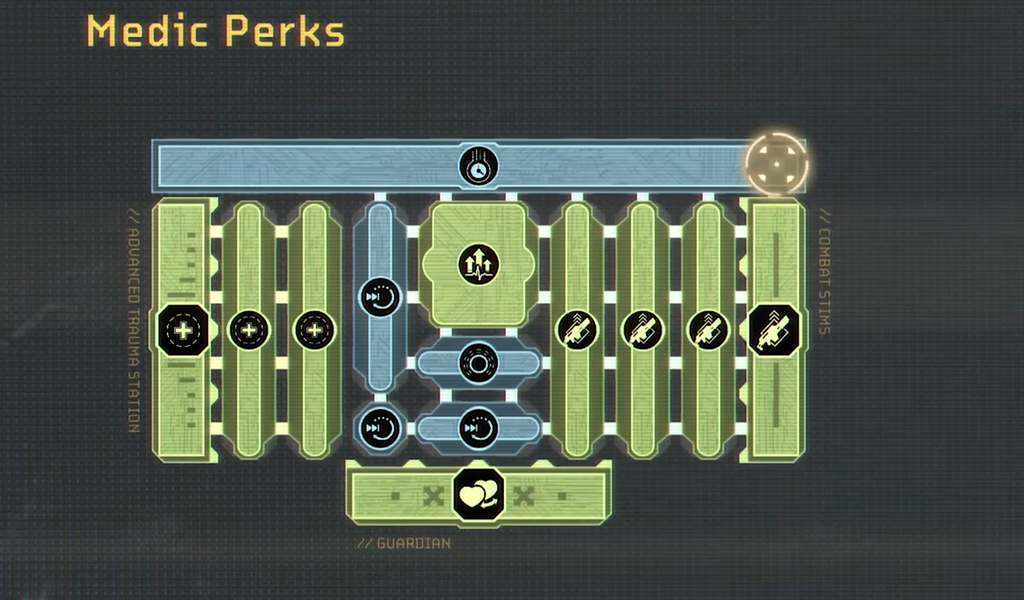
The whole build funnels into one goal, which is maximum Trauma Station uptime, because it is the only tool that restores permanent health. Charge it faster, hold more energy in it, and boost what it heals. With every slot unlocked, the following perks form the core loadout.
| Perk | Effect |
|---|---|
| Combat Stims | Grants 25 Temporary Health to you and nearby allies. |
| Advanced Trauma Station | Restores Temporary Health to anyone inside its radius. |
| Overheal | Heals permanent health after Temporary Health is full, but caps at half max energy. |
| Passive Charging | Increases the Trauma Station’s passive energy regeneration by 50%. |
| Field Improvements 1 and 2 | Each adds 50% to the Trauma Station’s energy recharged on kill. |
| Energy Reserves | Increases the Trauma Station’s max energy capacity by 25%. |
| Concentrated Formula | Boosts the aerosol’s potency for 50% more healing and 75% more poison effect. |
| Mechanic (attach to Combat Stim) | Using Combat Stim refills 40 energy to your Trauma Station and half that to nearby stations. |
| Defibrillation | Combat Stims revive downed allies within their radius. |
| Guardian | Defending an ally gives you both 20 Temporary Health, plus 20% damage resistance to the ally for 3 seconds. |
| Neurotoxin Specialist | Damaged enemies deal 20% less damage for 5 seconds; does not stack. |
| Keep ’em Motivated | Kills give allies near you 50% of the Temporary Health on kill. |
| Anesthesiologist | After 10 seconds without taking damage, heal 10% of your current health. |
| Emergency Activation | When downed, instantly revive and trigger the attached ability, once every 5 minutes. |
| Weapon Move Speed (Shooting) | Increases movement speed while shooting by 5%. |
| Weapon Maximum Ammo | Increases weapon max ammo by 4%. |
| Weapon Handling | Increases weapon handling by 5%. |
Together these perks mean you and your allies gain health even when no ability is active, thanks to the passive on-kill and no-damage regeneration. When you do use an ability, its effect lands far above the base version. The Trauma Station also recharges quickly in combat, so it comes back online almost as fast as it drains.
Trauma Station rotation during a mission
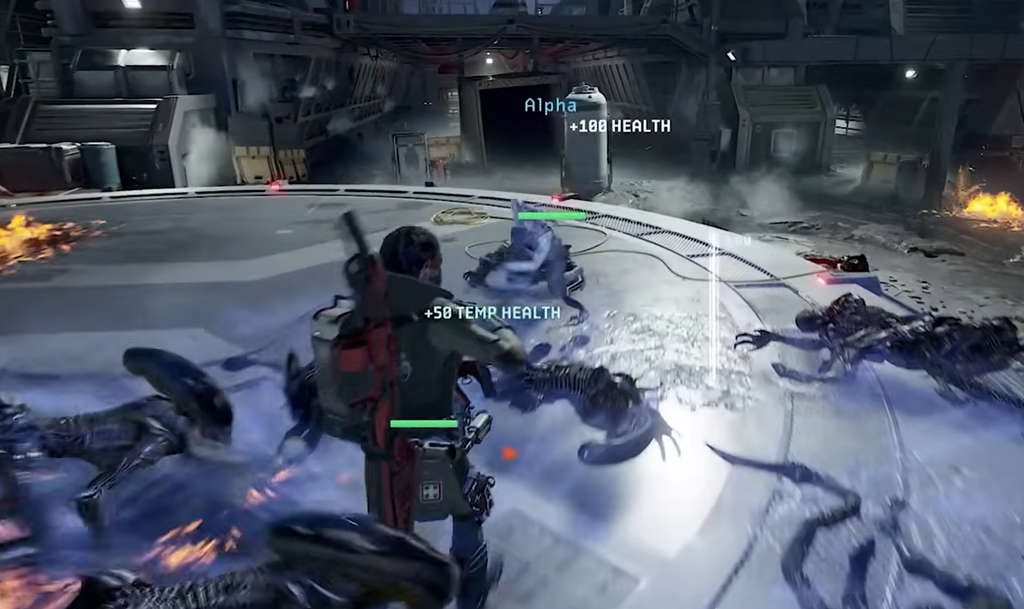
With this setup you rarely need to heal yourself directly. The passive regeneration from kills and from staying undamaged keeps your bar climbing on its own.
Best Medic weapon loadout
Your weapons should let you contribute damage without pulling you off healing duty. A long-range primary handles precision work, a shotgun covers the moments you get swarmed, and a leveled sidearm saves you when everything else is empty.
| Slot | Pick | Why it works |
|---|---|---|
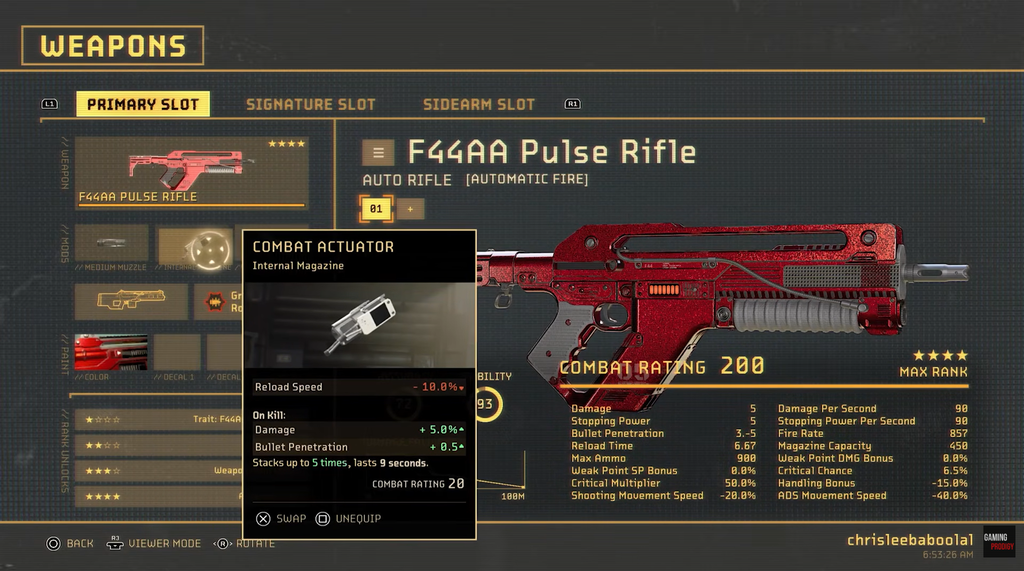
| Primary | M42A2 Scout Rifle | Low fire rate and small magazine, but heavy punch. Basic xenomorphs drop in two shots and tougher aliens rarely survive a magazine. Long range lets you fight from safety, especially against Security Synthetics. |
| Secondary | Type 21 Tactica Shotgun Mk 2 | Crowd control for when hordes close in. It hits almost as hard as the scout rifle up close and its electrified rounds punish enemies weak to shock damage. |
| Sidearm | Automatic pistol from Wrench | You will face waves where both other guns run dry. Buy an automatic pistol from Wrench and level it, or level your default pistol in missions to unlock its Augment slot. |
Do not treat the sidearm as an afterthought. Even on standard difficulty there are moments when your primary and secondary are both out of ammo and the pistol is all that stands between you and a chewed-through wave.
Major and minor equipment slots
The major slot should hold a Sentry Gun. It is the best deployable in the game and can swing intense fights on its own. Enemies cannot destroy it, so it keeps firing until it runs out of bullets. You cannot pick it back up once placed, so save it for the final waves of a mission.
For the minor slot, take either grenades or mines. Check the mission description for the enemies you are about to face and match your pick to the threat before you drop in.
Built this way, the Medic turns a solo run into a war of attrition you are set up to win. Keep the Trauma Station cycling, keep Temporary Health capped, and let your bots grind the swarm down while you make sure nobody stays hurt for long.