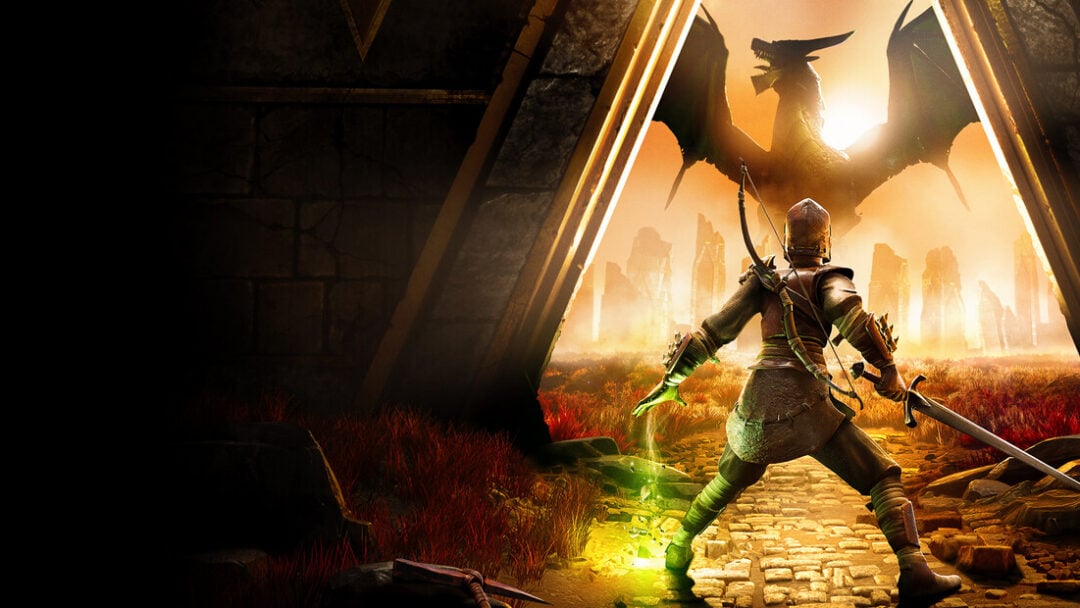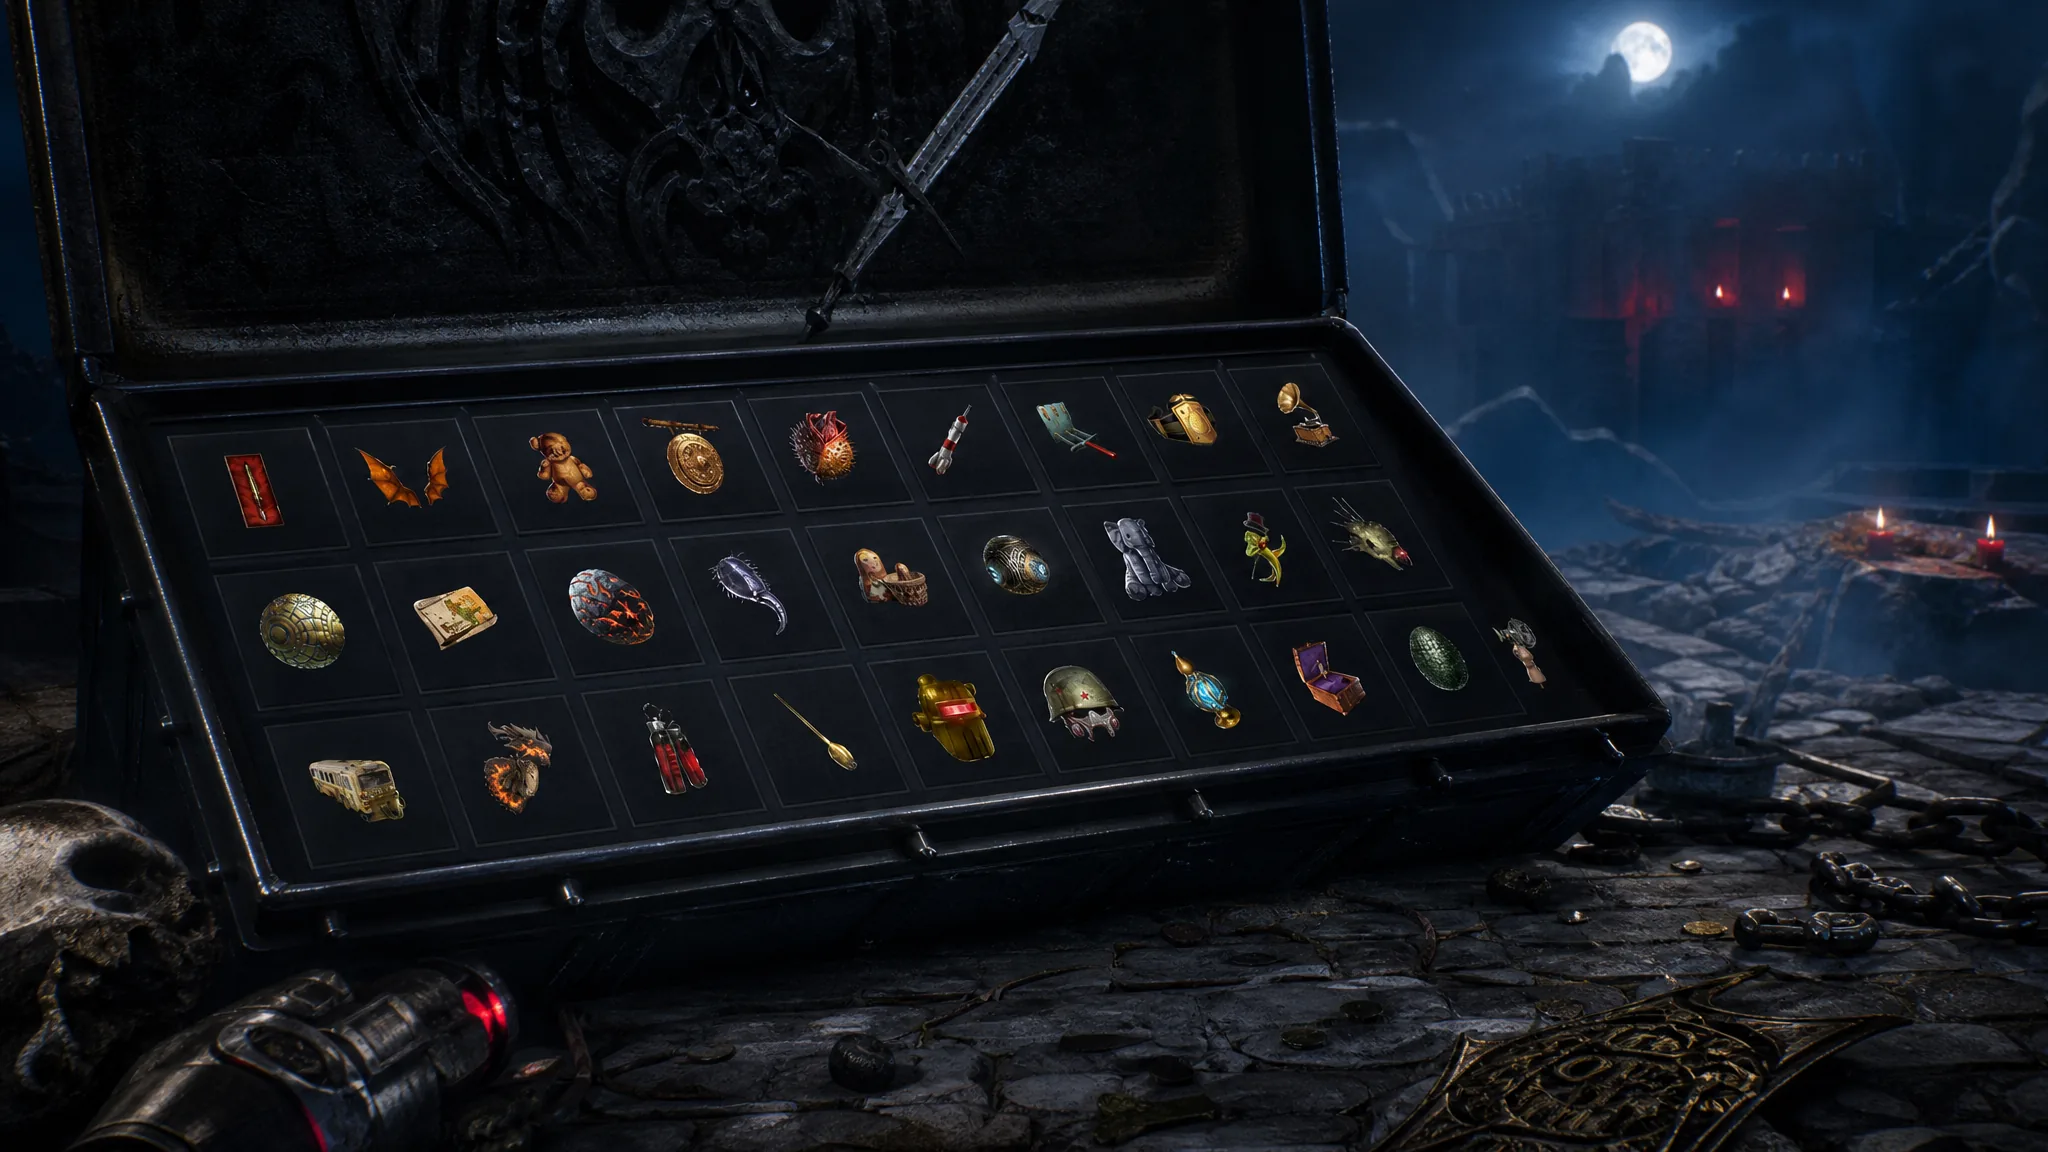
Cursed Mode strips Black Ops 7 Zombies back to a harder, more classic ruleset, and relics are the levers you pull to shape that challenge. There are 30 relics spread across the four playable Cursed maps, each earned by finishing a dedicated relic trial. Rex Infernus has none, so nothing you do there counts toward this collection.
Quick answer: Relics fall into three tiers. Grim (Tier 1) trials become available at Round 20, Sinister (Tier 2) at Round 40, and Wicked (Tier 3) at Round 60. Complete a map’s setup steps, trigger the trial portal, and survive the trial waves to unlock each relic permanently.
How relic tiers and rewards work
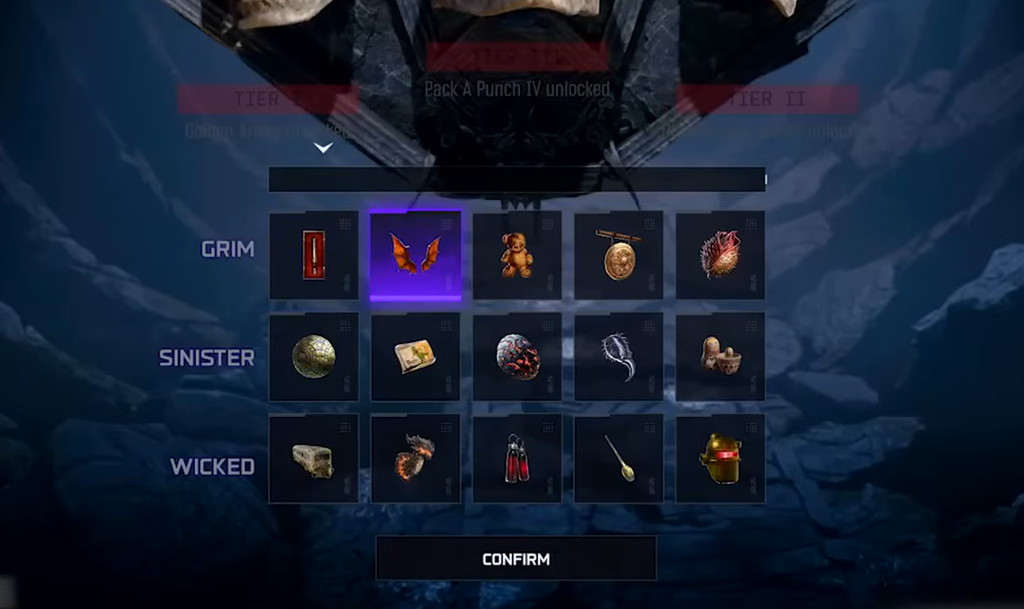
Tiers are gated by how many relics you equip on the start screen. The more relics active, the higher the tier your match spawns into, and each tier unlocks a stronger reward you can buy in-game. The host’s equipped relics set the tier, so anyone joining shares both the challenge and the reward.
| Tier | Trial round | Unlocked reward |
|---|---|---|
| Tier 1 (Grim) | Round 20 | Golden Armor wall-buy, 45,000 points after Level 3 armor |
| Tier 2 (Sinister) | Round 40 | Ultra weapon rarity, 17,500 salvage from common |
| Tier 3 (Wicked) | Round 60 | Pack-a-Punch Level 4, 100,000 essence after Level 3 PaP |
Sinister trials only start appearing once you have every Grim relic and equip them before the match. Wicked trials work the same way, requiring a Tier 2 setup to reach. Progression is stacked, so you build up through the tiers rather than jumping straight to the hardest content.
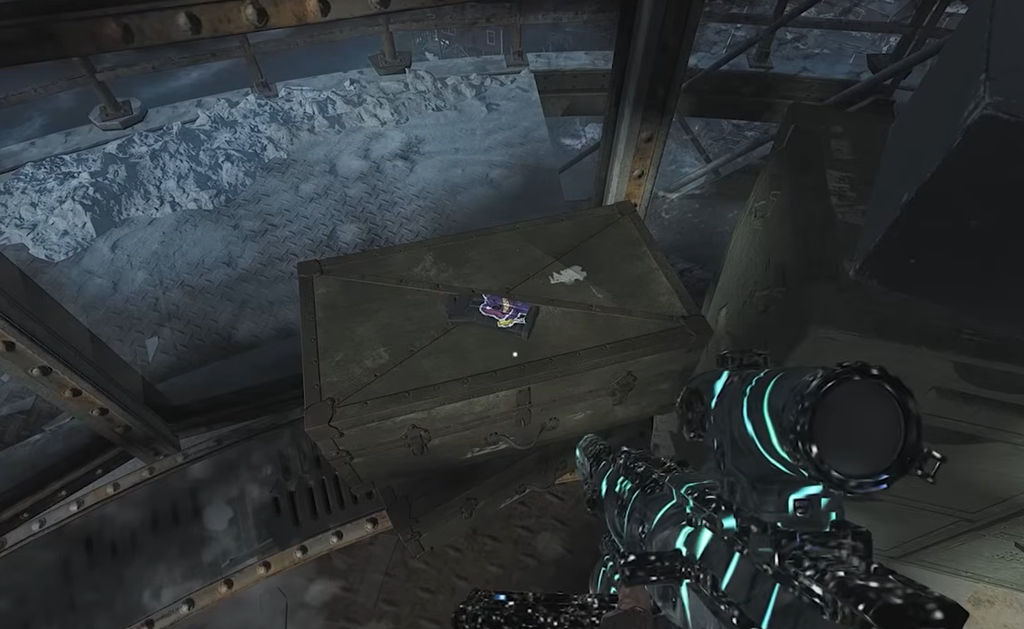
Tip: On most maps you confirm a setup step worked when you hear a sinister laugh, after which a colored portal spawns to start the trial. Interact with the portal, survive the waves, and the relic is yours.
Grim relics (Tier 1)
These are the entry-level relics, all triggered from Round 20. They introduce the lightest twists, which makes them the safest ones to equip first when you want to reach a higher tier without adding much extra danger.
| Relic (Map) | Effect | How to unlock |
|---|---|---|
| Lawyer’s Pen (Ashes of the Damned) | Shock Mimic props appear across the map. | At Round 20, use Napalm Burst or Molotovs to light three red candles (Ashwood, Lost Cabins, Vandorn Farm). |
| Dragon Wings (Ashes of the Damned) | Normal Power-Up spawns are disabled. | At Round 20, take the Vandorn Farm jump pad to Janus Towers Plaza and shoot the three purple targets mid-flight. |
| Teddy Bear (Ashes of the Damned) | Round start delay is cut by 75%. | At Round 20, use Aether Shroud and the Necrofluid Gauntlet to collect all 10 Mister Peeks bears. |
| Gong (Astra Malorum) | Field Upgrade starts charged but only refills from Full Power. | At Round 20, use Tesla Storm and Dead Wire to electrify a rod zombie near each of three lightbulbs. |
| Seed (Astra Malorum) | Mystery Box is disabled. | At Round 20, find a gray pistol and kill exactly your current round number of zombies with it. |
| Rocket (Paradox Junction) | No Scorestreaks. | Pet a Brain Rot dog on a dog round before Round 20, then pet a D.A.W.G. at Round 20. |
| Power Switch (Totenreich) | Tactical and Lethal Equipment randomize each round. | Throw Combat Axes at the four bear belts in Blodheim Hall in the correct order. |
| Wrestling Belt (Totenreich) | Weapon wall-buys randomize each round. | Currently unsolved. No confirmed method exists yet. |
| Gramophone (Kowakujo) | Bullets deal more damage but each shot uses 2 rounds. | Pick up the drumsticks and repeat the drum sequence in the Kitchens. |
| Druid Stone (Kowakujo) | No bleed-out bar; Self-Revive Kits revive instantly. | Reach Round 20 without taking any damage. |
Note: The Wrestling Belt trial has not been located by anyone yet, so a full Grim collection is currently blocked by that single relic. Everything else in this tier is reliably repeatable.
Sinister relics (Tier 2)
Sinister relics require a Tier 1 Cursed game and trigger from Round 40. By this point you should have Golden Armor purchased, weapons on Pack-a-Punch 3, and most perks in place, because the setup steps here are longer and the enemies hit harder.
| Relic (Map) | Effect | How to unlock |
|---|---|---|
| Vril Sphere (Ashes of the Damned) | You can only carry 4 Perk-a-Colas. | At Round 40, lure a Doppelghast onto a jump pad and kill it with the pad. |
| Samantha’s Drawing (Ashes of the Damned) | Every weapon swaps each round but keeps Pack-a-Punch and rarity. | At Round 40, feed Chompy the garbage can one weapon of each rarity from Gray to Legendary. |
| Focusing Stone (Ashes of the Damned) | No Self-Revive Kits. | At Round 40, melee a Zursa for a wine bottle, finish a Legendary T.E.D.D. Task, then shoot the bottles at Blackwater Lake’s cabin in their explosion order. |
| Spider Fang (Astra Malorum) | Perk costs at machines never decrease. | At Round 40, melee O.S.C.A.R. while Wisp Tea is targeting him. |
| Matryoshka Doll (Astra Malorum) | Salvage drop rate is halved. | At Round 40, go to Mars and kill zombies with C4 on the central circle. |
| Summoning Key (Paradox Junction) | Zombies explode on death, damaging nearby players. | Collect the dog collar and tennis ball, then place them at the dog grave at Round 40+. |
| Stuffed Elephant (Totenreich) | Health regen delay is increased. | Do not buy any perks for 40 rounds. |
| Dancing Arnie (Totenreich) | All perk machines give random Perk-a-Colas. | Cook the chili with unique ingredients, then feed Mister Peeks 75 souls with the Jotunn Star at Blodheim Hall. |
| Valkyrie Helmet (Kowakujo) | Areas you linger in spawn damaging electric fields. | Assemble four ceramic shards, activate the cat cafe, and feed 50 souls to the catnip. |
| Film Reel (Kowakujo) | You can only carry one Pack-a-Punch weapon. | Pack-a-Punch 10 different weapons. |
Wicked relics (Tier 3)
Wicked relics are the endgame set, requiring a Tier 2 Cursed game and triggering at Round 60. Several of these demand a completed main quest or a flawless survival streak, so treat them as long-haul objectives rather than quick pickups.
| Relic (Map) | Effect | How to unlock |
|---|---|---|
| Bus (Ashes of the Damned) | Enemy health regenerates. | Reach Round 60 and survive a full round killing zombies only with traps. |
| Dragon (Ashes of the Damned) | All Ammo Crates are disabled. | Complete the main quest on Round 60 or later. |
| Blood Vials (Ashes of the Damned) | All Augments are turned off. | Answer the ringing red telephone five times across Rounds 10 to 60. |
| Golden Spork (Astra Malorum) | Enemies deal double damage. | At Round 60, shoot a Mangler Cannon through the Mars portal to kill 10+ zombies in the Machina Astralis room. |
| Civil Protector Head (Astra Malorum) | You lose a perk every 100 kills. | At Round 60, solve the chandelier candle puzzle with PhD Flopper via Ol’ Tessie’s blinking lights. |
| Mangler Helmet (Paradox Junction) | No Arsenal machine. | Use the Mister Peeks Field Upgrade on the Mystery Box, place him on the mailboxes, and claim an Ultra knife at Round 60. |
| Agarthan Device (Totenreich) | Zombie type randomizes each round. | Collect three Mister Peeks parts and place them on the throne during Richtofen’s side quest. |
| Music Box (Totenreich) | Enemies only take critical damage. | At Round 60, land 5 sniper headshot kills from inside Tyr’s Head. |
| Dragon Egg (Kowakujo) | Elites and specials in normal spawns randomize. | Earn the Path of Sorrows by solving the murder mystery first try, then strike the Japanese symbols with the sword. |
| Mannequin Turret (Kowakujo) | No starting armor; only gold wall-buy armor is available. | Do not fail a single Assault Wave for 60 rounds. |

Confirming a relic unlock and avoiding failed triggers
Every relic ends the same way. After you finish the setup steps, a portal spawns near the map’s key point of interest, and you complete a short wave-based trial to claim the relic. On most maps that is four waves, alternating between clearing regular enemies and killing HVTs; Paradox Junction runs a five-wave timed version instead. Finish the final wave and the relic is added to your loadout screen for future matches.
The most common reason a relic fails is saving and quitting mid-setup. Progress on steps like the Mister Peeks bears, the gray pistol kills, or the dog-petting sequence is often wiped if you leave, and some pickups despawn once the round rolls over. Finish each setup in a single sitting, and do not reuse a setup weapon after hitting its kill target, since going over the exact count can void the step.
With the Wrestling Belt still unsolved, 29 of the 30 relics are fully obtainable right now. Clear the Grim set first, equip them to open the Sinister trials, then stack those to reach the Wicked round-60 challenges, and you will have the full spread ready to mix and match on any Cursed run.