

Rex Infernus is the last round-based map in Black Ops 7 Zombies, and it closes the Warden storyline that started back in Ashes of the Damned. It launched on August 20th, 2026 alongside the Season 5 Reloaded update, dropping the crew into a shattered version of Dr. Monty’s estate with the World Seed in hand and four Shadowsmith temples to cleanse. The main quest is long, gated by rounds, and punishing about mistakes, so the order you do things in matters more than raw firepower.
Quick answer: Turn on Pack-a-Punch at the Nexus Forge, grab the Void Claw, build and upgrade the Warden’s Blight crossbows, permanently upgrade the Void Claw with the Eye of the Forge, repair the Forge, solve the Veytharion block puzzle for the rain portal, cleanse all four temples with an offering plus lightning, then take the blue circles beneath Pack-a-Punch to fight the Warden.
Requirements and round gates for the Rex Infernus main quest
Several steps simply will not fire before a certain round, and two of them need specific Ammo Mods equipped. Lock these in before you start burning rounds on trial and error.
| Requirement | Detail |
|---|---|
| Quest start | The phone in Her House rings on Round 3 |
| Hidden forest | The tree only produces fruit from Round 8 onward |
| Exfil rounds | Round 11, then every five rounds after |
| Wonder Weapon | Warden’s Blight, must be Pack-a-Punched for its charged shot |
| Ammo Mods | Shatter Blast for Dravakar, Shadow Rift for Nyxara |
| Perk | Death Perception to find the Veytharion stone blocks |
| Boss loadout | Aether Shroud, Stim Shots, and Perkaholic as backup |
| Completion reward | Bloodthorn Wonder Weapon skin, a calling card, and 10,000 XP |
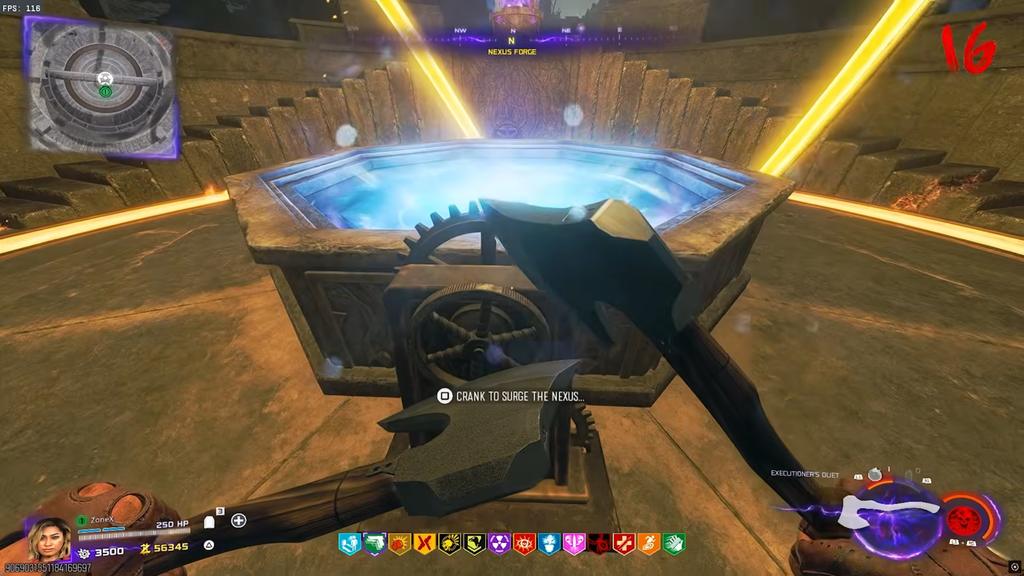
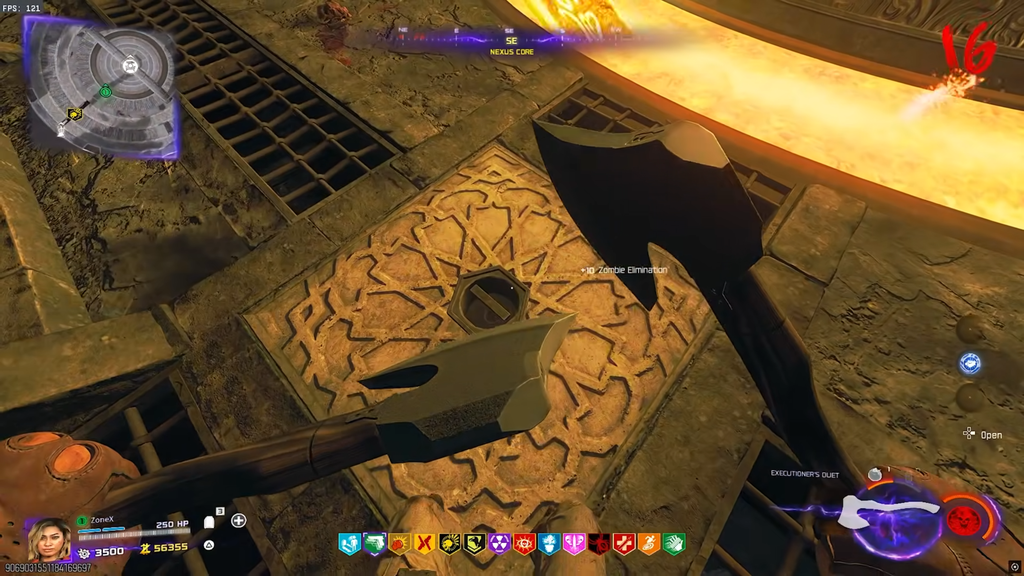
Turn on Pack-a-Punch and claim the Void Claw
Build the Warden’s Blight Wonder Weapon
The Warden’s Blight is a set of crossbows, and almost every later step in the quest depends on its charged shot. Building it means upgrading the Forge’s flame, opening Nyxara’s Inner Sanctum, collecting three parts from a hidden forest, and solving a randomized pillar puzzle under Dravakar.
Create the Astral Flame
Find and place the Fracture of Nyxara
Open Nyxara’s Inner Sanctum with the beam puzzle
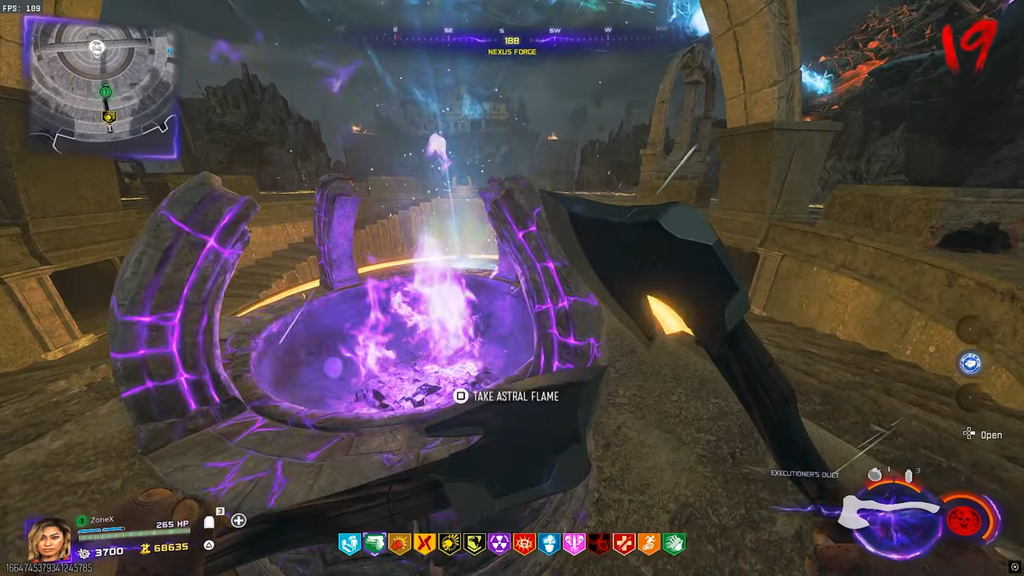
Note: the projectile despawns after a while. If it fades before you finish, go back to the Forge, grab another Astral Flame, and restart the beam at the eye door.
Collect the three crossbow parts in the forest
- Middle of the forest, propped against a rock near the ammo crate.
- Beside the burned-down cabin — melee the wooden panel to the corpse’s left to expose the part.
- Back left corner, at the mouth of a cave.
Dravakar lever puzzle solutions
With all three parts in hand you get sent back to Nyxara Inner Sanctum. Head to Dravakar Sanctuary and interact with the glowing blue writing on the southwest wall. You get one of four quotes at random, and the quote decides the lever order.
| Lever | Location |
|---|---|
| Lever 1 (left) | Northeast wall, next to the Armor wall-buy |
| Lever 2 (back) | East wall, opposite the blue writing near the Ammo Box |
| Lever 3 (right) | Southeast wall, left of the GobbleGum machine |
| Quote | Lever sequence |
|---|---|
| “I remember the runner that travels to stars, while moons and galaxies stay true.” | Lever 2 twice, Lever 3 three times |
| “I drift to the runner that travels moons, who borrows from galaxies when stars stay true.” | Lever 1 three times, Lever 2 twice, Lever 3 once |
| “I drift to stars that remember moons, who borrow the runner that travels the galaxy.” | Lever 1 once, Lever 2 twice, Lever 3 twice |
| “I remember galaxies that drift to moons, who borrow the runner that travels the stars.” | Lever 1 twice, Lever 3 twice |
After entering the sequence, interact with the central pillar to submit it. A correct answer lowers the pillar into the floor; a wrong one locks the mechanism until the next round. Grapple through the newly opened ceiling into Dravakar Inner Sanctum and use Dravakar’s Anvil to assemble the Warden’s Blight, then Pack-a-Punch it right away.
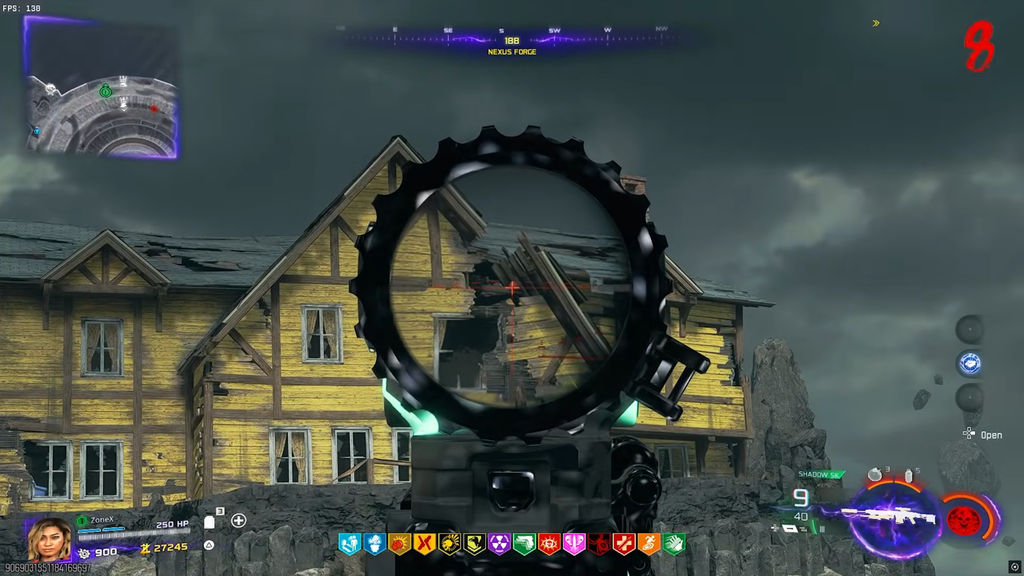
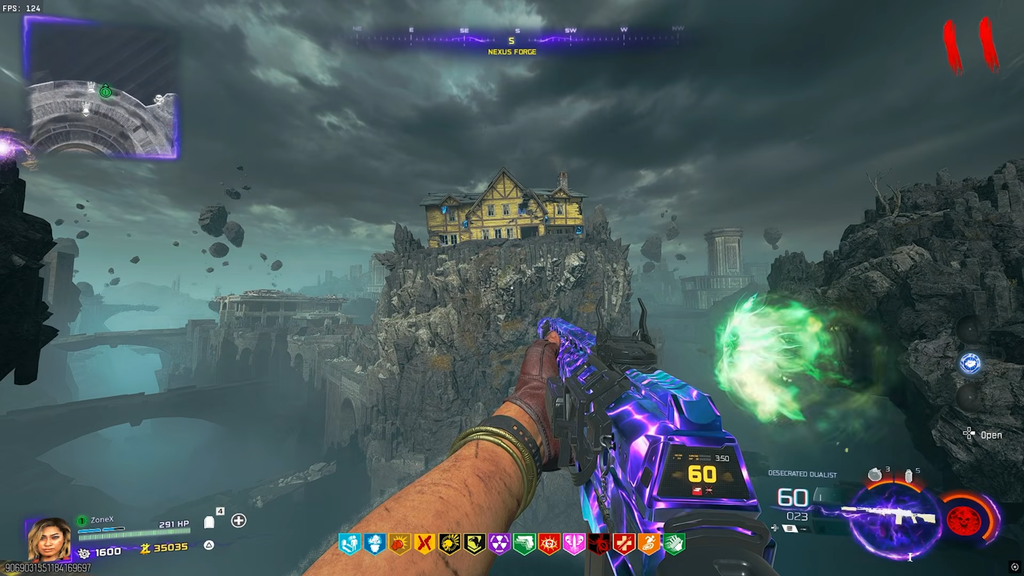
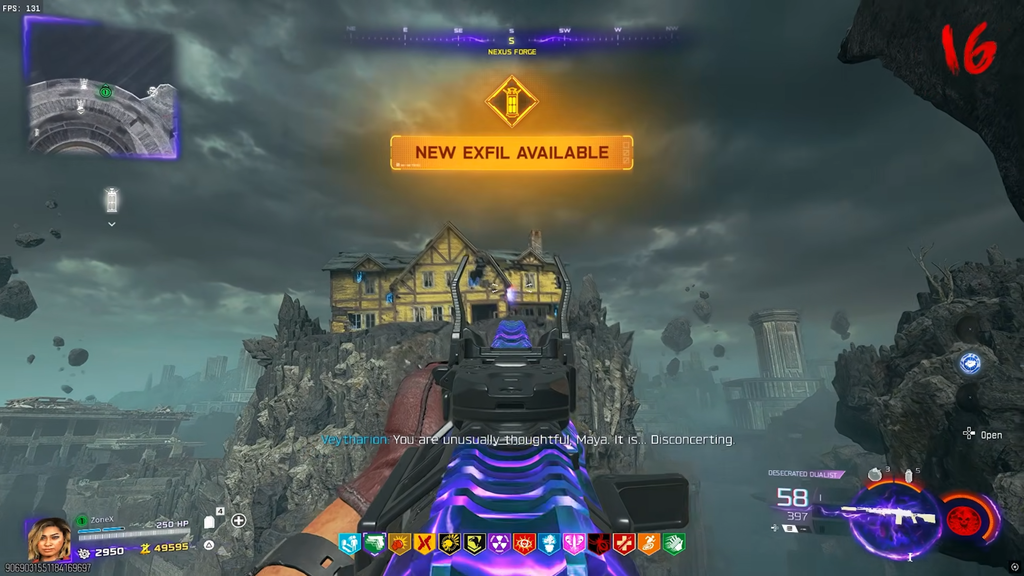
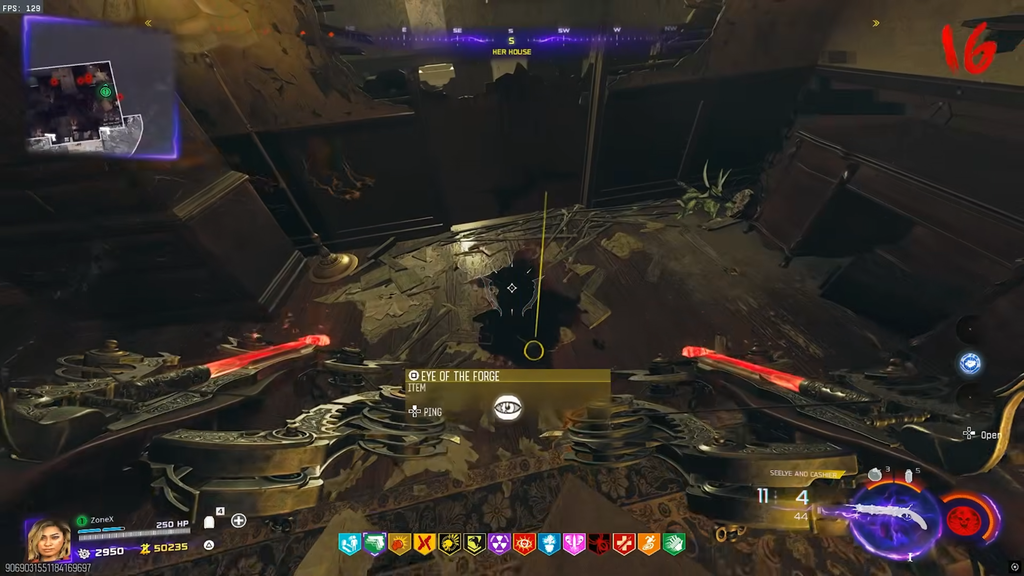
Get the Eye of the Forge and upgrade the Void Claw
Repair the Nexus Forge
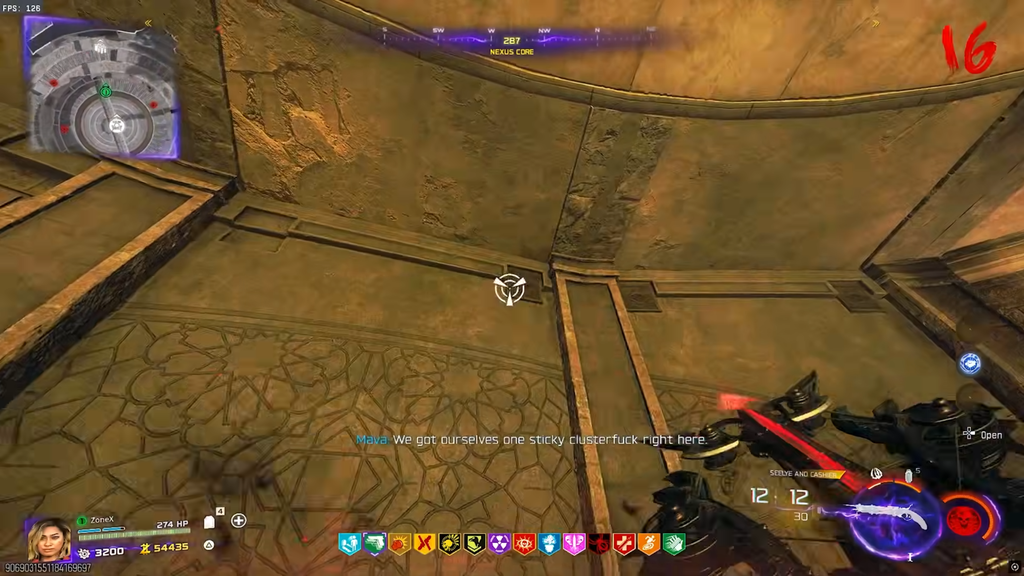
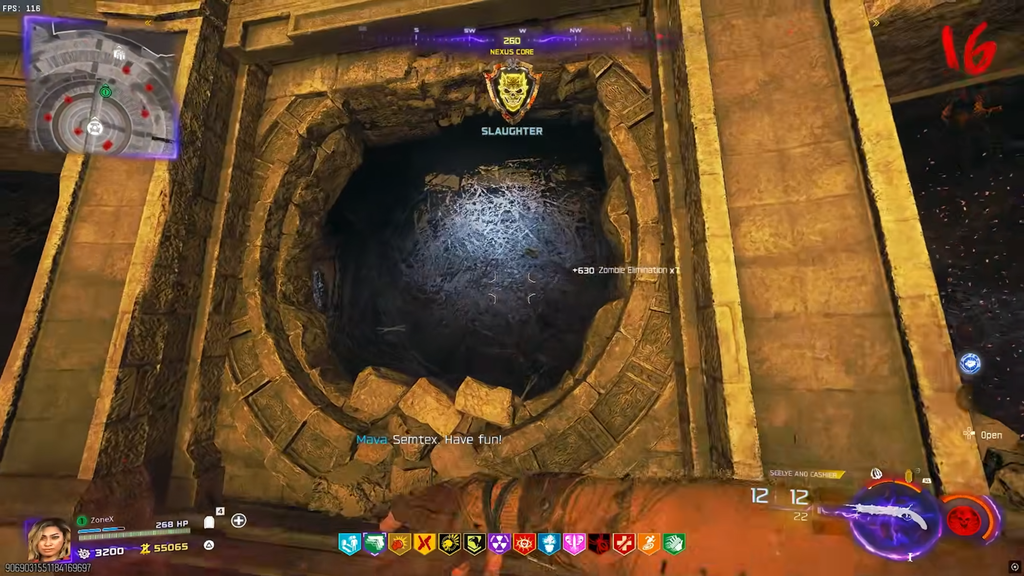
Three cranks control that alignment — one on the pillars inside Pack-a-Punch, one in the middle, and one outside. Adjust them until a blue beam fires into the face of the Shadowsmith whose temple you want to work on next.
Veytharion block puzzle solution
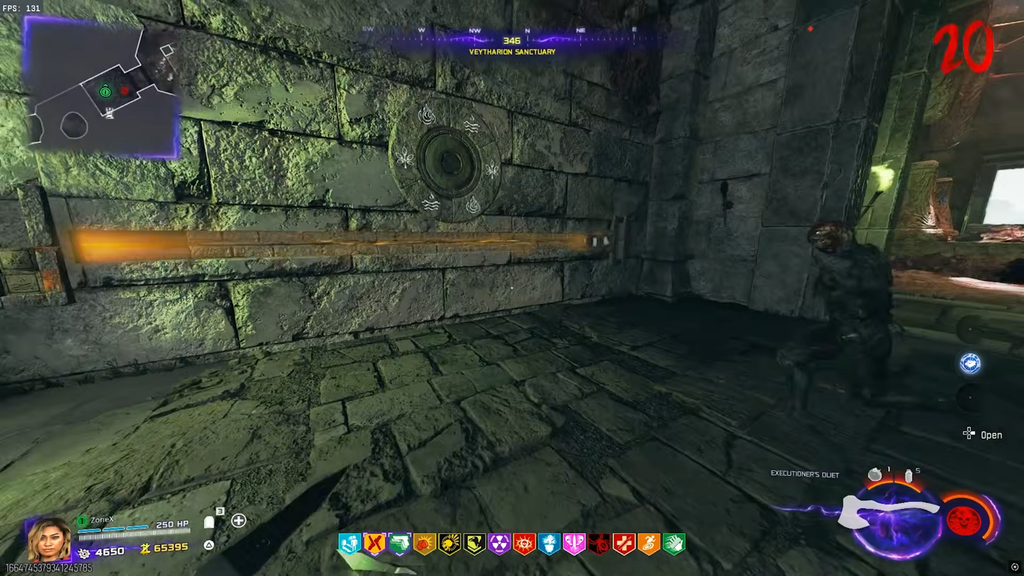
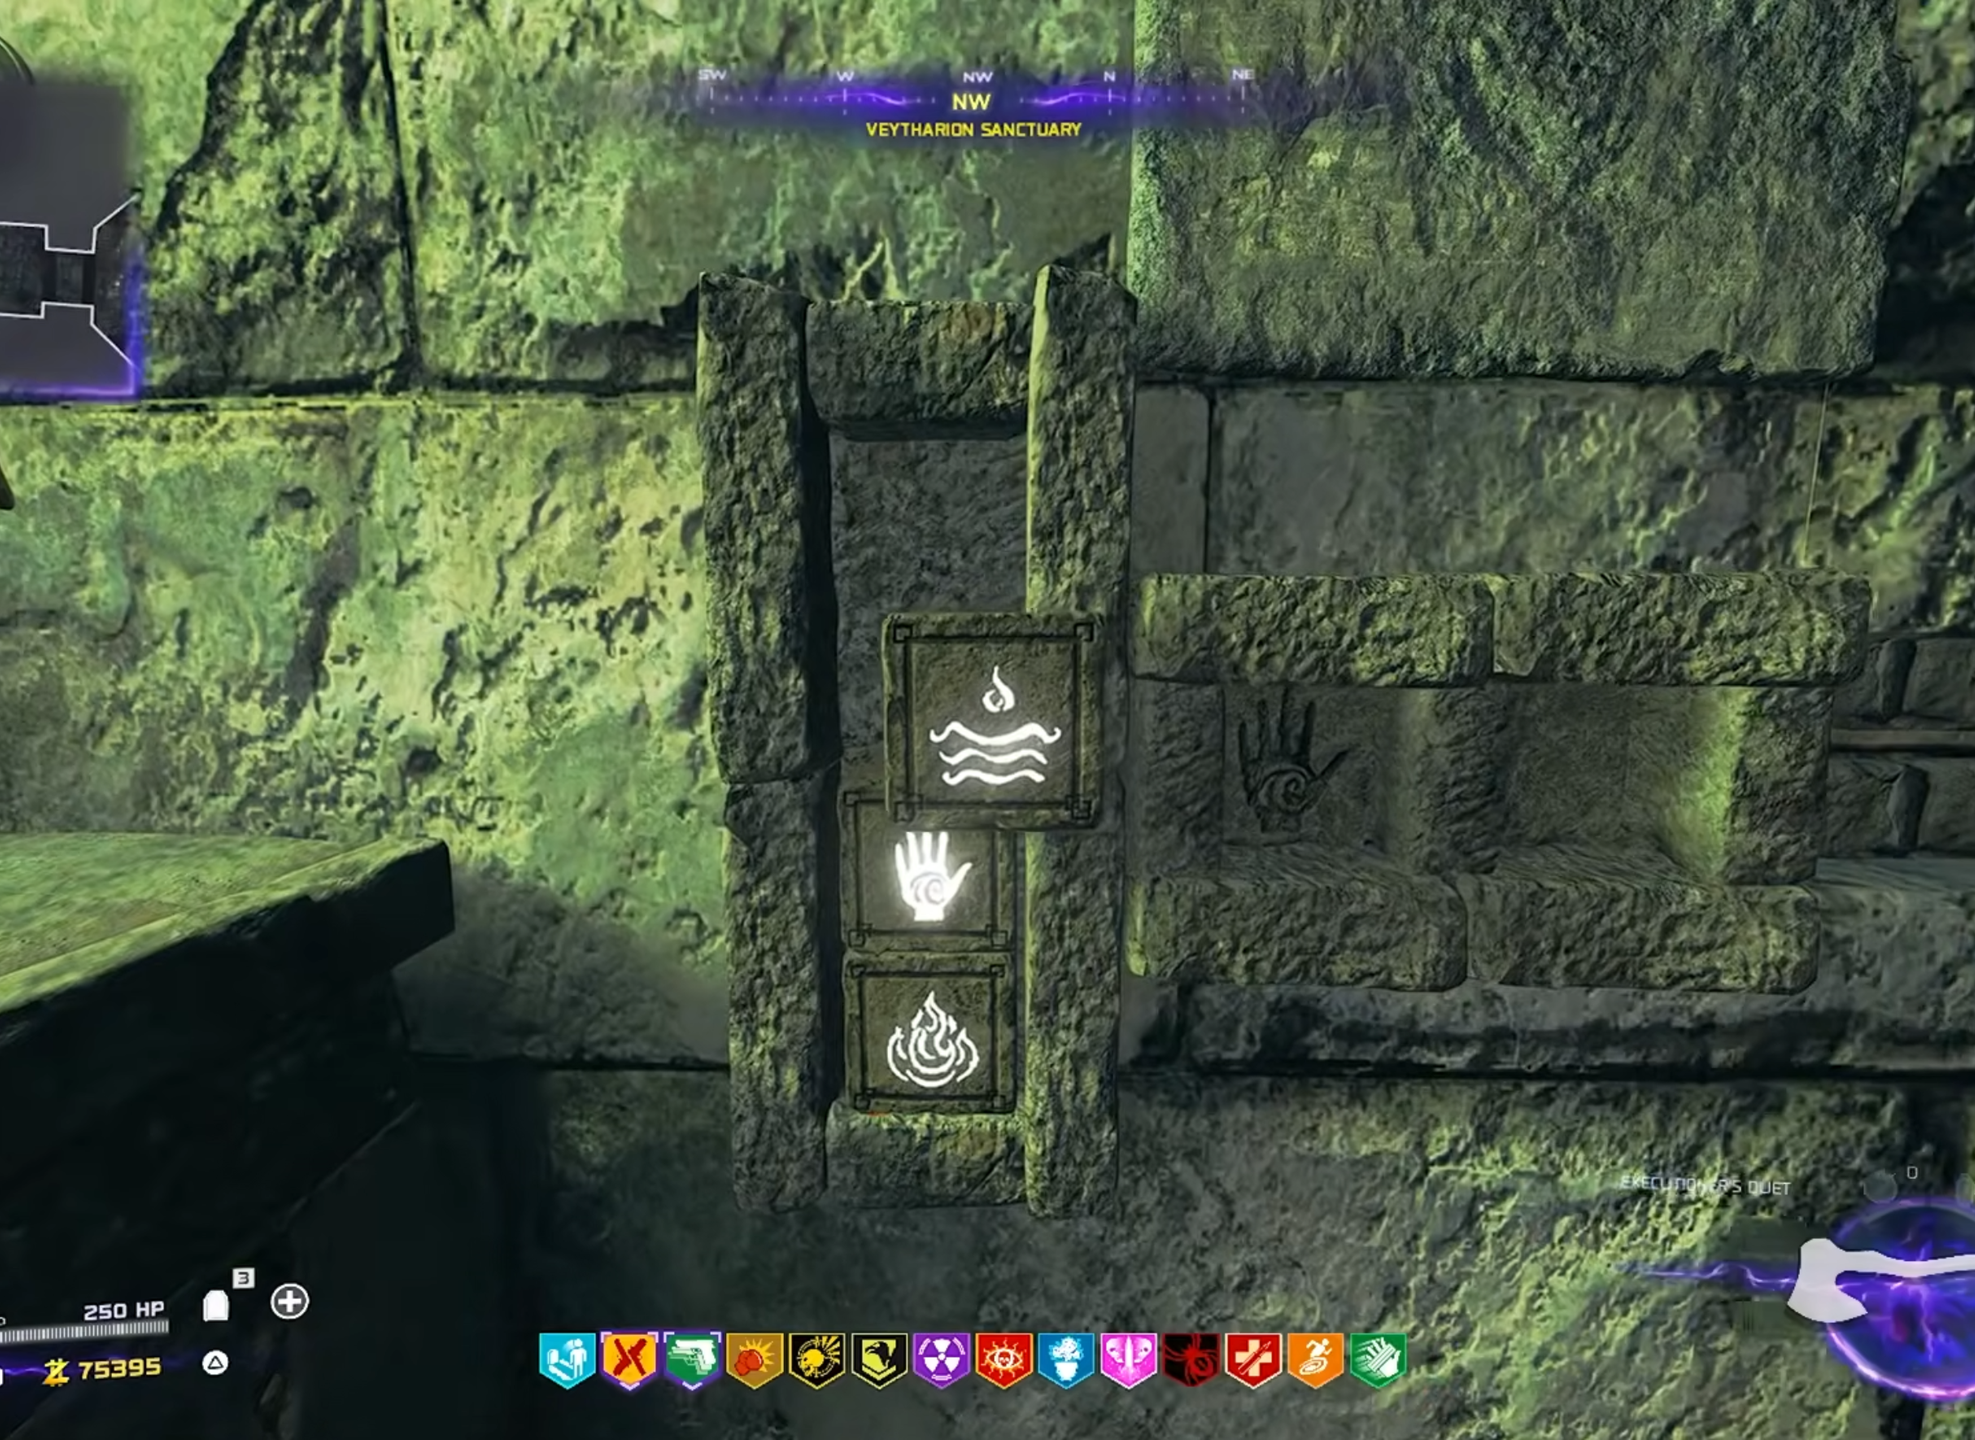
This is the step that unlocks the rain portal, and every temple cleanse needs rain, so it cannot be skipped. Buy Death Perception first, because the four stone blocks in Veytharion’s Sanctuary are only visible through the wall with it active.
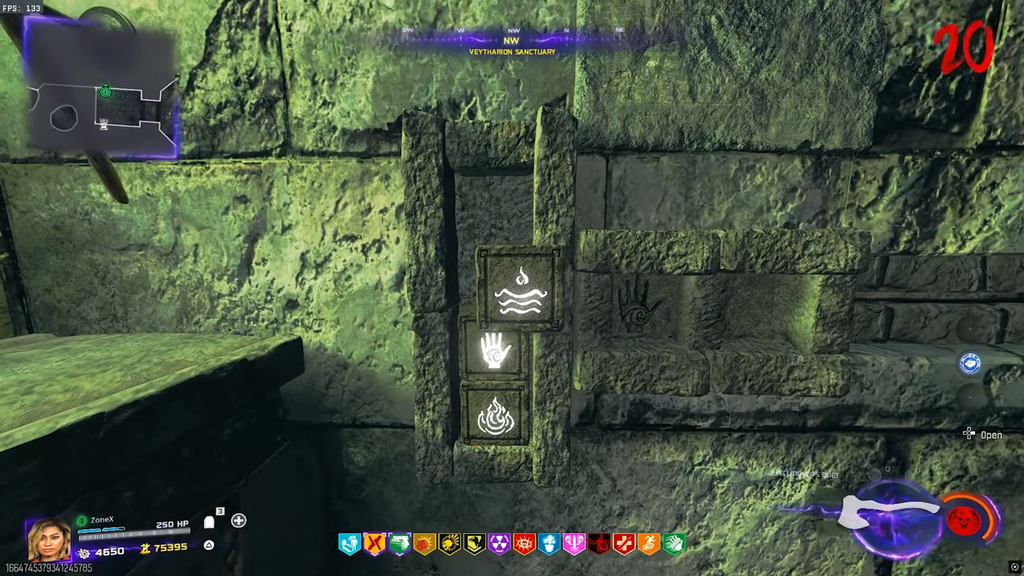
From here on, interacting with that blue portal makes it rain at the start of the following round.
The four-temple cleansing loop
Dravakar, Nyxara, Caltheris, and Veytharion all follow the same four-beat pattern, and only the specifics change. Aim the Forge beam into that Shadowsmith’s mouth, find their offering item, feed a marked zombie to a Titan Trap, wipe out four Shadow Souls, then finish with the orb-and-lightning ritual. Each successful beat plays a spoken quote, which is your confirmation before moving on.
Offerings and where to find them
| Temple | Offering | How to obtain |
|---|---|---|
| Dravakar | Blacksmith’s Hammer | Equip Shatter Blast, grapple into Dravakar Inner Sanctum, and break the corner shields with Shatter Blast kills |
| Nyxara | Ancient Scroll | Equip Shadow Rift and rack up Shadow Rift kills; the hidden forest is the fastest place to do it |
| Caltheris | Shimmering Thread | Pull purple orbs down from the sky with the Void Claw and interact with them until it drops |
| Veytharion | Woven Sash | Only spawns while it is raining, at one of three locations |
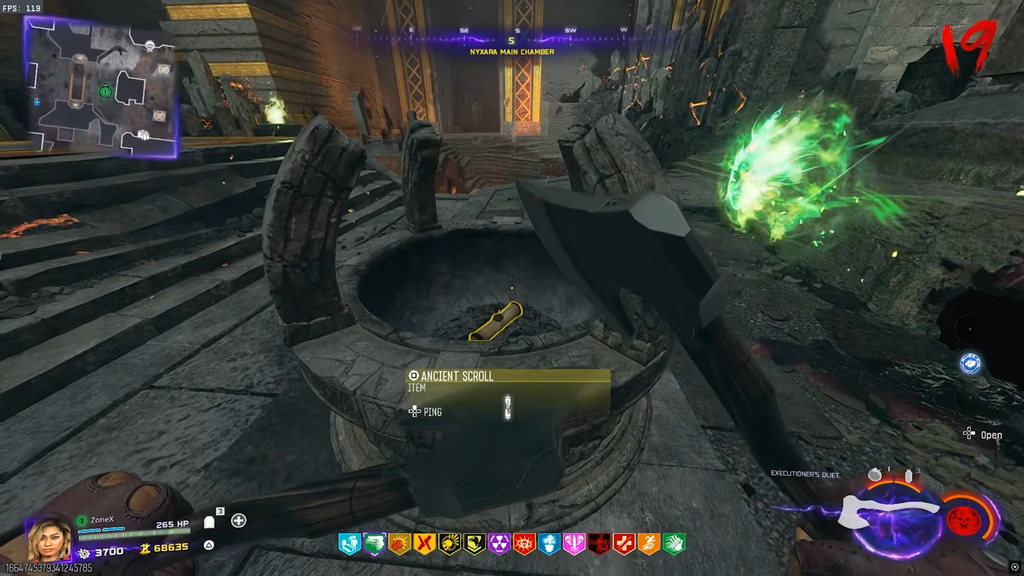
The Woven Sash appears behind the Mystery Box on the ledge at Ruinas Insula, on the left rock outside the map at Spira Insula, or at Aanea Insula when you look down from the northwest.
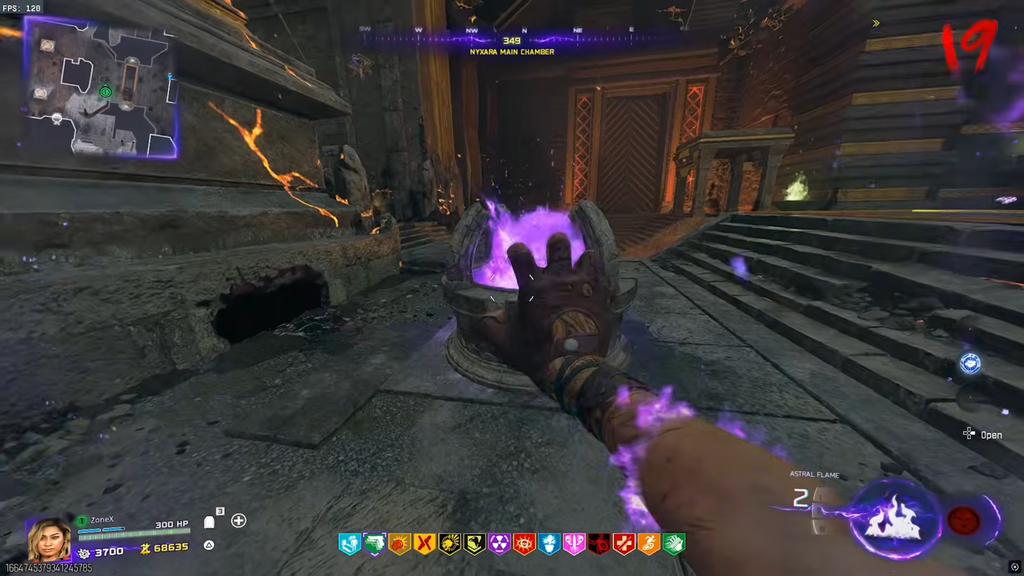
Once you have an offering, drop it into that temple’s stone cauldron. Then grab an Astral Flame from the Nexus Forge and throw it into the cauldron to light it. A nearby zombie gets marked with mist or fire runes — lead it to the correct Titan Trap and trigger the trap so the Titan crushes it.
Titan Trap and lightning targets
| Temple | Titan Trap | Lightning target |
|---|---|---|
| Dravakar | Caltheris Passage | Forehead |
| Nyxara | Outside Veytharion Passage | Nose |
| Caltheris | Caltheris Passage | Forehead |
| Veytharion | Veytharion Passage | Top of the middle head |
Stone plates and Shadow Souls
Every temple hides a stone plate near its central pillar, and each one demands a different behavior before it opens. Once it lifts to expose a button, hit that button with a charged Warden’s Blight shot to raise it and summon a blue beam, then shoot the dial to aim the beam at the correct wall. Killing zombies feeds souls into the beam until the wall breaks and a stone head appears.
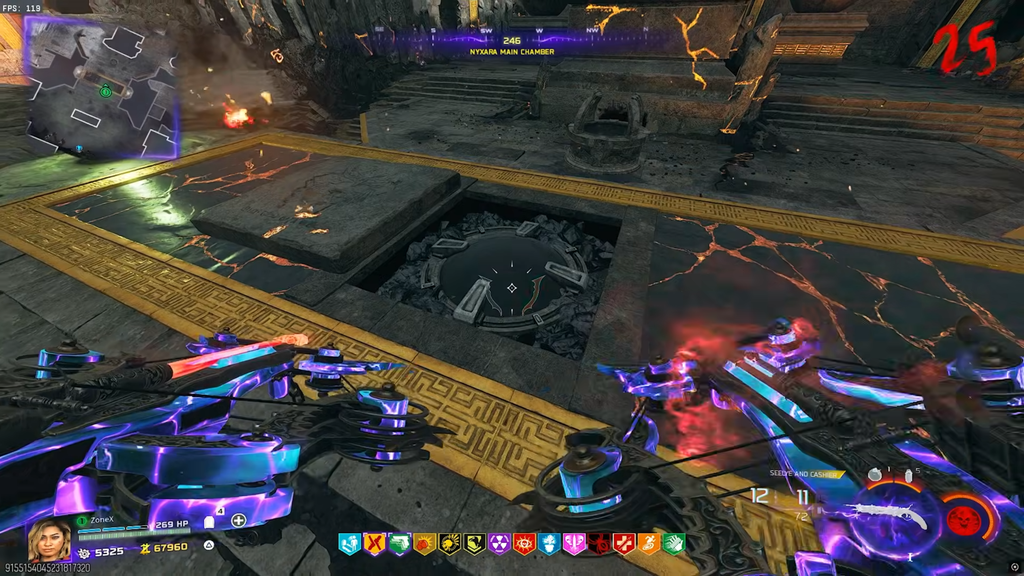
| Temple | Plate activation | Beam target |
|---|---|---|
| Dravakar | Stand on it and let a zombie damage you | Southeast corner wall |
| Nyxara | Go prone and stay there | South corner |
| Caltheris | Stand still while aiming down sights | Northeast side of the room |
| Veytharion | Jump on it repeatedly | Zombie barrier by the wall-buy, northwest |
Shoot the revealed stone head to release the Shadow Souls, then hunt down and kill all four. Watch your minimap and listen for them. Veytharion also throws an Abomination into the mix, so save equipment for it. When the room is clear, shoot the stone statue again to end the lockdown.
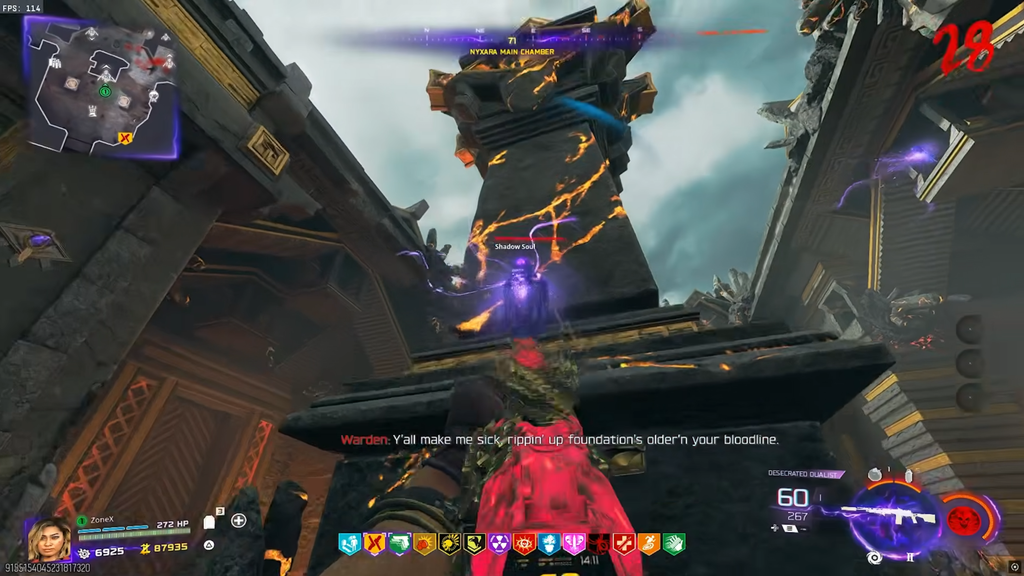
The final cleanse
Use the Void Claw to drag a purple orb directly beneath that Shadowsmith’s head, then hit it with a charged Warden’s Blight shot to launch it into the skull. Their eyes glow purple when it lands. Trigger the Veytharion portal so rain starts the following round, then pick up an Astral Flame and shoot a fireball at the lightning target listed above. Lightning strikes the Shadowsmith and the temple is cleansed.
Beat the Warden
With all four temples cleansed, drop beneath Pack-a-Punch and stand in the blue circles to start the fight. The Warden — Jack McGregor — is fast and relentless, so bring Aether Shroud, Stim Shots, and a Perkaholic in reserve before you commit.
Never stop moving inside the arena, and use the Void Claw to break away when he closes distance. Shooting his floating skulls stuns him and exposes the critical spot on top of his tail, which is your main damage window. During immune phases, switch to killing the Shadow Souls he summons.
Watch the ground for his tails. If too many of them appear at once, they trigger a wipe mechanic, so destroy every one you see. Jumping off the map at the right moment avoids the blast, but the timing is tight enough that clearing the tails is the safer play.
Common reasons steps fail to trigger
- Shots pass through Dread Skulls while they are translucent — wait until they turn solid.
- Touching a floating purple orb destroys it and turns it into salvage; only pull it with the Void Claw.
- The purple orb inside Pack-a-Punch expires quickly, so crank the wheel straight away.
- The Nyxara beam projectile despawns on a timer, forcing a fresh Astral Flame run.
- A wrong Dravakar lever combination locks the pillar until the next round.
- The Warden’s Blight must be Pack-a-Punched, since the charged shot drives most later steps.
- Rain must be active for every final temple step and for the Woven Sash to spawn.
Finishing the quest hands over the Bloodthorn Wonder Weapon skin, a calling card, and 10,000 XP. There is also a separate calling card variant for anyone who clears it before Directed Mode arrives on the map, and no date for that release has been confirmed yet — so if the reward matters to you, the clock is already running.





