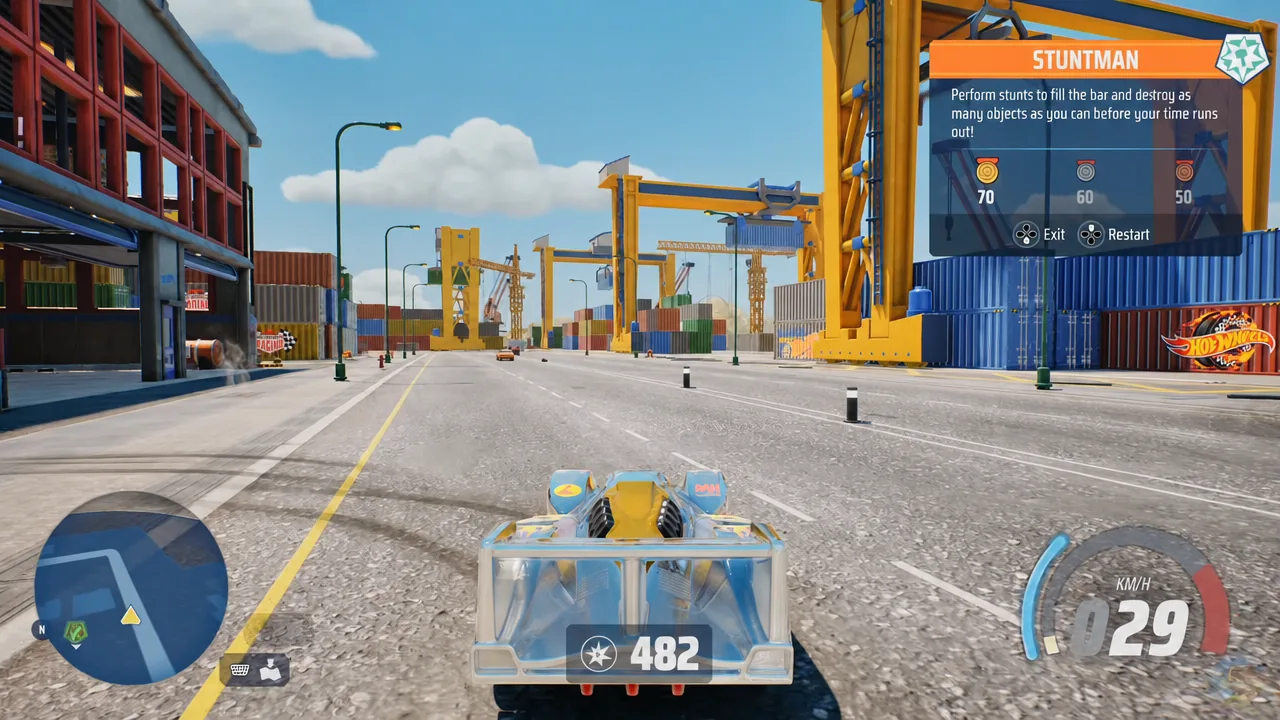
Gearville is the industrial island in HOT WHEELS Infinite Rush, a mix of desert canyons, shipping yards, and oversized machinery. It is also one of the densest islands for pickups, and clearing it to 100% means working through several different collectible types rather than one long gear hunt.
Quick answer: Gearville contains 300 Gears, 10 Stickers, and 10 HOT WHEELS Logos, alongside 12 Event Portals, 27 stunt activities, 7 Daredevil routes, 3 Rusher markers, 2 dealerships, 1 Rush Master, and 1 Launch Pad. Collecting all 300 Gears on the island unlocks the Well-Oiled Machine achievement or trophy.
Gearville collectible totals
Each category is tracked separately, so a full island clear needs all three collectible lines plus every point of interest on the map. The island’s 300 Gears are one quarter of the 1,200 scattered across all four islands.
| Category | Count | How you collect it |
|---|---|---|
| Gears | 300 | Drive through the blue cog icons |
| HOT WHEELS Logos | 10 | Launch off a ramp and pass through them mid-air |
| Stickers | 10 | Photograph them in photo mode |
| Event Portals | 12 | Enter the portal and clear its event list |
| Activities | 27 | Stunt markers spread across seven types |
| Daredevil routes | 7 | Catch and beat the roaming car |
| Rusher | 3 | Open-world challenger markers |
| Dealership | 2 | Gearville Dealership and Secret Dealership |
| Rush Master | 1 | Island champion race |
| Launch Pad | 1 | Airstrip travel point to other islands |
Gear route through Gearville
Gears sit in fixed groups, almost always in fives or tens, and they never move. That makes the island easy to sweep in a single circuit if you start in the southeast and work north and west. The container yard in the southern industrial port is the cleanest opening, since ten Gears line the alleys between the shipping containers.
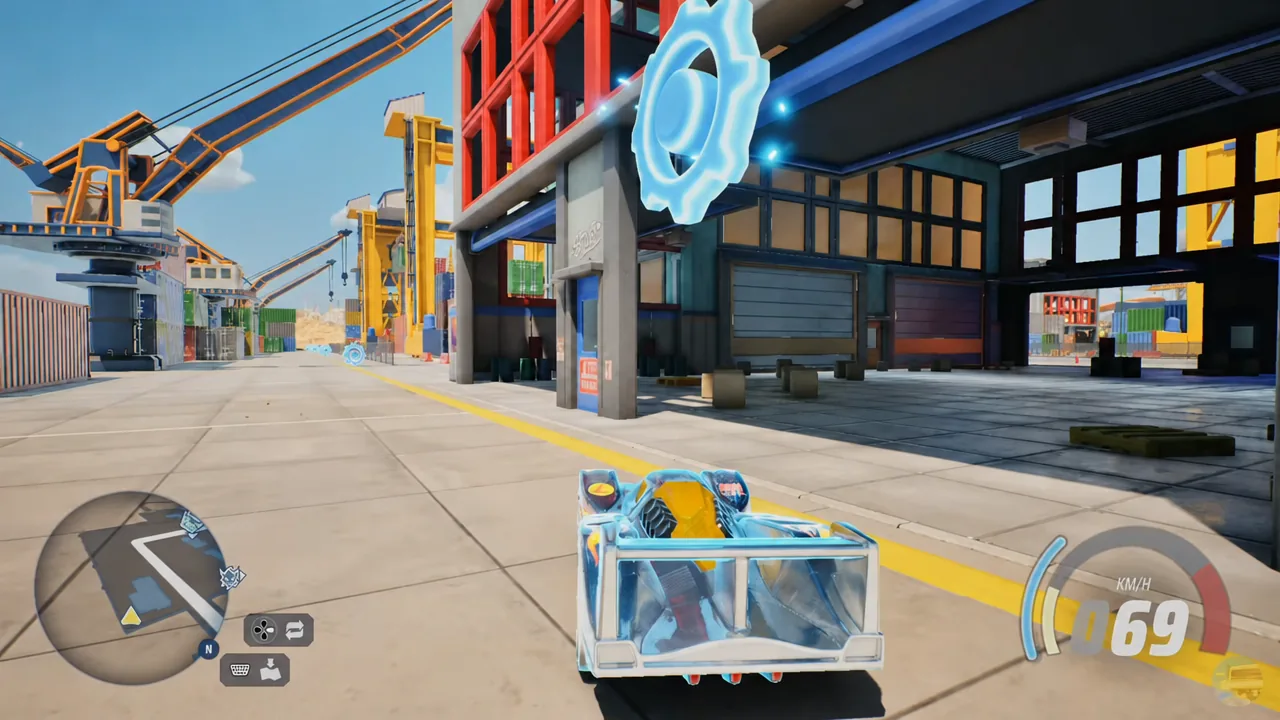
From there the trail follows the orange track sections, the yellow pipe network, and the desert paths on the western side. Two of the first three Logos are collected in the same pass, so there is no need to double back for them.
| Gears | Where they sit |
|---|---|
| 1–10 | Container alleys, southern industrial port |
| 11–15 | Ramp and track beside the orange track loop |
| 16–20 | Mid-air off a dirt jump, with Logo #1 |
| 21–25 | Street running past the town buildings |
| 26–35 | Industrial alley between two buildings |
| 36–40 | Curved ramp on the orange track |
| 41–45 | Track extension dropping down into the dirt |
| 46–50 | Inside the giant yellow pipe |
| 51–55 | Deeper in the yellow pipe network |
| 56–60 | Off the red ramp, over the obstacles |
| 61–65 | Under the giant monster truck ramp, with Logo #2 |
| 66–70 | Beneath the rock arch |
| 71–75 | Uphill on the southwest cliffside path |
| 76–80 | Up a dirt mound, with Logo #3 in the air |
| 81–85 | Through another large yellow pipe segment |
| 86–90 | Dirt pathway near the pipe scaffolding |
| 91–95 | Mid-air off an incline ramp |
| 96–100 | Dirt shoulder at the orange track start |
Note: the Gears inside pipes, under arches, and off ramps are the ones people miss. If a group refuses to register, you are probably clipping the edge of the pipe or landing short of the jump. Reset and take the entry line straight on.
Stickers and photo mode
Stickers do not get picked up by driving. Each one is painted onto a surface somewhere in the world, and you have to stop, open photo mode, and frame it to register the find. All ten are on walls or structures rather than on the ground, so scanning upward is the trick.
| Sticker | Surface it sits on |
|---|---|
| #1 | Second-floor exterior wall of a town building |
| #2 | Back of the giant red monster truck statue |
| #3 | Side wall of a white industrial warehouse |
| #4 | Upper side wall of an industrial plant building |
All 27 stunt activities in Gearville
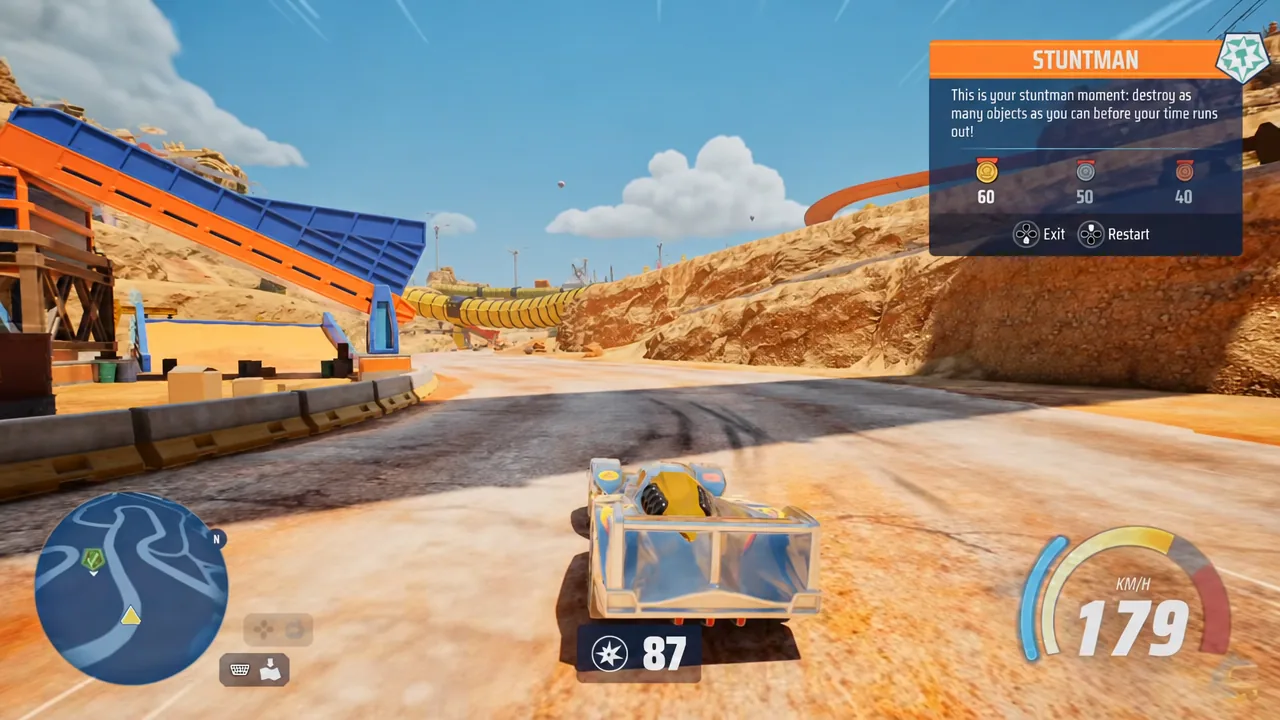
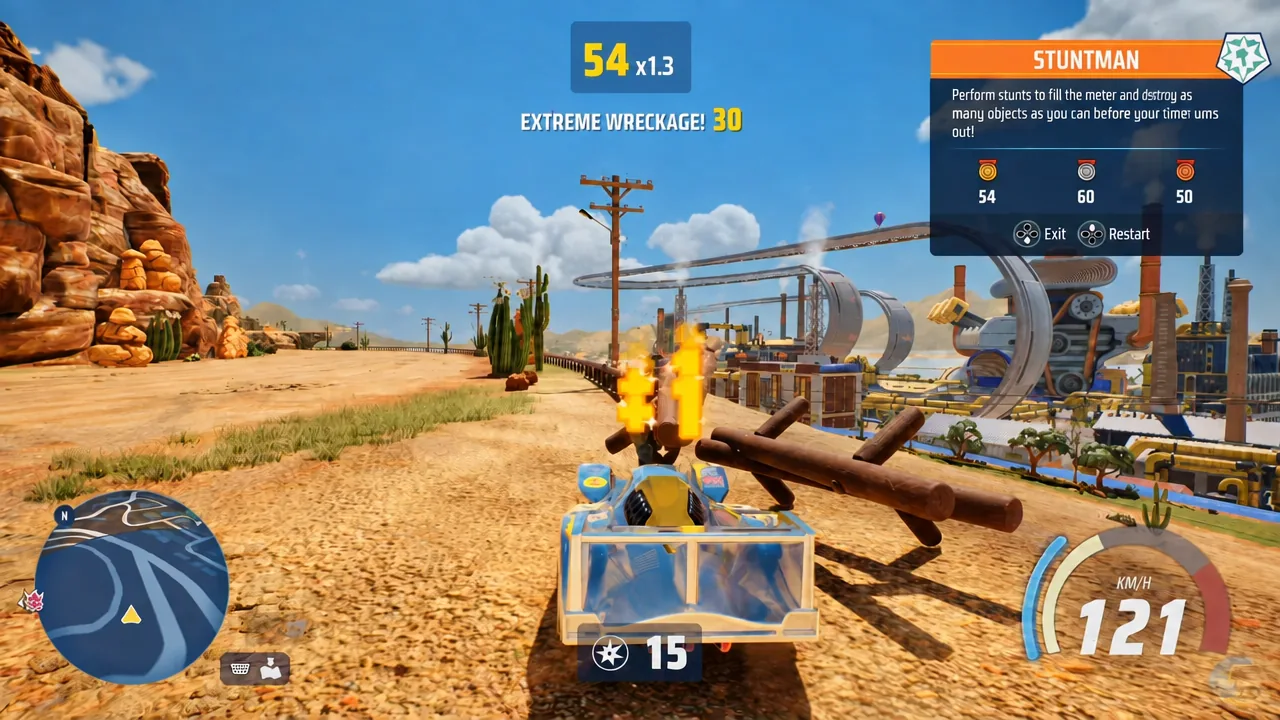
Gearville’s open-world challenges split into seven types, all scored against a gold target. Stuntman markers are the most destructive of the set, dropping you into a fenced area to smash barriers, signs, and fences before the meter runs out.
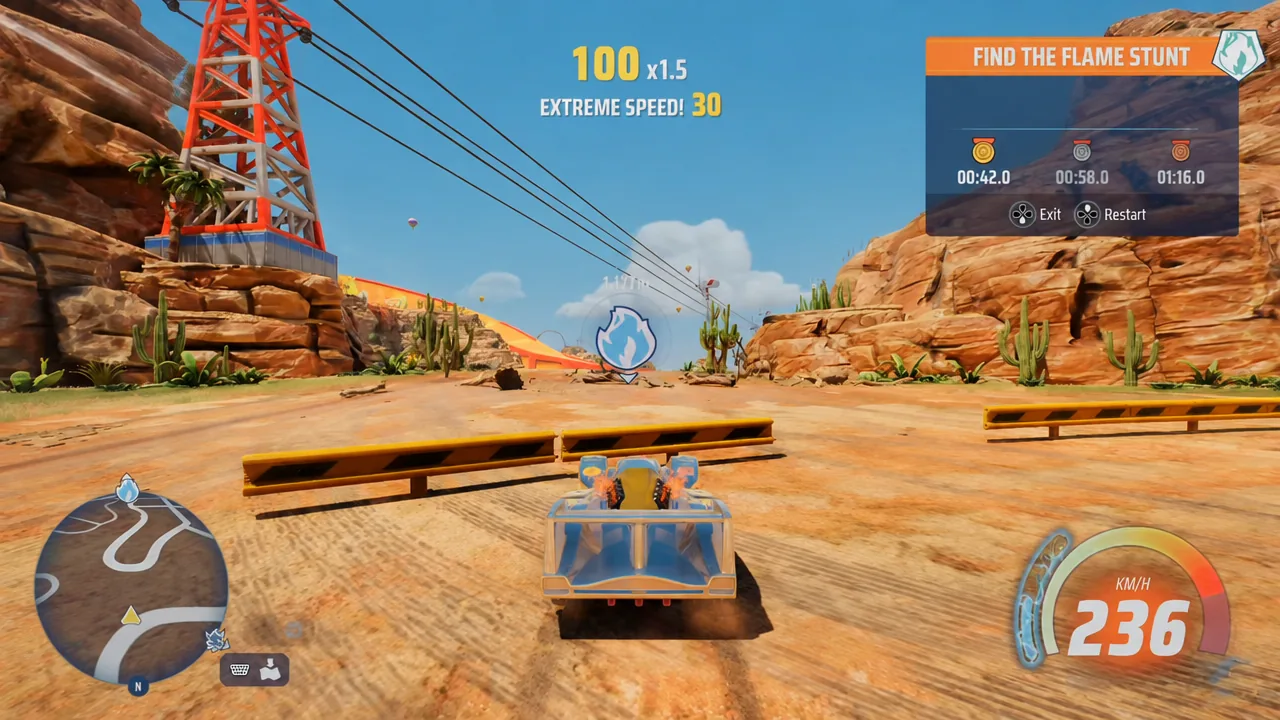
Find the Flame is the other type worth learning early, since it drops a flame marker somewhere ahead in the desert or canyon and holds you to a target time.
| Activity | Count | Gold objective |
|---|---|---|
| Stuntman | 5 | Destroy enough fences, signs, and barriers in the area |
| Tourist | 5 | Reach a landmark and take the photo |
| Find the Flame Stunt | 5 | Hit the flame within the target time |
| Drift Stunt | 3 | Hold drifts through the marked zones on dirt roads |
| Speed Stunt | 3 | Run the speed gates without dropping pace |
| Boost Stunt | 3 | Complete the boost run against the gold score |
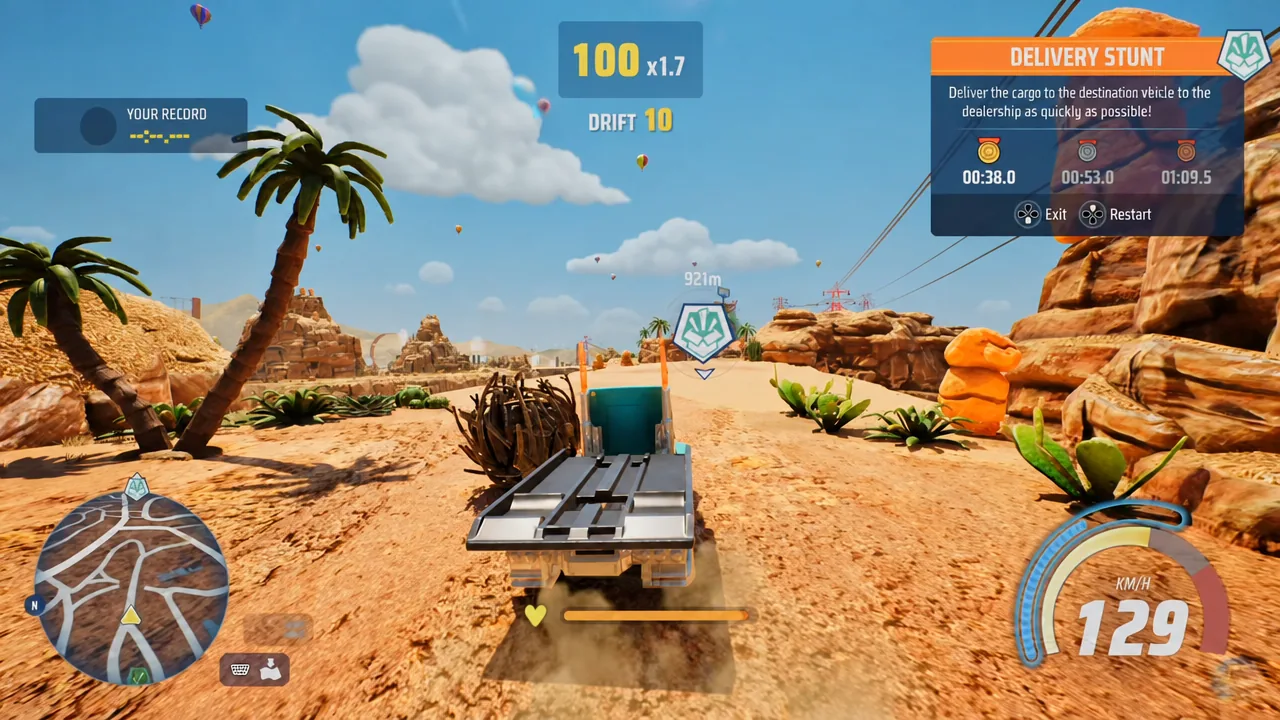
| Delivery Stunt | 3 | Deliver the vehicle fast with minimal damage |
Delivery Stunts put you behind a flatbed truck instead of your usual car, and the scoring punishes contact. Take the wide line through corners rather than trying to carry speed into walls.
Gearville Event Portals and their event counts
Event Portals are the blue gateways that group races and stunt events into a single set. Twelve of them sit on Gearville, and each holds its own list, so a portal is only cleared when every event inside it is done.
| Event Portal | Events inside |
|---|---|
| Speed Science | 10 |
| Roadwork | 9 |
| Climbing to the Summit | 8 |
| Rocky Trap | 8 |
| Roaring Engines | — |
| The Cobra’s Path | — |
| Losing Direction | — |
| Bottleneck Bridges | — |
| Mirage | — |
| Dangerous Intersections | — |
| Inside the Engine | — |
| Ghost Town | — |
Daredevil cars and dealership unlocks
Daredevils are the fast cars that drive set routes through Gearville’s traffic. You chase one down, challenge it, and beat it to add the vehicle to your garage. Seven of them run on this island.
- Street Creeper
- Aristo Rat
- Splittin’ Image II
- Ballistik
- Rig Heat
- Speed Dozer
- Slide-Burn
The rest of Gearville’s vehicle list comes from fixed sources rather than open-world hunting, and the island’s collection tab tracks them all in one place.
| Source | Cars | Notes |
|---|---|---|
| Gearville Dealership | 16 | Includes Rivited, Fast Gassin, Sand Burner, Turbine Time |
| Secret Dealership | 8 | Includes Donut Drifter, Dragon Blaster, RRRoadster |
| Gearville Rush Squad | 4 | Road Rocket, Flathead Fury, Rig Storm, Drift Rod |
| Archipelago Collectibles | 2 | ’71 El Camino, Prototype H-24 |
| Welcome Gifts | 1 | Twin Mill |
How to confirm Gearville is at 100%
Open the island map and check the counters on each category. Gears should read 300 of 300, Stickers 10 of 10, and HOT WHEELS Logos 10 of 10, with no remaining markers under Event Portals, Activities, or Daredevil. The Well-Oiled Machine achievement or trophy pops the moment the final Gear is picked up, which is the clearest confirmation the Gear line is finished.
There are only a few reasons a count stalls. A Sticker will not register unless it is framed in photo mode, a Logo needs enough airtime to pass through the ring rather than under it, and stunt markers stay on the map until you clear the gold target rather than merely finishing the run.
The final stretch is the slow part. With no in-game hint system pointing at what you have missed, tracking the Gear groups as you clear them keeps you from circling the same industrial blocks looking for the last handful.