

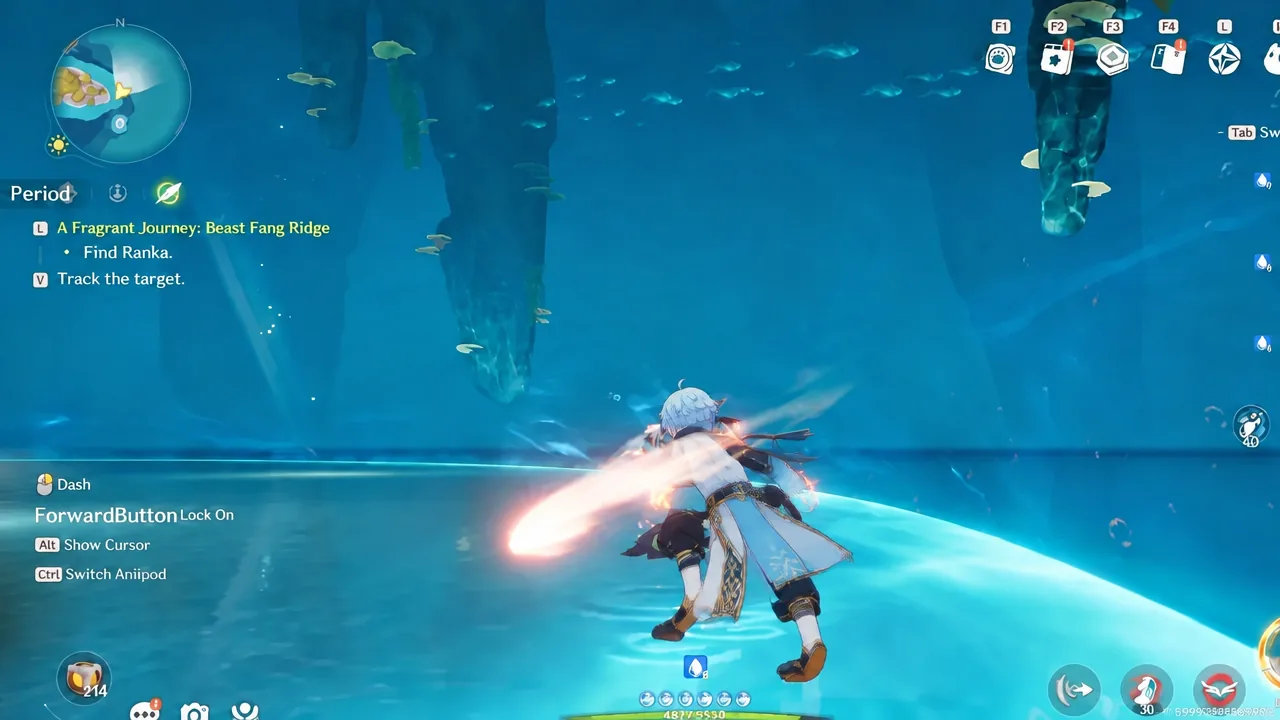
Aniimo ships its 1.0 build with more than 50 final-stage creatures, and they do not pull equal weight. A handful hold up in any team you throw them into. Most are good only when the rest of your squad is built around them. The ranking below sorts every final-stage Aniimo worth investing in by how much it contributes in real fights, not by how its base stats read on a menu.
Quick answer: Irisalis, Somniwing, and Rookey are the three strongest Aniimo at launch. They carry teams on their own, while everything below them needs a specific element, terrain, or partner to hit full value.
Aniimo 1.0 tier list: full ranking
| Tier | Aniimo |
|---|---|
| S+ | Irisalis, Somniwing, Rookey |
| S | Inferlupa, Stellarys, Tromber, Hexxin, Melloblum, Dazmand, Fragrancier, Fulmintis, Blazen, Panpanta, Fenmane, Pawney, Helgon, Grizbo, Minespine |
| A | Scorchhowl, Cornet, Tubster, Glacy, Leafy, Turbo, Geoclaw, Gracewing, Eklue, Thornblade, Ignitis, Popota, Volill, Infergon, Magmarex |
| B | Irisal, Dreaple, Shrubclaw, Flamerion, Glynsera, Sherro, Bouldus |
Placements reflect the 1.0 launch build as of September 2026 and cover base final-stage Aniimo. Regional forms are treated as separate entries, since a form can land in a different tier than the Aniimo it evolved from.
How this ranking was scored
Five things decide a placement, weighted roughly in this order.
- Overall usefulness across normal content, not one showcase fight
- Raw damage output and how quickly it lands
- Team utility: buffs, healing, resource generation, debuffs
- Consistency without terrain, element, or partner requirements
- Boss fight viability, including break gauge pressure
Base stat totals were deliberately ignored. A stat sheet cannot show skill interactions, encounter-specific advantages, or how hard a kit is to execute, and several high-attack Aniimo underperform once a boss stops standing still.
S+ tier Aniimo: the three that carry teams
Irisalis
Irisalis is the evolved form of Irisal, and the upgrade is severe. It fields multiple clones for layered damage and carries an innate self-revive, which removes the single biggest reason runs fail. A damage dealer that cannot be permanently removed from a fight is worth more than one that hits slightly harder.

Somniwing
Somniwing generates EP for any team archetype. That is the distinction. Most support Aniimo feed one element or one playstyle, while Somniwing keeps rotations running regardless of who else is on the squad, so it never becomes a dead slot when you swap your carry.


Rookey
Rookey curls into a defensive ball stance that punishes incoming attacks with counter damage and strips an enormous chunk of the enemy break bar. It survives the mechanics that delete squishier picks and still produces the break windows your damage dealers need, which is why it sits above every dedicated breaker in S tier.
S tier Aniimo, sorted by what they do
Break specialists
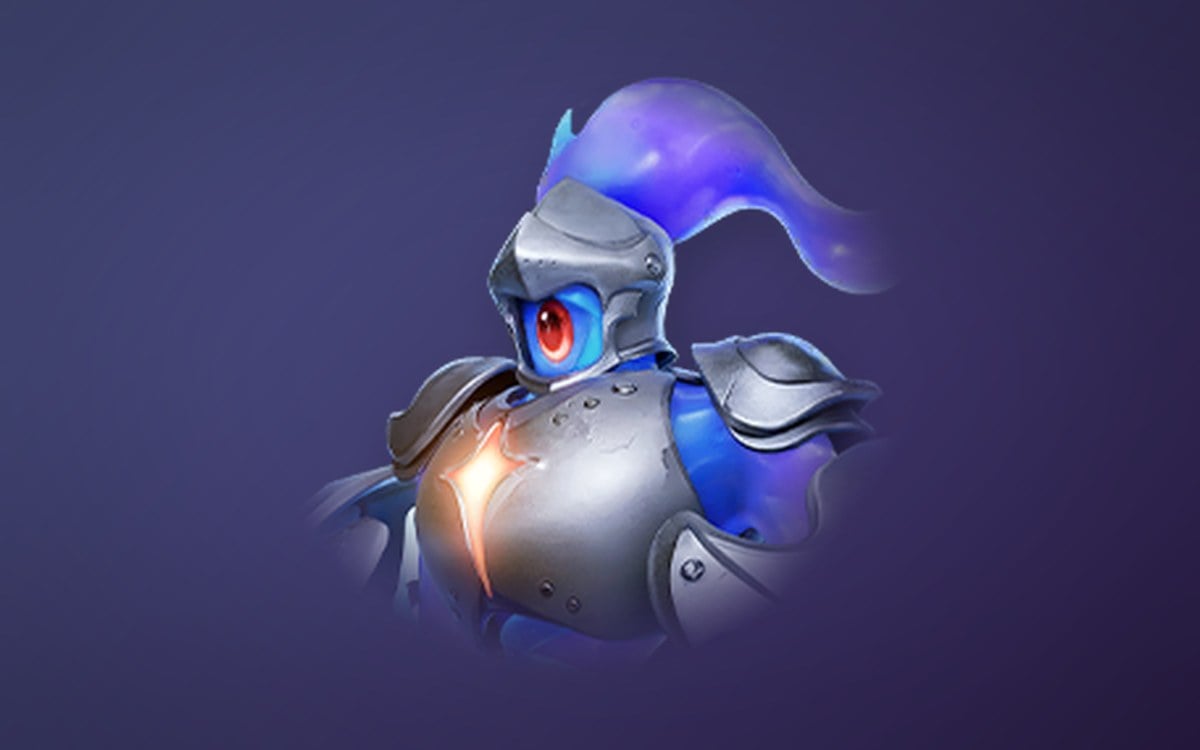
Inferlupa drains break bars fast enough to set the pace of a boss fight, and every damage window your team gets starts with it. Panpanta rolls through water bubbles for heavy break gauge damage, Helgon stacks wind counters and stuns while still chipping the gauge, and Minespine burrows for safety before dropping AoE crystal hazard zones that cover ground your team cannot.
Buffers and resource batteries
Tromber hands the team a critical damage buff, and crit multipliers scale everything behind them, so it lifts the whole squad rather than its own numbers. Fragrancier applies dark resistance reduction and a damage amplifier immediately, with no ramp. Hexxin pairs EP generation with curses that feed dark attackers like Stellarys. Melloblum coordinates follow-up attacks for grass compositions, and Dazmand does the same job for lightning teams through crit and resource synergy.
Fragrancier is the safer of the two dark resistance options. Dreaple applies a similar debuff but needs setup time to reach the same value, which matters in shorter fights.
Self-sufficient damage dealers
Fulmintis refunds its own resources on critical hits, so its rotation loops without downtime. Blazen cuts EP costs by a flat amount, breaks shields, and posts high critical damage on top. Stellarys weaves skills into basic attacks through its clones, covering both on-field and off-field damage. Grizbo builds rage into attack speed, damage, and resource regeneration, and Fenmane stacks lightning before entering a stance for one heavy burst. Pawney rounds out the group with a spin attack that hits harder against vulnerable and crowd-controlled targets, which pairs naturally with the breakers above.

A tier Aniimo: strong, with one condition attached
Everything in A tier is worth building. Each one just asks for something in return, whether that is a teammate, a terrain type, or player input.
Scorchhowl is a clean aggressive fire damage dealer with strong burst against broken bosses, but it brings nothing else to the team. Thornblade has the highest skill ceiling in the tier, rewarding rhythmic melee combos that stack buffs, and it drops sharply if you miss the timing. Cornet flies above the arena to dodge ground mechanics, which sounds free until you account for stamina management and aiming from the air. Ignitis snowballs through mob packs with kill resets and stacking buffs, then loses most of that value in single-target boss fights.
The support half of this tier is more dependable. Glacy provides healing over time that holds up in long battles, Gracewing heals from off-field so your carry never leaves the fight, and Leafy creates grass terrain, generates resources, and heals, which is what makes grass teams function at all. Turbo layers offensive buffs and break efficiency, Geoclaw feeds ice stacks to ice damage dealers, and Eklue strips enemy defenses to open vulnerability windows for wind squads.
Tubster converts defense into offense through shields and counters that pressure the break gauge on impact. Magmarex keeps fire effects applied while shredding break meters, and Infergon stacks fire with aerial breath attacks. Volill plays as a mobile roller that repositions constantly, and Popota is a niche water breaker built around water terrain and a gender synergy mechanic.
B tier Aniimo and what holds them back
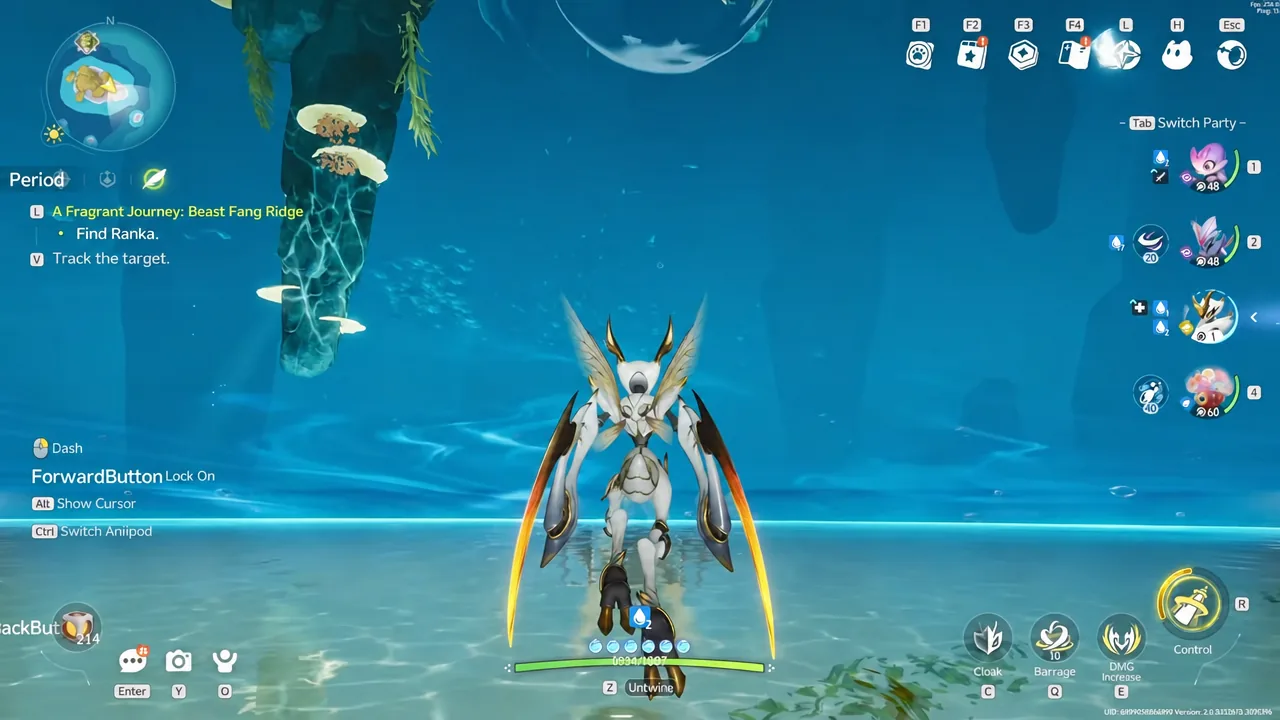
None of these are unusable. They all lose value the moment a fight stops cooperating with their requirement, which is exactly the kind of fragility that costs you clears.
| Aniimo | Limiting factor |
|---|---|
 Irisal Irisal | Needs grass terrain for Dancing Petals and Floral Storm buffs |
 Dreaple Dreaple | Long setup before its dark resistance debuff pays off |
 Glynsera Glynsera | Burst requires ice stacks from a partner such as Geoclaw |
 Sherro Sherro | Extra spin slashes only trigger inside water puddles |
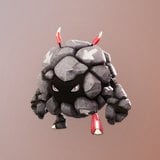 Bouldus Bouldus | Rock terrain mainly serves Volill |
 Flamerion Flamerion | Resource generation depends on a dedicated fire team |
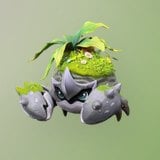 Shrubclaw Shrubclaw | Good evasion through burrowing, low damage output |
Glynsera is the one worth revisiting. It is only B tier in isolation, and pairing it with Geoclaw turns it into a genuine burst option.
Regional forms that outperform their base Aniimo
Regional forms are ranked on their own because a form can shift elements and end up in a different tier than the creature it came from. Prismana and Umbrabow forms are the ones to watch, since they usually add a second damage type to an already functional kit.
| Form | Elements | Base elements |
|---|---|---|
 Glacy (Prismana Form) Glacy (Prismana Form) | Water, Light | Water, Ice |
 Stellarys (Umbrabow Form) Stellarys (Umbrabow Form) | Dark, Ice | Dark |
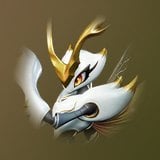 Fulmintis (Prismana Form) Fulmintis (Prismana Form) | Lightning, Light | Lightning |
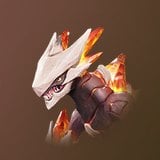 Magmarex (Prismana Form) Magmarex (Prismana Form) | Fire, Dark | Fire, Earth |
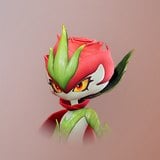 Thornblade (Umbrabow Form) Thornblade (Umbrabow Form) | Grass, Water | Grass |
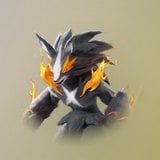 Scorchhowl (Umbrabow Form) Scorchhowl (Umbrabow Form) | Fire | Fire |
Coraliz and Lunara belong in the same conversation as those forms. Coraliz is an Earth and Water Aniimo that marks enemies so they take extra damage and can lock them in place, a combination that makes it the strongest single damage dealer at launch without needing a specific form.

Stat reference for the top damage dealers
| Aniimo | HP | BRK | ATK |
|---|---|---|---|
| Coraliz | 98 | 107 | 78 |
| Fulmintis (Prismana Form) | 99 | 50 | 130 |
| Stellarys | 90 | 50 | 125 |
The numbers explain the roles rather than the rankings. Coraliz trades attack for a break value more than double the others, which is why it pressures bosses while still dealing damage. Fulmintis spends energy on an attack that deals 20 Might damage plus 100 percent additional damage across a three-hit combo and raises its own critical hit chance, so its attack stat is only half the story. Stellarys leans on clones that each deal 20 percent of your damage, and it regenerates when it jumps over an enemy.
If you are picking a first investment, weight it toward the Aniimo that work everywhere. Somniwing and Rookey are safe in any composition, and a break-focused partner like Inferlupa or Panpanta makes almost every damage dealer on this list hit harder. Element-locked picks such as Melloblum, Dazmand, and Flamerion are worth building second, once you know which team you actually want to run.





