Nimbus Fields is the windswept grassland where most players start filling out the Breezy Plains map, and it is also one of the densest Lumin Amber zones in Aniimo. Some ambers sit in plain sight above a pond. Others are locked behind a timed dash, a perspective puzzle, a group of angry Nimbi, or a cave you can only clear with the right Aniimo on your team.
Quick answer: Nimbus Fields holds 17 Lumin Ambers. Bring a fire, gliding, swimming and burrowing Aniimo plus an Aniipod Mega, then deliver every amber you collect to the Breezy Plains Branch.
What Lumin Amber does in Nimbus Fields
Lumin Amber is the currency that feeds a region’s Branch. Handing ambers over grows the Branch, which raises your Aniimo catch rate, lets you change the weather in the region, and increases the Sparkling rate. The Branch also needs a certain number of ambers before it activates at all, so the Nimbus Fields haul is not optional if you want the Breezy Plains buffs running.
Three different markers all pay out an amber, and it helps to know which one you are looking at before you walk up to it:
- Lumin Amber — a loose pickup in the world, sometimes floating in mid-air, sometimes shielded by wild Aniimo.
- Lumin Collection — a timed challenge where you gather every scattered Lumin Energy before the clock runs out.
- Lumin Marking — a perspective puzzle where you line up engravings on stonework until the symbol completes.
Each one drops a Lumin Amber: Breezy Plains along with EXP. Sanctums count too, since clearing one awards an amber on top of its chests.
What to bring before you start collecting
Roughly half of the Nimbus Fields ambers are gated by an Aniimo ability rather than by combat. Sort your team out first and you can clear the area in one loop instead of three.
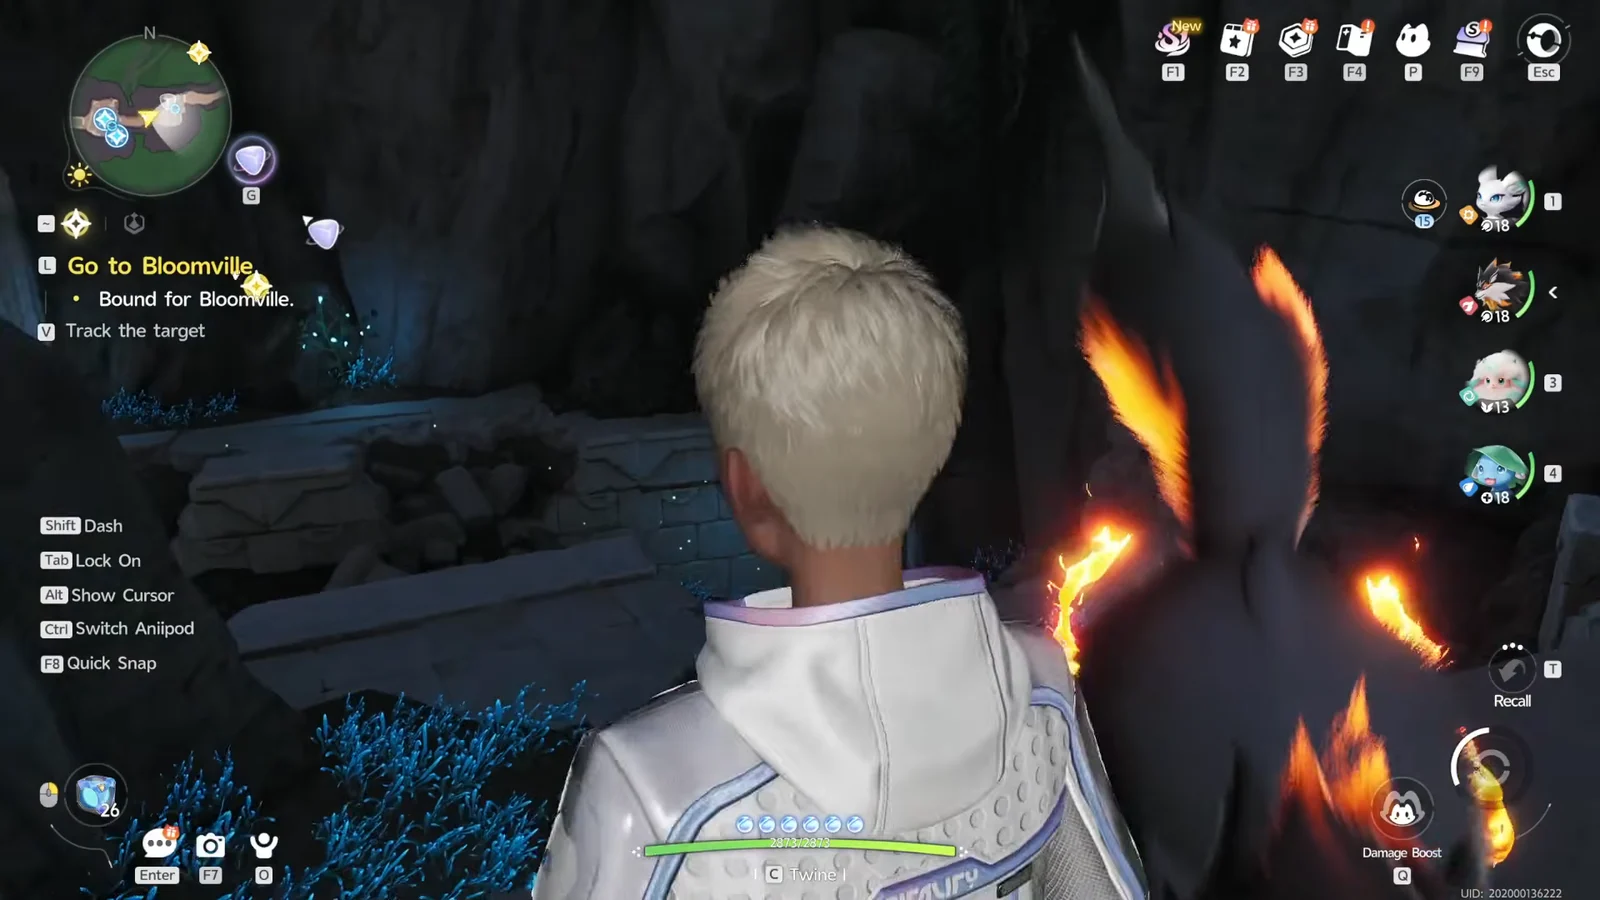
- A Fire Aniimo such as Sparki or Flameruff, for the vines blocking the Crystal Cave and several chests.
- A gliding or flying Aniimo such as Bonesky, for the ambers parked in mid-air.
- A swimming Aniimo such as Stellarys, for the flooded stretch of the cave.
- Budclaw, to burrow through the glowing sand tunnel underground.
- A Nimbi of your own, which you twine with to solve two of the field puzzles.
- At least one Aniipod Mega for the Blessed Nimbi, which has to be captured rather than beaten.
The Crystal Cave – Underground is the single most demanding stop, since it mixes vines, water, a burrow tunnel and two timed trials in one space. Burning the vines at the mouth of the cave also uncovers chests along the way, so keep the fire Aniimo swapped in while you are down there.
Lumin Ambers you reach by gliding, climbing or swimming
Six ambers need nothing but movement. Most of them hover well above the ground, so the trick is finding the high point to jump from rather than the amber itself.
| Coordinates | Where it sits | How to reach it |
|---|---|---|
| -1135, 0817 | High ledge in the Crystal Cave | Glide up to the ledge |
| -0958, 0743 | Mid-air beside a waterfall | Glide off the cliff above |
| -1118, 0743 | High above a grassy hill | Climb the hill, then glide |
| -1225, 0716 | Above a giant flower | Climb the stalk, then glide |
| -1504, 0781 | On the water near the lake | Float over the lily pads |
| -1331, 0915 | Over a small pond | Glide down from the ridge |
The cave ledge at -1135, 0817 is the one people miss most often, because the amber is tucked above the path you naturally run along underground. Look up as you pass through the chamber and glide onto the shelf.
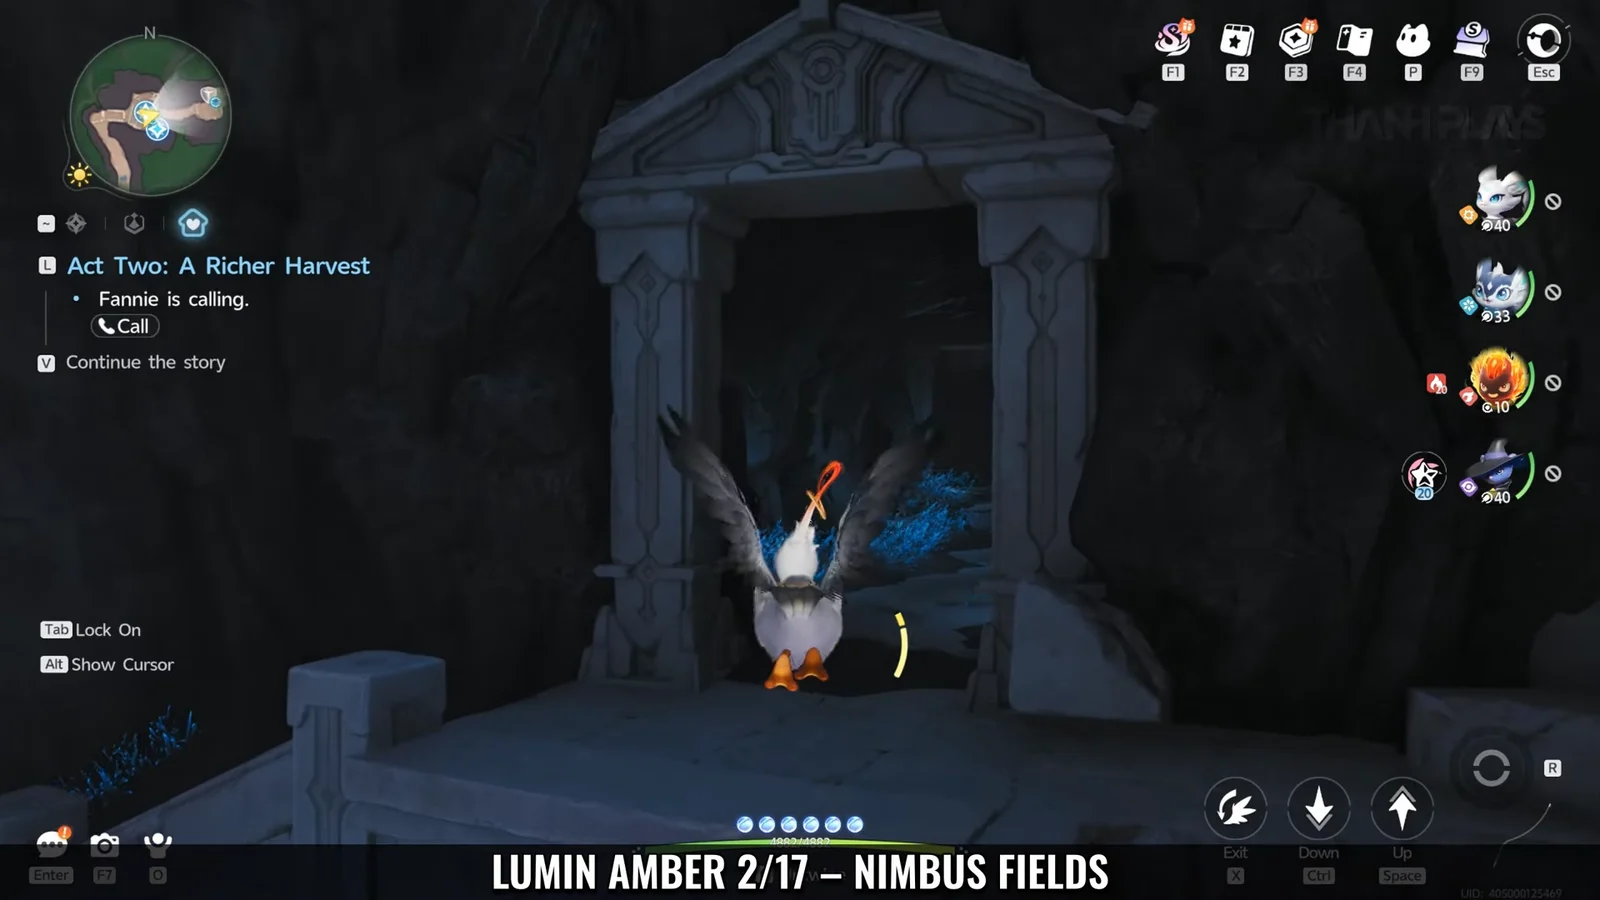
Dandelion Trees and Peculiar Clouds are both native to Nimbus Fields. Dandelions carry you to the treetops, and jumps inside the clouds go noticeably higher, which is often quicker than hunting for a cliff.
Lumin Ambers guarded by wild Aniimo
Three ambers sit behind a barrier or a shield that only drops once you deal with the Aniimo standing over them. Two want a fight, one wants a capture.
| Coordinates | Guarded by | What to do |
|---|---|---|
| -0935, 0739 | Wild Nimbi at a ruin | Defeat them to drop the barrier |
| -1062, 0816 | Glowing Pebbling underground | Burrow in, then capture it |
| -1055, 0816 | Blessed Nimbi on a rock | Capture with an Aniipod Mega |
At the ruin structure at -0935, 0739, a small group of Nimbi keeps a shield over the amber. Clear the whole group and the barrier falls, leaving the amber free on the stone platform.
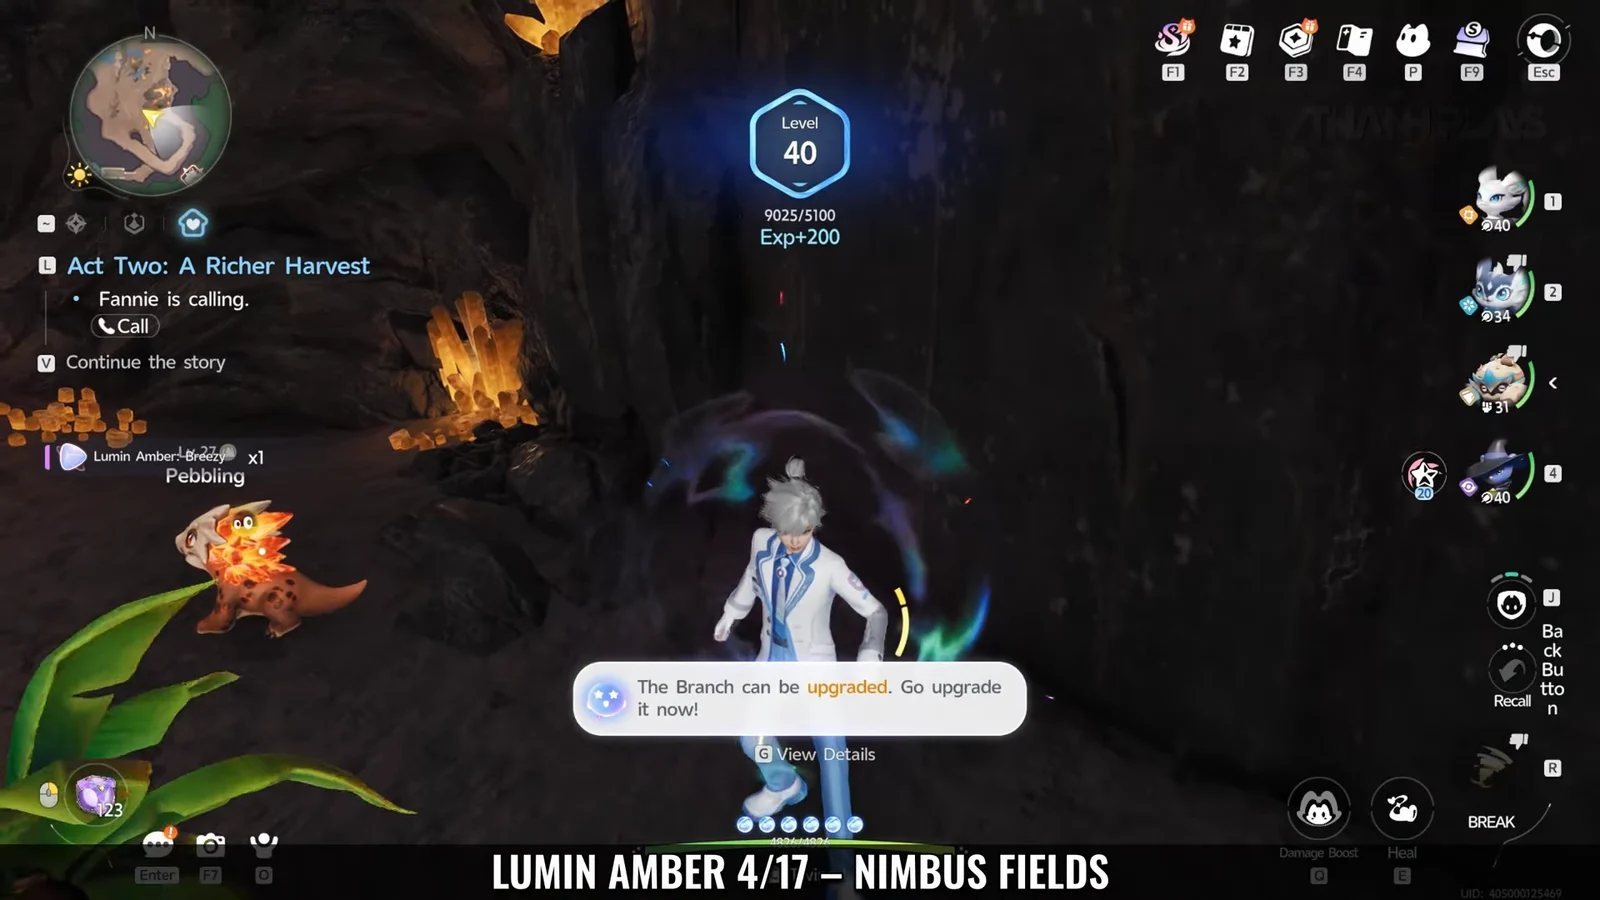
The Blessed Nimbi is the important one. It glows because it is carrying the amber, so knocking it out gets you nothing. Throw an Aniipod Mega and complete the capture, and the amber is credited the moment the Nimbi joins your roster. The Pebbling underground works the same way, except you have to dig your way to it with Budclaw first.
Timed Lumin Collection challenges in Nimbus Fields
Three ambers come from timed trials. Each one starts when you step into the glowing ring, and each one resets if the timer beats you, so there is no penalty for a bad first run.
Collapsed Corridor
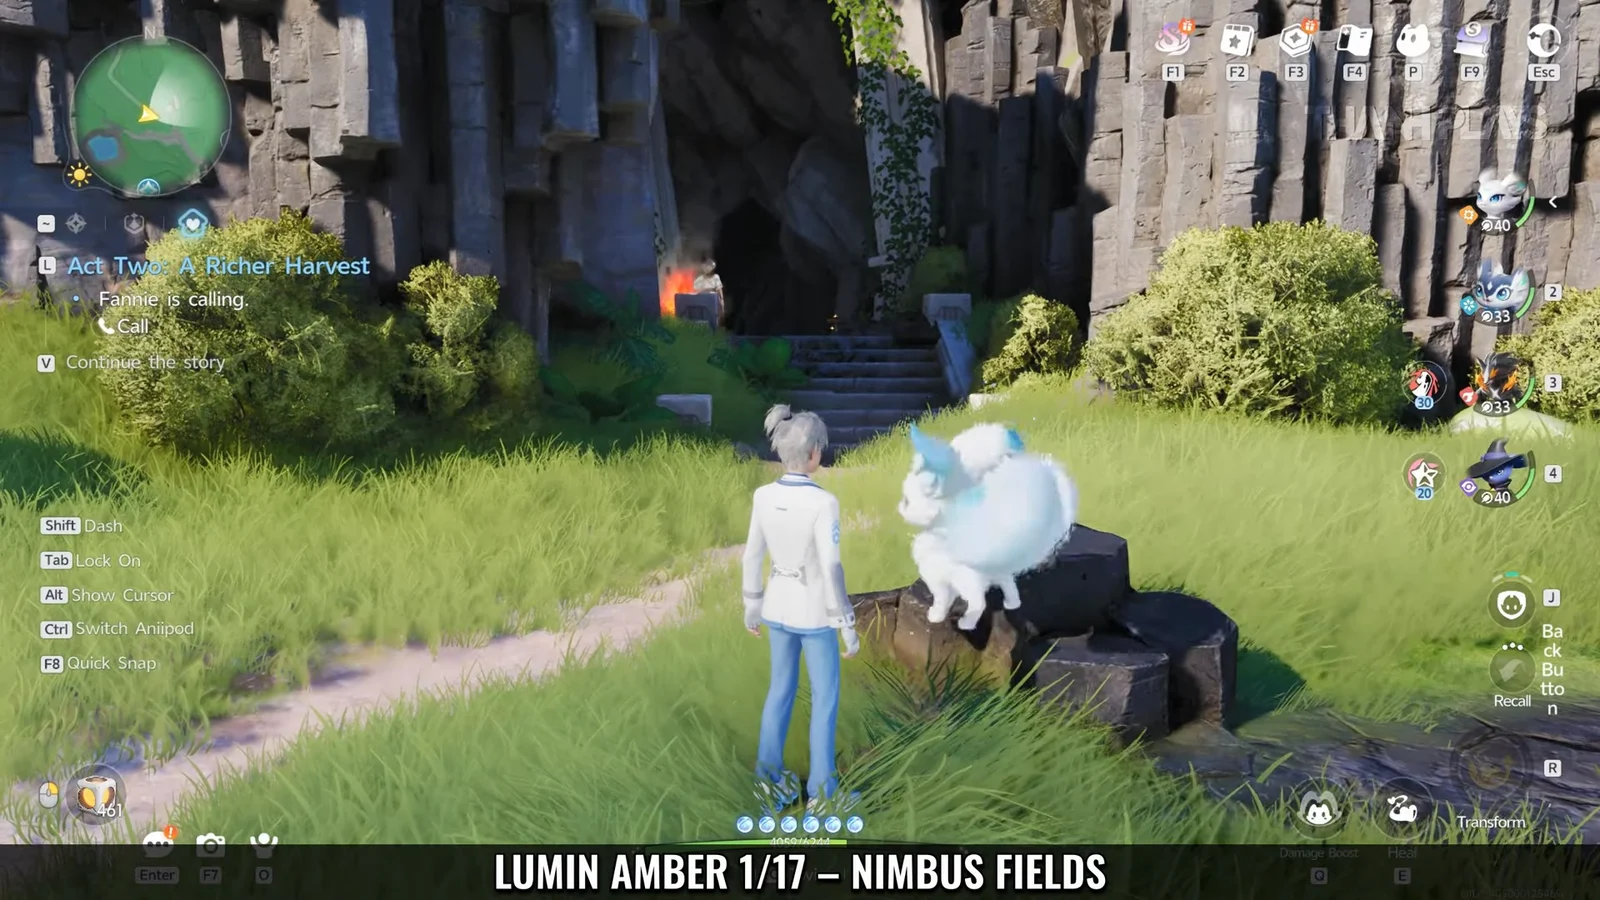
This one sits just inside the southern entrance of the Crystal Cave – Underground. Burn the vines across the entrance with a fire Aniimo, drop into the corridor below, and gather the four scattered Lumin Energies before the timer ends. There are Expedition Notes and a chest in the same corridor worth grabbing on the way through.
Crystal Cavern runaway amber
Deeper in the cave at -1057, 0816, you swim across the flooded section and then trigger a runaway challenge. This amber moves, so you chase it down and catch it before the clock expires. A fast, mobile Aniimo like Shrubclaw makes the pursuit far less frustrating than doing it on foot.
Core Descent
At -1148, 0815, follow the path beneath the hill where the Branch is located to reach Core Descent. Activate the ring, run the entire route without stopping to search, and collect all three Lumin Energies during that one pass.
Puzzle Lumin Ambers: Gate of Ruins and the Nimbi twine puzzle
Words of the Wind at the Gate of Ruins (-1348, 0812)
Head to the stone archways past the lake and interact with the pillar. This is a Lumin Marking, so the solution is positional: move around until the broken markings on the pillar line up with the archway behind it and the symbol completes. Solving it triggers the line “The Vein brings life. The Flow of life never stops.” and spawns the amber on the spot.

Nimbi twine puzzle (-1130, 0903)
This amber will not respond to anything in your normal kit. Swap to a Nimbi of your own and twine with the plant at the puzzle marker, which is also where the “Nap together” prompt appears around wild Nimbi. Complete the interaction and the amber unlocks. Giant flower stalks nearby give you the height you need to get onto the platform in the first place.

First Spark Sanctum and the quest-locked ambers
The last three are handed to you rather than found. The First Spark Sanctum at -1018, 0903 pays out an amber for clearing its temple challenge, which is the standard Sanctum reward for repairing the vein inside. Two more come from progression: one during the main quest near the lake at -1504, 0781, and one from the race that starts at -1168, 0815.
If your Nimbus Fields count is stuck two or three short, check these before re-sweeping the map. Quest and Sanctum ambers do not appear as world pickups, so scanning terrain will never find them.
How to confirm you have every Nimbus Fields Lumin Amber
Every pickup gives the same confirmation: a Lumin Amber: Breezy Plains reward along with EXP, and a tick upward on the Breezy Plains exploration percentage in the top corner. If the percentage does not move, the amber did not register and the challenge or capture needs redoing.
Collected ambers do nothing sitting in your bag. Return to the Breezy Plains Branch and use the Deliver Lumin Amber prompt to spend them, which is what actually raises the catch rate, unlocks weather control, and bumps the Sparkling rate for the region. Interacting with the Branch also reveals the full regional map, so it is worth the trip even between hauls.
Once all 17 are banked, Nimbus Fields is done as a Lumin source, and the same abilities you assembled here carry straight over to the Argent Strait and Forest of Falling Stars, both of which reuse the identical challenge, marking and guarded-amber formats.