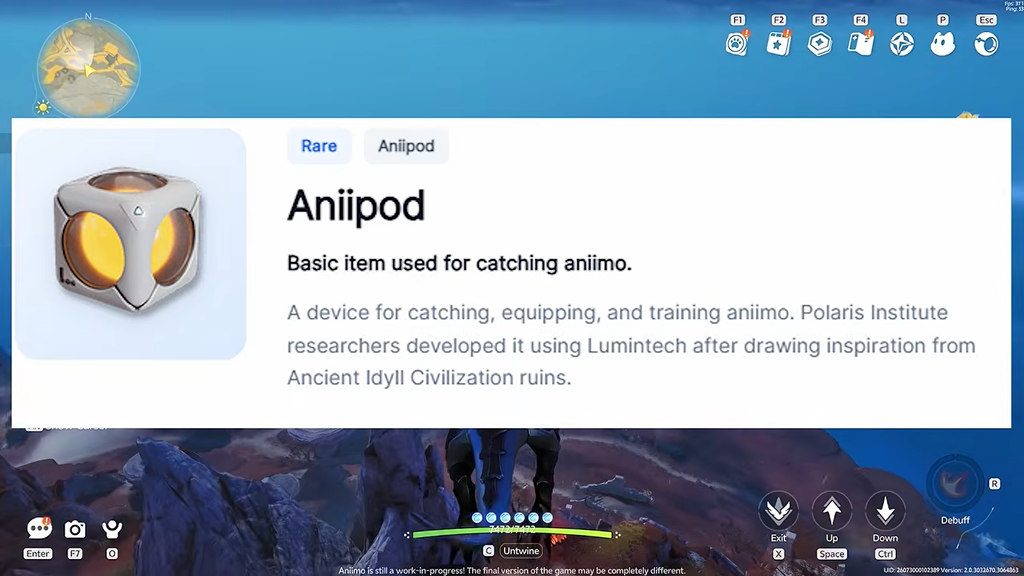
Aniipods are the throwable capture tools at the center of Aniimo. Every one you catch starts with lining up an Aniipod on a wild creature and throwing it, and the type you use directly changes how likely that throw is to stick. Eight of them exist, ranging from a plain starter ball to rare items that lock in a guaranteed catch.
Quick answer: There are eight Aniipods. Buy them from Outpost Vendor Joff, earn them from quests and world exploration, or craft your own at the Aniipod Maker in your Home.
Every Aniipod and what it does
Higher-tier Aniipods raise your capture chance, and a few skip the roll entirely. Here is the full lineup and the bonus each one applies.
| Aniipod | Effect |
|---|---|
| Aniipod | Basic catch tool you start with |
 Aniipod Pro Aniipod Pro | 1.5× capture chance |
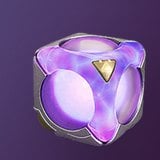 Aniipod Mega Aniipod Mega | 2× capture chance |
 Aniipod Track Aniipod Track | Auto-tracks nearby targets, 2× chance |
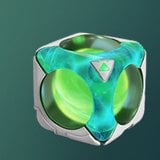 Aniipod Hyper Aniipod Hyper | Faster toss speed, 2× chance |
 Tumbler Tumbler | 2× chance, up to 6× during a Wild Surge |
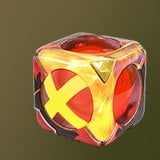 Aniipod Ultra Aniipod Ultra | Guaranteed catch, at least Elite Potential |
 Sparkling Cube Sparkling Cube | Guaranteed catch, Perfect Potential, Sparkling |
Guaranteed catches: Aniipod Ultra and Sparkling Cube
Two Aniipods remove the gamble completely. The Aniipod Ultra guarantees a successful catch, and the Aniimo you land will have a Potential rating of at least Elite. That makes it the item to save for a target you cannot afford to spook and lose.
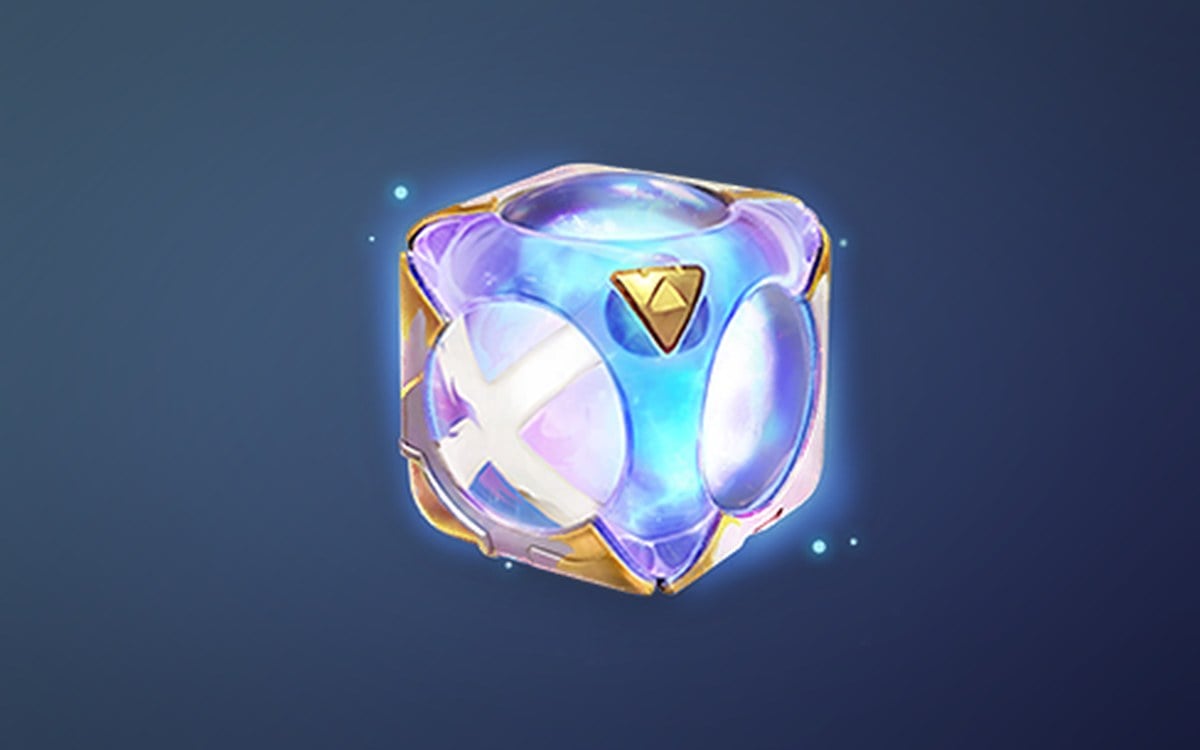
The Sparkling Cube goes further. It guarantees the catch, sets the creature’s Potential to Perfect, and makes it a Sparkling variant. It also raises the chance that the Aniimo’s innate Potential for its recommended attributes exceeds eight. It is the rarest of the eight, so treat it as a one-shot on a creature you specifically want in its best possible form.
Because these two never fail, spending one on an ordinary wild creature is wasteful. Hold them for rare or hard-to-reach targets.
The Tumbler for group catches
The Tumbler is the odd one out. Instead of a single throw, it rolls along the ground to sweep up creatures in its path. It carries a 2× capture chance normally, and that jumps to 6× during a Wild Surge, when creatures cluster together. If you are trying to grab several Aniimo in the same spot at once, the Tumbler is the pick.

Where to get Aniipods
The most reliable source is Outpost Vendor Joff, who sells them outright. Early on you can only buy the basic Aniipod, but as you unlock more talents the advanced tiers open up in his stock. Beyond the shop, Aniipods come from several places as you play:
- Quest rewards for completing missions
- World exploration, including chests and hidden spots like tree stumps
- The Aniipod Maker at your Home, which lets you craft your own supply
- Elite Training and the Credit Shop
World pickups have no fixed spawns, so there is no set route to farm. Explore widely and you will run into them. The Aniipod Maker is the steadiest option once you have it running, since it keeps a stream coming in rather than leaving you dependent on drops. Keep a stack of ordinary Aniipods for routine catches and reserve the rarer tiers for creatures that need them.
Confirming a catch worked
To use one, enter Catch Mode, aim your crosshair at the target, and throw. The screen shows a capture chance before you release, and any figure below 100 percent can still fail. A successful throw registers the creature and adds it to your Aniilog collection. If you use an Aniipod Ultra or Sparkling Cube, the catch is confirmed the moment the throw lands, since neither rolls for success.