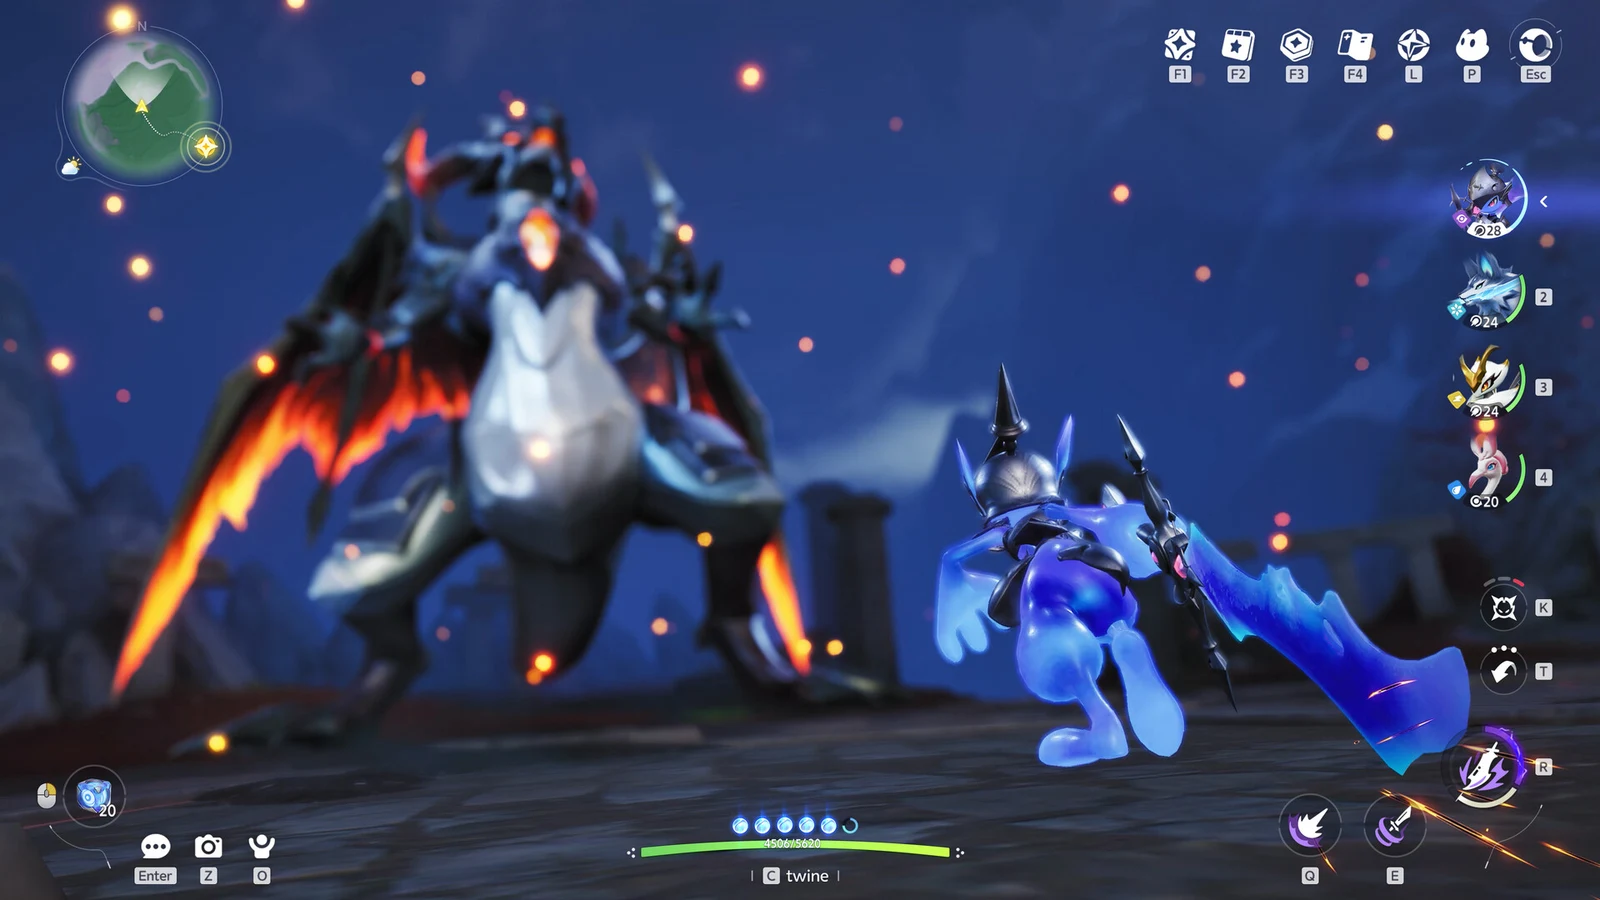
Aniimo throws several systems at you immediately. As a Pathfinder in Idyll, you capture creatures that serve as fighters, traversal options, and workers for your camper-van base. Making poor early choices wastes pods, consumes materials on unsuitable creatures, and leaves you with a roster that cannot handle the next battle. The key is to follow the prompts in sequence and recognize which activities increase your level and level cap.
Quick answer: Follow the pinned main quest, complete Core Courses and Elite Training for XP, then explore each region for Lumin Amber, sanctums, and Alpha bosses to raise your level cap.
Lock your server and link your account first
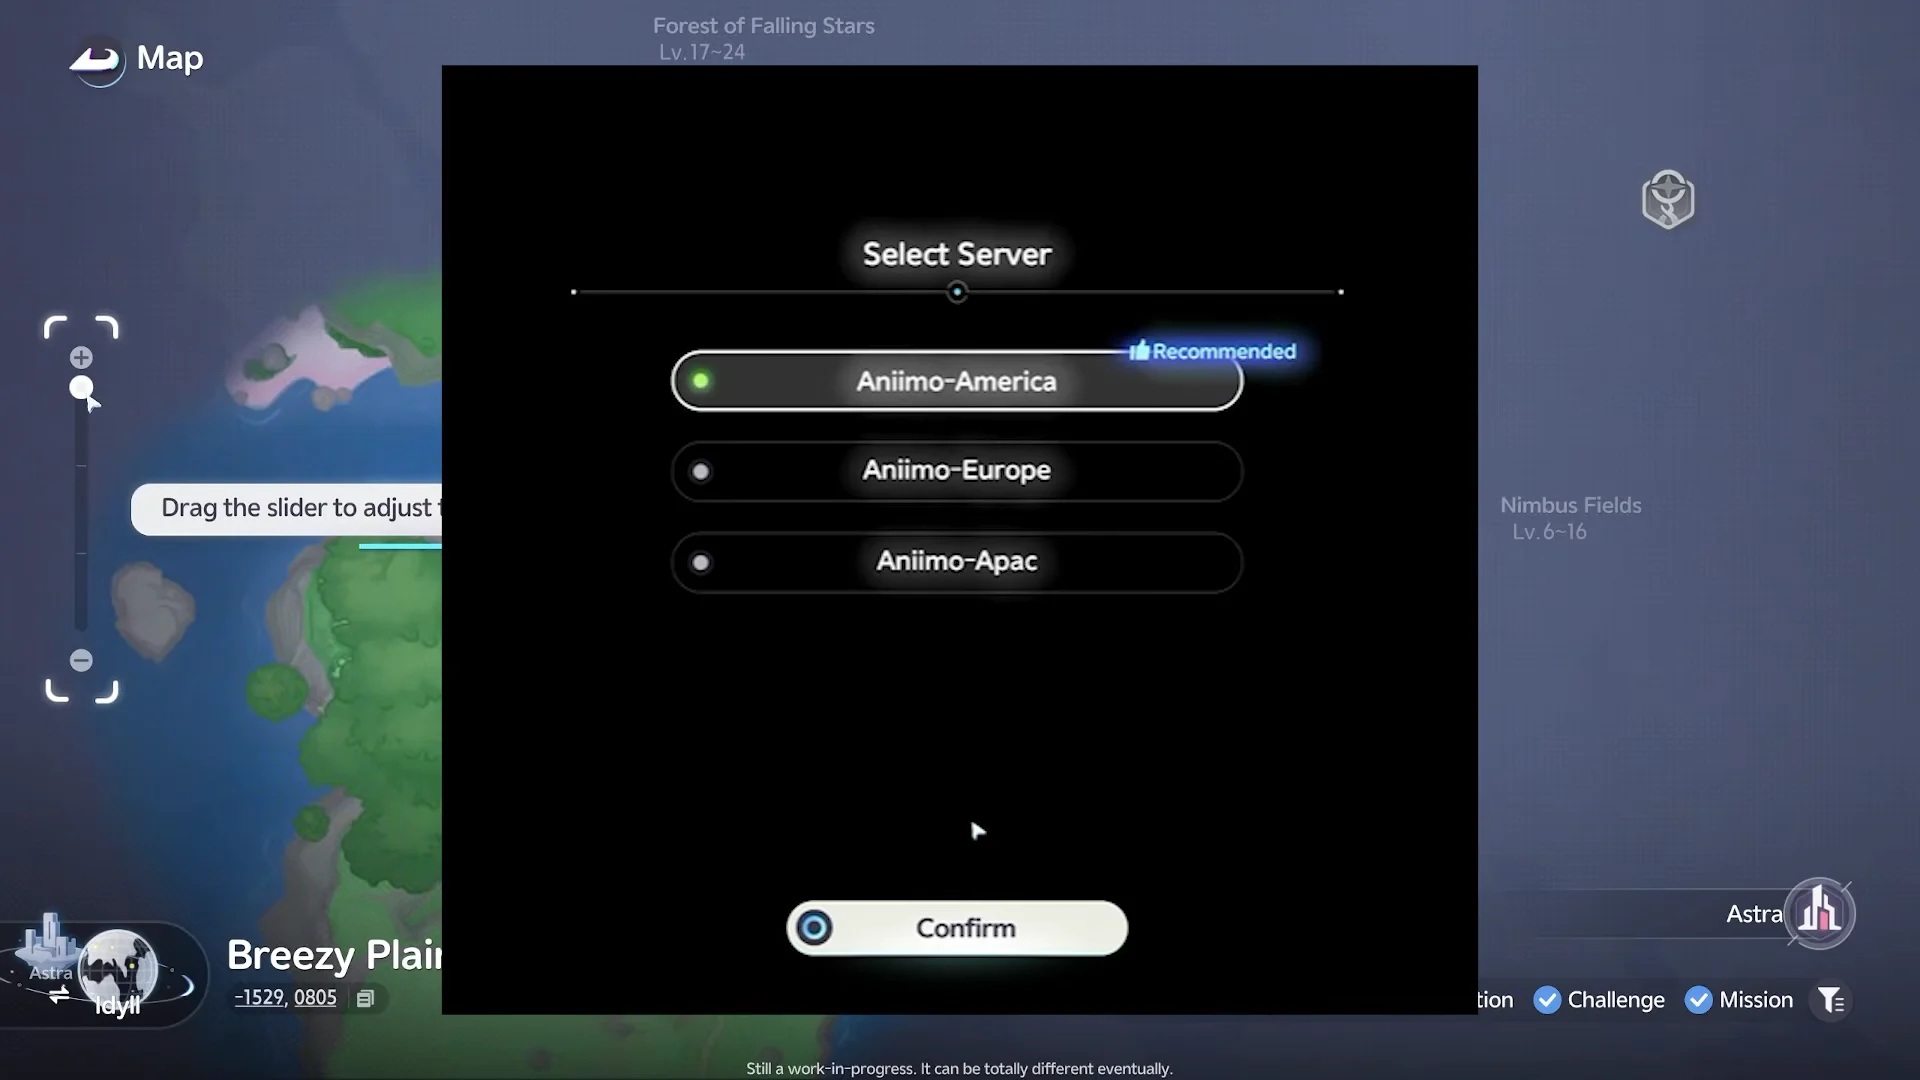
Before you touch character creation, settle two things that cannot be undone later. Aniimo runs on three separate servers, Aniimo-America, Aniimo-Europe, and Aniimo-Apac. Progress does not carry between them, and a character is locked to whichever server you pick. If you want to play with friends, agree on a server before anyone hits create.
For cross-platform access, every device must use the same Aniimo Pass when signing in. Consoles show the account-linking prompt only during the initial login, so read that screen rather than skipping it. Players who already have an account should choose the existing-account option there.
Because each character name can belong to only one player, claim yours before someone else does. The avatar’s face and body can be changed later; the chosen name cannot.

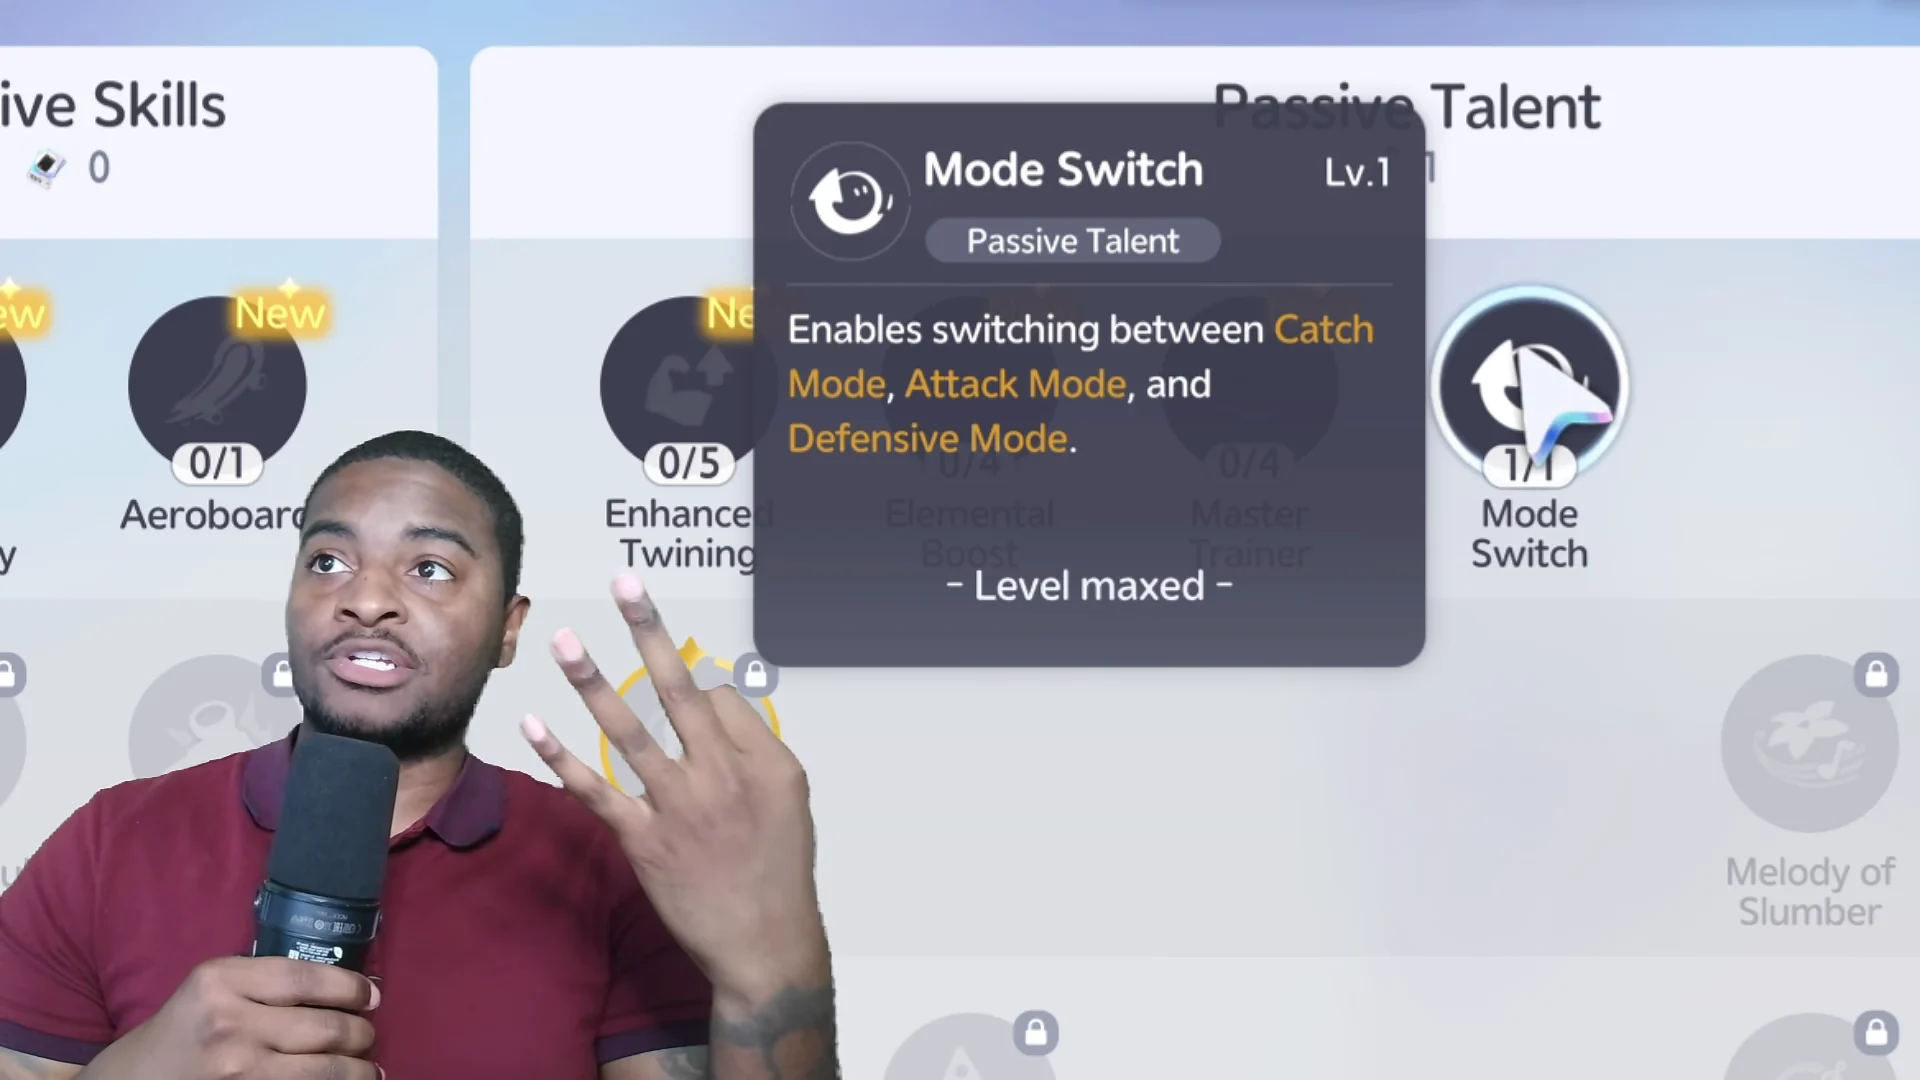
Select Master Trainer as your first character talent investment. It grants +10% experience from both catching and combat, but using an Experience Gem first permanently forfeits that bonus.
Follow the main quest until the core systems open
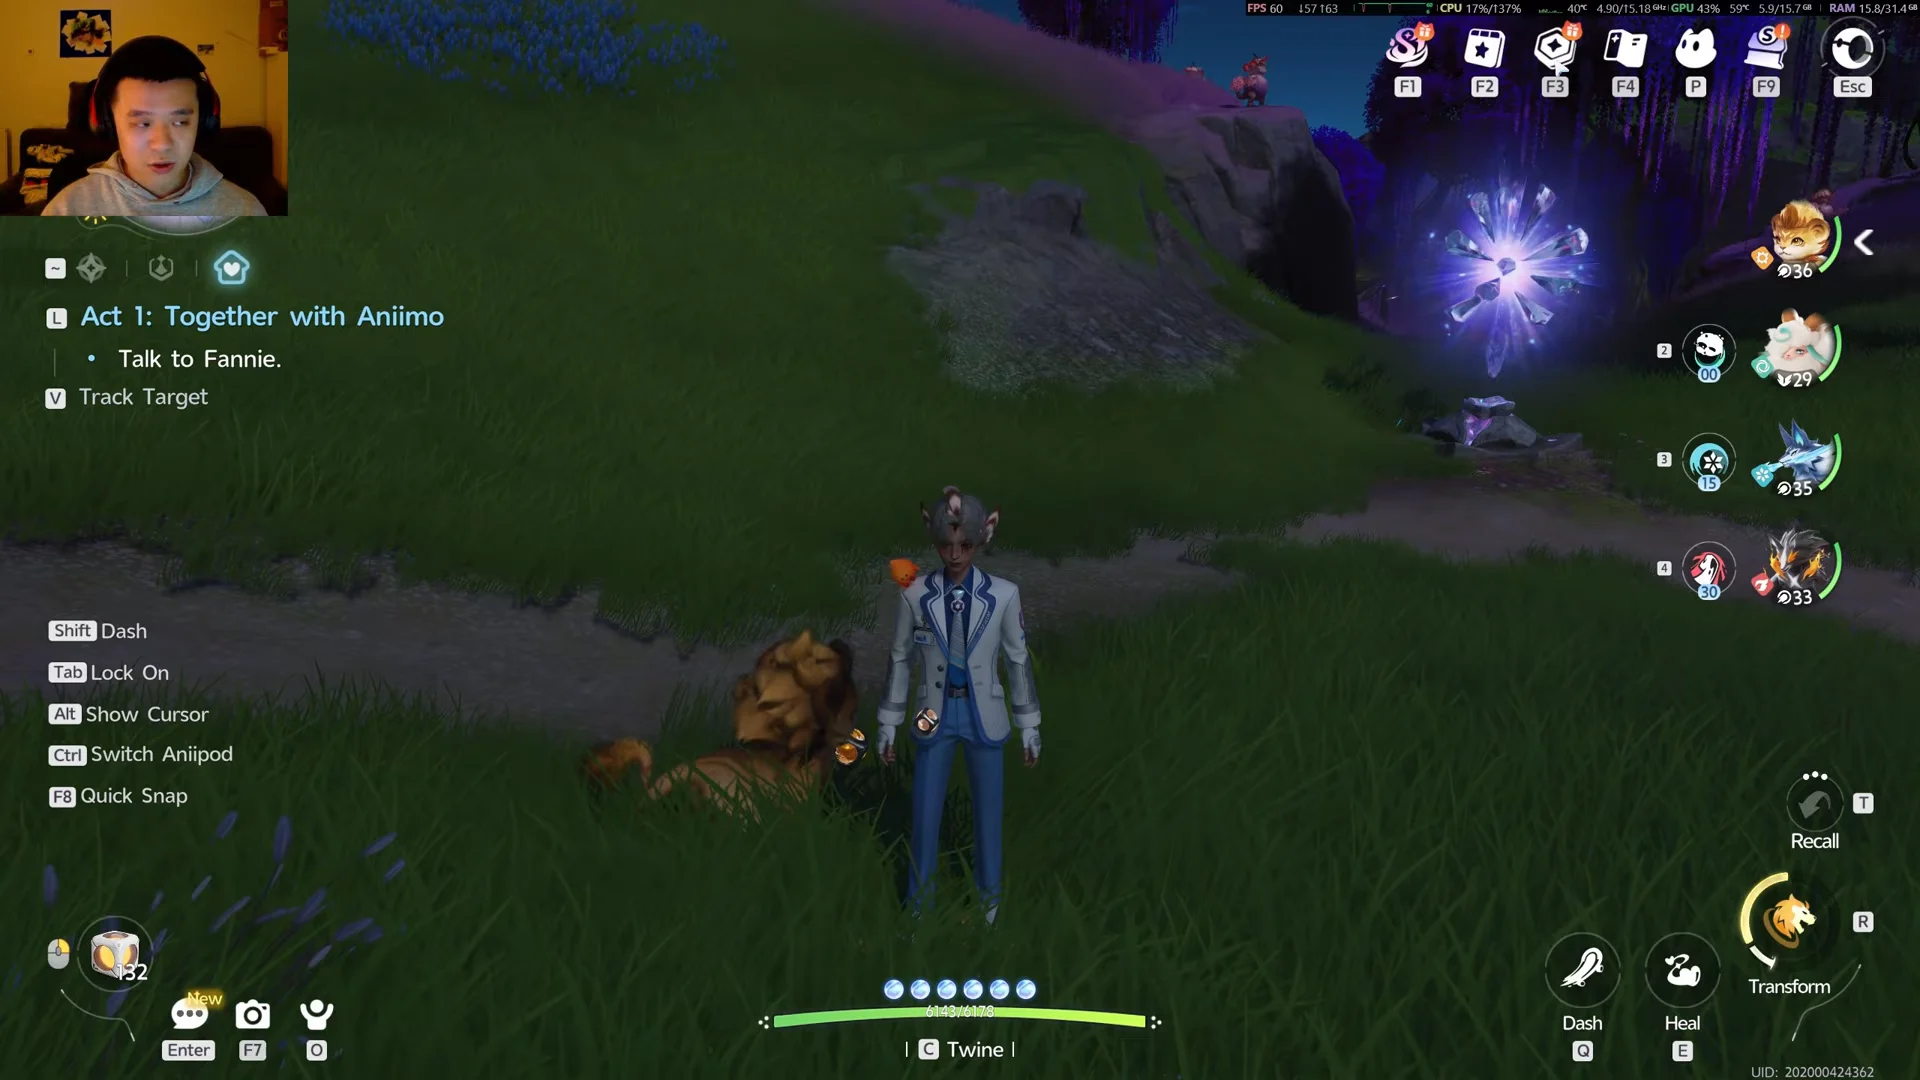
The introduction unlocks its systems in a set sequence: create your Wayfarer, capture a creature, select a starter, learn Command and Twining, and complete the Polaris Institute initiation before the transporter takes you to Nimbus Fields. Follow the main objective throughout. For the immediate instruction, check the quest tracker in the upper-left; it states the current task, for example “Talk to Fannie.”
Helion and Lunara are both Light-element starters with the same base stats, making this a playstyle decision rather than a coverage decision. Helion suits close-range burst damage, while Lunara uses ranged wide-area attacks and self-sustain. Captured creatures, rather than this selection, provide your other elements.
After Nimbus Fields becomes available, let the story quest guide your route and only detour for a nearby catch, chest, or puzzle. If advancement stops, inspect the upcoming objective instead of grinding immediately. The requirement may be a species task, quest progress, or title assessment—not additional raw levels.
Work the F3 progression paths for steady rewards
Press F3 to open the course interface. It holds milestone reward tracks worth 10 to 180 points and five categories that reward the things you should be doing anyway. Core Courses is the one to watch, since it lists your Wayfarer Promotion requirements. Reaching level 40 and completing four required Chapter 3 quests, for example, raises your level cap to Lv. 45.
| Path | What it rewards |
|---|---|
| Core Courses | Exploration, ecosystem nurturing, held items, and Wayfarer Promotions |
| Path of Twinning | Collection, Elite and Perfect ratings, Umbral Aniimo, Nova resonance |
| Path of Discovery | Opening chests, activating Blooms, collecting eggs, defeating Alpha/Omega |
| Path of Victory | Combat challenges, badge fights, and elemental-advantage kills |
| Path of Splendor | Outfits, friend affinity, emotes, and Companion Mode |
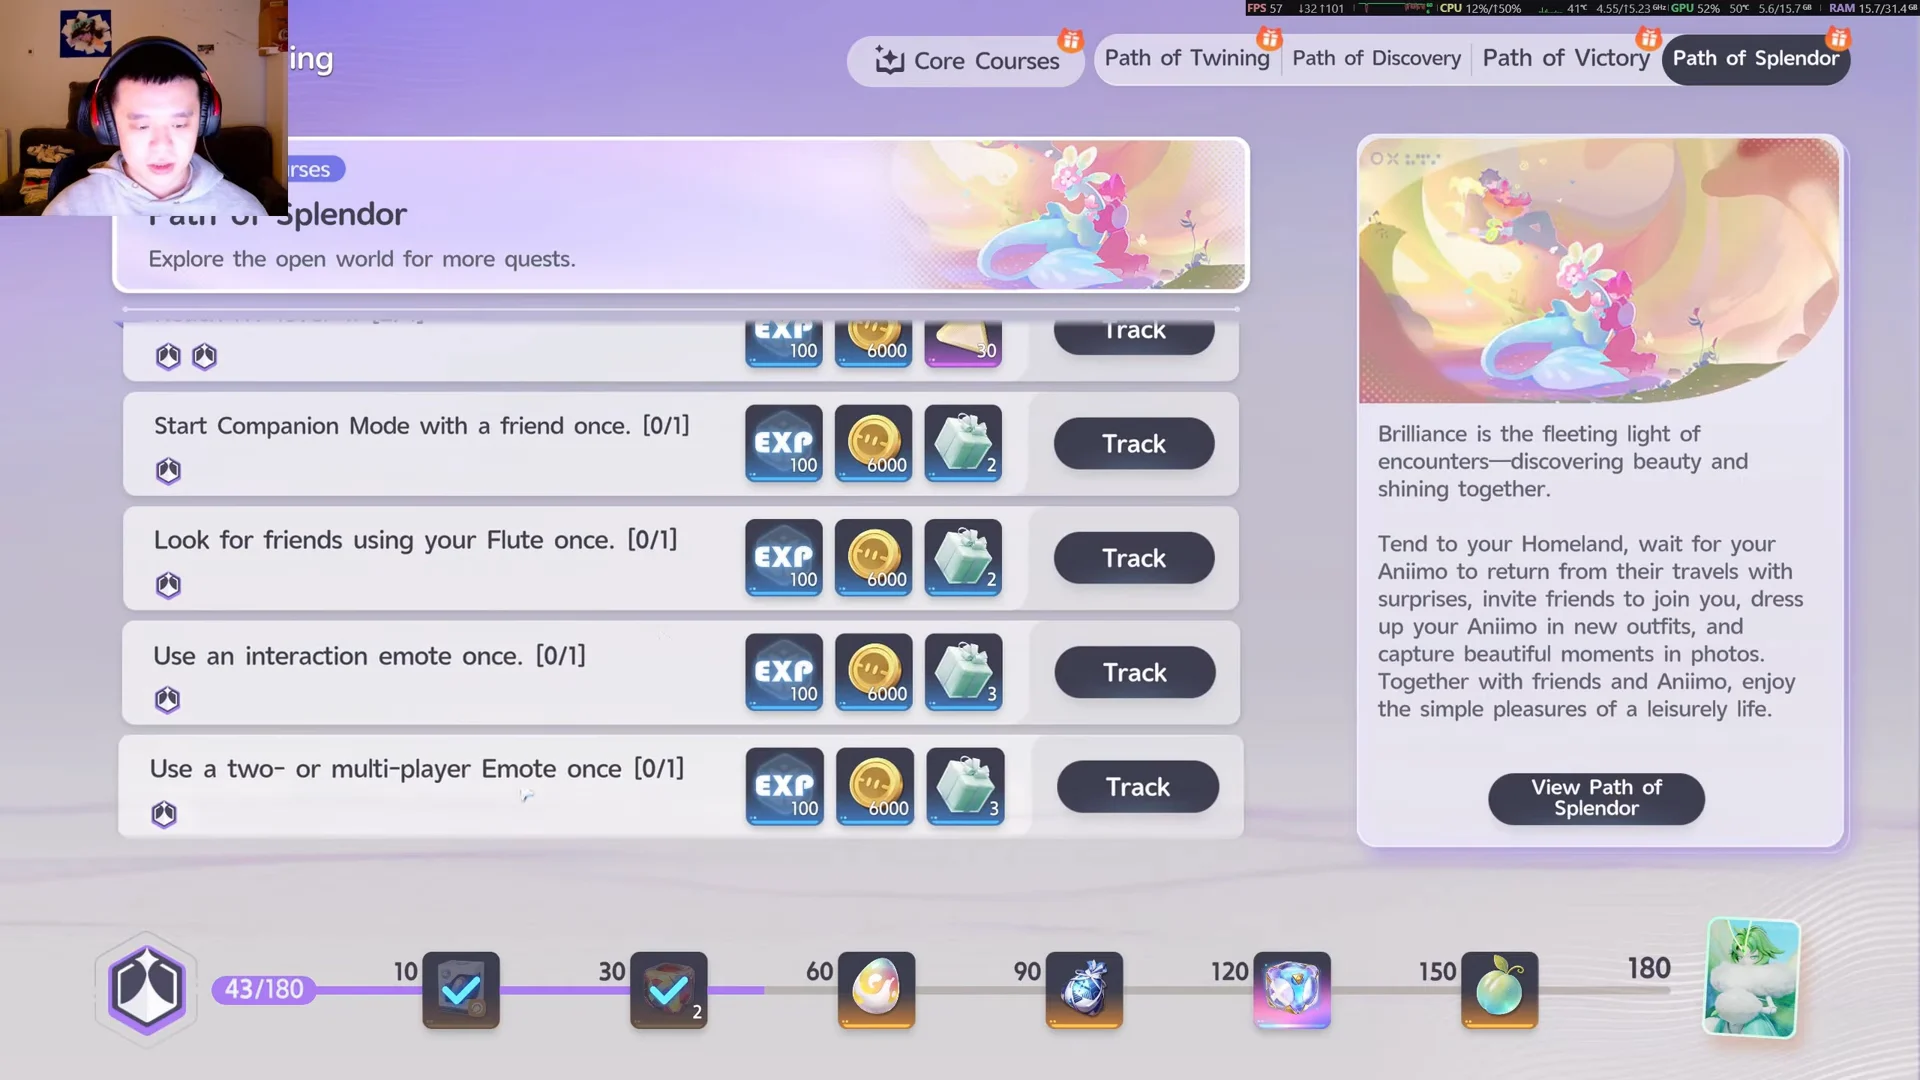
Some rewards must be claimed by hand, so check these tabs after every trip. A completed Core Course, a species task, or a regional Branch milestone can be sitting there unclaimed.
Learn Twining and win fights with Break
Aniimo separates directing a creature from inhabiting one. In Command Mode, your Wayfarer remains active and gives orders to a companion. Twine Mode places you in an Aniimo, granting access to its complete kit, movement, and special interactions. The opening battle requires both modes, while Twining also handles traversal and puzzles. Keep useful specialists even if they are not top fighters, because different creatures can fly, swim, dive, or tunnel.
Break defines the main combat rhythm. Your attacks wear down an opponent’s poise; once that resistance fails, the enemy opens up for your hardest attacks. Damage rises sharply while the target is Broken, so create the opening before spending your strongest moves. A dependable breaker also improves capture odds, making one useful outside boss encounters.
Watch your EP, short for Energy Points, the resource spent on active skills. If you keep running dry, check how that specific creature restores energy, because basic attacks, zero-cost actions, and team effects all differ. Read skills carefully: REGEN means energy recovery, not passive healing. Against a tough enemy, learn its pattern, dodge the dangerous move, then attack during its recovery.
One reward worth chasing here is Spring of Life, a Water badge skill earned by defeating Senior Wally again. It creates a fixed water zone that heals allies inside it for 36% of the caster’s Max HP over 6 seconds, costs no EP, and runs on an 8-second cooldown.
Build a four-role team
Your field party accommodates four creatures. Build around functions instead of rigid job names, because one Aniimo may cover multiple roles and leave room for another specialty. Begin with this foundation.
| Role | What to look for |
|---|---|
| Main damage dealer | Reliable damage and a moveset you enjoy controlling |
| Breaker | Consistent Break pressure for openings and captures |
| Sustain or energy | Healing, shields, damage reduction, or EP recovery |
| Flexible slot | Extra element, control, support, or traversal for your route |
Consider traits together with active skills. A support effect may apply only to particular elements or activate under a certain condition, making it worthwhile only when your party can take advantage of it. Avoid giving every capture equal investment. Keep the primary attacker strong enough for current encounters, then raise the rest of the core until each member can perform its role.
Aniimo has nine elements: Fire, Water, Grass, Lightning, Ice, Earth, Wind, Light, and Dark. Use the in-game matchup information when facing unfamiliar opponents rather than importing another game’s type chart. Different forms can change an Aniimo’s element and abilities, so check the exact form and species name before building coverage.
Catch Aniimo without burning pods
Prepare the capture attempt before spending a pod. Once everything is set, check the percentage beside the target to decide whether the throw is worthwhile.
Near the Skippy in the tutorial area, pick up the Incredible Egg and begin incubation when egg hatching unlocks. The process lasts two hours and 30 minutes, and the egg guarantees Elite potential or better, meaning a regular Aniipod keeps that guarantee intact.
Raise your level cap through Elite Training and exploration
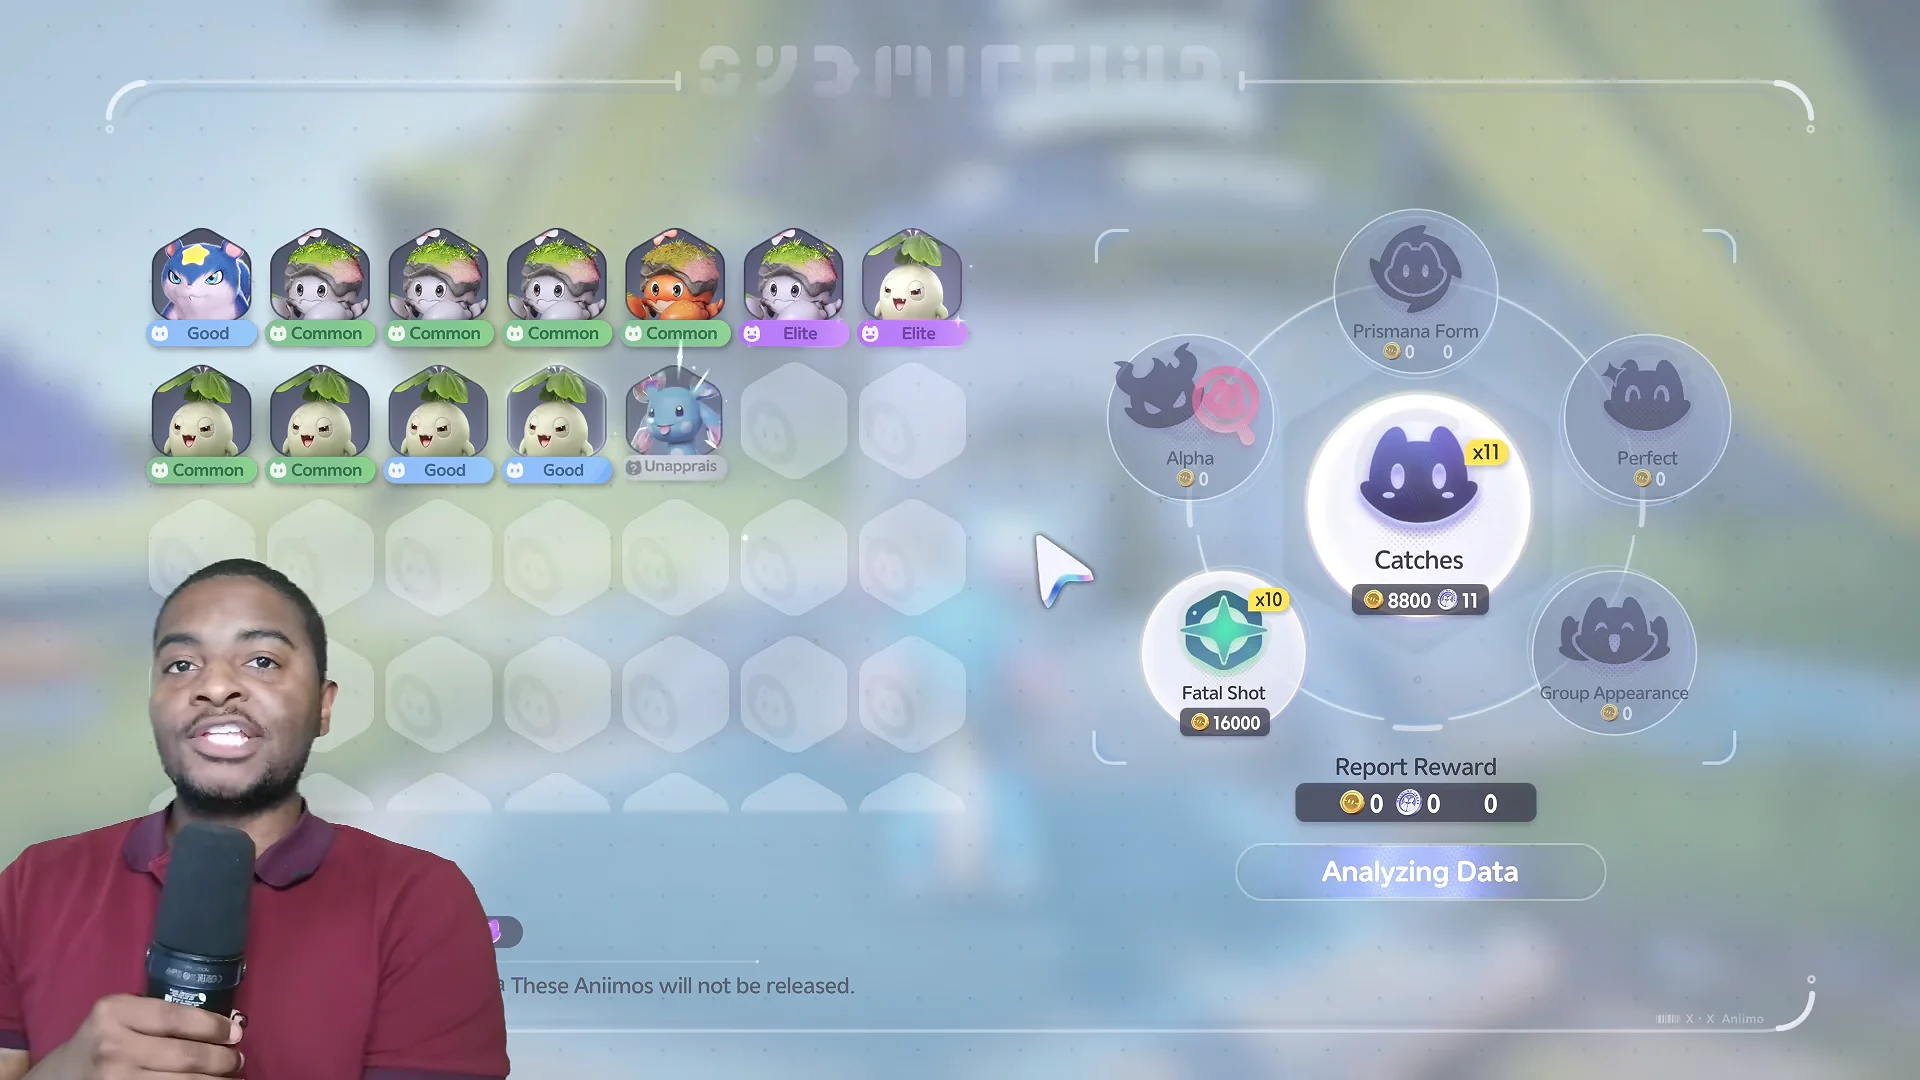
The story periodically locks behind level requirements. The fastest way to gain levels is the Elite Training Program, which pairs large XP payouts with tutorials for systems you will need later. Turning in captured Aniimo for Research Points also raises your Pathfinder Rank, level caps, and world level, and a first-time capture of any species grants a substantial XP bonus on its own.
Press M to bring up the world map, where each region’s exploration percentage and progress-related activities are shown. During your travels, turn on Blooms and other fast-travel points, pick up nearby Lumin Amber, and complete puzzles you can solve at that point. Lumin Amber advances the regional Branch, whose perks include unlimited stamina during exploration and improved catch chances; revisit the Branch to collect each unlocked perk.
Breezy Plains is the early anchor, and its zones scale up as you push outward. Echoback Landing runs Lv. 36-40, while Russet Highlands climbs to Lv. 45-50 further along. Each area also holds sanctum ruins, Alpha boss encounters, and Elite Pathfinder Challenges. Alpha bosses cost Primegy to open their reward chests, so keep Primegy regenerating on cooldown and plan which targets you want to farm.
Advancing the main story to Bloomville and resting unlocks the day/night switch. It governs time-based spawns and expands the creatures available to hunt. Also inspect the area’s weather: a greyed-out collection entry commonly indicates the conditions required for a missing form.
Set up Homeland as soon as it unlocks
The Prologue: The Mysterious RV quest unlocks Homeland, your camper-van base, at around level 20. Crafting, farming, food, and production operate there largely in the background, so starting early compounds the benefits over multiple days. Begin useful processes before setting out again.
Use each Aniimo’s Home abilities when assigning workers, not its battle power, and retain effective workers when sorting duplicates. Dispatch creatures on time-gated Expeditions to earn materials passively, and leave the Hatchinators operating continuously; as many as three eggs can incubate at once. Hungry workers stop, so inspect the Feed Box before logging off.
If a production line stops, inspect its ingredients, assigned workers, storage, and facility requirements. Extra machinery cannot replace an absent ingredient. Match construction to your immediate needs: when pods are scarce, favor the Aniipod chain; when an upgrade calls for processed materials, begin producing them ahead of time. Save decoration for later.
Beginner mistakes to avoid
- Using four attackers with nearly the same purpose instead of covering Break, sustain, and varied encounters.
- Failing to learn how a kit restores EP and consequently exhausting it during battle.
- Spending premium pods before arranging the capture attempt.
- Searching a habitat when its required time, weather, or form conditions are incorrect.
- Choosing an evolution branch without first checking its destination, because the decision may not be reversible.
- Releasing all duplicates before inspecting their form, quality, and usefulness at Home.
- Dividing upgrades among the entire roster rather than strengthening a dependable core.
- Allowing Home facilities to sit unused instead of queuing materials for the next journey.
- Pursuing Perfect rolls before the team and required access are working properly.
After your first few sessions, work toward a team whose strengths you know, a dependable stock of Aniipods, several activated fast-travel points, and an obvious next task shown by the tracker. Capability Awakening can be reset below level 60, returning the training items, so experimentation remains safe while you decide which creatures to keep. With that base established, you can pursue rare forms and tougher fights while carrying enough pods to capture them.