Aniimo: How to Take Team Photos and Set a Profile Banner
Summon your party in Camera mode, then build an animated showcase in the Photo Studio for your public profile.
Summon your party in Camera mode, then build an animated showcase in the Photo Studio for your public profile.
by AllThingsHow Staff
Image: Pawprint Studio
Aniimo lets you stage your character alongside your party and turn the result into the animated banner that visitors see on your public profile. There are two separate tools for this: the open-world Camera mode for free-form shots and short clips, and the Profile Photo Studio for the banner itself.
Quick answer: Press F7 to summon and pose your team for a photo or video, or open Profile, choose Edit, then the Photo Studio (house) icon to build a banner with up to four Aniimo and press Save.
Before you start: unlock Photo Mode
Photo Mode becomes available once you finish the prologue and arrive in Nimbus Fields with Dr. Lewis and Nicole. After you activate the first teleport waypoint, called a Bloom, the camera is free to use.
On PC, press F7 to open the camera at any time. You can also select the camera icon in the bottom-left corner of the screen, next to the Aniipods.
Camera mode controls
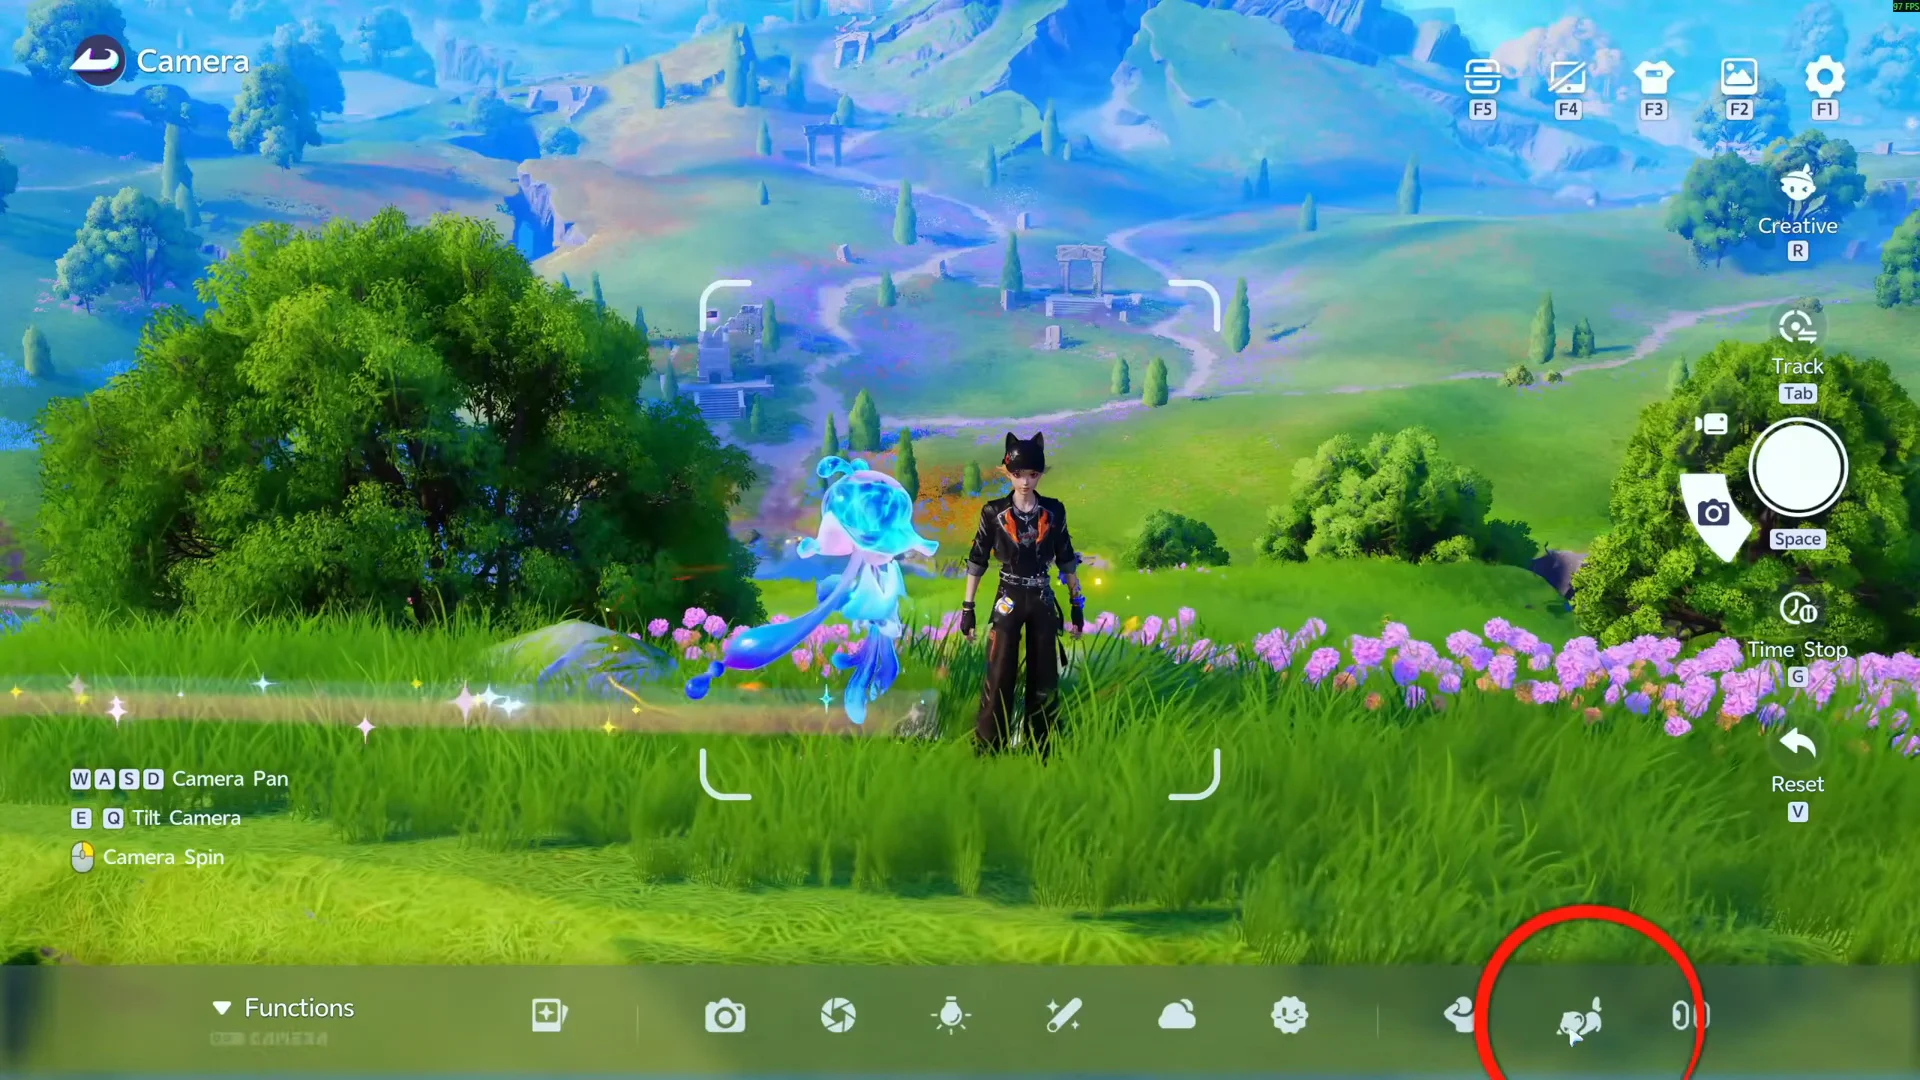
Once the camera is open, a toggle in the top-right corner switches between Creative, Follow, and Selfie modes. Creative gives you full control of angle and distance. Selfie is best for close-ups of your character or a single companion, and Follow keeps the camera on a moving subject for scenery shots. A separate Enable Ultra Graphics toggle at the top temporarily applies the highest visual quality to your shot.
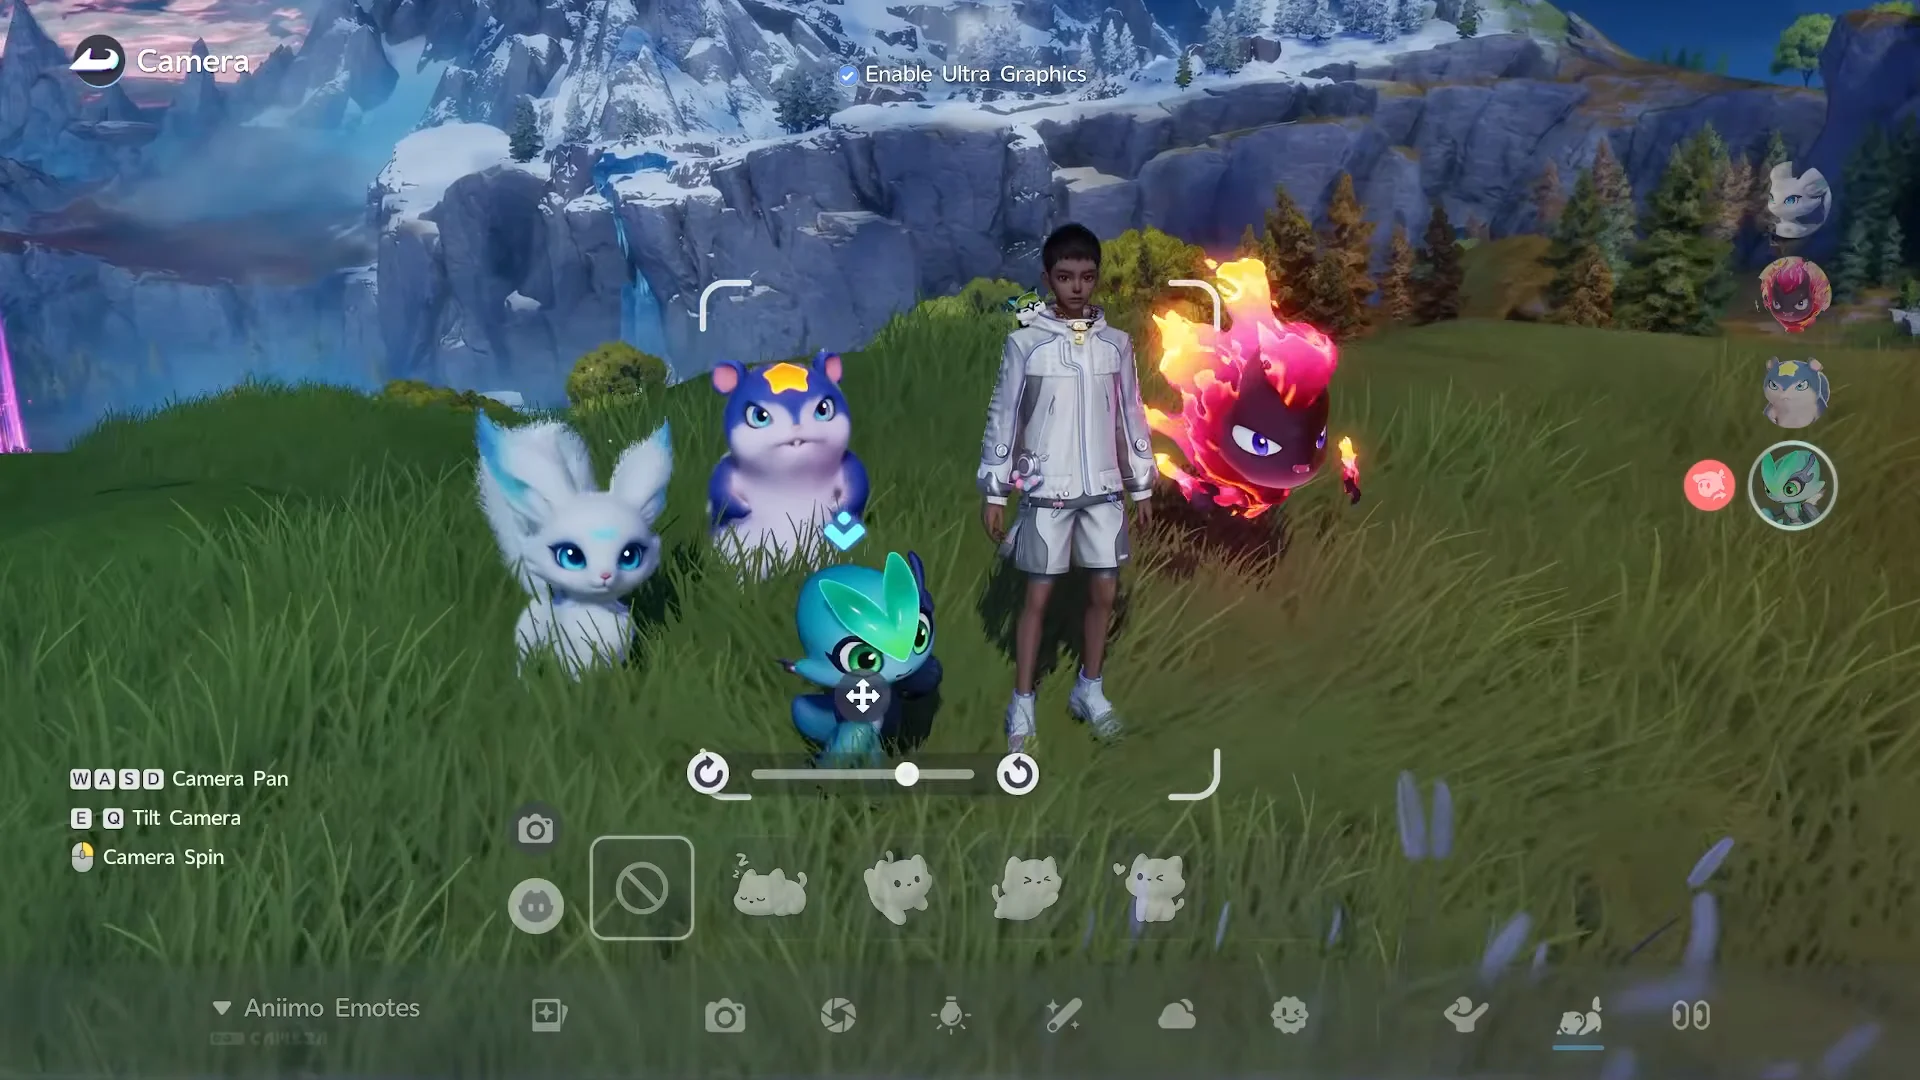
The camera interface with the Enable Ultra Graphics toggle at the top. Image: Pawprint Studio / via @AniimoSync
The main keyboard inputs for framing a shot are below.
Input
Action
F7
Open Camera
F1
Creative mode
Space
Snap photo
Tab
Track
R
Reset
W A S D
Pan camera
E / Q
Tilt camera
C / Z
Spin camera
Take a group photo or video in the open world
This method summons your active team members into the world so you can arrange and pose them freely. Line up a backdrop first, then open the camera.
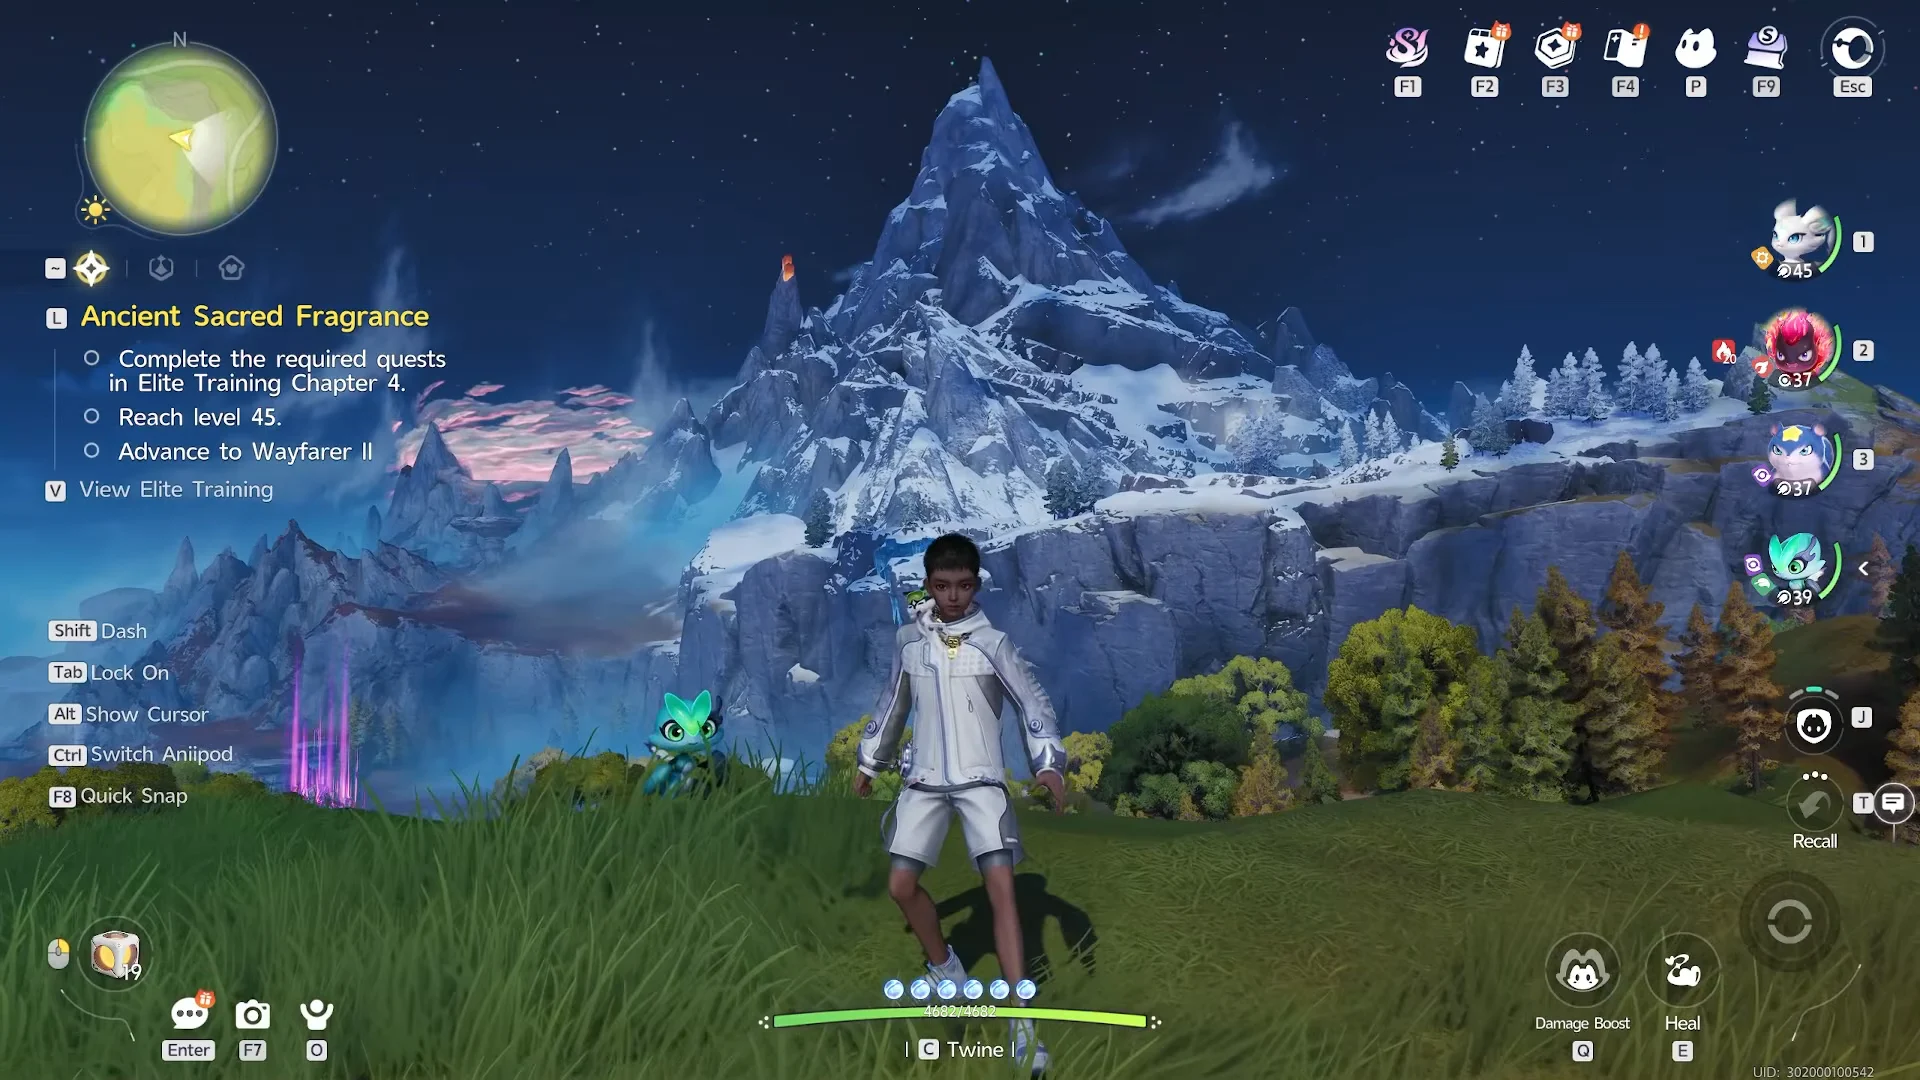
Position your character where you want the shot. A location with a strong background, such as a mountain edge in Russet Highlands, gives the composition depth before you summon anyone.
Setting up a backdrop by placing the character on a mountain edge before opening the camera. Image: Pawprint Studio / via @AniimoSync
Press F7 to open the camera, then switch to Creative mode (F1) in the top-right corner. Use WASD to pan, Q and E to tilt, and C and Z to spin until the angle and focal length look right.
On the lower-right toolbar, choose the Aniimo icon. Next, use the small round summon control at lower left; your current team members then appear as icons along the screen’s right edge.
Click each team member icon to spawn them next to your character. Select any summoned Aniimo to bring up the move-and-rotate gizmo and place them exactly where you want around you.
Assign poses. The Aniimo Emotes tab holds companion animations such as Sleep, Casual, Happy, Like, and Cheerful. Switch to the Character Emote tab to give your own avatar a static pose or a dynamic motion. You can also open the Eye Direction option to set gaze using Character Gaze, Animo Gaze, At Camera, or a manual Adjust.
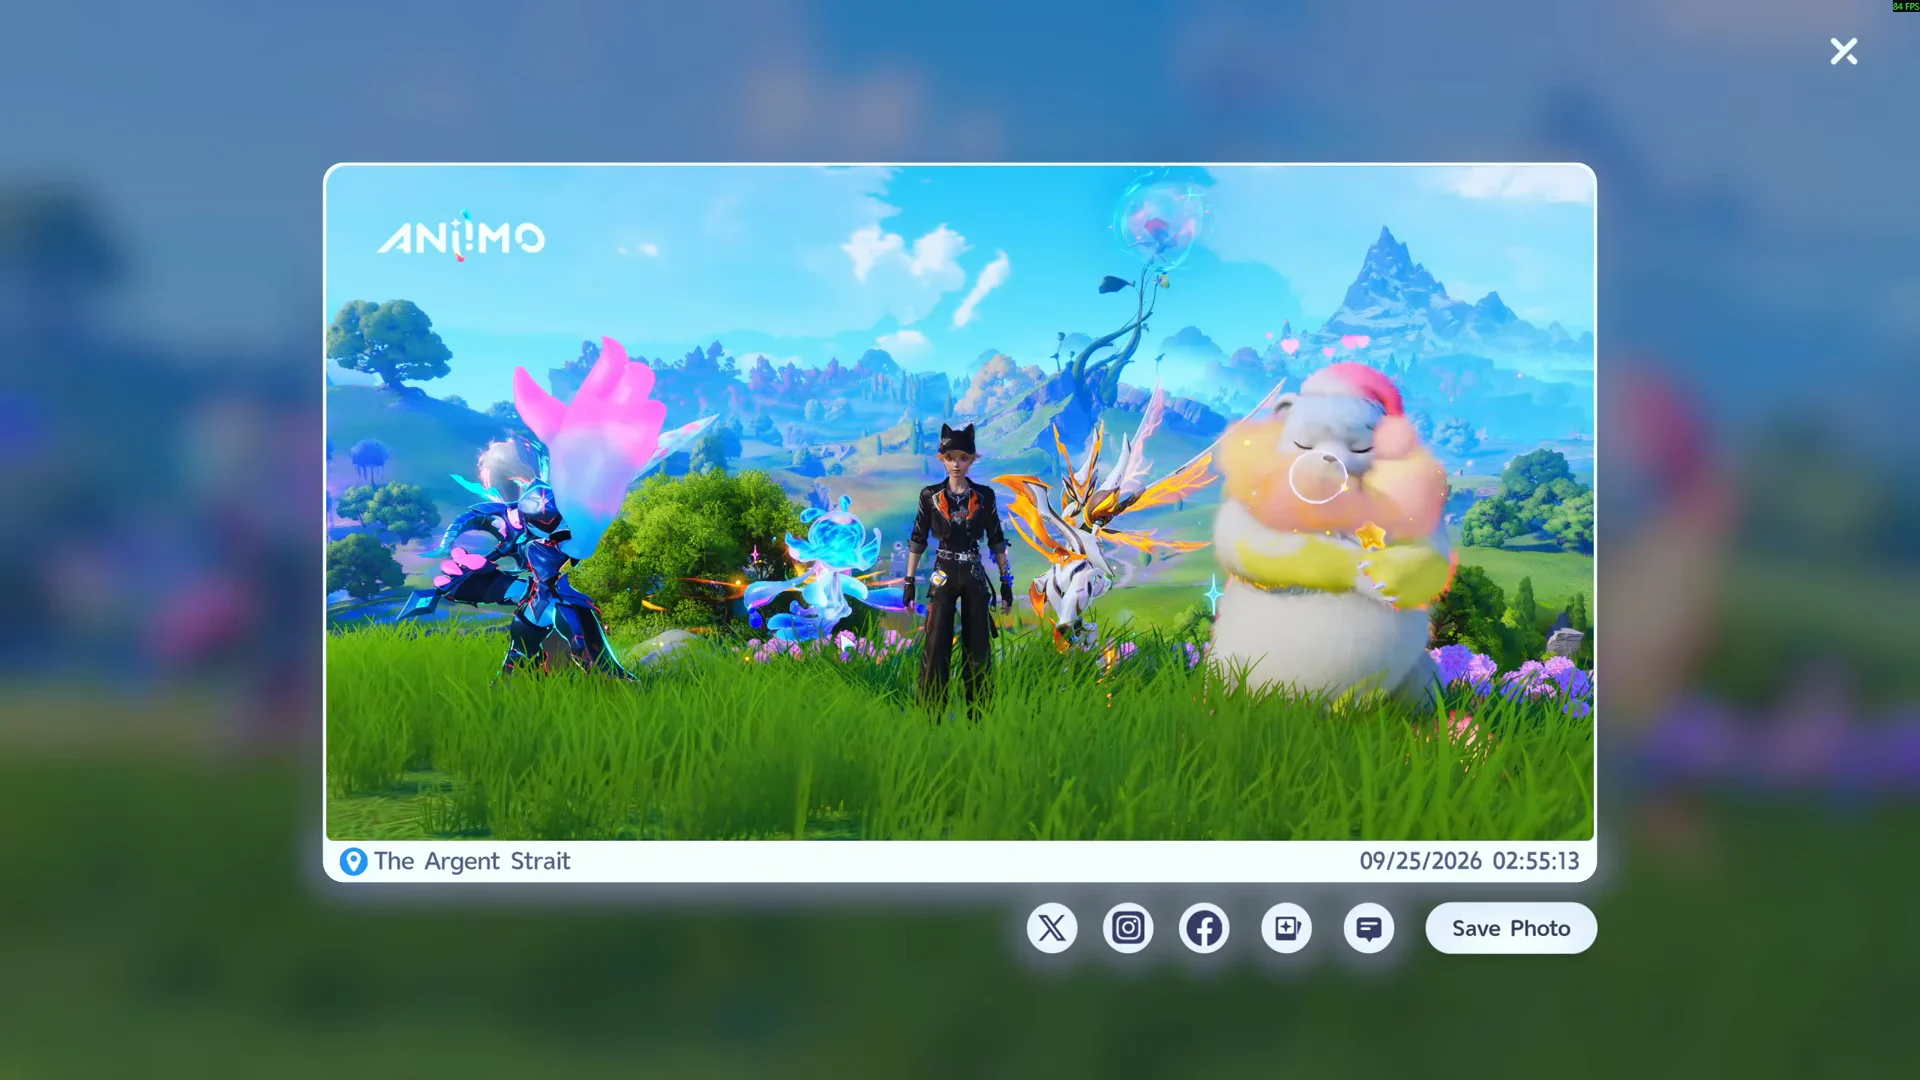
Hide the interface with the collapse control, then press Space to capture a photo or record a clip. Confirm the shot with the Save Photo prompt to store it in your local album.
Pressing Escape while arranging a scene resets your setup, so save or capture before you back out.
Build a profile banner in the Photo Studio
The Photo Studio is separate from the open-world camera. It creates the animated scene shown on your public profile, and it supports up to four Aniimo companions, custom backgrounds, poses, stickers, props, and filters.
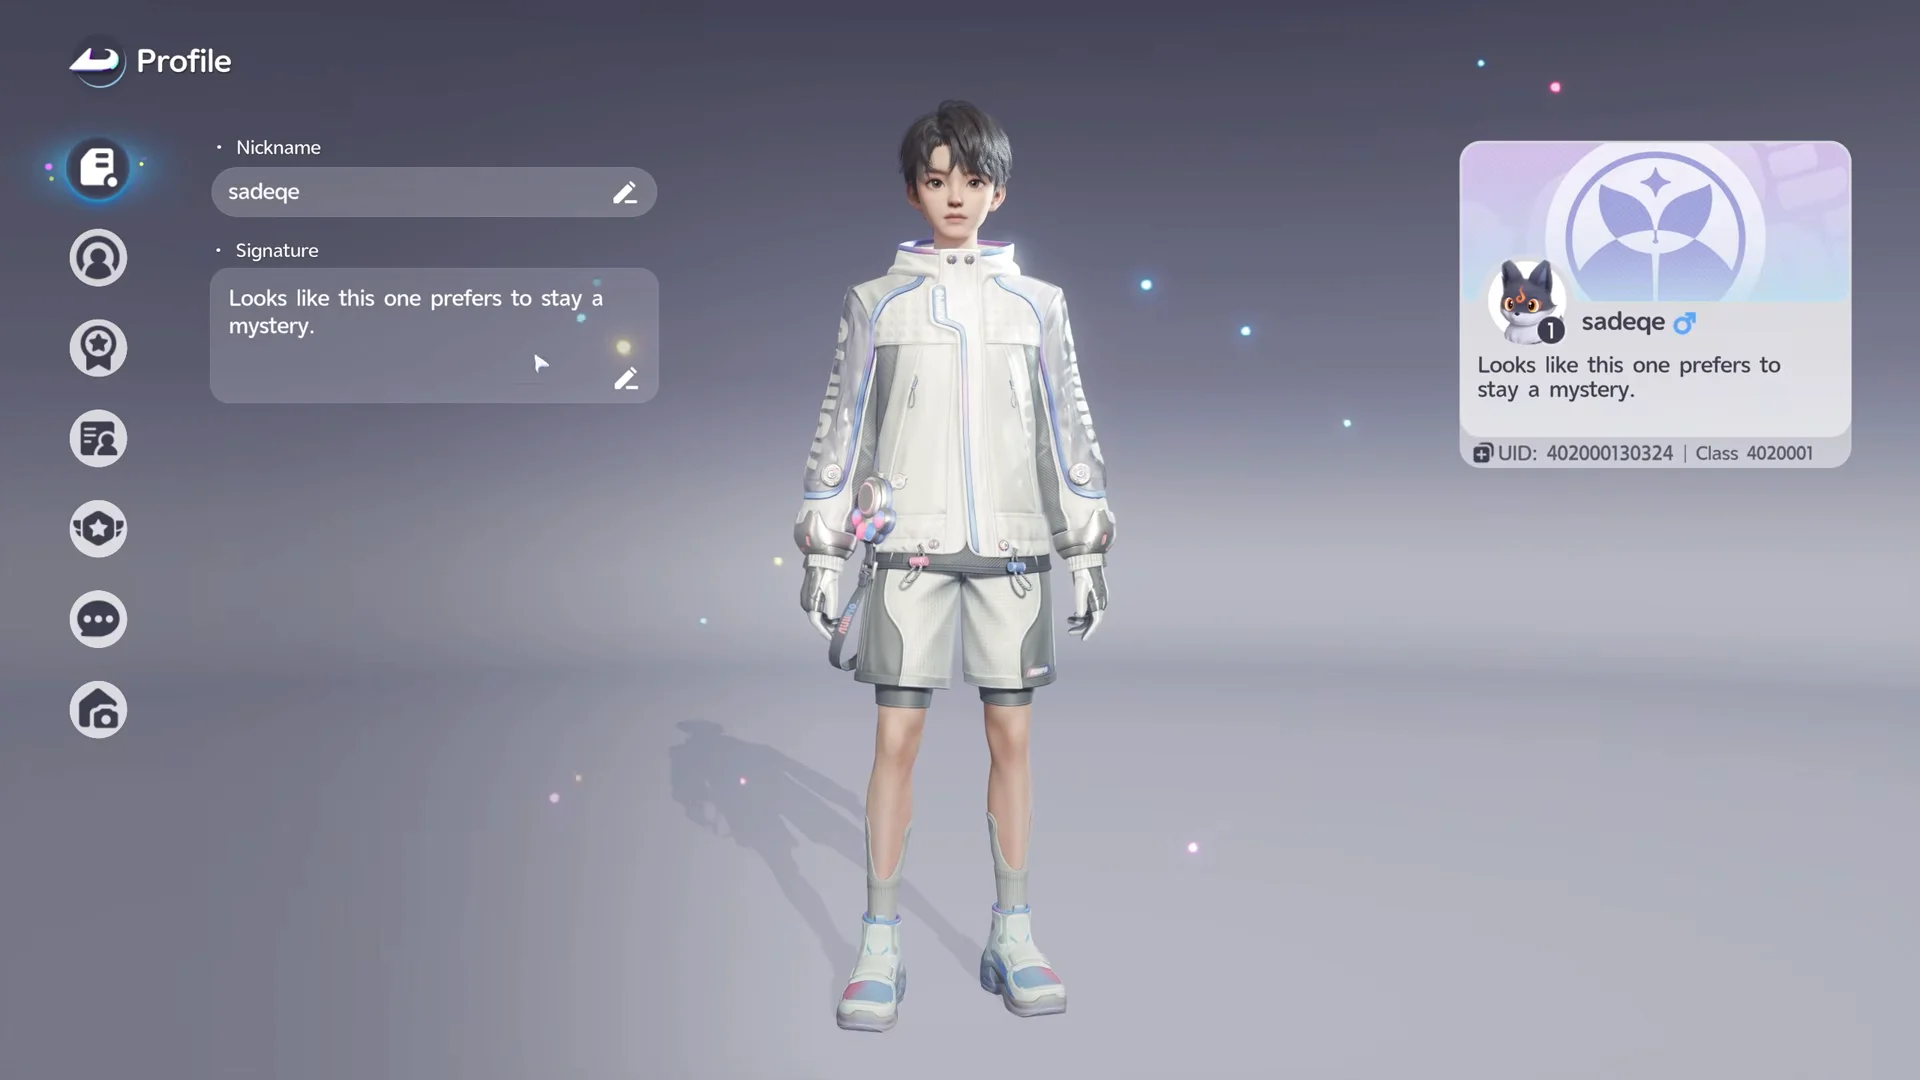
Press Esc to open the menu, then click the profile icon or card next to your nickname in the corner. The Profile screen shows your nickname, signature, badges, and character.
The Profile screen, where the banner and titles are edited. Image: Pawprint Studio / via @PAKTECHHUB9
Choose Edit at the lower-right corner, then use the house-shaped Photo Studio icon in the left navigation bar. In Appearance / Photo Studio, select Edit Studio at lower right to enter the editor.
Open Select Animo and use the plus icon to add companions from your collection, up to the four-slot limit. Then reposition and rotate each one around your character with the on-screen controls.
Set poses under Aniimo Emotes and Character Emote. Both offer Static and Dynamic sub-tabs, so you can mix still poses with dynamic dance animations like Dance and See you.
Add finishing touches. You can place up to 10 stickers (icon, emoji, or text presets such as ANIIMO, SUNNY, DAILY, and TIMING), up to 5 decor props, and a color filter from Natural, Scenic, Fresh, or Retro. The Parameters category adjusts focal length, saturation, brightness, contrast, vignette, and rotation.
Click Save in the bottom-right corner. The system confirms with a “Studio data saved.” message, and the scene becomes your active profile banner.
If you try to leave with unsaved changes, a prompt warns that the current studio has unsaved content and asks you to confirm before exiting. Save first if you want to keep the arrangement.
Swap between saved banners and change your title
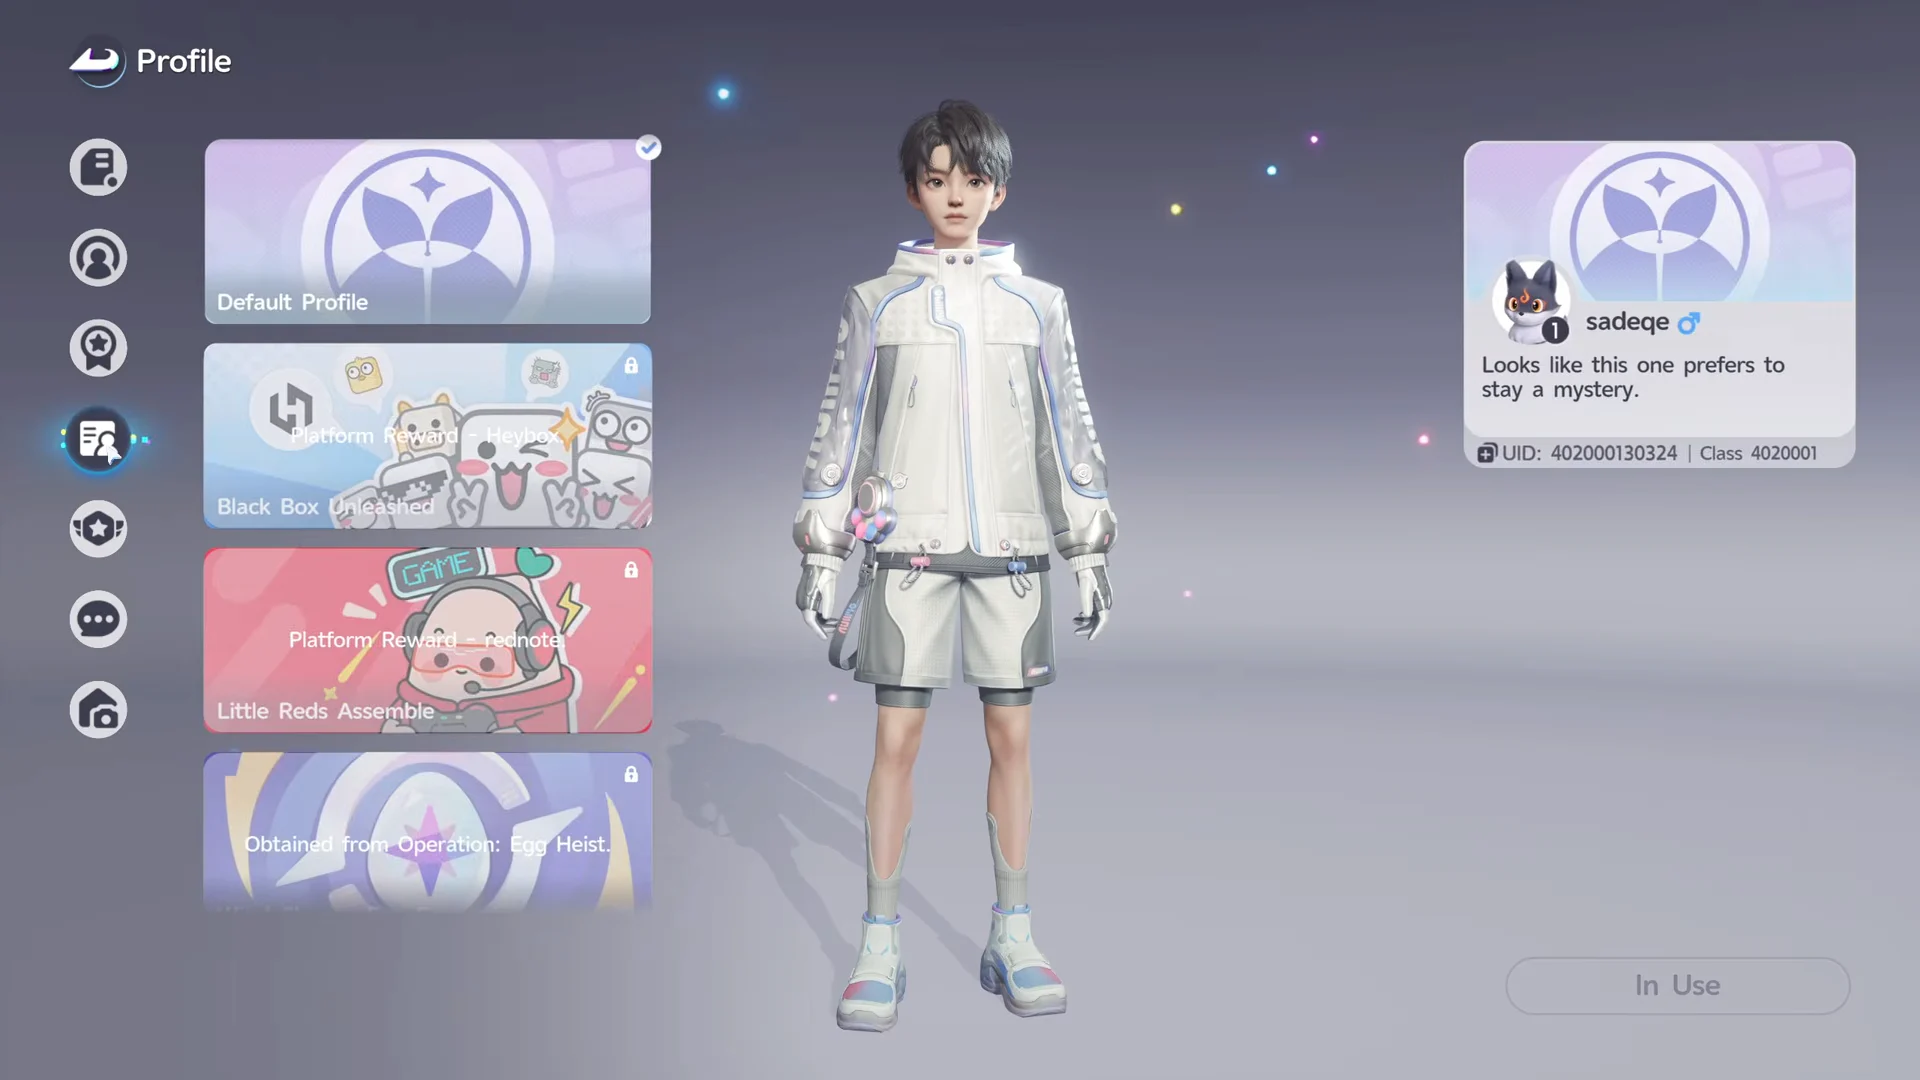
After saving a studio scene, change the displayed banner through that same Profile editor: open Profile, choose Edit, and use the Profile Banner tab in the left sidebar to view choices including Default Profile, Black Box Crew, and Little Reds Assemble.
The Profile Banner tab, where saved banners are selected. Image: Pawprint Studio / via @PAKTECHHUB9
The same edit menu holds a Title tab, which offers Combo Title options (Prefix, Suffix, and Base) as well as Overall Title options if you want to adjust the text shown beside your name.
You will know each method worked by its confirmation. A field capture reports “Saved to local album,” while a finished banner reports “Studio data saved” and then appears as the animated scene anyone sees when they view your profile.