


Omega Tuckin sits north of Mistwoods Bloom and stays inert until you clear a specific Journey quest. The marker will not light up on a timer, and no amount of running laps around the region will spawn it early. The gate is Binding Oath, a Journey quest that only becomes available once the main story has already put you face to face with Tuckin.
Quick answer: Beat Tuckin during the Ancient Sacred Fragrance main quest, then complete the Journey quest Binding Oath in the Mistwoods. Finishing its final objective activates the Omega Tuckin challenge.
Unlock requirement: Beat Tuckin in Ancient Sacred Fragrance
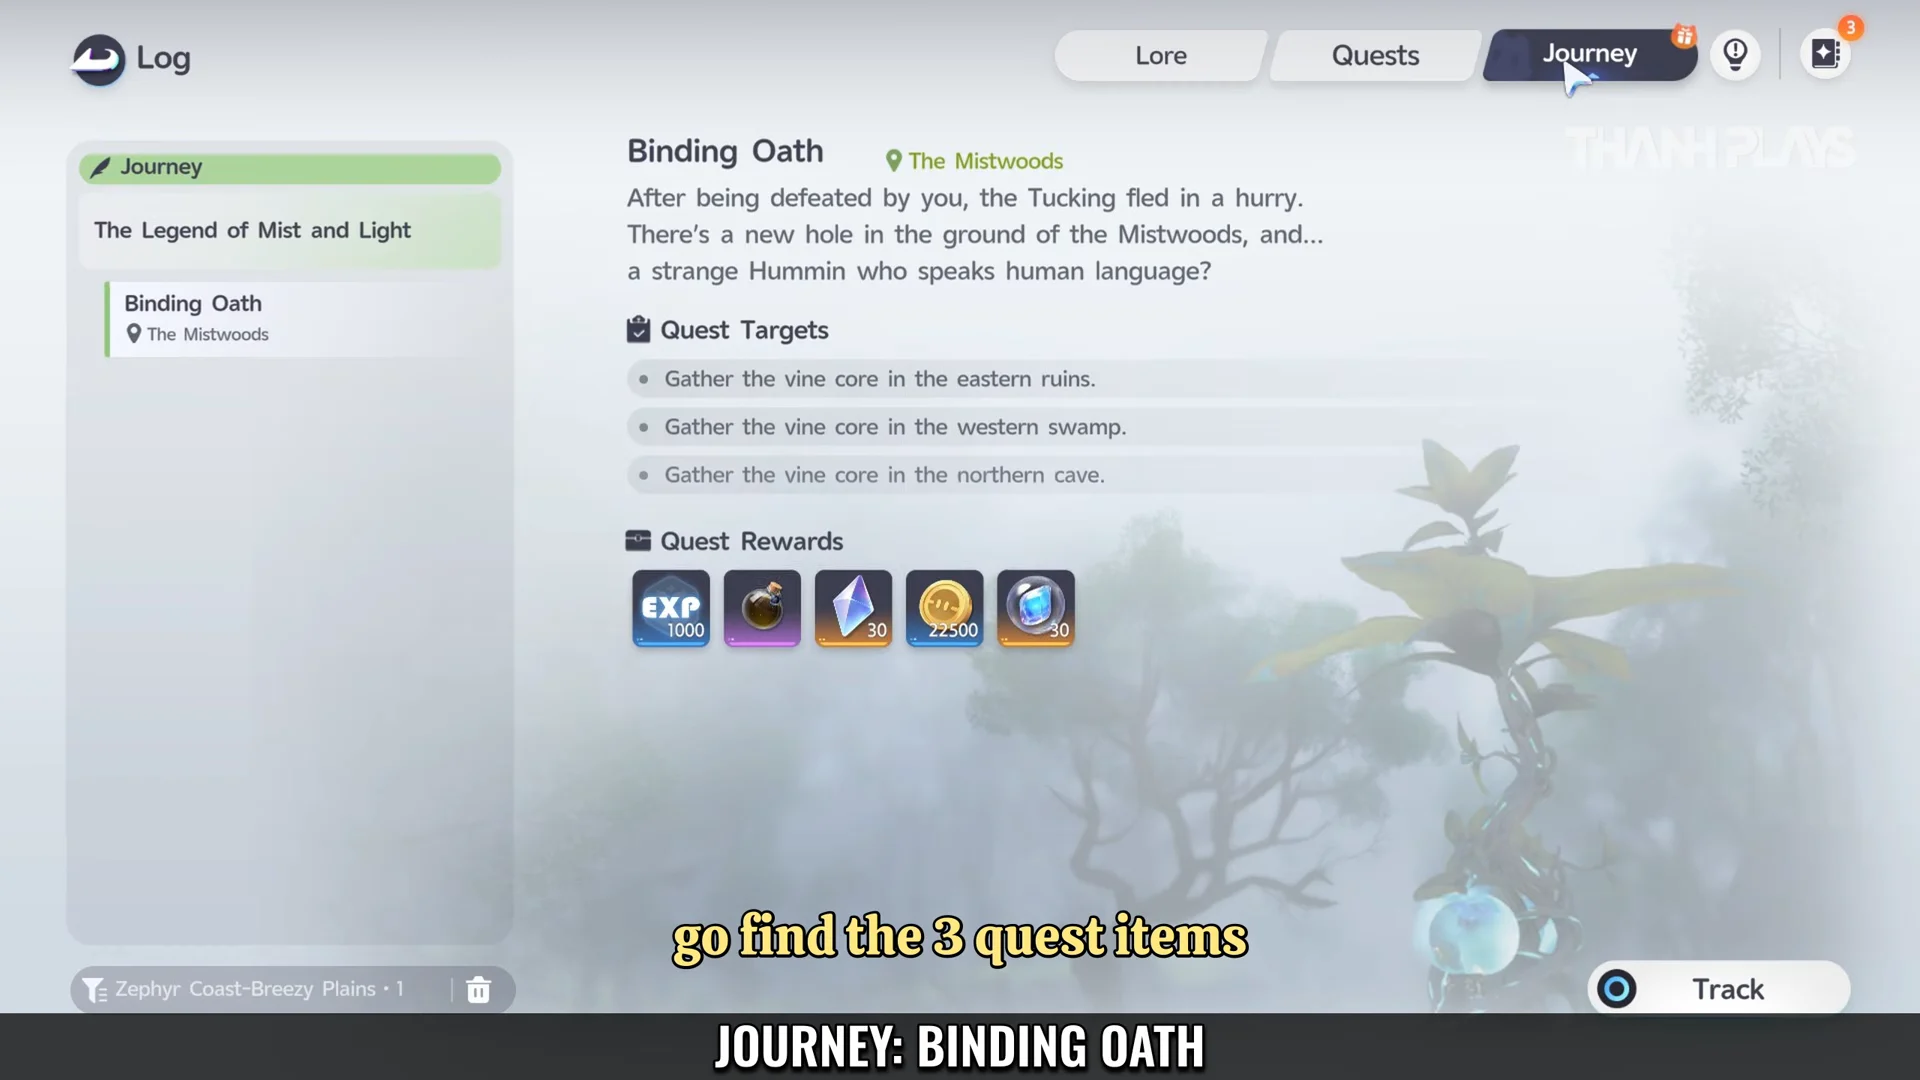
Binding Oath is not something you stumble into from the open world. It becomes reachable after the mandatory Tuckin boss fight in Ancient Sacred Fragrance, the main story quest that runs through the Rainbow of the Ground storyline and ends with you delivering the Super Truffle to Sunia.
Once Tuckin is beaten and flees, the Journey quest becomes available for pickup in the Mistwoods. If the quest name is not in your log yet, the main story is the blocker, not the region.
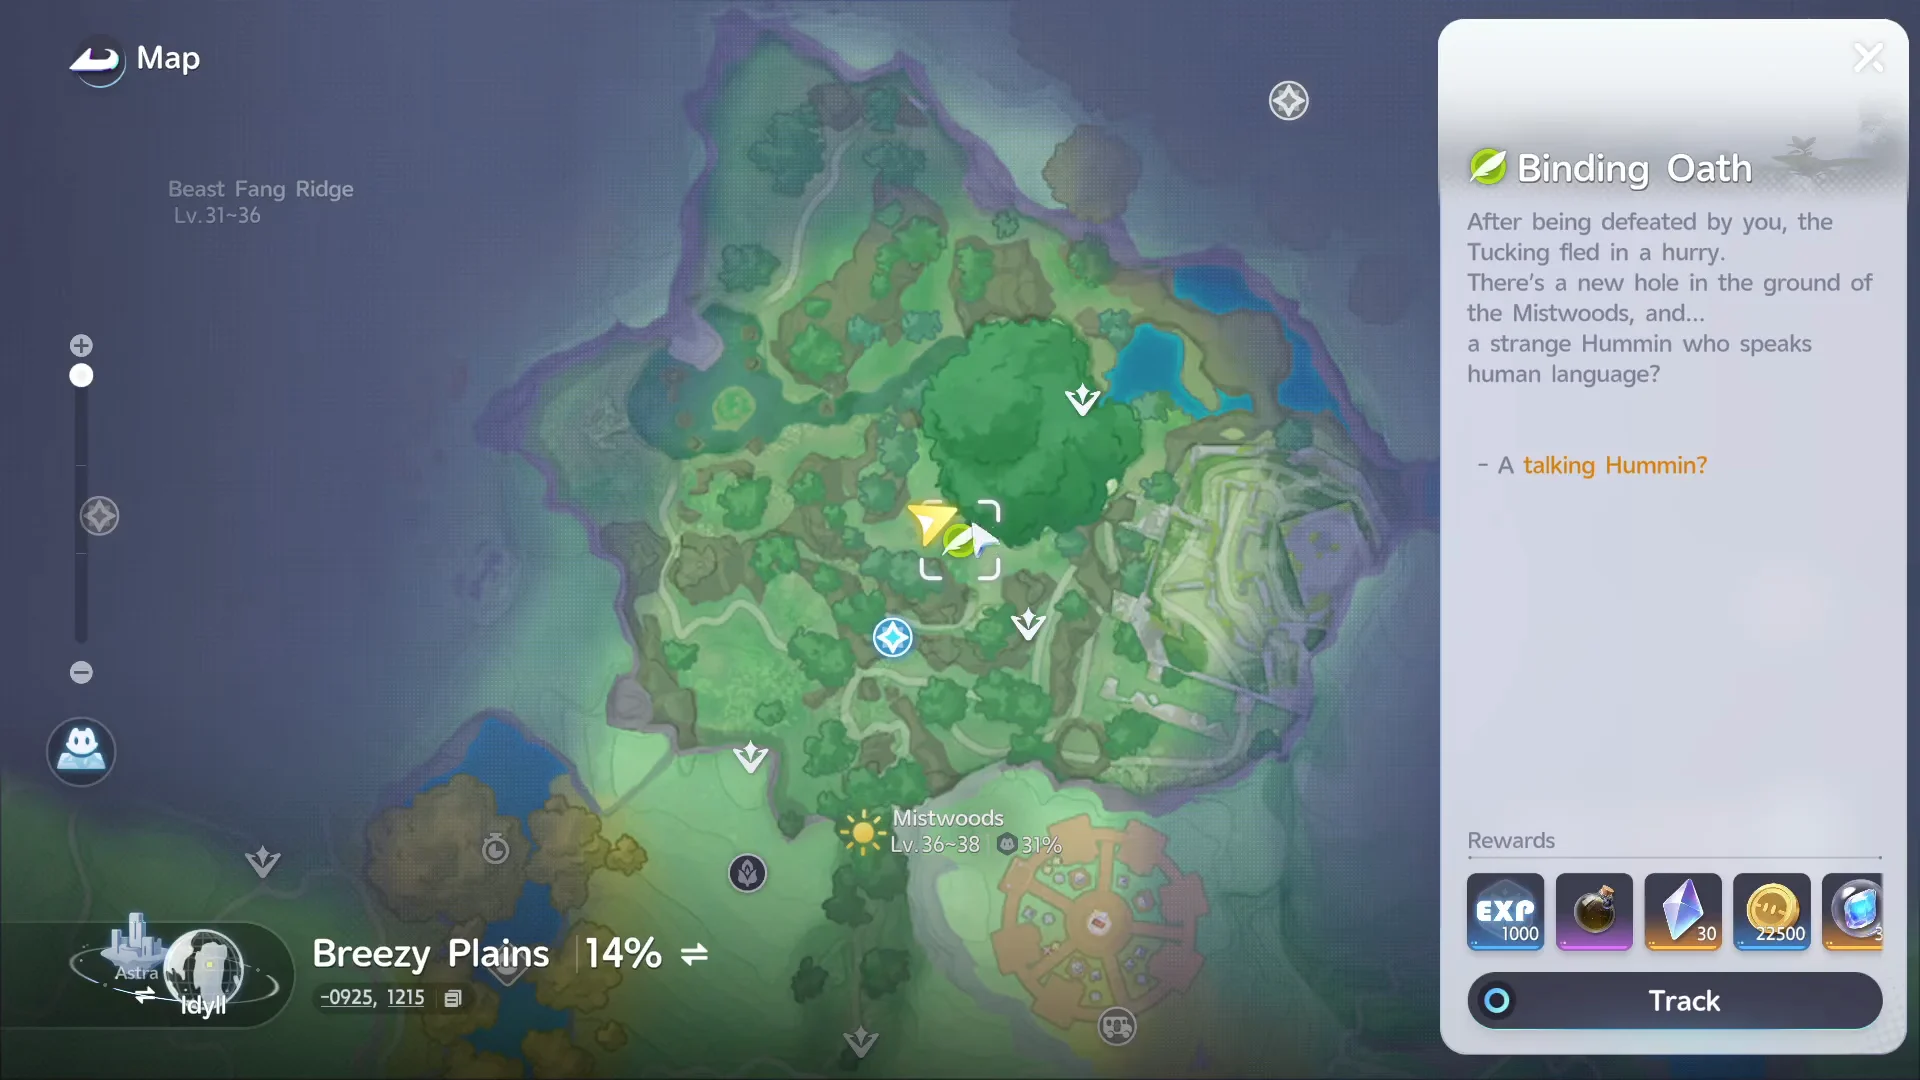
How to start Binding Oath in the Mistwoods
All three Vine Core locations in the Mistwoods
Each vine core sits behind a different obstacle, and every one of them ends with a story scene plus a nearby chest. A Twine form with a fire attack is close to mandatory here, since two of the three routes are sealed by burnable thorns or roots.

| Vine core | Obstacle | What you need |
|---|---|---|
| Eastern ruins | Patrolling Hexxins, thorns | Twine with a Hexxin, fire |
| Western swamp | Swamp water, blocked climb | Vine walkway, fire |
| Northern cave | Roots over the entrance |  Fire Fire |
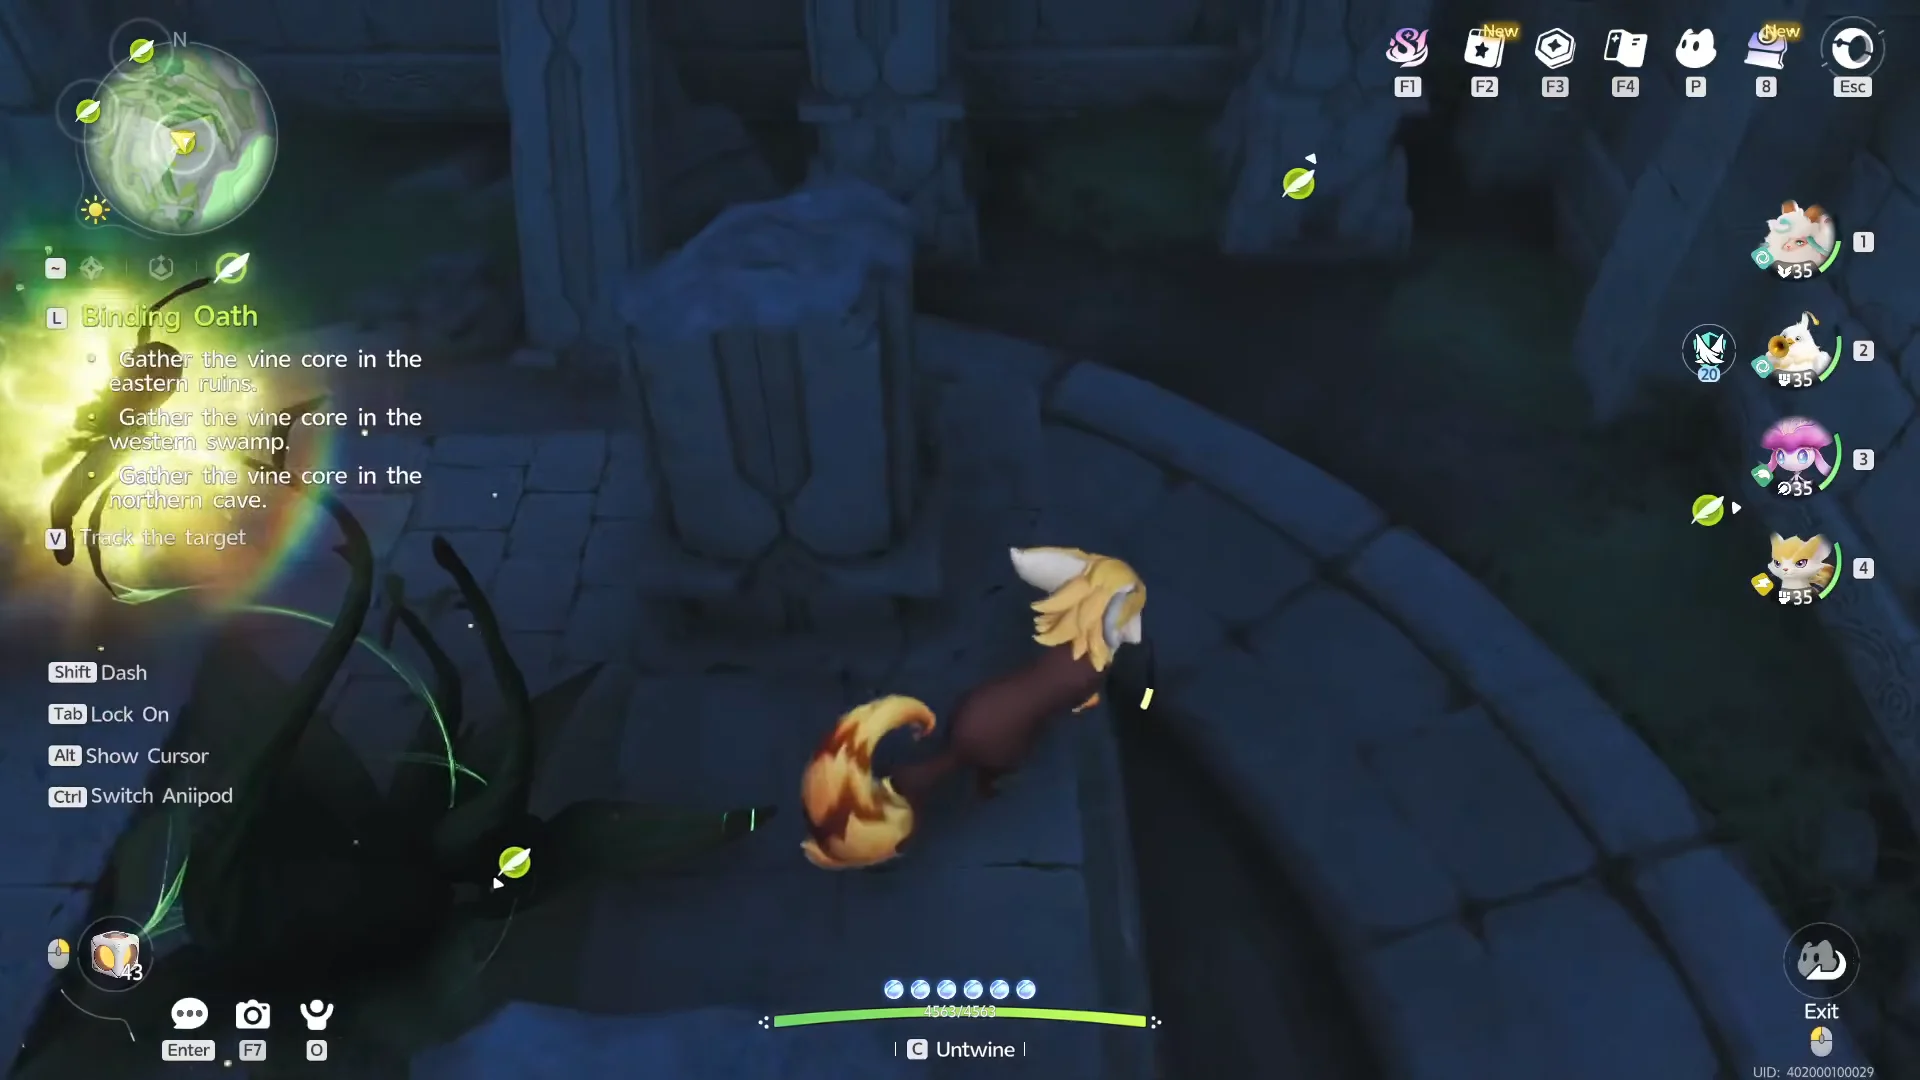
Eastern ruins
The approach to the ruins is patrolled by Hexxins, and getting spotted knocks you out and sends you back to the entrance. Twine with a Hexxin of your own so the patrols ignore you, then walk to the core and burn any thorns blocking the path. Climb the ruined wall, drop into the enclosure, and touch the glowing core to trigger the scene.
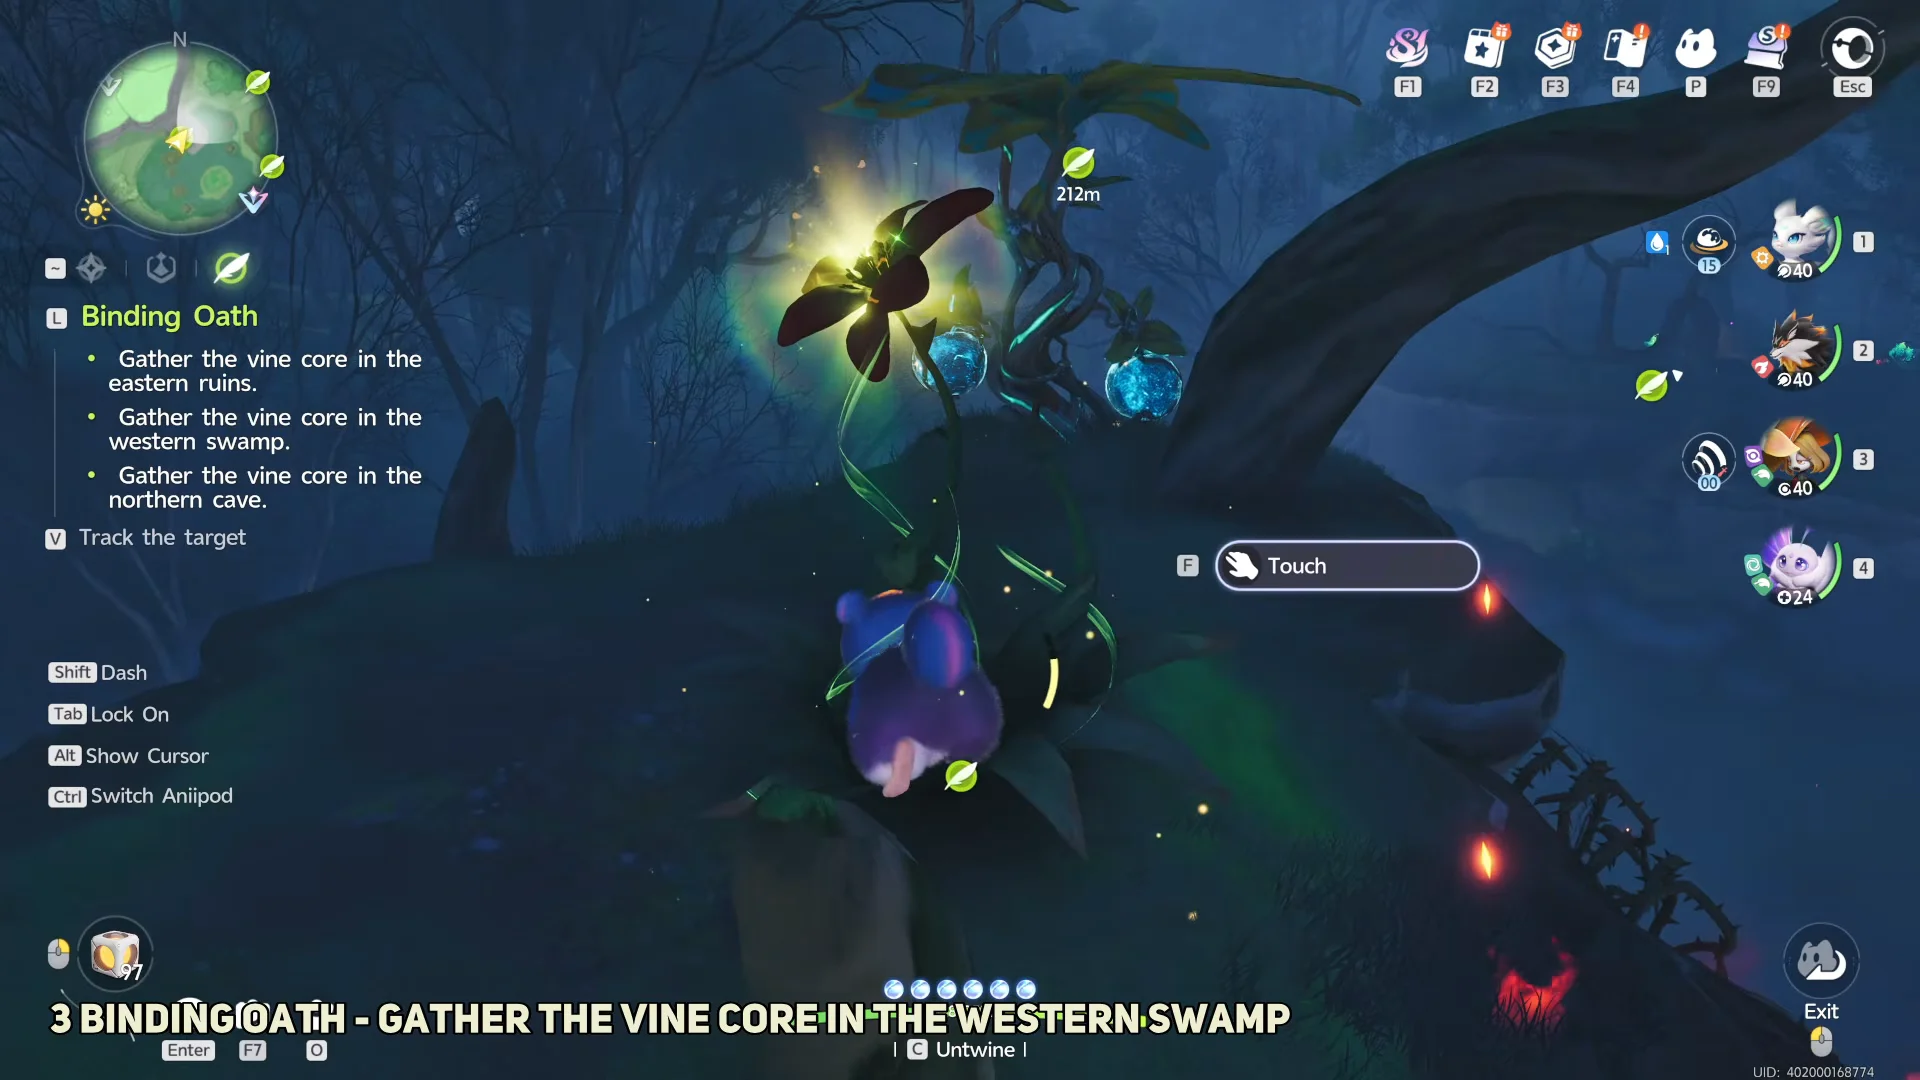
Western swamp
This core is at the top of the swamp, and the water below is dangerous to touch. Stay on the vines instead, walking across them and climbing the platforms upward. Near the top you will hit a wall of roots that has to be burned before the last climb, then interact with the plant to take the core and open the chest beside it.
Northern cave
The cave mouth is sealed by roots, so burn through them to get inside. A blessed Wisptis appears and then leaves as you enter, and the direction it flees is the path to the last core. Follow it, touch the core, and loot the chest in the same room.
Each of the three scenes is tied to the core itself, so there is no reason to fight everything on the way. Slipping past the Hexxins is faster than clearing them.
Return the Vine Cores and finish Binding Oath
The quest completion screen is your confirmation. It lists the payout below and registers the Omega challenge at the same time.
| Reward | Amount |
|---|---|
| Credits | 22,500 |
| Safaris | 1,000 |
| Glimmer | 30 |
 Sparkling Crystal Sparkling Crystal | 30 |
| Binding Oath | 1 |
Confirm the Omega Tuckin challenge is active
Open the Institute Guide and look at the Animo Challenge menu. Omega Tuckin should now appear as a selectable challenge rather than a greyed-out entry, and the boss marker on the map becomes active. If the quest finished but the menu still looks locked, reopen the map or log out once so the completion registers.
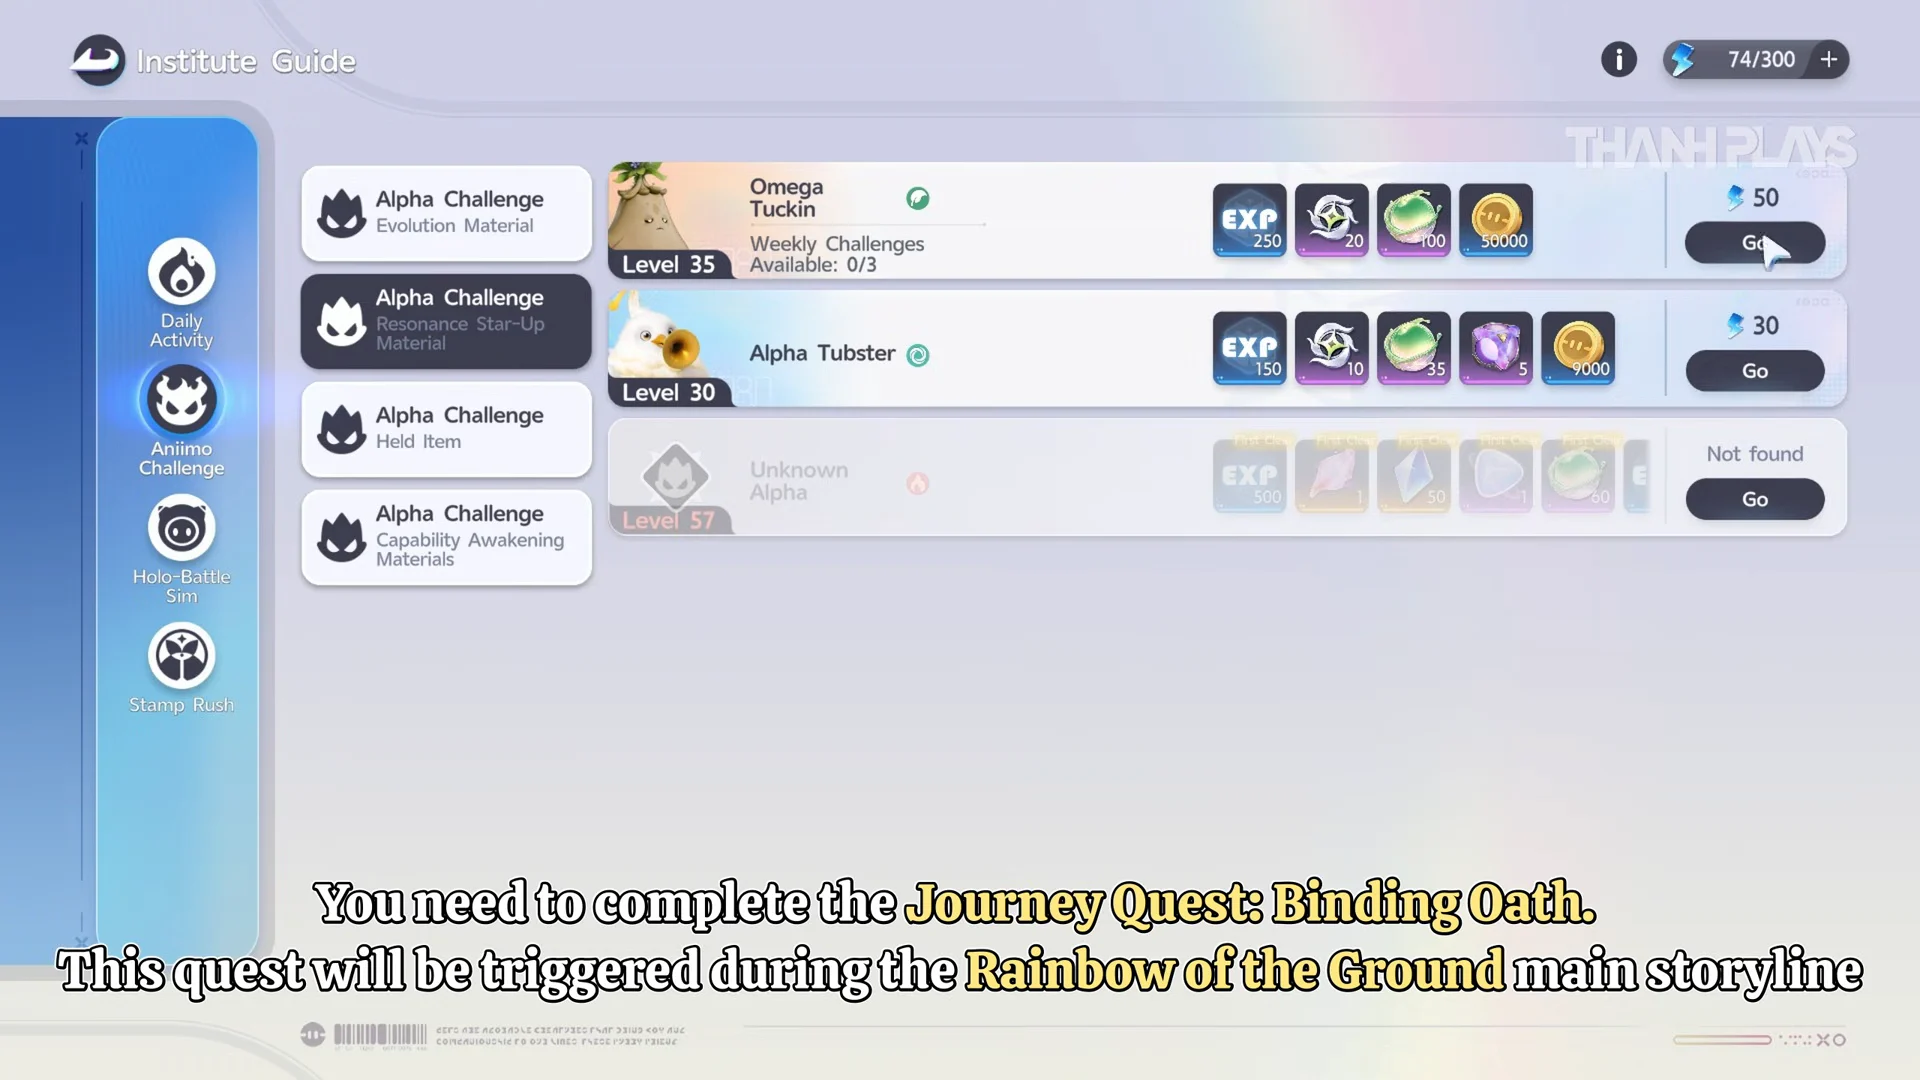
Each attempt costs 50 Primegy, and the encounter is on a weekly cycle once unlocked. If the marker was live earlier in the week and has gone quiet, you have already used the weekly attempt, and no amount of travelling back will bring it back before the reset.
Omega Tuckin location, weaknesses, and how to beat it
Omega Tuckin waits north of Mistwoods Bloom, burrowed beside a large tree. It is a Grass-element BREAK specialist built around summoning Hummin helpers and keeping them alive, so the whole fight comes down to how quickly you can remove its sustain.

| Damage taken | Elements |
|---|---|
| 1.6x | Fire, Wind, Dark |
| 0.625x | Water, Grass, Earth |
| Neutral |  Ice Ice |
Fire is the most efficient pick of the three, because it also clears the Hummin wave rather than just hitting the boss. Tuckin summons one Hummin when combat starts and another every 10 seconds, capped at three, and its BREAK damage scales with its own maximum HP.
Its innate skill, Draw Nourishment, is the reason fights drag. Rooting into the soil gives it and its Hummins 20% BREAK efficiency, instantly restores 50% HP to every Hummin, and regenerates 2% HP per second for itself and nearby helpers on a 15-second cooldown. Kill the helpers during that window and the healing engine stops compounding.
- Haunting Choir sends each Hummin to a target, dealing area damage and stunning it for 1 second.
- Breaking Roar refills the Hummin count to maximum before firing a large shockwave.
- Its base line carries M.DEF 110, so magic-heavy teams struggle more than physical BREAK pressure.
The signature attack raises rock walls and a massive root from the ground. When that root slams down it gets stuck, and that is the opening. Attack the root instead of the boss, and destroying it breaks Tuckin’s Earth Shield and leaves it incapacitated. Dump everything you have during that stagger, then repeat the cycle each time the root comes down.
| First clear reward | Amount |
|---|---|
| Breezy Plains Dewdrop Crystal | 100 |
| Glimmer | 100 |
| Safaris | 800 |
| Lumin Amber: Breezy Plains | 2 |
Repeat clears drop Breezy Plains Dewdrop Crystal as the material reward. With the weekly limit in place, the sensible routine is to bring a Fire-heavy team, spend the 50 Primegy once, and use the root windows properly rather than burning an attempt on a fight you are elementally losing.





