Animal Hospital throws you onto the night shift at a veterinary clinic with almost no hand-holding. Most patients are ordinary animals, a few are anomalies wearing a patient’s face, and your job is to filter the fakes at the reception desk before they slip inside and turn into Skinwalkers. The early Shifts are forgiving, which makes them the right place to build the habits that carry you through harder nights.
Quick answer: On every patient, run the same desk check in order. Do a visual scan, take and compare the photo, then verify the paperwork. Keep Sanity above 50 by sipping Coffee, treat patients to recover more, and reject anything you cannot confirm rather than admitting it.
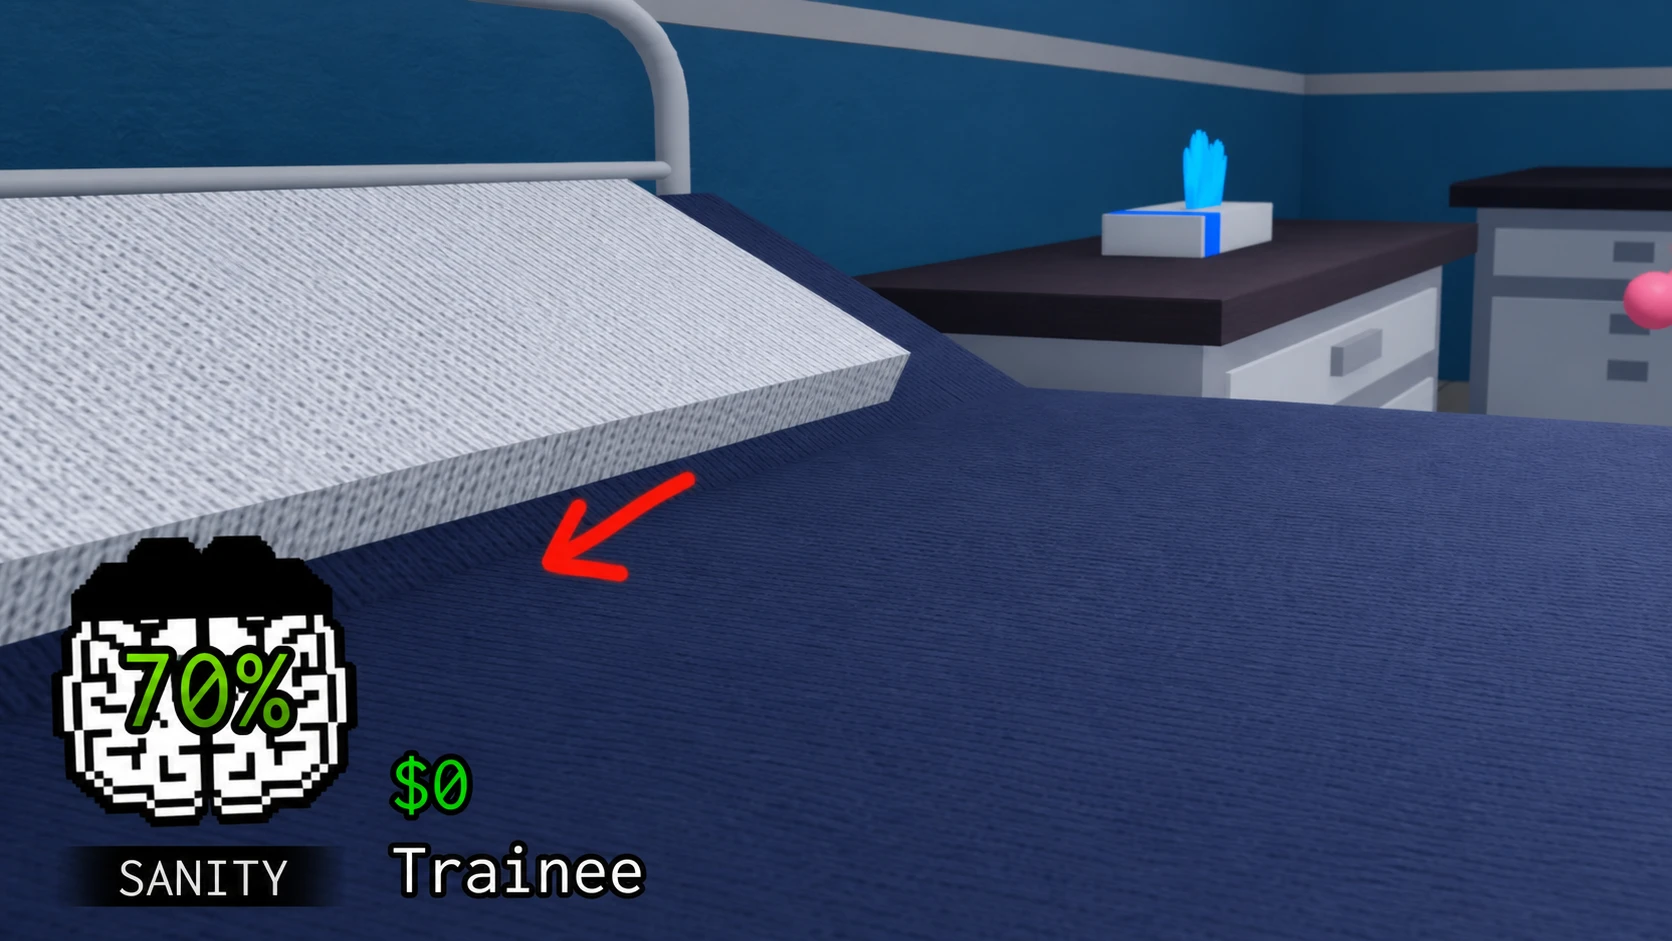
How Sanity works and how to keep it high
Sanity is your health bar. It sits in the corner of the screen and drops whenever something bad happens, including jumpscares, an enemy grabbing you, looking at the wrong thing, or stepping where you should not. When it reaches zero, you die and your run ends.
Coffee is the main way to restore it. Each sip from the coffee machine returns 5 Sanity, with up to three sips available. Treating patients also restores Sanity depending on your class, so working steadily through your patient list is one of the most reliable ways to stay topped up. Aim to keep the meter above 50 at all times and drink before it gets critical, not after.
The desk routine: spot anomalies before they enter
Your single most valuable beginner skill is a fixed check order you repeat on every patient. Doing it identically every time trains pattern memory far faster than studying isolated screenshots. The order is simple. Scan the patient head to tail, photograph them and compare the photo to the live visitor, then check the paperwork for mismatched names, species, or appointment times.
Take the photo even when a visual tell looks obvious, because photo anomalies hide details that in-person inspection misses, like extra limbs or a cursed background. If you are still unsure after one full pass, reject. Early Shifts forgive a wrong rejection but punish a wrong admit, since a mistaken admit becomes a Skinwalker that hunts your whole lobby.
| Check type | What to look for |
|---|---|
| In-person visual | Three Eyes, Hollow Eyes, Sharp Teeth, Realistic Teeth, Wide Grin, Twitching |
| Camera (CCTV) | Black box over eyes, stretched or distorted limbs, body blacked out, staring at the camera, mismatched ears or mouth |
| Photo | Incorrect photo that does not match the patient, static or grainy effect, cursed photo with bloodshot eyes and a grin |
| Paperwork | Missing appointment, wrong name, wrong species, mismatched appointment time |
Note: looking at the camera zoom toward a dark figure and looking at cursed photos both drain Sanity, so if you already see a clear visual tell, reject immediately and skip the rest. To reject, press the Shutters button on the left of the desk. The “patient” leaves, and the anomaly counter at the end of the Shift goes up, giving you a better score and more cash.
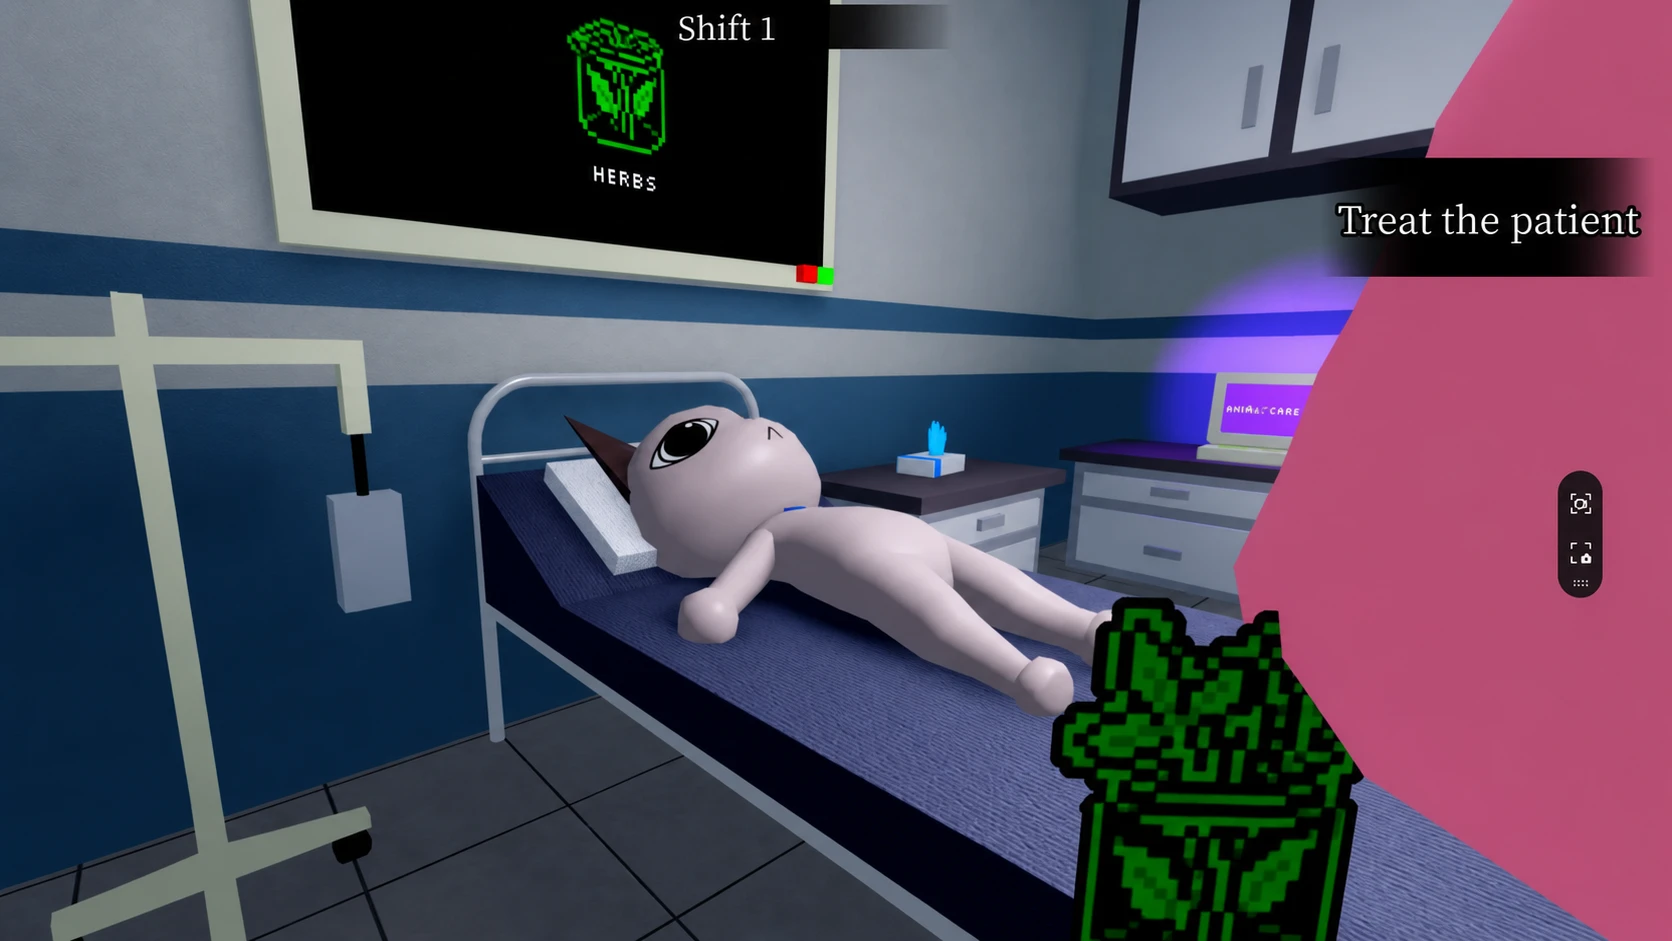
How to treat patients
If a visitor passes every check, treat them. Check them in by taking the photo, inspecting it, registering them at the PC, and printing their badge. After all patients are checked in, work the rooms. It usually pays to check everyone in first so you are not running back and forth, though events will sometimes break that rhythm.
Order does not matter and there is no time limit on standard treatments, so pick whatever room order suits you. The exception is Surgery in Room 8, which must be finished on the spot once you interact with the patient. Administering the wrong item kills the patient and costs you points, so match the item list carefully.
| Symptom | Treatment item |
|---|---|
| Headache | Herbs |
| Stomach ache | Medicine |
| Fever | Thermometer |
| Bleeding | Bandages |
| Burns and rashes | Ointment |
| Flu | Cough Syrup |
| Low sugar | Maple Syrup |
| Dry eyes | IV Drops |
Watch your death count. If the hospital reaches three patient deaths, the Shift ends in a loss, so keeping on top of your list is critical. A handy side benefit is that anomalies you missed at the desk do not cost points when they die in a treatment room, so a wrong item is a quick way to clear one you let slip.
Enemies and hazards to watch for
Beyond patient anomalies, several enemies and environmental hazards exist only to drain your Sanity. Each one has a specific counter, and using the wrong response usually costs more Sanity than the threat itself.
| Enemy or hazard | How to handle it |
|---|---|
| Skinwalker | A fake patient you let through. It attacks you or your patients. Hit E repeatedly if it is on you, or hold E from behind it if it is attacking a patient. A Taser, Gun, or Medkit makes this much safer. |
| Bed Monster | Hides under beds in medical rooms. Approach with Maple Syrup before entering its red zone to make it leave without losing Sanity. |
| Stalker | Appears around corners. Never look directly at it as you pass or you take Sanity damage. |
| Don’t Look Up / Mass of Eyes | Spawns on the ceiling of medical rooms. Keep your camera down and finish your task. Looking up drains Sanity fast. |
| Wall Bangers | Bang on the desk glass and block you from rejecting anomalies. Approach with Coffee or food and interact to remove them. |
| Green Sludge / Slime | A terrain hazard you clear by holding E. |
| Surgery Tentacles | Spawn in Room 8 during surgery. Just finish the mini-game and avoid them. Do not shoot or taze them or the patient dies. |
Keep a Taser on you whenever possible, since it is your main answer to Skinwalkers and other hostile enemies. Weapons only work on Skinwalkers, so the rest of the list above has to be handled with the right item or by simply not looking.

Threat response order: survive, regroup, restore
When something dangerous appears, the instinct is to react fast, but the correct order is to survive first, regroup, then restore. Create space, call your position so teammates can support, and only then fix the situation. Chasing a Black Bunny or other enemy alone leaves the desk unmanned and isolates you for extra Sanity loss.
Most beginner wipes come from a scattered, panicked response rather than the monster. If you do admit an anomaly by mistake, deal with the resulting Skinwalker, then immediately restock and tighten your check-in, because another anomaly often arrives soon after the game registers that you slipped.
Best early classes and what to buy first
Class choice should smooth your learning curve, not chase the flashiest ability. The free Intern is the strongest pick at the start because it grants bonus starting Sanity, giving you a buffer while you learn. Avoid Psychologist early, since it doubles both Sanity gains and losses and punishes anyone still learning to manage the meter.
| Class | Why pick it |
|---|---|
| Intern (free) | Bonus starting Sanity. Best until you save coins for a healing class. |
| Doctor | Restores Sanity each time you successfully heal a patient, which compounds over a busy night. |
| Surgeon | Adds movement speed after heals, clearing room queues faster and cutting time in draining corridors. |
| Psychologist | Doubles Sanity gains and losses. Skip until you can manage the swing. |
Spend Animal Coins on survival consistency, not novelty. Coffee is priority one, and one stack per player is enough for the earliest nights. Next, save toward a Doctor or Surgeon unlock instead of spamming consumables you will forget to use. A single Fire Extinguisher is worth picking up once you have seen the fire event, usually around Shift 2 or 3. Skip Camera Upgrades and weapons until much later, since they solve problems you will not face yet.
How to know you are ready for harder Shifts
You are ready to layer on harder mechanics when early Shifts clear without frantic improvisation. A good test is Shift 3. If you can reject a mimic patient using photo comparison under mild time pressure while a teammate finishes a DNA treatment in Room 1, your fundamentals are stable. If not, that is a signal to keep practicing in fresh lobbies rather than forcing your way into late nights underprepared.
Solo runs are fine through the early Shifts, but coordination matters more as difficulty climbs, with players often splitting desk duty and camera duty from around Shift 7. Protect your clear rate first and add speed only after several stable runs. When your early nights feel routine instead of stressful, you have the foundation everything else builds on.