

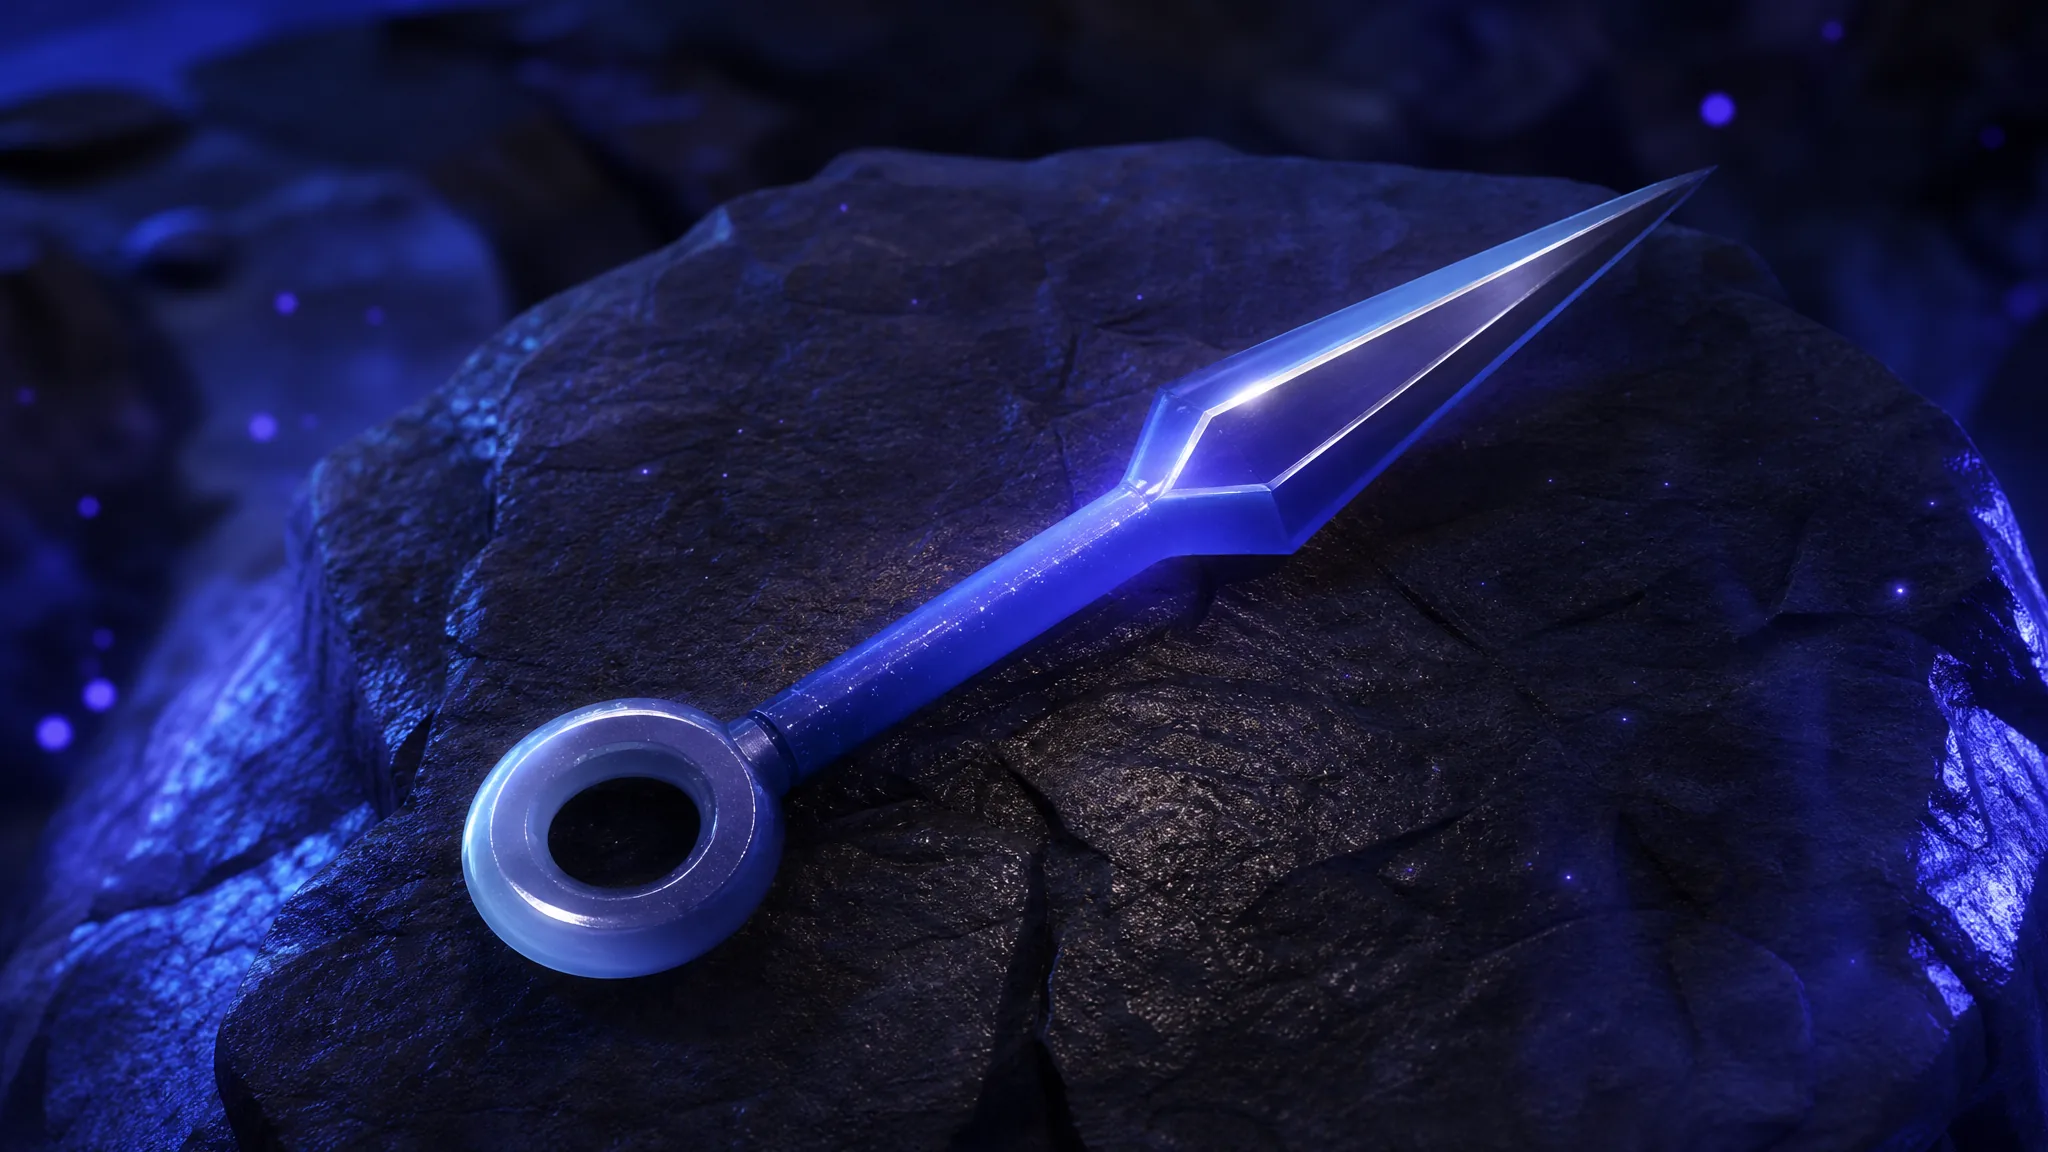
Equipment is the fastest way to push a unit past its base numbers in Anime Expeditions. Every piece adds a guaranteed stat boost, and many unit-specific items also unlock a passive that changes how that unit fights. Each unit has several equipment slots, so gear stacks on top of leveling, traits, and evolution.
Quick answer: Equipment drops from completing Story Mode maps. Standard equipment works on any unit, while unit-specific equipment only fits its matching character and usually requires that unit to be evolved first. Reroll an item’s stats using equipment reroll items from challenges or the Gold Shop (2,500 Gold).
How equipment works
There are two kinds of gear. Standard equipment can be slotted onto any unit, and it exists mainly to give early units a clean stat bump. Unit-specific equipment is tied to a single character and carries a named passive on top of its stats. You cannot equip that gear to any other unit, and most exclusive pieces stay locked until the matching unit is evolved.
Stat rolls come in a range rather than a fixed value. Most pieces grant something like +1% to +10% Damage or -1% to -5% SPA, so the exact number you get is random within that window. That is where rerolling matters, since you can keep rolling until the stat lands near the top of its range.
Where to get equipment
All equipment comes from Story Mode maps. Each map drops both standard gear and the exclusive item tied to a specific unit, which gives you a reason to keep farming higher stages. Before grinding, top off your resources so you are not stopping mid-run, and evolve any unit whose exclusive gear you want to use.
Standard equipment stats and drop maps
Standard equipment is weaker than exclusive gear, but it slots onto anything and is worth using on your early roster while you chase unit-specific pieces.
| Equipment | Stats | Map |
|---|---|---|
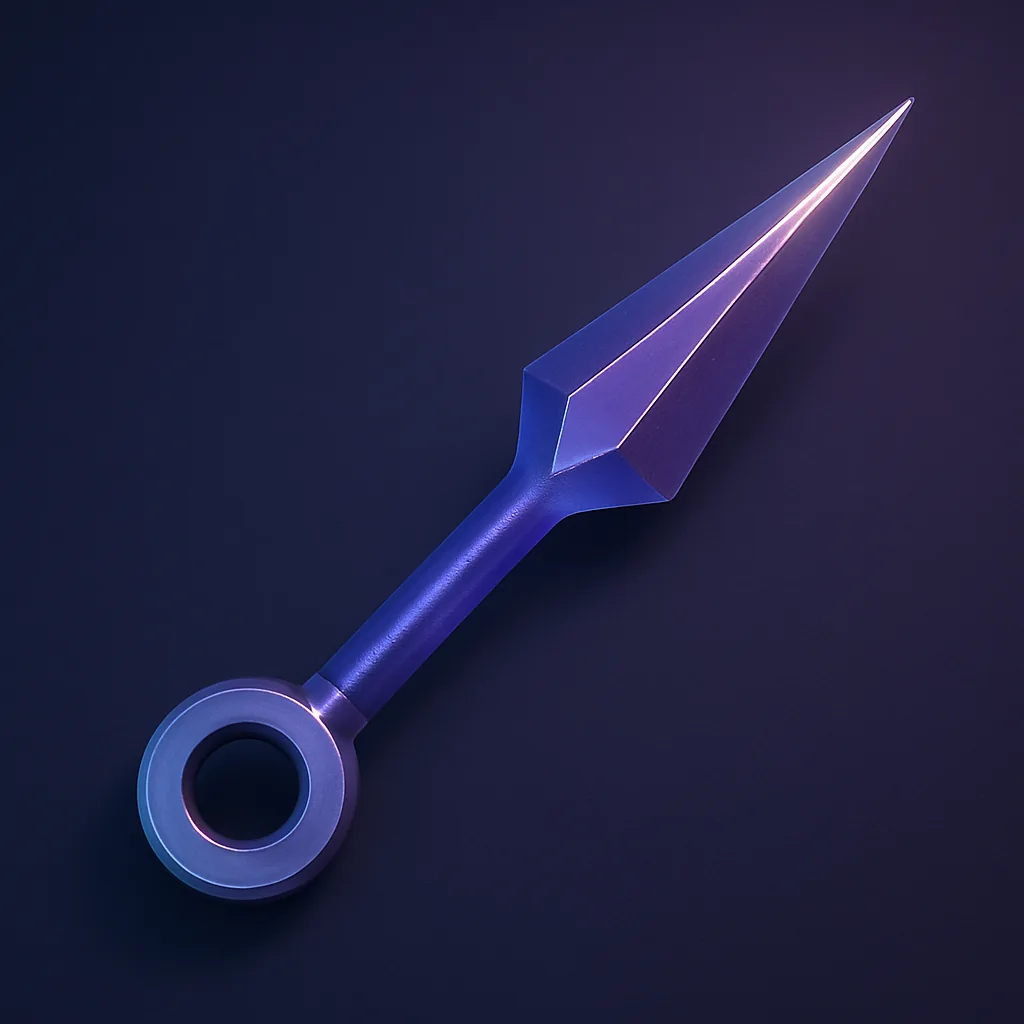 Kunai | +1% to +10% Damage -1% to -5% SPA | School Grounds |
| Katana | +1% to +10% Physical DMG Dealt +1% to +5% Damage | Flower Forest |
| Magic Orb | +1% to +10% Range +1% to +5% Damage | Rose Kingdom |
| Warrior’s Axe | +1% to +10% Physical DMG Dealt -1% to -5% SPA | Fairy King Forest |
| Magic Book | +5% to +20% Magical DMG Dealt | King’s Tomb |
| Shinigami Sword | +5.41% Critical Chance +3.28% Damage Passive: Increase Damage by 0.84% for each enemy in range (Capacity: 15) | TBA |
Unit-specific equipment and passives
Exclusive gear is where the real power sits. Each piece is built for one unit, adds a stat boost, and grants a named passive that can reshape how that unit performs. Unlock the unit, evolve it to the listed form, then farm the map where its gear drops.
| Equipment | Unit | Stats and passive | Map |
|---|---|---|---|
 Promise Ring | Cursed Student (True Love) | +1% to +10% Damage, -1% to -5% SPA. Spirit Bats: every 20 total Bleed stacks in range summons a Bat Spirit (Capacity: 3) dealing 25% of current damage per attack, despawning after 3 attacks. | School Grounds |
| Technique Amplifier | Salmon Sorcerer (Grade 1) | -1% to -5% SPA, +1% to +5% Range. Crumble Away: applies Slow based on attack (Explode 20%, Blast Away 35%, Twist 50%, Crush 65%). | School Grounds |
| Hell’s Flower | Hollow (Blaze) | +1% to +10% Damage, -1% to -5% SPA. Radial Flames: if a burning enemy stops ticking in range, convert 1 burn into Austere Flames for 85% of current damage (does not stack). | Flower Forest |
| Emperor’s Attire | Flame Emperor (Reincarnate) | +1% to +10% Damage, +1% to +5% Range. Wildfire: TBA. | Rose Kingdom |
| Webbed Fruit | String Demon (Awakened) | +1% to +10% Range, -1% to -5% SPA. Cocoon of Carnage: every 5 regular attacks cocoon enemies (TBA). | Rose Kingdom |
| Boulder | Lady Giant (Envy) | -1% to -5% SPA, +1% to +5% Range. Stone Wall: summon a Stone Wall every 12 seconds (TBA). | Fairy King Forest |
| Calamity’s Eye | Puppet (Telekinetic) | +1% to +10% Damage, +1% to +5% Range. Puppet Creation: TBA. | Fairy King Forest |
| Elven Battle Staff | Elf Mage | -1% to -5% SPA, +1% to +5% Damage. Arcane Spells count as Follow-Up Attacks; 3 charges cast Old Magic (line AoE, 100%), 5 charges cast Eruption (circle AoE, 125%, applies Slow). | King’s Tomb |
| Spirit of the Moonblade | Reaper (Released) | +2.8% Critical Chance, +3.7% Critical Damage. Adaptation: for each enemy type attacked, +10% Damage and +10% Critical Chance (permanent). | TBA |
| Hair Bells | 8th Sword (Berserk) | +2.26% Damage, +1.04% Range. Demonic Presence: enemies within 50% of range take 15% of current damage per second. Savage Rebound: on stun, cleanse it and perform a 125% Thunderclap Cut follow-up; all follow-ups apply Dismembered. | TBA |
Note: entries marked TBA have passives or drop maps that are not fully detailed yet, so treat those pieces as works in progress until their effects are confirmed in-game.
How to reroll equipment stats
Because each stat rolls inside a range, you can reroll a piece until the number sits near the top. Rerolling uses equipment reroll items, which come from challenges and the Gold Shop for 2,500 Gold each.
Pair standard gear with your early units for quick stat gains, then focus your farming on the maps that drop the exclusive pieces for your best characters. Lining up an evolved unit, its dedicated equipment, and a strong trait is the clearest way to squeeze the most damage out of a single slot on your team.





