Equipment is the most reliable way to squeeze extra damage out of your units in Anime Expeditions. Every piece adds a guaranteed stat boost, and the special ones tied to individual characters also unlock powerful passives that change how a unit fights. Each unit has several equipment slots, and some carry gear built only for them.
Quick answer: You get equipment by clearing Story Mode maps. Standard gear works on any unit, while unit-specific gear only fits its matching character and usually requires that unit to be evolved first.
How to get equipment in Anime Expeditions
Equipment drops from Story Mode maps. Each map hands out standard equipment along with the exclusive gear meant for a specific unit, so pushing higher stages gives you access to more pieces. Before you start grinding, top up your resources with active codes and make sure the character you want to gear is unlocked. Most unit-specific equipment also asks for the unit to be evolved, so upgrade first.
Unit-specific equipment and passives
These pieces can only be equipped by the character they were designed for. The stat ranges scale, and the named passive is what makes each one worth farming. The table below lists every unit-specific piece, the character it belongs to, its stats and passive, and the map where it drops.
| Equipment | Unit | Stats and passive | Map |
|---|---|---|---|
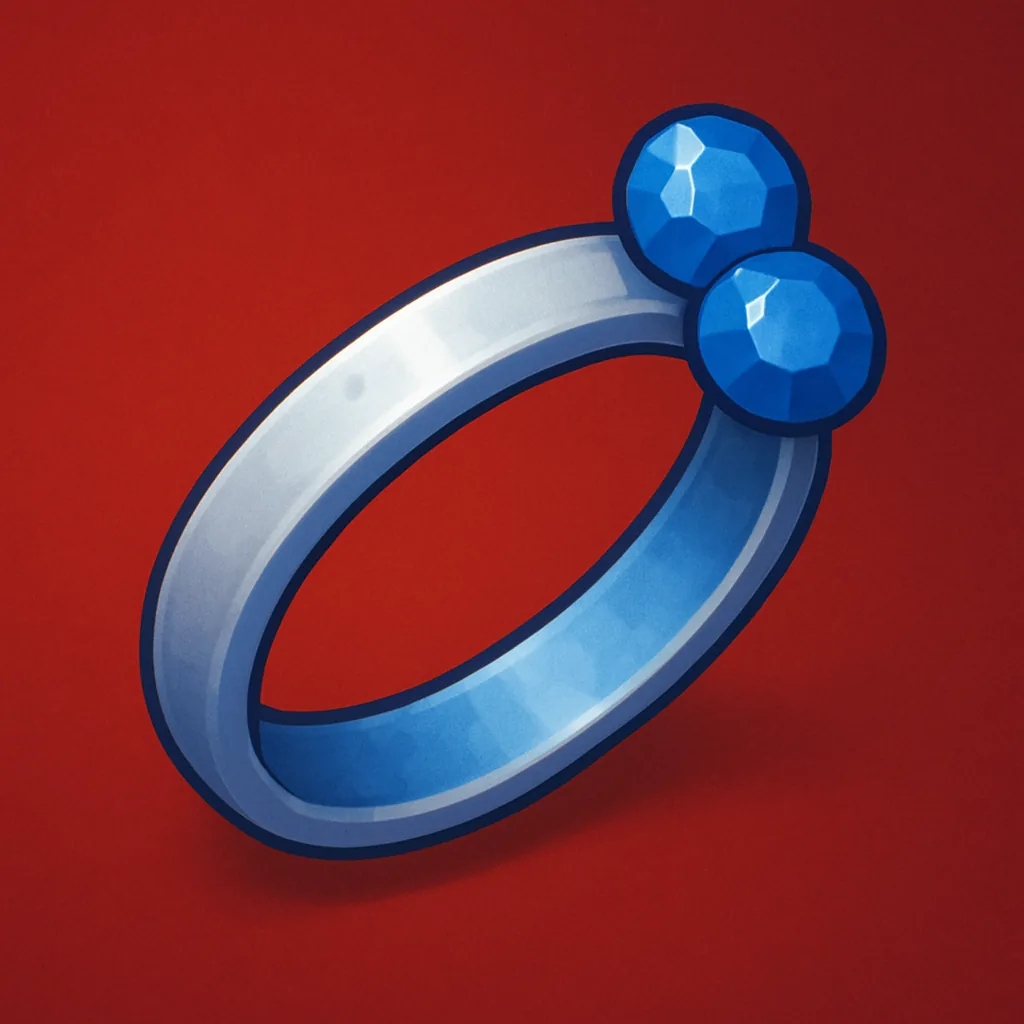 Promise Ring | Cursed Student (True Love) | +1% to +10% Damage, -1% to -5% SPA. Spirit Bats: every 20 total Bleed stacks in range summons a Bat Spirit (Capacity 3) that deals 25% of the unit’s current damage per attack and despawns after 3 attacks. | School Grounds |
 Technique Amplifier | Salmon Sorcerer (Grade 1) | -1% to -5% SPA, +1% to +5% Range. Crumble Away: applies Slow based on the current attack — Explode 20%, Blast Away 35%, Twist 50%, Crush 65%. | School Grounds |
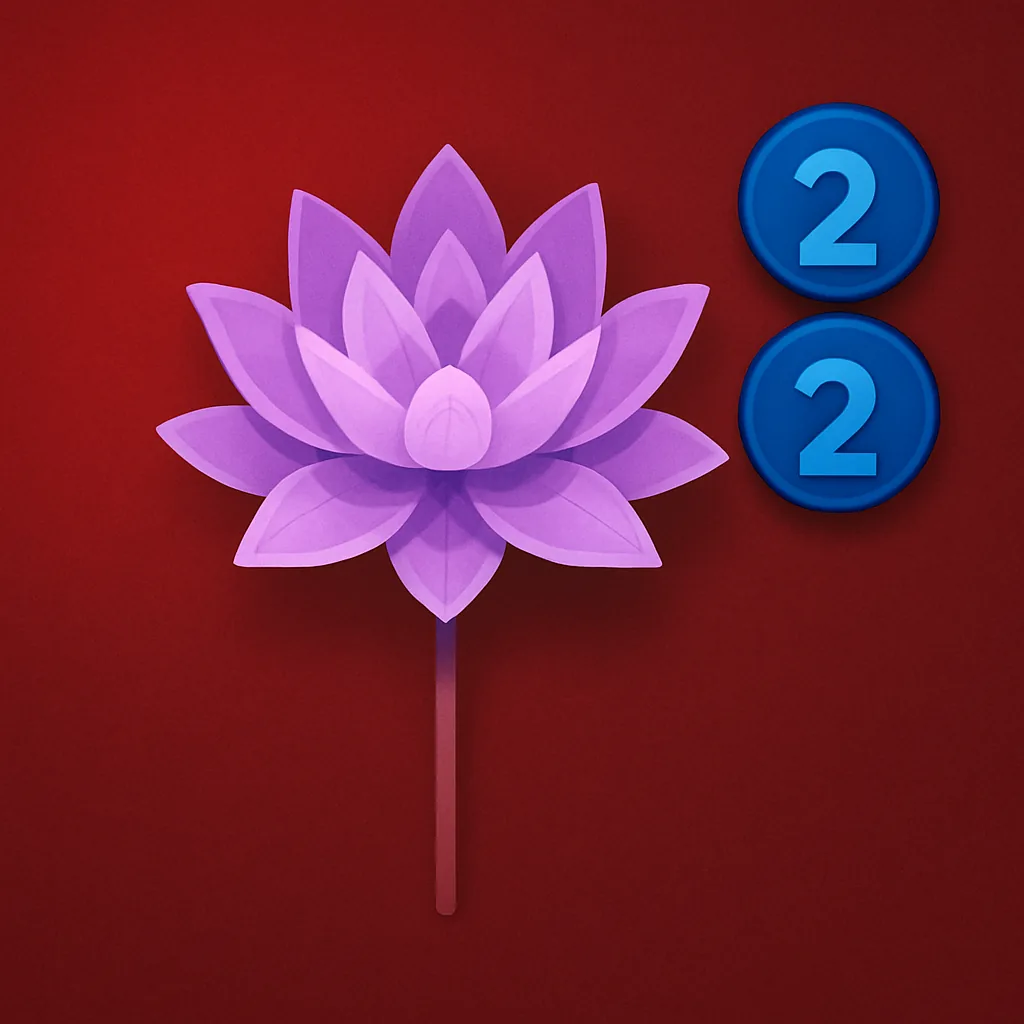 Hell’s Flower | Hollow (Blaze) | +1% to +10% Damage, -1% to -5% SPA. Radial Flames: if a burning enemy stops ticking in range, converts 1 burn into Austere Flames for 85% of current damage. This instance does not stack. | Flower Forest |
 Emperor’s Attire | Flame Emperor (Reincarnate) | +1% to +10% Damage, +1% to +5% Range. Wildfire: TBA. | Rose Kingdom |
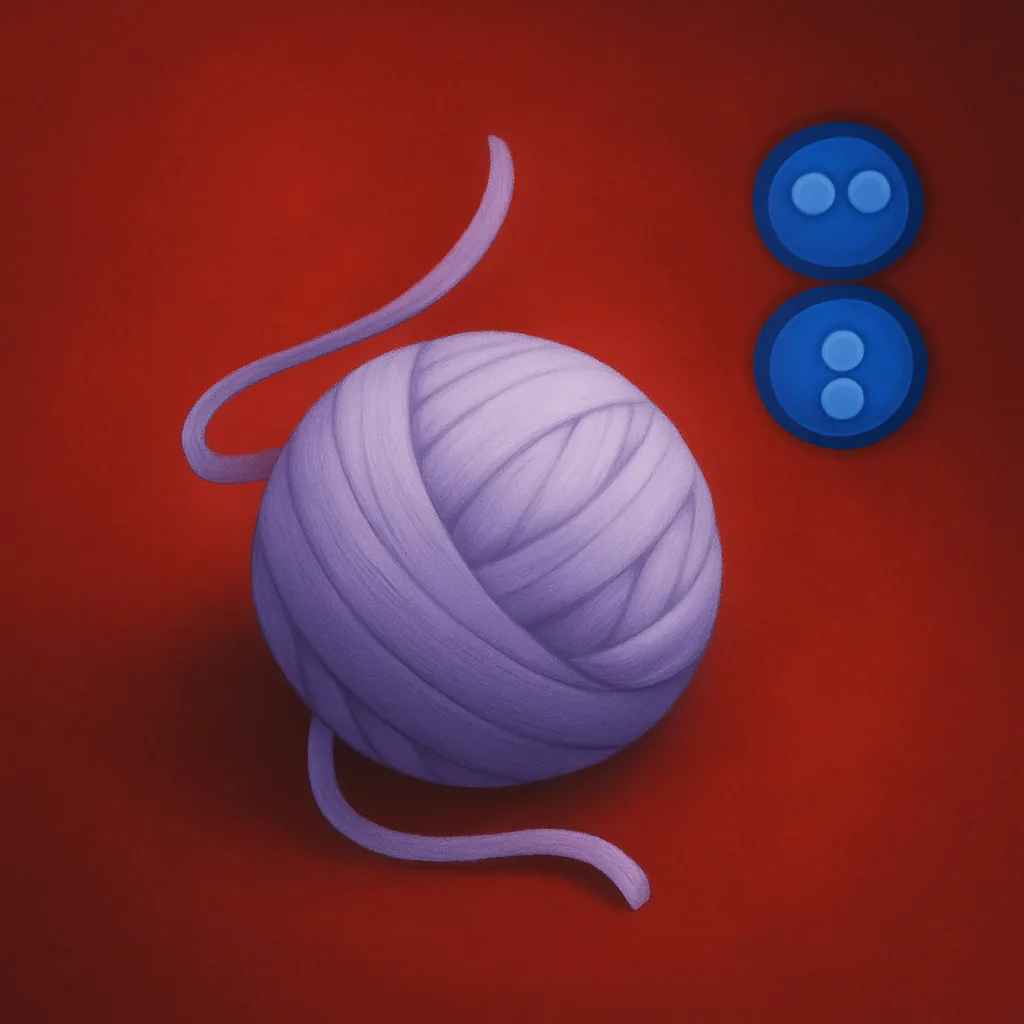 Webbed Fruit | String Demon (Awakened) | +1% to +10% Range, -1% to -5% SPA. Cocoon of Carnage: every 5 regular attacks cocoons enemies (further effect TBA). | Rose Kingdom |
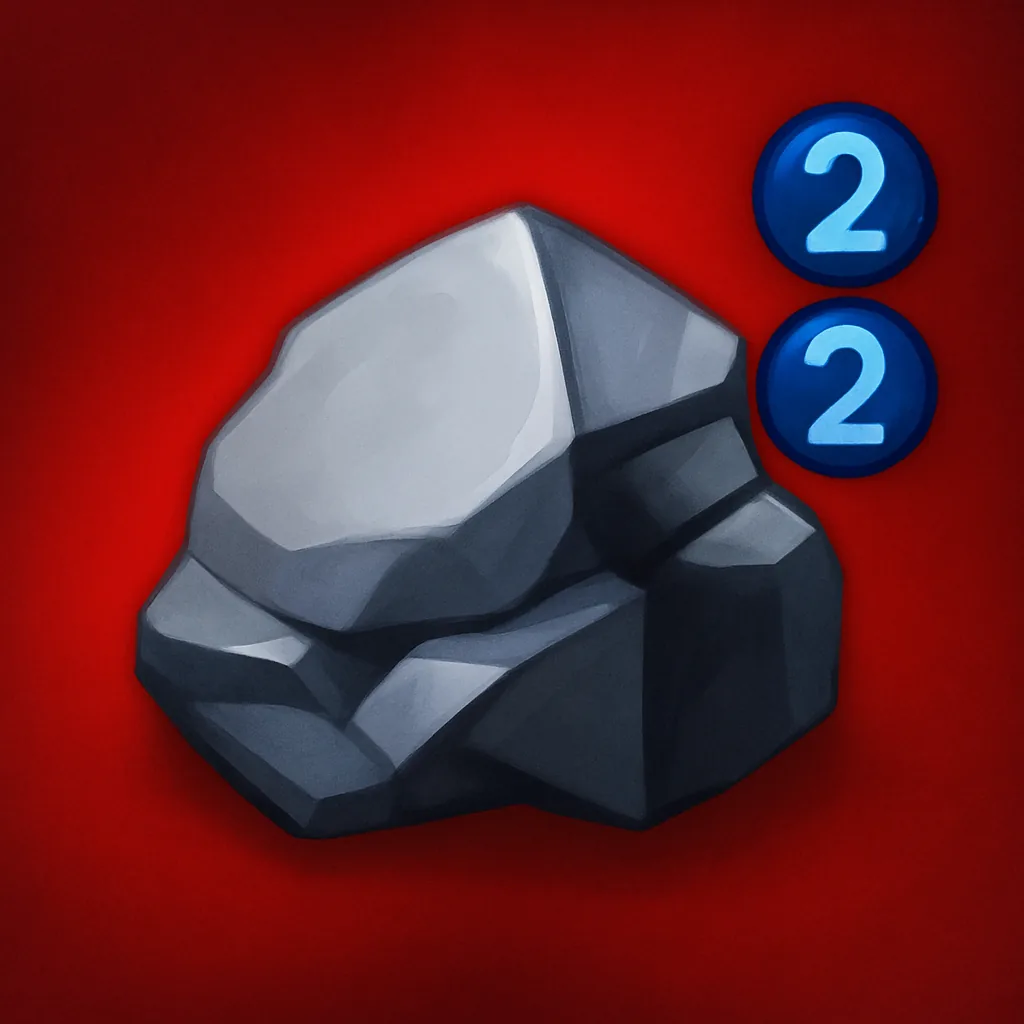 Boulder | Lady Giant (Envy) | -1% to -5% SPA, +1% to +5% Range. Stone Wall: summons a Stone Wall every 12 seconds (further effect TBA). | Fairy King Forest |
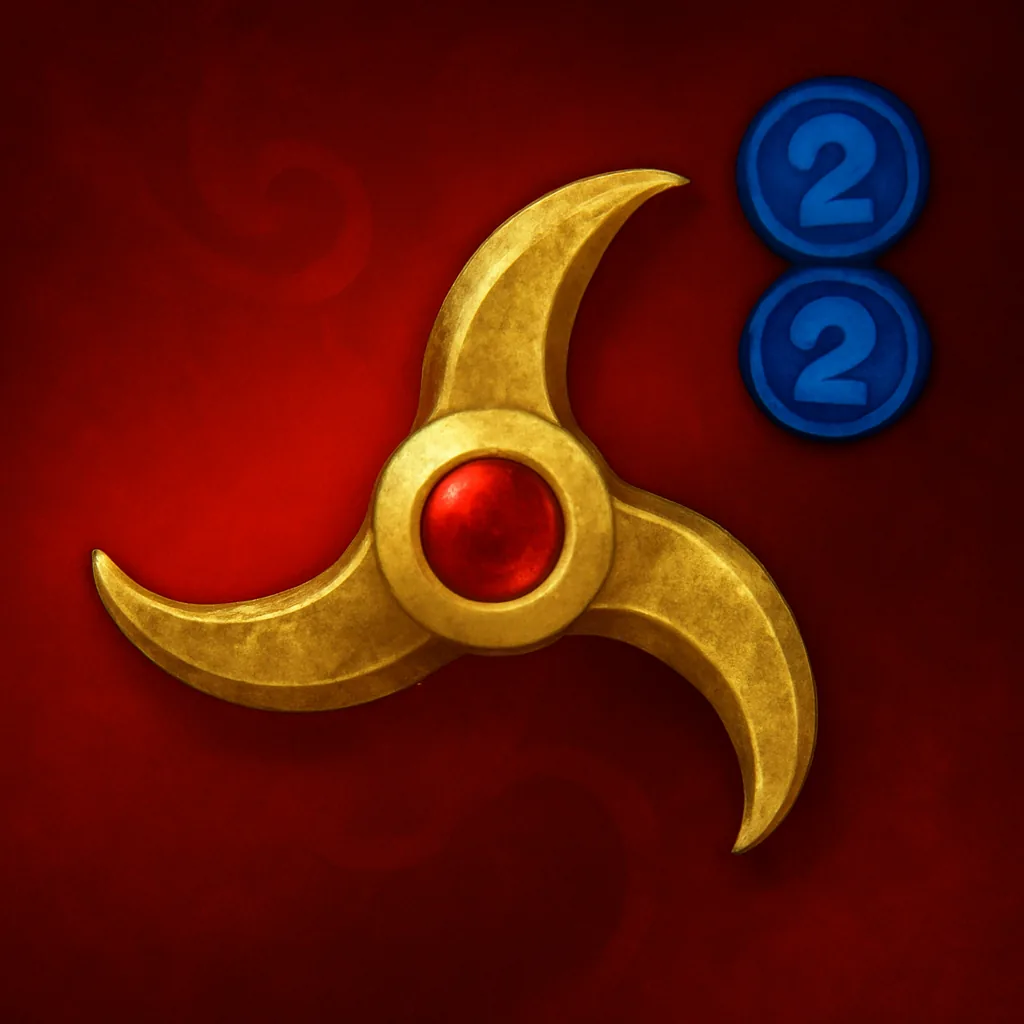 Calamity’s Eye | Puppet (Telekinetic) | +1% to +10% Damage, +1% to +5% Range. Puppet Creation: TBA. | Fairy King Forest |
 Elven Battle Staff | Elf Mage | -1% to -5% SPA, +1% to +5% Damage. Arcane Spells: counts as Follow-Up Attacks. At 3 Charges casts Old Magic (line AoE, 100% damage); at 5 Charges casts Eruption (circle AoE, 125% damage, applies slow). | King’s Tomb |
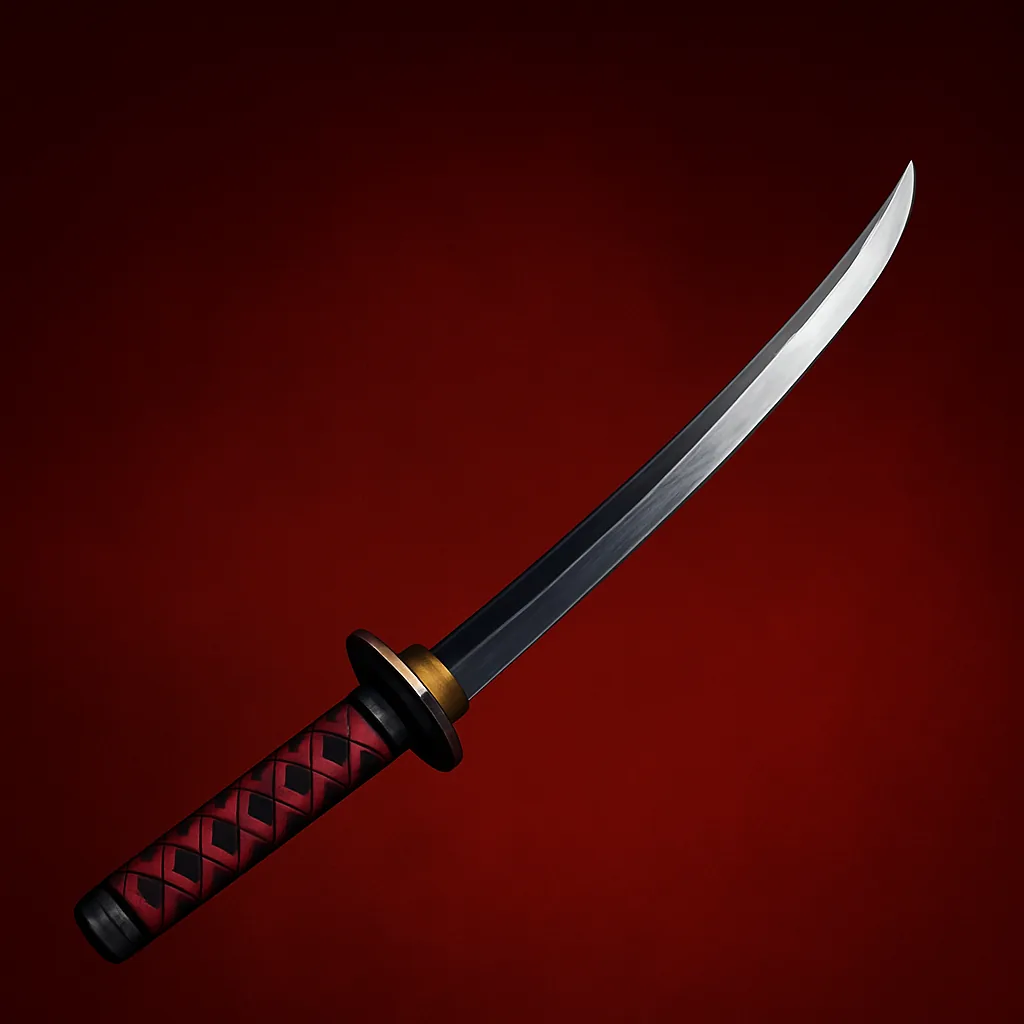 Spirit of the Moonblade | Reaper (Released) | +2.8% Critical Chance, +3.7% Critical Damage. Adaptation: gains permanent buffs after attacking different enemy types — +10% Damage and +10% Critical Chance per enemy type attacked. | TBA |
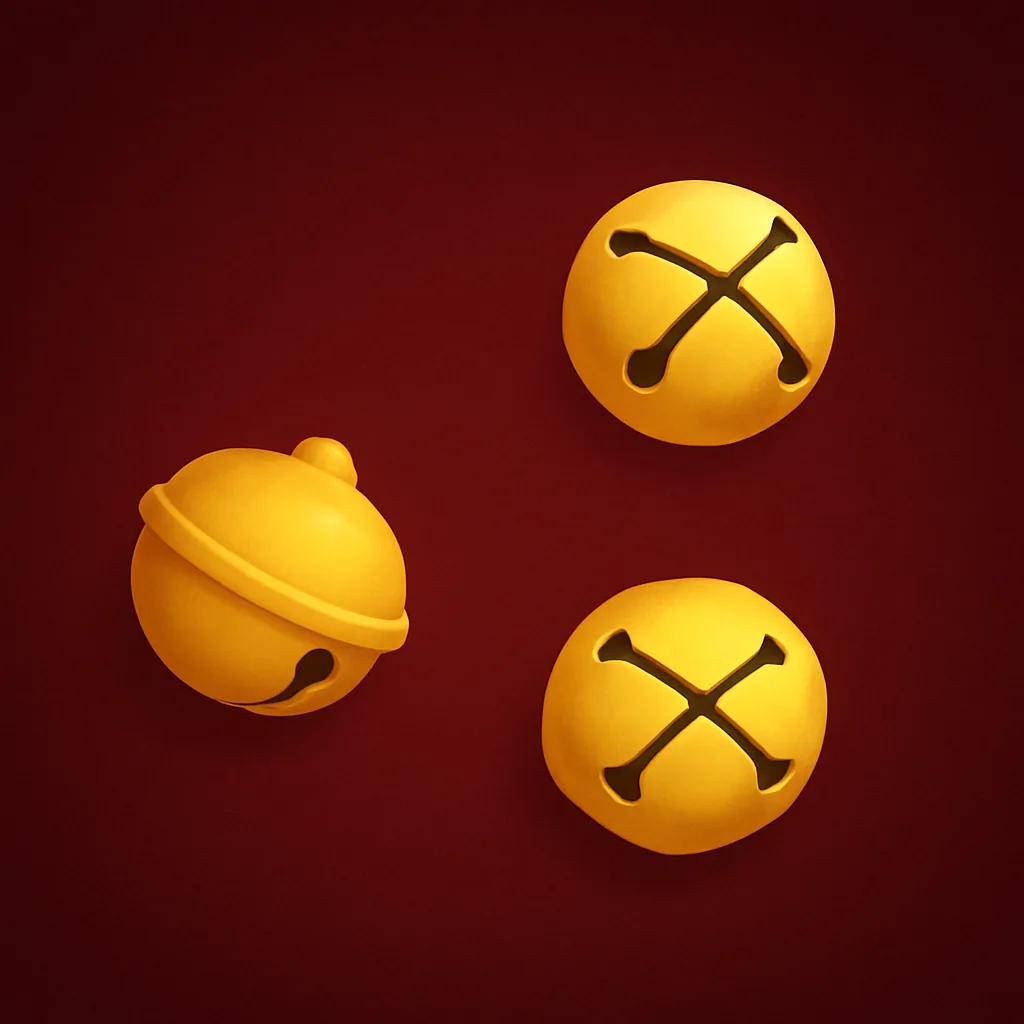 Hair Bells | 8th Sword (Berserk) | +2.26% Damage, +1.04% Range. Demonic Presence: enemies within 50% of range take 15% of current damage every second. Savage Rebound: when stunned, cleanses the stun and performs a Thunderclap Cut follow-up at 125% damage. All follow-up attacks apply Dismembered. | TBA |
Standard equipment for any unit
Standard equipment can go on any unit, which makes it a flexible option for your early roster. These pieces are weaker than the exclusive gear, but they still deliver a solid stat boost while you build toward stronger carries. The list below covers each standard piece, its stats, and the map that drops it.
| Standard equipment | Stats | Map |
|---|---|---|
 Kunai | +1% to +10% Damage, -1% to -5% SPA | School Grounds |
 Katana | +1% to +10% Physical DMG Dealt, +1% to +5% Damage | Flower Forest |
 Magic Orb | +1% to +10% Range, +1% to +5% Damage | Rose Kingdom |
 Warrior’s Axe | +1% to +10% Physical DMG Dealt, -1% to -5% SPA | Fairy King Forest |
 Magic Book | +5% to +20% Magical DMG Dealt | King’s Tomb |
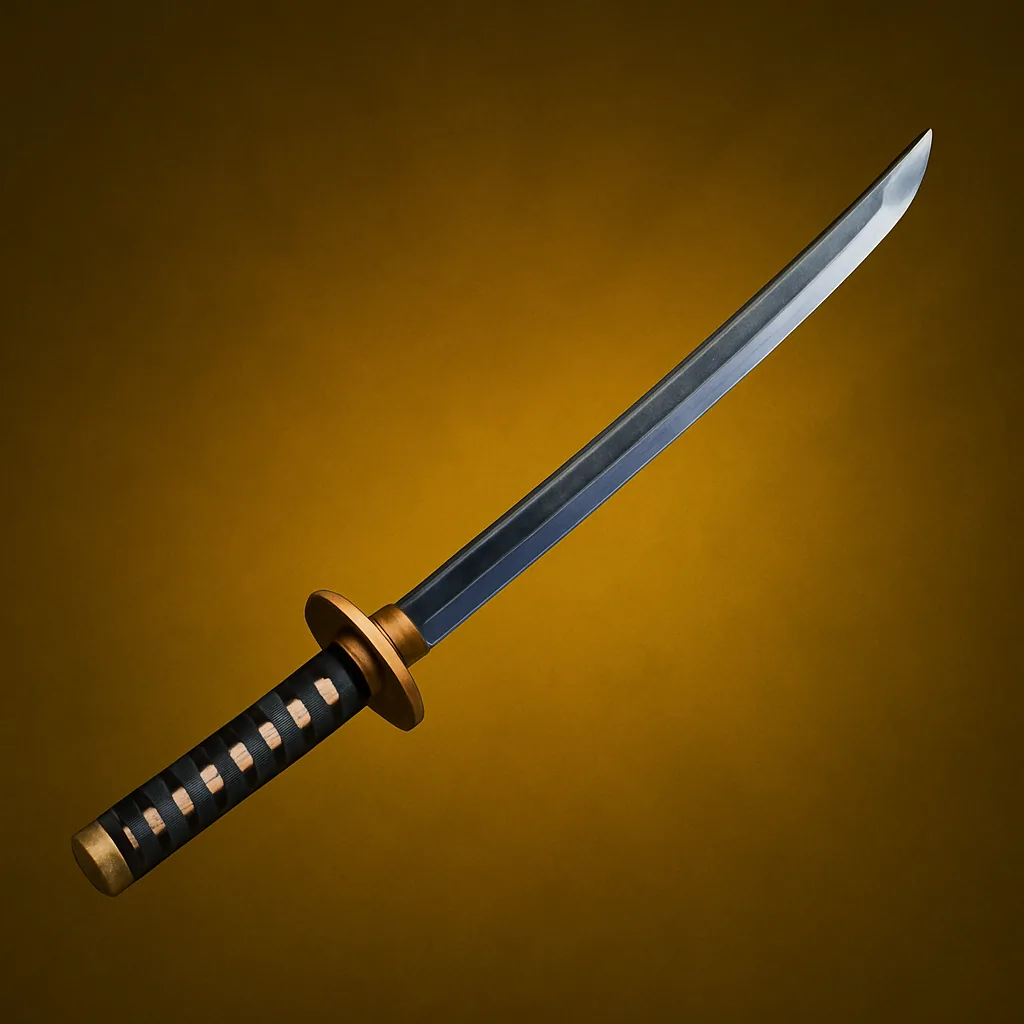 Shinigami Sword | +5.41% Critical Chance, +3.28% Damage. Shinigami Sword: +0.84% Damage for each enemy in range (Capacity 15). | TBA |
How to reroll equipment stats
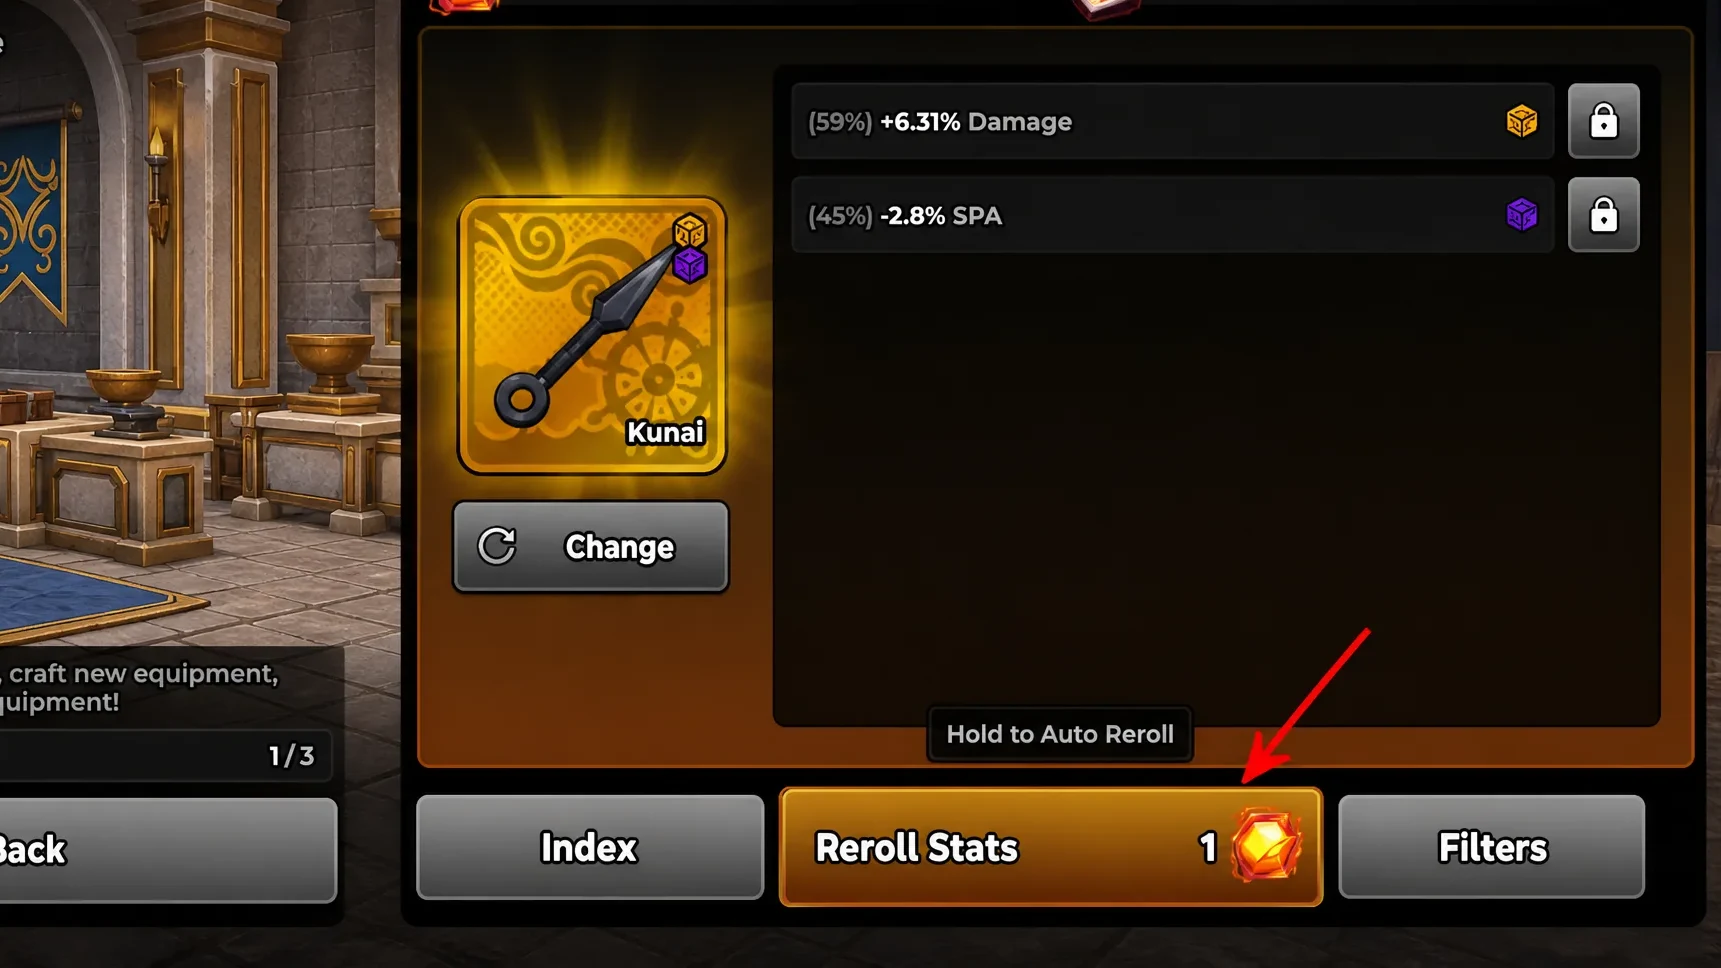
Once you own the piece you want, you can reroll its stats using equipment reroll items. These items come from challenges and the Gold Shop, where they cost 2,500 Gold each. Reroll repeatedly if you are chasing the maximum values on a key piece.
You can also buy an equipment lock, which holds a specific stat in place while you reroll the rest. That saves you from losing a good roll while you push another stat higher.
Gear your best evolved units with their exclusive equipment first, since those passives shift the most weight in Story, Expeditions, and Raids. Lean on standard pieces for the rest of your roster, and pair each carry with a strong trait to get the most out of every damage boost.