
Raid Act 3 of the Entertainment District on Hard is one of the few places in Anime Origins that drops Tango, the Mythic version of Tengen Uzui. The clear is stable enough to record once and replay on a loop, and it does not depend on any unit carrying the Immortal trait. A single team of Level 70 units handles the full 20 waves, which is what makes the automation reliable.
Quick answer: Load Entertainment District Raid – Act 3 (Hard) with Bulma (Data Analyst), Leo, Goku (Super 3), Vegeta (Super), Roxy (Mage), and Melio at Level 70, record a full clear in TinyTask, then click Replay on the victory screen before stopping the recording so it loops.
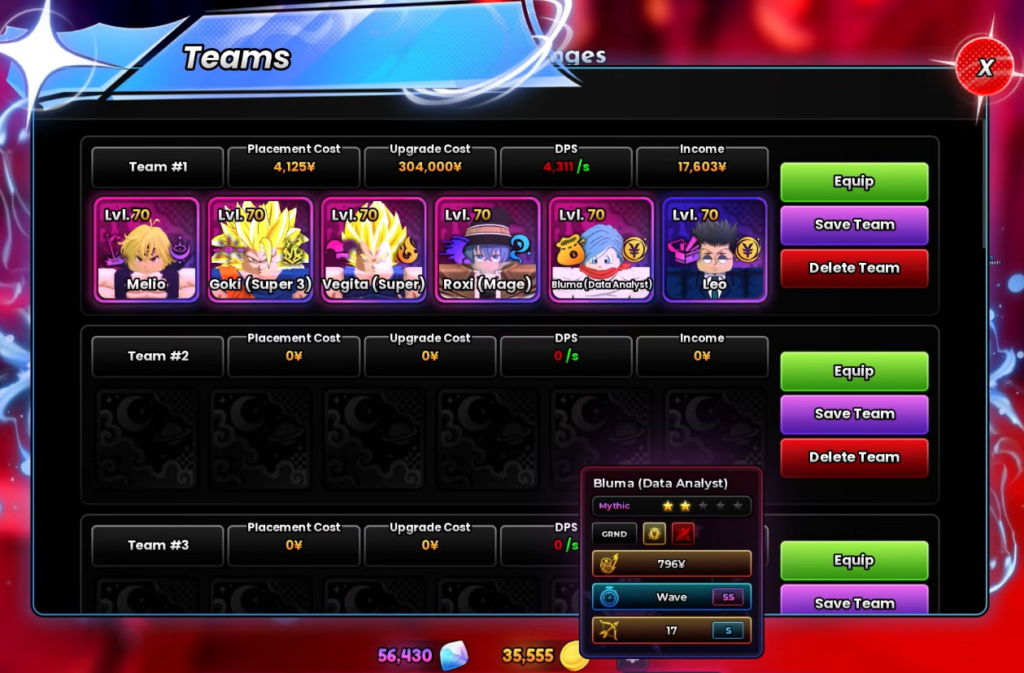
Team and requirements for Entertainment District Act 3 (Hard)
The whole point of this setup is that it works with a standard roster. Every unit sits at Level 70, and none of them need the Immortal trait to survive the boss wave. Bulma handles income, Leo covers the early path, and the rest form the damage core.
| Unit | Role | Level |
|---|---|---|
| Bulma (Data Analyst) | Income / farm | 70 |
| Leo | Early-wave defense | 70 |
| Goku (Super 3) | Damage + repositioning | 70 |
| Vegeta (Super) | Damage | 70 |
| Roxy (Mage) | Support damage | 70 |
| Melio | Primary damage / crowd control | 70 |
You will also need TinyTask, the input recorder that captures your mouse clicks and plays them back. Raids unlock at player Level 10, so any account past that point can enter the portal and select Entertainment District, Raid – Act 3 on Hard.
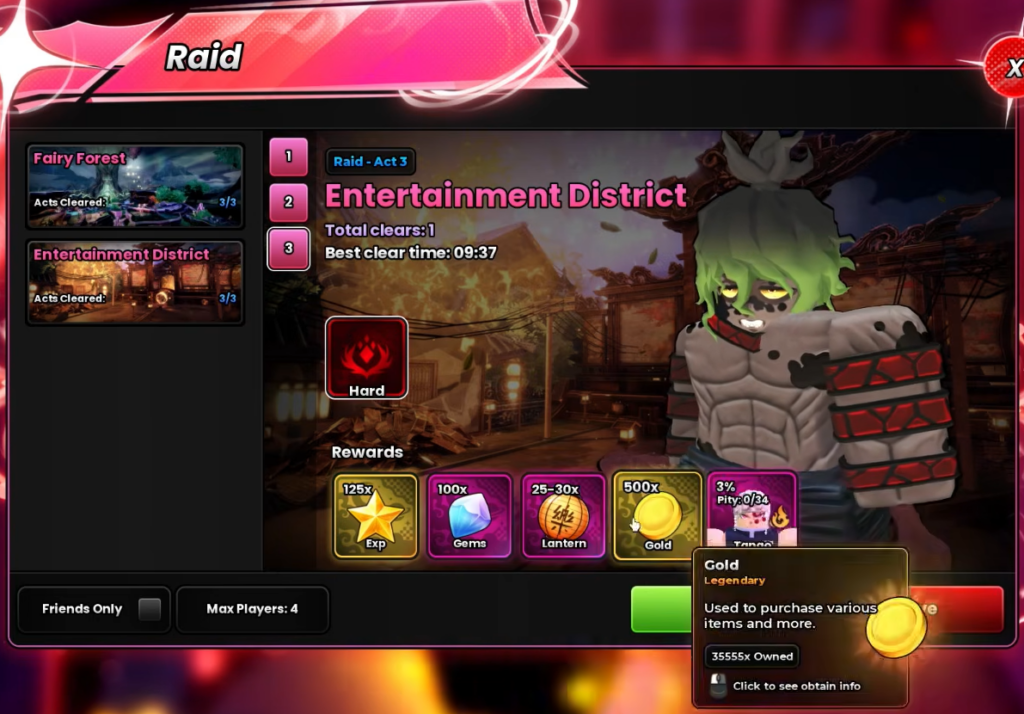
What the raid drops
A single clear pays out a fixed bundle plus a chance at the unit itself. Tango has a 1% drop rate per completion, which is exactly why looping the run matters. The Lanterns you earn each clear feed into the Raid Shop.
| Reward | Amount per clear |
|---|---|
| Gems | 100 |
| Tango (Tengen) | 1% drop chance |
| Lanterns | 26 |
| Gold | 100 |
| XP | 145 |
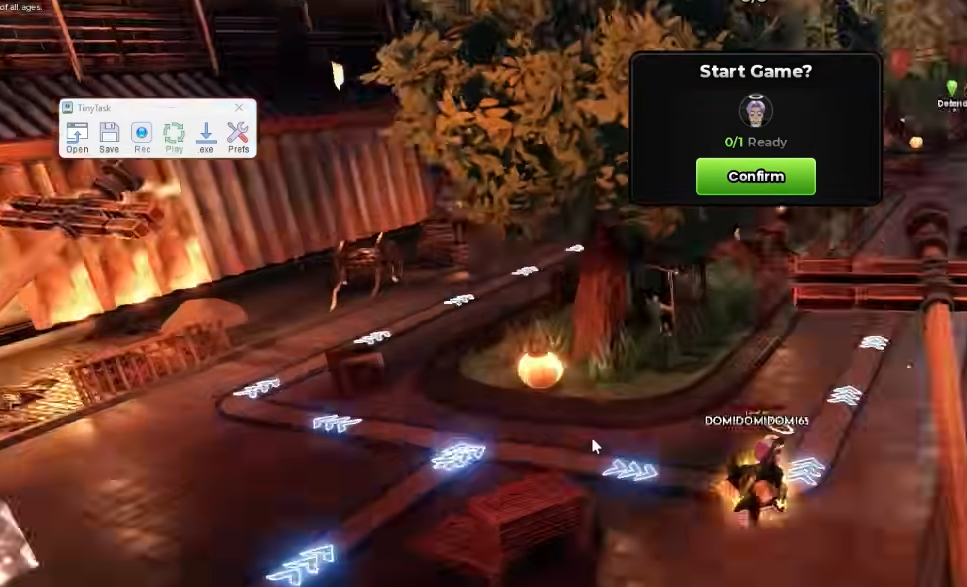
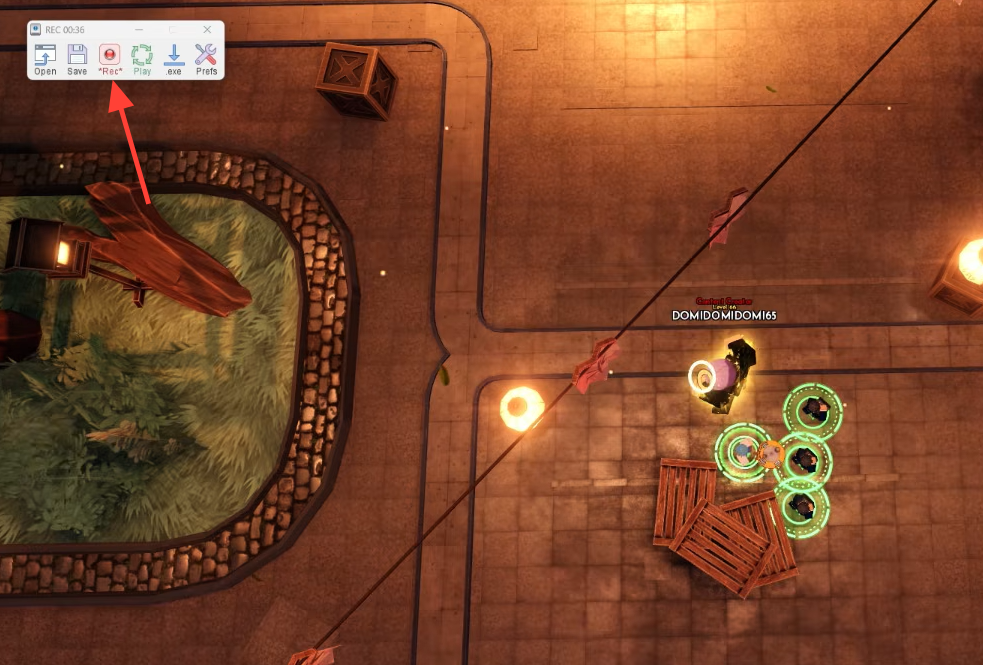
Record the macro in TinyTask
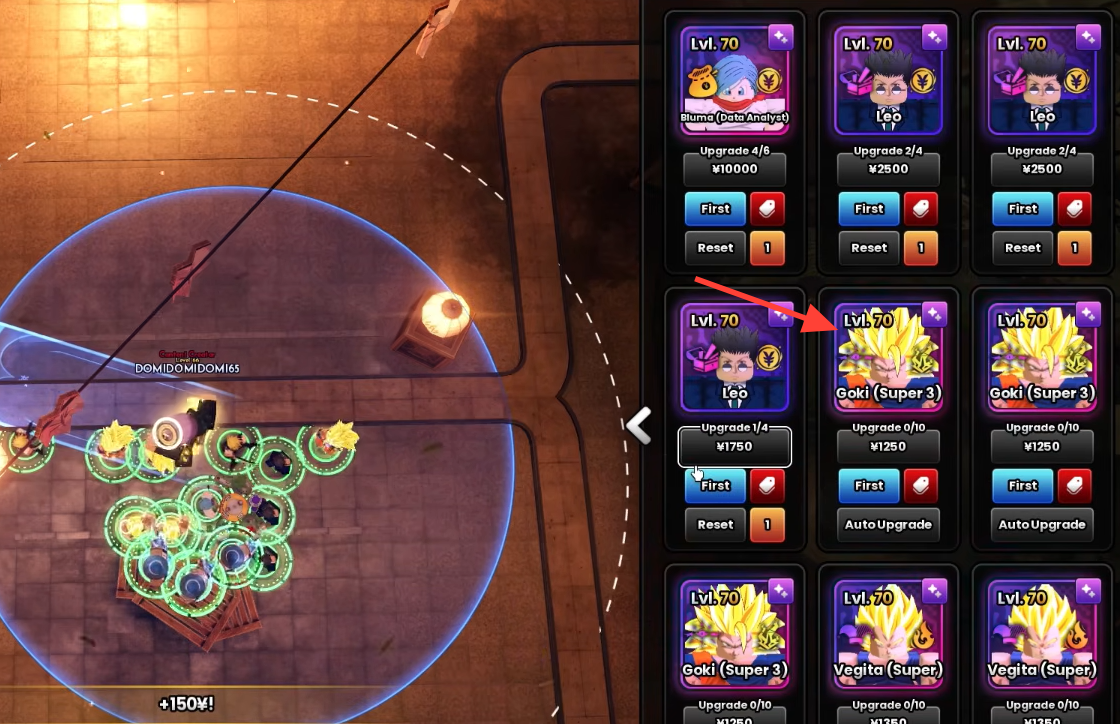
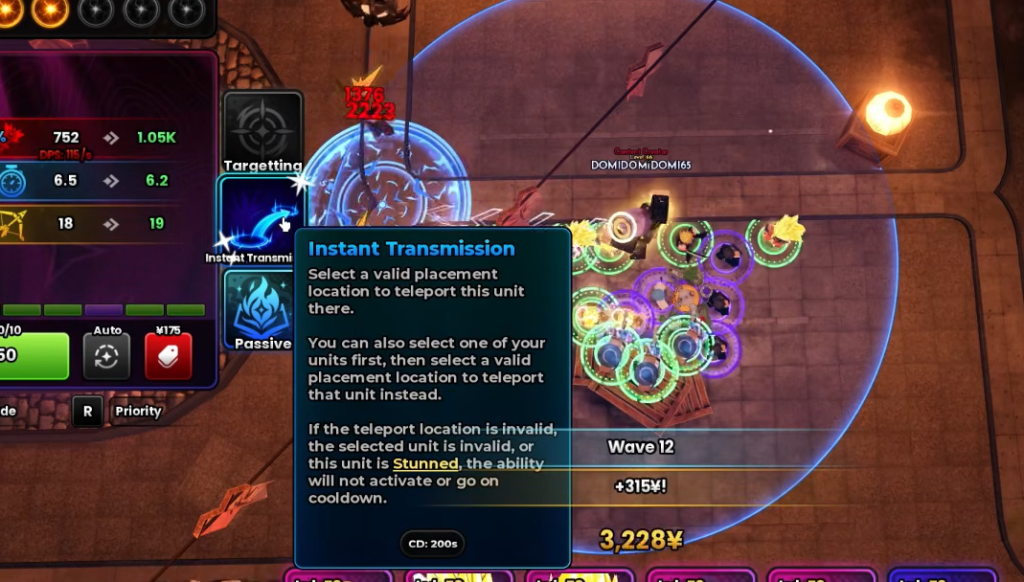
Close the loop so the macro repeats
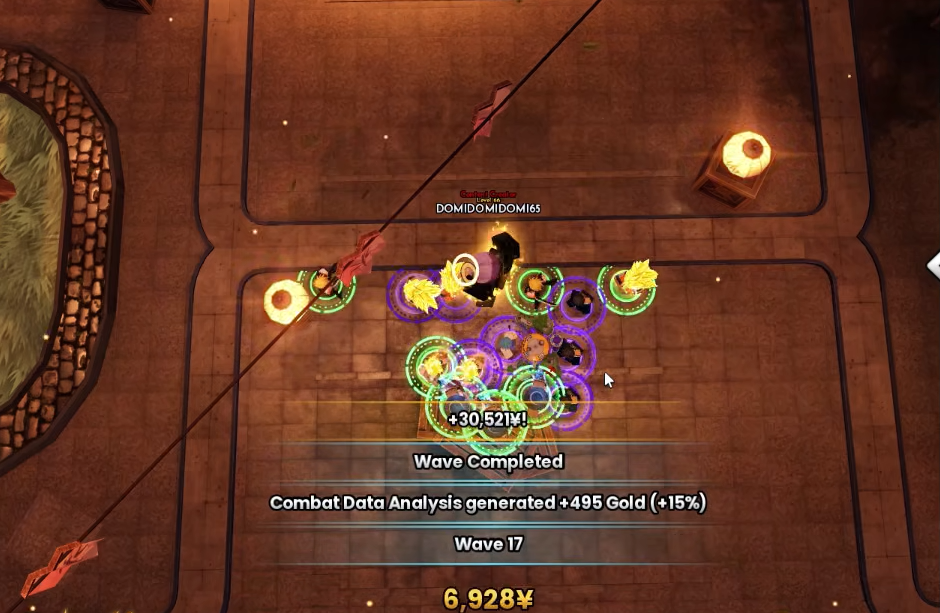
The final recorded action is what turns one clear into a farm. When the victory screen appears, wait a couple of seconds for it to settle, click Replay to queue the next attempt, and only then stop the TinyTask recording. Playing that recording back on a loop will now start each new raid automatically.
A full run takes roughly nine and a half minutes end to end, clearing all 20 waves. Because the macro re-enters the raid on its own, you can leave it running to stack Gems, Lanterns, and rolls at Tango’s 1% chance.
How to confirm the run worked
A successful clear ends on the boss defeat and shows the reward summary along with a stats screen listing waves completed, total damage, takedowns, and time played. If Tango drops, it appears directly in that reward list. Seeing the victory screen and the Replay button is the signal that the loop point in your recording is valid.
If the macro drifts and units land in the wrong spots, the most common causes are a camera angle that differs from when you recorded and a screen resolution change between sessions. Re-zoom fully, match your original camera, and record again to fix placement misalignment.
Spend Lanterns to evolve Tango
Pulling Tango is only half the goal. The Raid Shop trades Lanterns for the Dual Nichirin Cleavers, the item that evolves Tango into his stronger form. The Cleavers cost 300 Lanterns, so at 26 Lanterns per clear you will bank enough across roughly a dozen runs. The same shop also stocks Trait Rerolls, which is useful since Tango’s recommended trait is Stride.
Once you have both the unit and the Cleavers, Tango slots in as a strong Meta Ground DPS, which makes the repeated Entertainment District farm worthwhile long after the first drop.