The reworked Unbound Tower in Anime Vanguards rewards a very specific kind of team. Its stat buffs are tied to a unit’s element rather than its rarity or trait, which means a roster full of strong units can still underperform if half of them are the wrong element. Built correctly, a single player running six Unbound units can push deep into triple-digit floors before enemy health becomes the wall.
Quick answer: Only units with Unbound as their primary element receive the Unbound Tower’s stat buffs. Drop any off-element unit from the lineup before entering, and a fully Unbound solo team can clear through to Floor 179 before failing to overwhelming boss HP.
Unbound Tower buff rule: Primary element only
The tower applies its stat bonuses by checking a unit’s primary element. A unit that merely has Unbound as a secondary tag, or belongs to a different element entirely, is deployed at base stats while everything around it is scaled up. That gap shows up immediately on higher floors, where an unbuffed damage dealer stops keeping pace with enemy health.
This is what forces the most common lineup change. Gilgamesh (King of Heroes) with the Monarch trait is a strong Monarch unit on paper, but he does not pick up the tower buffs here, so he gets replaced. Tuji (Sorcerer Killer), also a Monarch, takes the slot instead and immediately benefits from the tower scaling while costing less to place.
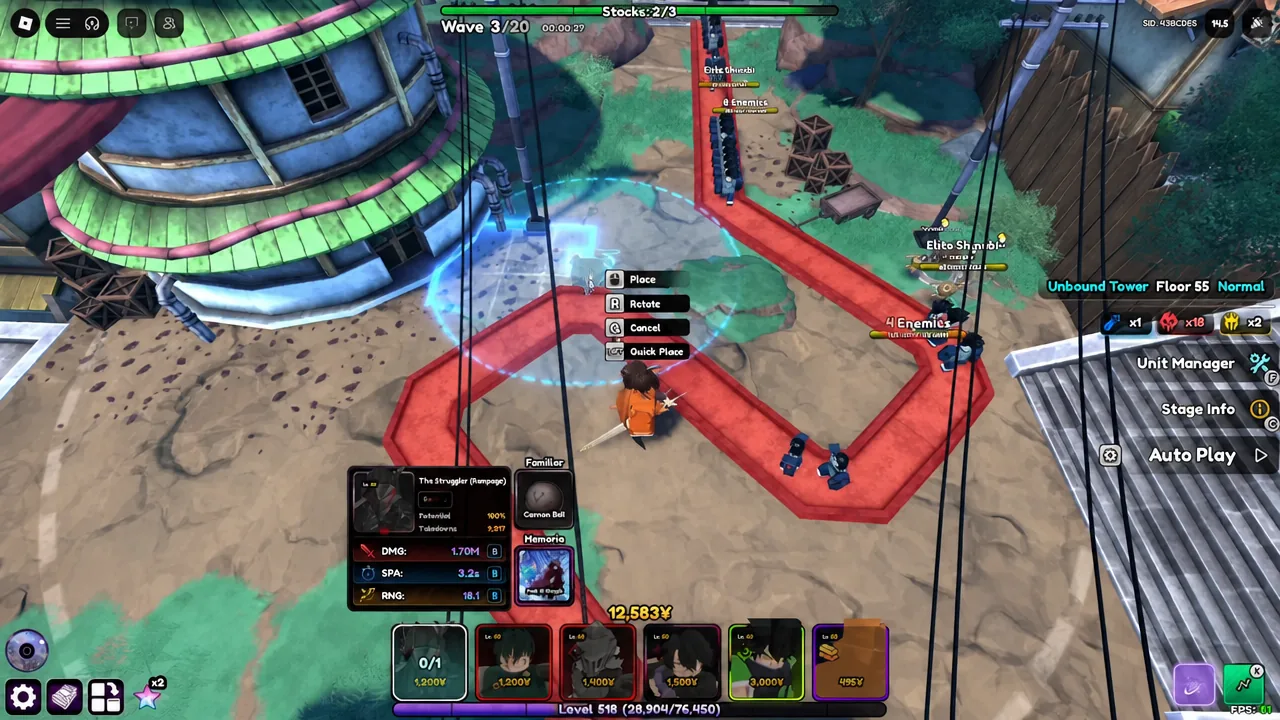
Verify the swap before you commit. If a unit is getting the tower buff, its stat values on the placement card read higher inside the tower than they do in the lobby. If the numbers match the lobby, that unit is not on-element and should be cut.
The six-unit solo lineup
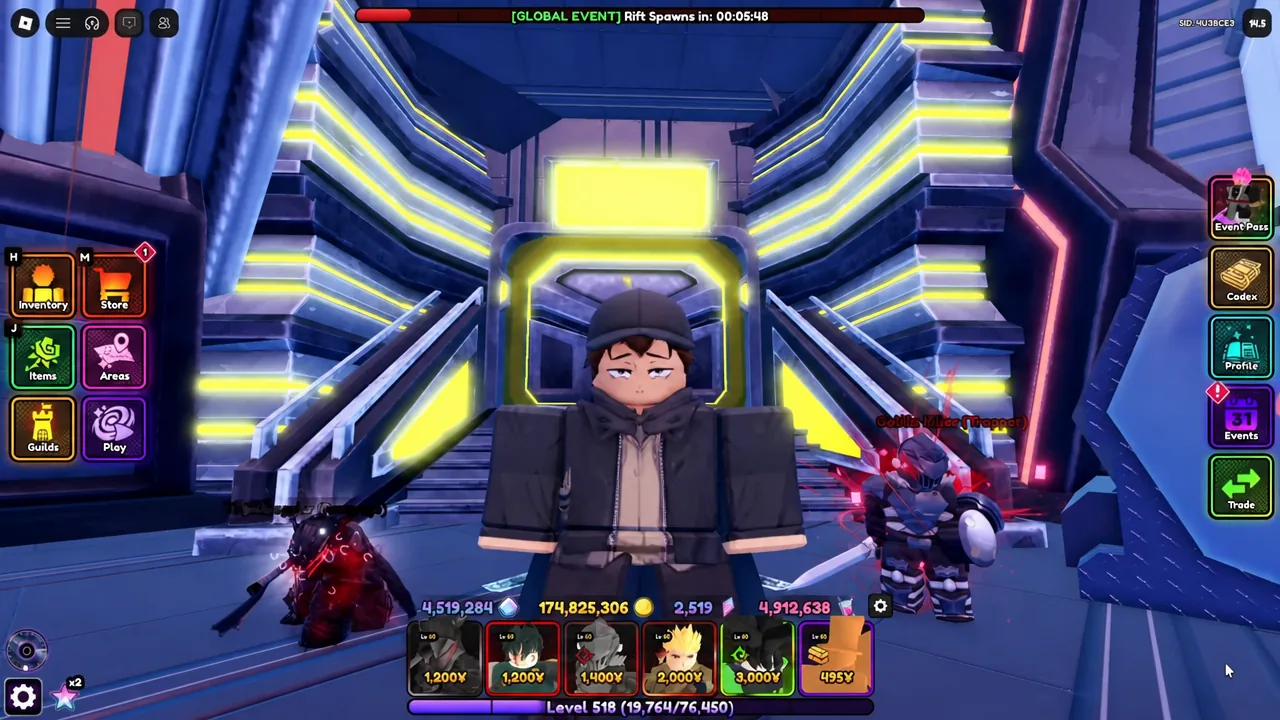
Six slots are enough for a solo run, and each one covers a distinct job: sustained damage, shield removal, crowd clear, cleanup, and income. Every unit here sits at Level 60.
| Unit | Trait | Role in the run |
|---|---|---|
| The Struggler (Rampage) — Guts | Monarch | Primary DPS; over 1.2 billion damage per hit with Berserker Armor active |
| Tuji (Sorcerer Killer) — Toji | Monarch | Overshield removal; low placement cost |
| Broly Super (Wrathful) | Deadeye | Applies bleed, which feeds Guts’ slow effect |
| Goblin Killer (Trapper) — Goblin Slayer | Deadeye | Backline trap stacking to finish off leaking bosses |
| Awakened Sibling (Restricted) — Maki | — | Stat and range coverage across the track |
| Sprintwagon — Speedwagon | Fortune | Income unit for early placements |
The support layer matters as much as the units. Peak of Shinobi (Divinity), Band of Master and Disciple (Deadeye), Shackled Sight (Contagious), and Unlikely Doctor (Jack of All) are the Memorias in play, with Cannon Ball, Sealed Spell Scroll, Sword of Rupture, The Doctor [I], and Yuruzuu [II] filling the familiar slots. Shackled Sight is the important one, since it is what turns Broly into the bleed applier that unlocks Guts’ slow.
Breaking overshields with Toji
Overshields are the main reason solo runs stall in the mid floors. Bosses arrive with a shield layer sitting on top of their health bar, and until that layer is gone, raw damage output is wasted. Toji answers this directly, stripping 50 percent of a boss overshield the moment his skill activates.
Because his placement cost is low, he goes down early rather than being saved for the wave 20 boss. Each floor runs 20 waves with the boss arriving at the end, so having Toji already positioned and upgraded means the shield comes off as soon as the boss enters range instead of halfway down the track.
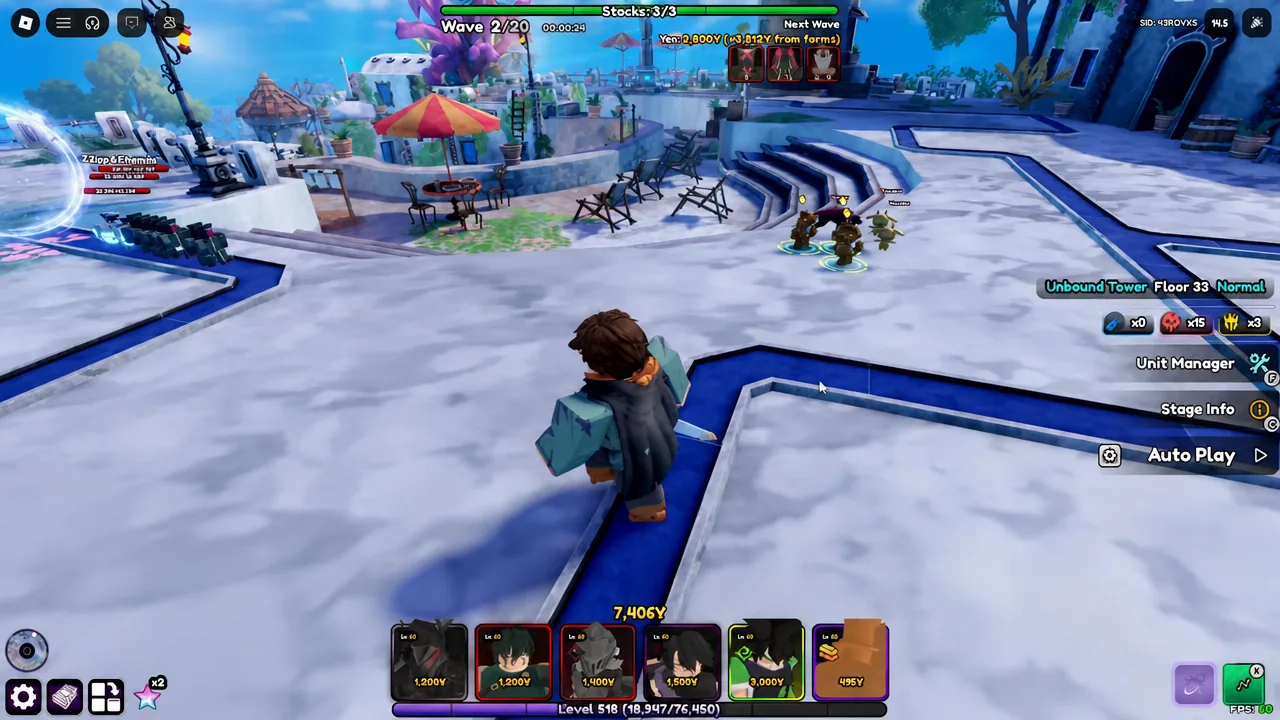
Placement position decides how much of that shield window you actually use. Dropping units near a bend or a long straight keeps the boss inside their radius for more of the approach, which is the difference between removing a shield and removing a shield plus a chunk of health.
How the damage core works together
Guts carries the run once Berserker Armor is up, clearing 1.2 billion damage per hit under the Monarch trait. Berserker Armor is also the tool for fast bosses, since the activation window lets him land enough hits before a high-speed enemy crosses the map.
Broly’s job is setup rather than raw output. With Shackled Sight equipped, his attacks apply bleed, and that bleed is what triggers Guts’ slow effect. Enemies caught in it spend longer inside Guts’ range, which is how the team converts a single-target damage spike into wave-wide pressure.
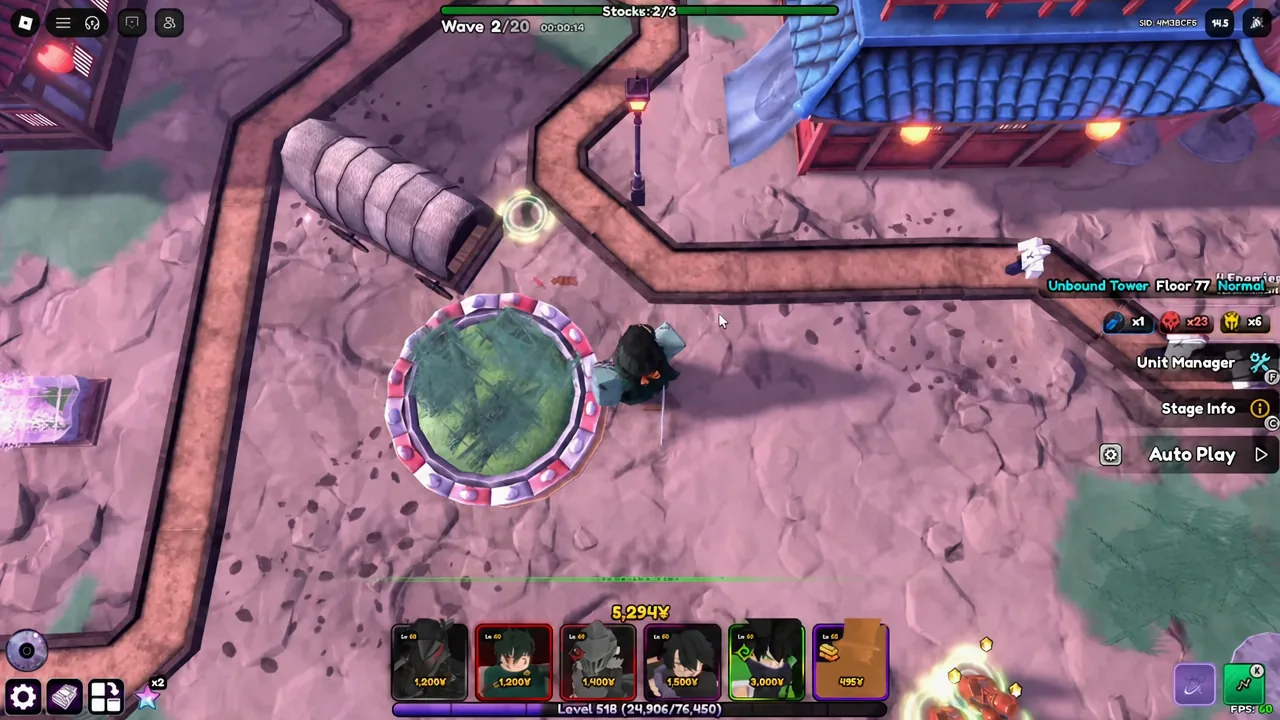
Goblin Slayer is the cleanup piece and works best out of the way. Placed in the backline, he stacks traps over the course of a wave, and that stacked damage handles bosses that survive the front of the track. Putting him up front wastes the stacking, since traps get spent on regular enemies long before the boss arrives.
Floor progression and where the run ends
The push starts at Floor 11 and moves up in steps, with the occasional single-floor clear used to move past a map that does not suit the team. Shibuya Station is the one worth stepping around, since its layout mechanics eat time that a solo run does not have. Lineup edits are made from the pre-match screen through Change Lineup, so a swap can happen between floors without leaving the tower.
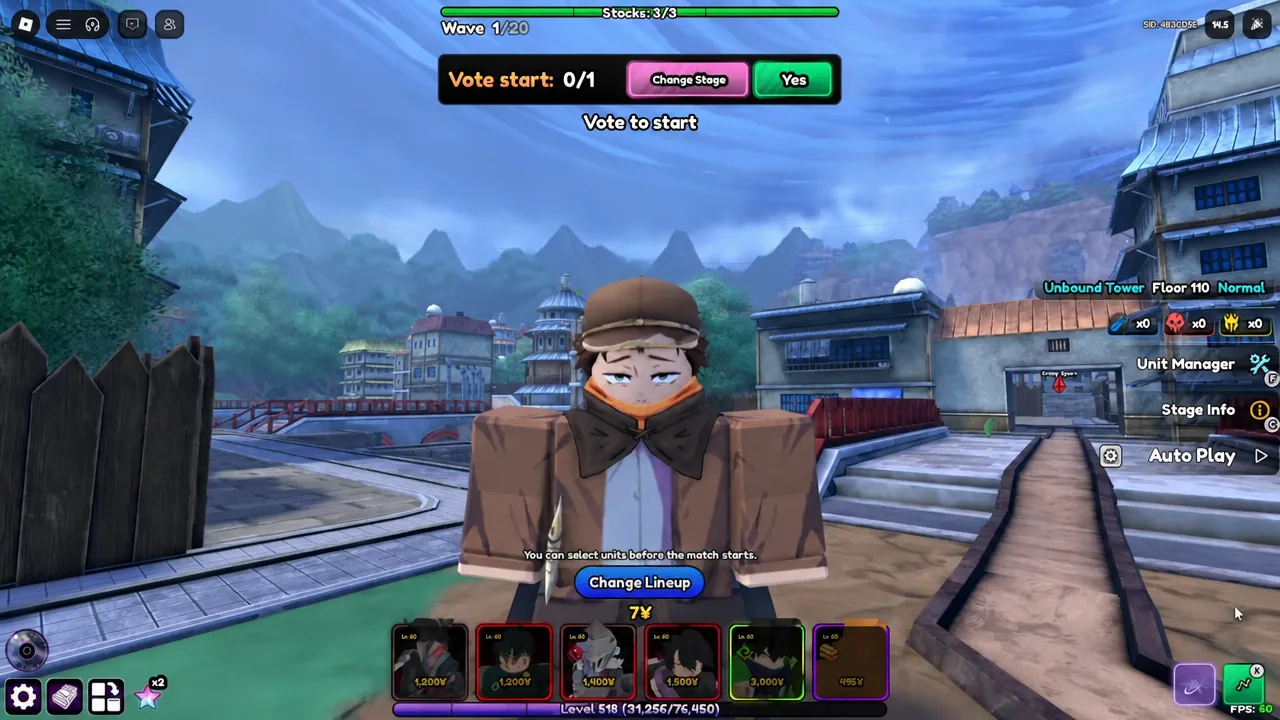
Progress is steady rather than dramatic. Floors 11 through 99 fall without the team needing structural changes once Toji is in, and skill tree points accumulate along the way to raise damage, range, and cost efficiency. From Floor 110 onward, boss health starts outpacing a single player’s placement budget, and the runs get tighter each step.
| Floor range | What changes |
|---|---|
| 11 – 22 | Baseline run; the off-element unit is identified and swapped for Toji |
| 33 – 66 | Toji’s shield stripping carries boss waves; skill tree points build up |
| 77 – 99 | Broly’s bleed and Guts’ slow hold the track; Goblin Slayer moves to the backline |
| 110 – 145 | Berserker Armor becomes the answer for fast bosses; trap placement gets refined |
| 156 – 179 | Overshield management dominates; the run ends on Floor 179 |
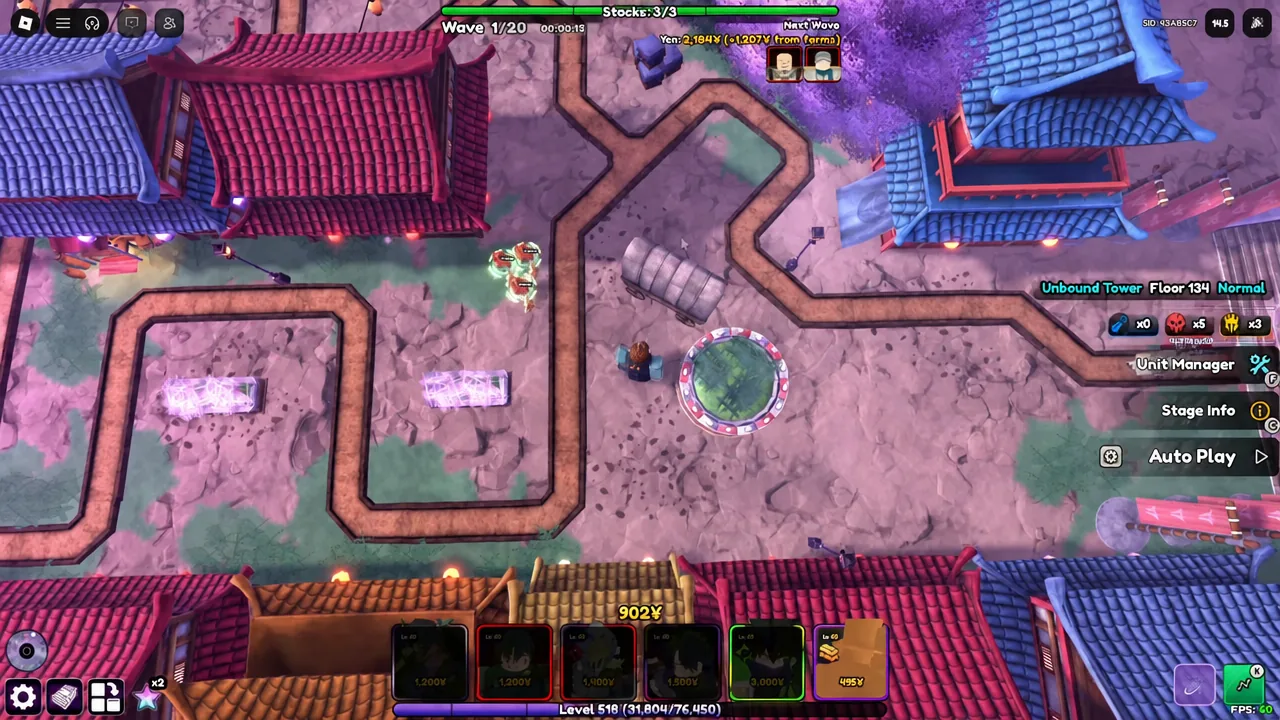
Floor 179 is the ceiling for this composition solo. The failure is not a mechanic the team cannot handle — it is straightforward health scaling. Boss HP pools grow past what six buffed units can remove inside 20 waves, even with the overshield stripped on schedule.
Common reasons a solo Unbound run stalls early
- An off-element unit is occupying a slot, so it never receives the tower’s stat buffs and falls behind on damage.
- The overshield stripper is placed too late, leaving the boss shielded through most of its approach.
- Goblin Slayer is placed near the track entrance, so his traps are consumed by regular enemies instead of stacking for the boss.
- Broly is left without Shackled Sight, which removes the bleed and breaks the slow that keeps enemies in range.
You can confirm a floor is done when the wave counter reaches 20/20 and the victory screen appears with the run summary, listing units placed, total damage, takedowns, waves completed, and the XP and Trait Reroll payout. If that screen does not appear and the wave 20 boss reaches your base, the floor is a loss and has to be re-entered.
Anything past Floor 179 realistically needs either a partner to share placement costs or further upgrades to the units themselves, since the limiting factor at that point is total damage output rather than any single mechanic the Unbound team cannot answer.