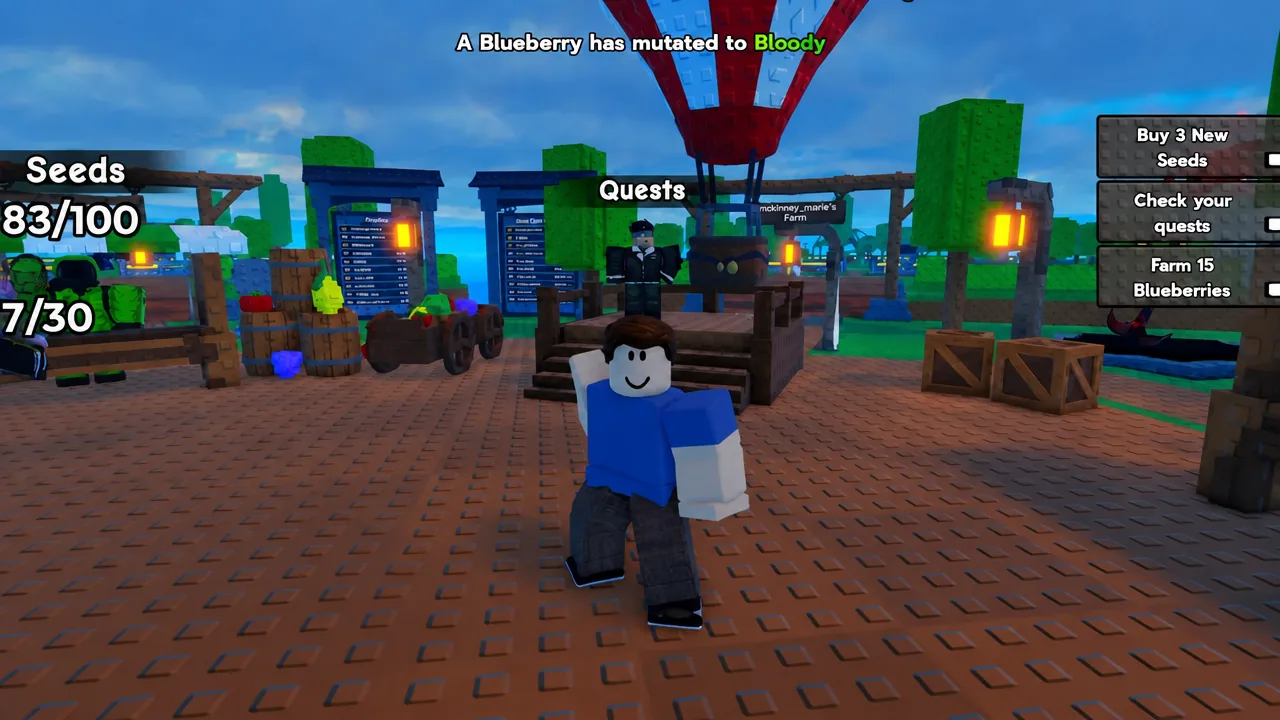
Anomaly Garden looks like a normal Roblox farming tycoon for about ninety seconds. You plant seeds, wait, swing a scythe, and sell crates for cash. Then something on your plot opens an eye and stares at you. Those anomalies are the point of the game, and they are the only reliable source of shards, the currency that makes the rest of your farm worth running.
Quick answer: Destroy anomalies like the Eye Plant with your scythe and break the crates that spawn on your plot, then spend the shards on Anomaly Chance at the wall upgrade unit to raise the spawn rate.
Where shards come from
Shards are not a crop and they are not sold at any shop. They appear when something hostile on your farm dies. Your plot sits on what the NPC Bogden calls an anomaly hotspot, so growths like the Eye Plant push up through your rows at random while your crops mature.
Two things drop shards:
- Anomalies that spawn among your crops, such as the Eye Plant, killed with your equipped scythe.
- Crates that appear on the plot, including the Flesh Box, which you break open the same way.
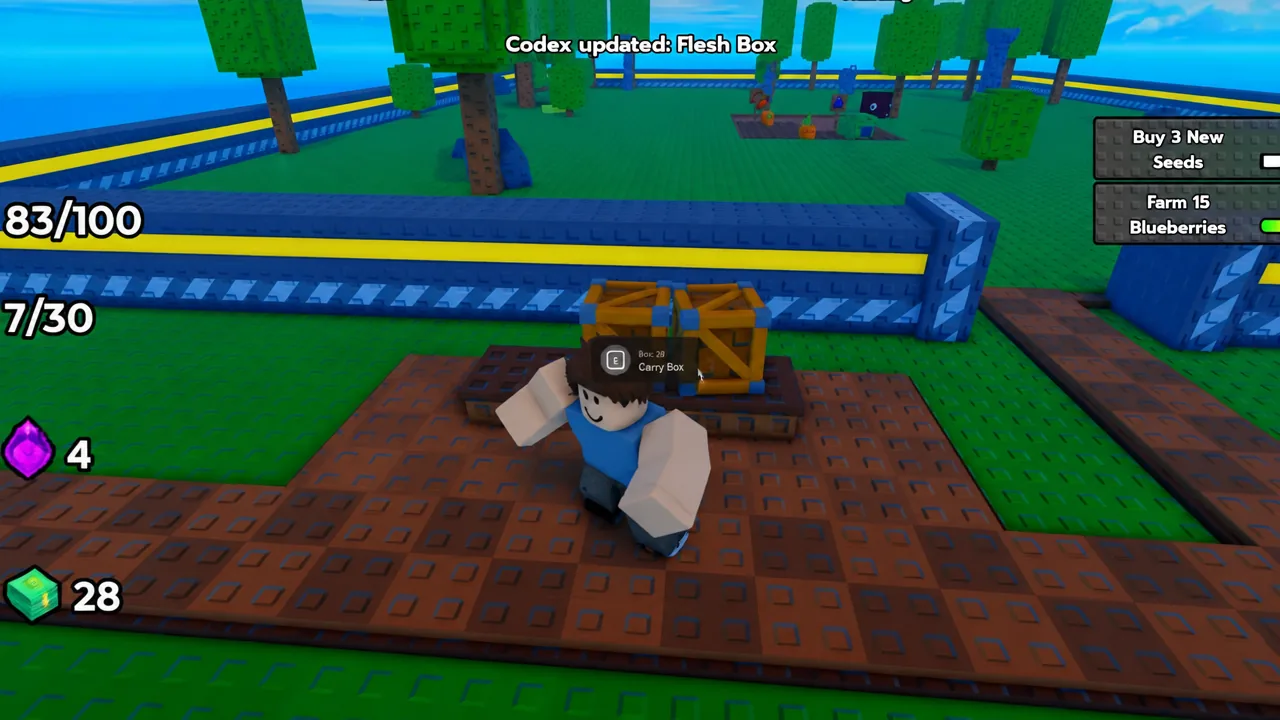
The first time you kill a new type, you get a confirmation on screen reading Codex updated followed by the entry name — Eye Plant, Nebula Gas, Scarecrow, Noob, Flesh Box, or Rift Wisp. That popup is how you know the kill registered and the entry logged.
Joining the RIVET Studio group on the Anomaly Garden creator page grants a free scythe, which is worth doing before your first night.
Upgrade Anomaly Chance to increase shard rate
Shards go straight back into the upgrade unit attached to your wall. Each level raises Anomaly Chance, which is exactly what it sounds like — more anomalies spawning on your plot, more kills per harvest cycle, more shards and cash per session. Every early shard should go here rather than being saved.
The game flags one hard milestone for you on screen: reach Wall Level 4 to unlock the Rift Market. Treat that as your first real goal after the tutorial, because the wall is the only thing turning your farm from a slow crop business into a shard engine.
The crop-to-cash loop that funds everything
Shards pay for anomaly spawns. Cash pays for the gear that lets you survive and kill them quickly. The selling loop never changes, so learn it once and then run it on autopilot.
Early payouts are small — a couple of full carrot and blueberry crates land in the $177 to $445 range. That is normal. Income scales with seed tier and with backpack resource value, not with how many times you run the route.
Seed prices and what to buy next
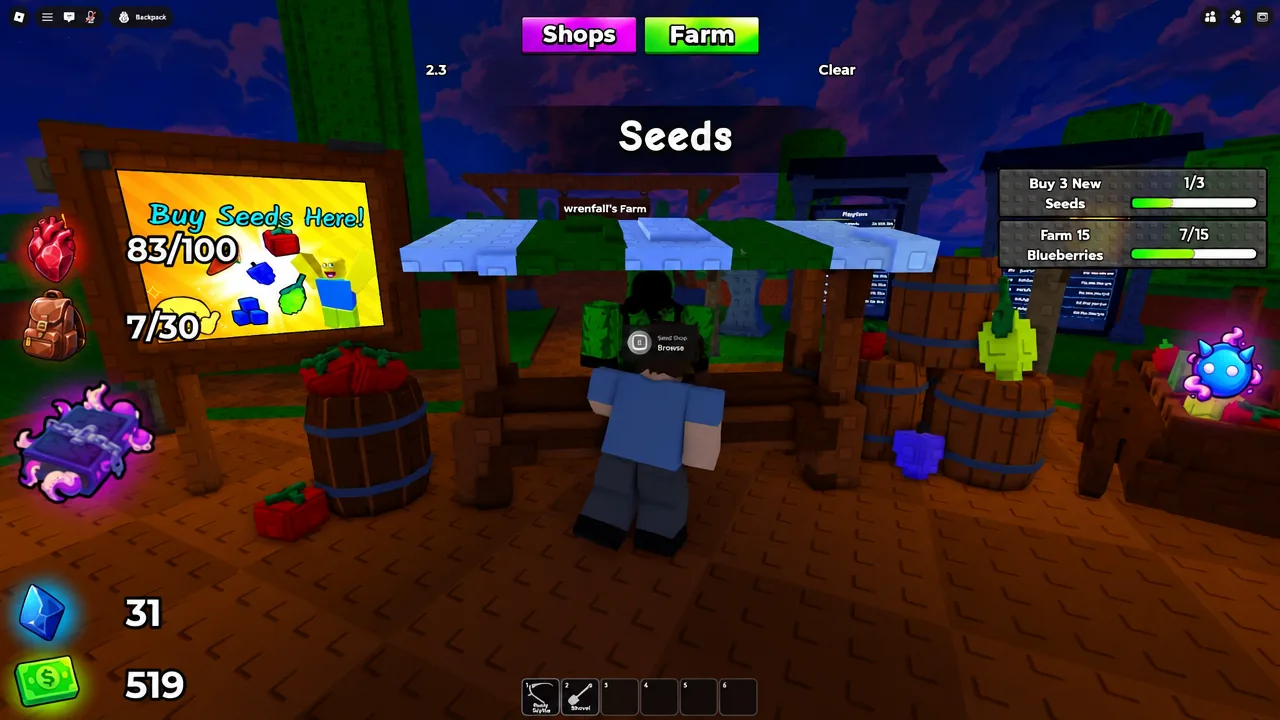
The Seed Shop is where your cash actually compounds. Open it from the shop area and use the Browse prompt on the Seeds screen to see the full stock.
| Seed | Rarity | Cash | Robux |
|---|---|---|---|
| Carrot Seeds | Common | 25 | 5 |
| Blueberry Seeds | Common | 85 | 9 |
| Tomato Seeds | Uncommon | 900 | 15 |
| Pumpkin Seeds | Uncommon | 2.5K | 19 |
| Mushroom Spores | Rare | 6K | 25 |
| Grape Seeds | Rare | 14K | 39 |
| Watermelon Seeds | Epic | 32K | 49 |
| Pepper Seeds | Epic | 60K | 59 |
| Lemon Seeds | Legendary | 125K | 79 |
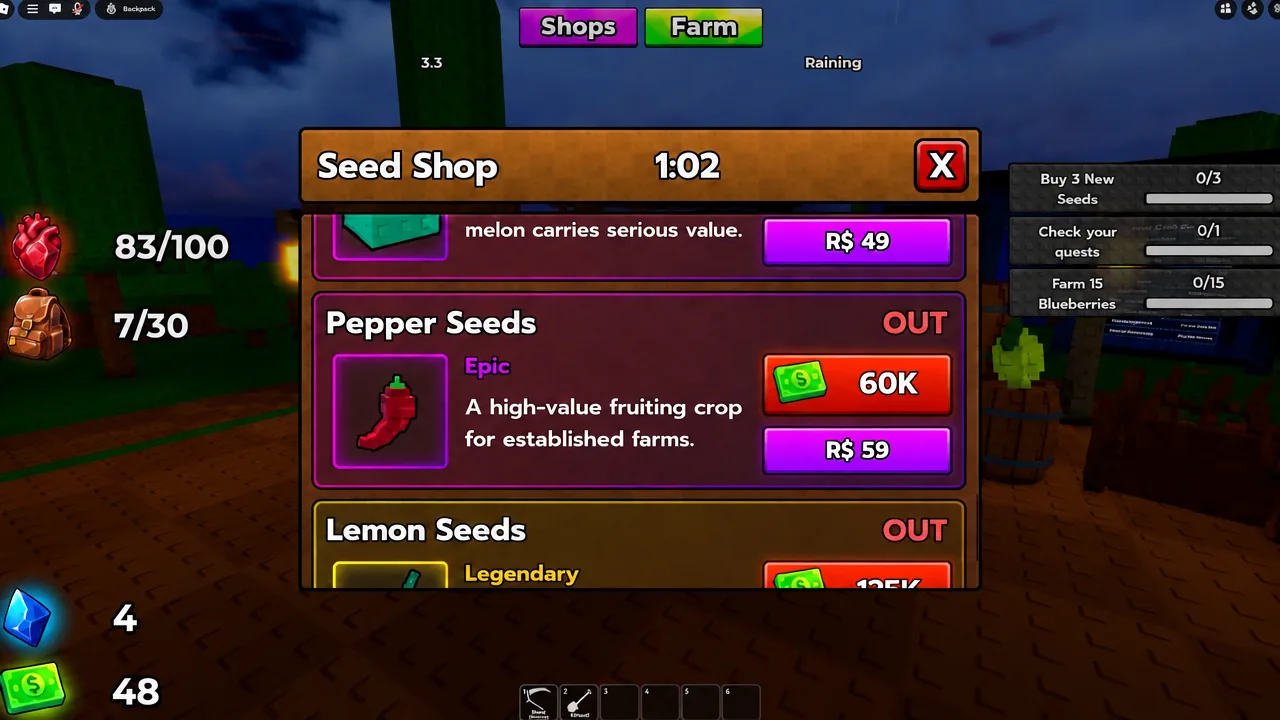
Blueberries are the first upgrade worth making at 85 cash, since they are a fruiting bush built for repeat early harvests. After that, save for Tomato Seeds at 900 cash — clusters of valuable fruit over time, and the first seed that noticeably changes your crate values.
Everything above that follows the same pattern of slower growth for much higher value. Pumpkins are heavy and slow. Watermelons and Peppers at the Epic tier and Lemons at Legendary are the real money crops, with lemons described as a costly tree with repeated premium harvests. Do not skip tiers by hoarding cash for a Lemon you cannot afford for an hour; buying the next seed up and reinvesting is faster.
Scythe upgrades for faster anomaly kills
Your scythe is both a harvesting tool and your only weapon, so its stats decide how quickly an Eye Plant goes down. Each tier adds damage, a small swing speed multiplier, and a larger negative Rift Pressure value.
| Scythe | Damage | Swing speed | Price |
|---|---|---|---|
| Rusty Scythe | 100 | 1.00x | Equipped |
| Iron Scythe | 135 | 1.03x | 8K / 49 Robux |
| Tempered Scythe | 170 | 1.06x | 90K / 99 Robux |
| Harvester Scythe | 210 | 1.10x | 600K / 199 Robux |
| Chaos Scythe | 242 | 1.13x | 289 Robux |
| Prospector Scythe | 255 | 1.14x | 2M / 299 Robux |
| Anomaly Scythe | 300 | 1.18x | 6M / 499 Robux |
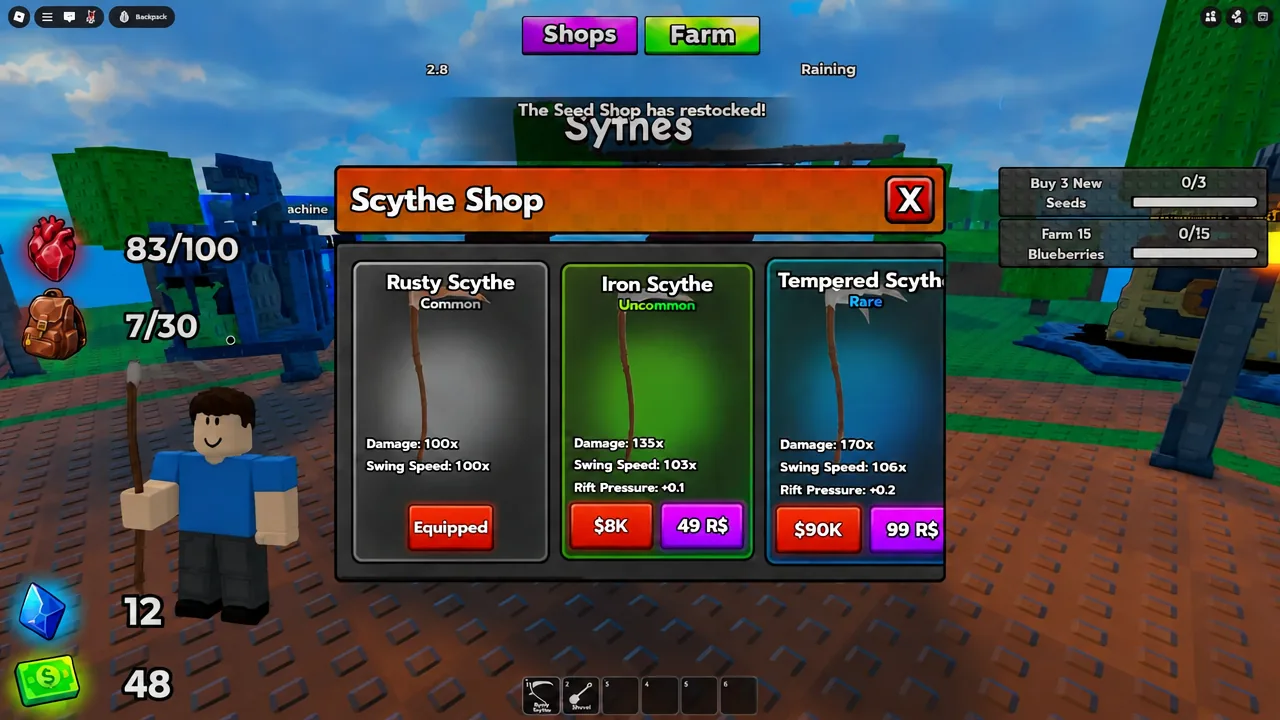
The Iron Scythe at 8K cash is the only realistic first purchase, and the jump to Tempered at 90K is a long way off for a new farm. The Chaos Scythe is Robux-only and is the one tier with a bonus listed beyond the standard stats, adding +2 Damage to Corruption. Rift Pressure runs from -0.1 on the Rusty up to -0.6 on the Mythic Anomaly Scythe, and the same stat appears on hearts and backpacks, so gear choices stack.
Hearts and backpacks: survivability and carry value
Heart Shop
| Heart | Health | Speed | Price |
|---|---|---|---|
| Farmhand Heart | 100 | +2% | Equipped |
| Moss Heart | 150 | +4% | 5K / 49 Robux |
| Iron Heart | 250 | -5% | 75K / 99 Robux |
| Reaper Heart | 300 | +8% | 500K / 199 Robux |
| Rift Heart | 350 | +12% | 3M / 399 Robux |
The starter Farmhand Heart regenerates 5 health per second after 10 seconds out of combat. The Iron Heart is the one trap in the list — it buys 250 health at the cost of -5% movement speed, which slows every crate run you make. The Reaper and Rift Hearts add Kill Heal at 5% and 8%, restoring health from anomaly kills rather than downtime.
Backpack Shop
| Backpack | Capacity | Resource value | Price |
|---|---|---|---|
| Worn Backpack | 30 | — | Equipped |
| Field Backpack | 70 | — | 3K / 39 Robux |
| Gatherer Backpack | 140 | +10% | 50K / 99 Robux |
| Merchant Backpack | 280 | +25% | 350K / 199 Robux |
| Rift Backpack | 500 | +50% | 3M / 399 Robux |
Backpacks are the most direct cash multiplier in the game because they raise both how much you can hold and what it sells for. The Field Backpack at 3K cash more than doubles the starter capacity of 30 and is the cheapest meaningful upgrade available anywhere. From the Gatherer up, the Resource Value bonus means every crate is worth more without changing a single thing about how you farm.
Quest board rewards
The Quests board tracks collection milestones and pays out reward crates. Most of them complete on their own while you run the normal loop, so check the board before choosing which seed to plant next.
| Quest | Reward |
|---|---|
| Collect 100 Carrots | Green Crate |
| Collect 20 Pumpkins | Blue Crate |
| Collect 20 Anomalous Crops | Blue Crate |
| Collect 50 Grapes | Blue Crate |
| Collect 30 Spectral Crops | Yellow Crate |
| Collect 30 Bloody Crops | Yellow Crate |
Note the three quests that are not normal produce. Anomalous, Spectral, and Bloody Crops only show up on a farm that is actually generating anomalies, which is another reason to keep pushing Anomaly Chance rather than sitting on shards.
Late-game builds: Lab and Green House
Two large construction options sit on the plot from the moment you start, priced well beyond anything an early farm can reach. The Lab costs $1,000,000 and the Green House costs $3,000,000. Both are cash purchases, not shard purchases, which means your seed tier and backpack multiplier are what get you there.
The practical order for most players ends up looking the same. Push the wall to Level 4 with shards, buy the Field Backpack, move up to Tomato Seeds, grab the Iron Scythe once anomalies start outpacing your damage, then let the higher-tier seeds carry you toward the million-dollar builds. Anomaly Garden runs on six-player servers with a minimal maturity rating for occasional mild fear and violence, so the nightly outbreak is more pressure than horror — but the farm still bites back if you let your health and scythe fall behind your spawn rate.