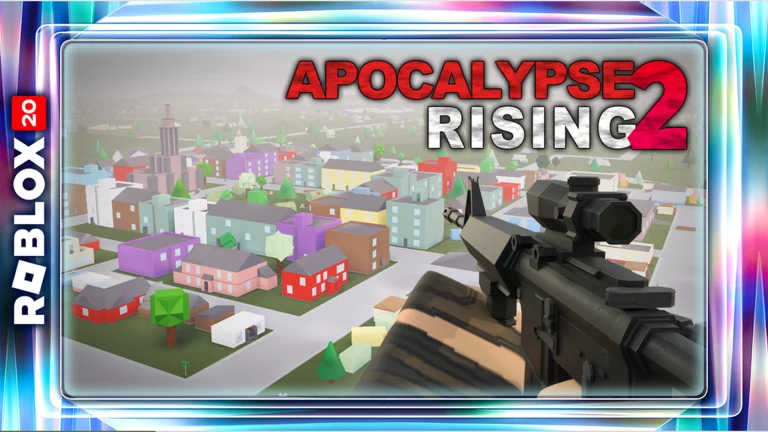
The Apocalypse Rising 2 stop in The Hunt: Roblox 20 has two layers. The one everyone sees is the 2013 challenge that hands out the Biting BLOXikin badge. The one most players never trigger is a hidden quest given by an NPC tucked away on the map, and it only becomes relevant after you have already cleared the normal event track.
Quick answer: Finish the in-game event quest to earn the Anniversary Survivor badge, then locate the hidden NPC on the map, collect the scavenger hunt items it lists in order, and return to hand them in.
What you need before the secret quest becomes available
There are two gates stacked on top of each other, and skipping either one leaves the hidden NPC doing nothing for you.
- Complete all twenty main years of The Hunt: Roblox 20 and claim every hub reward. A single unclaimed year blocks the secret phase.
- Unlock the Year Infinity phase. The secret track sits behind it and stays invisible until it is live on your account.
- Finish the Apocalypse Rising 2 event quest itself and unlock the Anniversary Survivor badge in-game.
- Check the hub for active clues. Hub hints are the reliable signal that a secret is playable, not badge databases.
A badge record can exist before its quest actually works. If the NPC will not talk to you, the missing piece is usually an unclaimed year reward rather than a bug.
Clear the Apocalypse Rising 2 event quest first
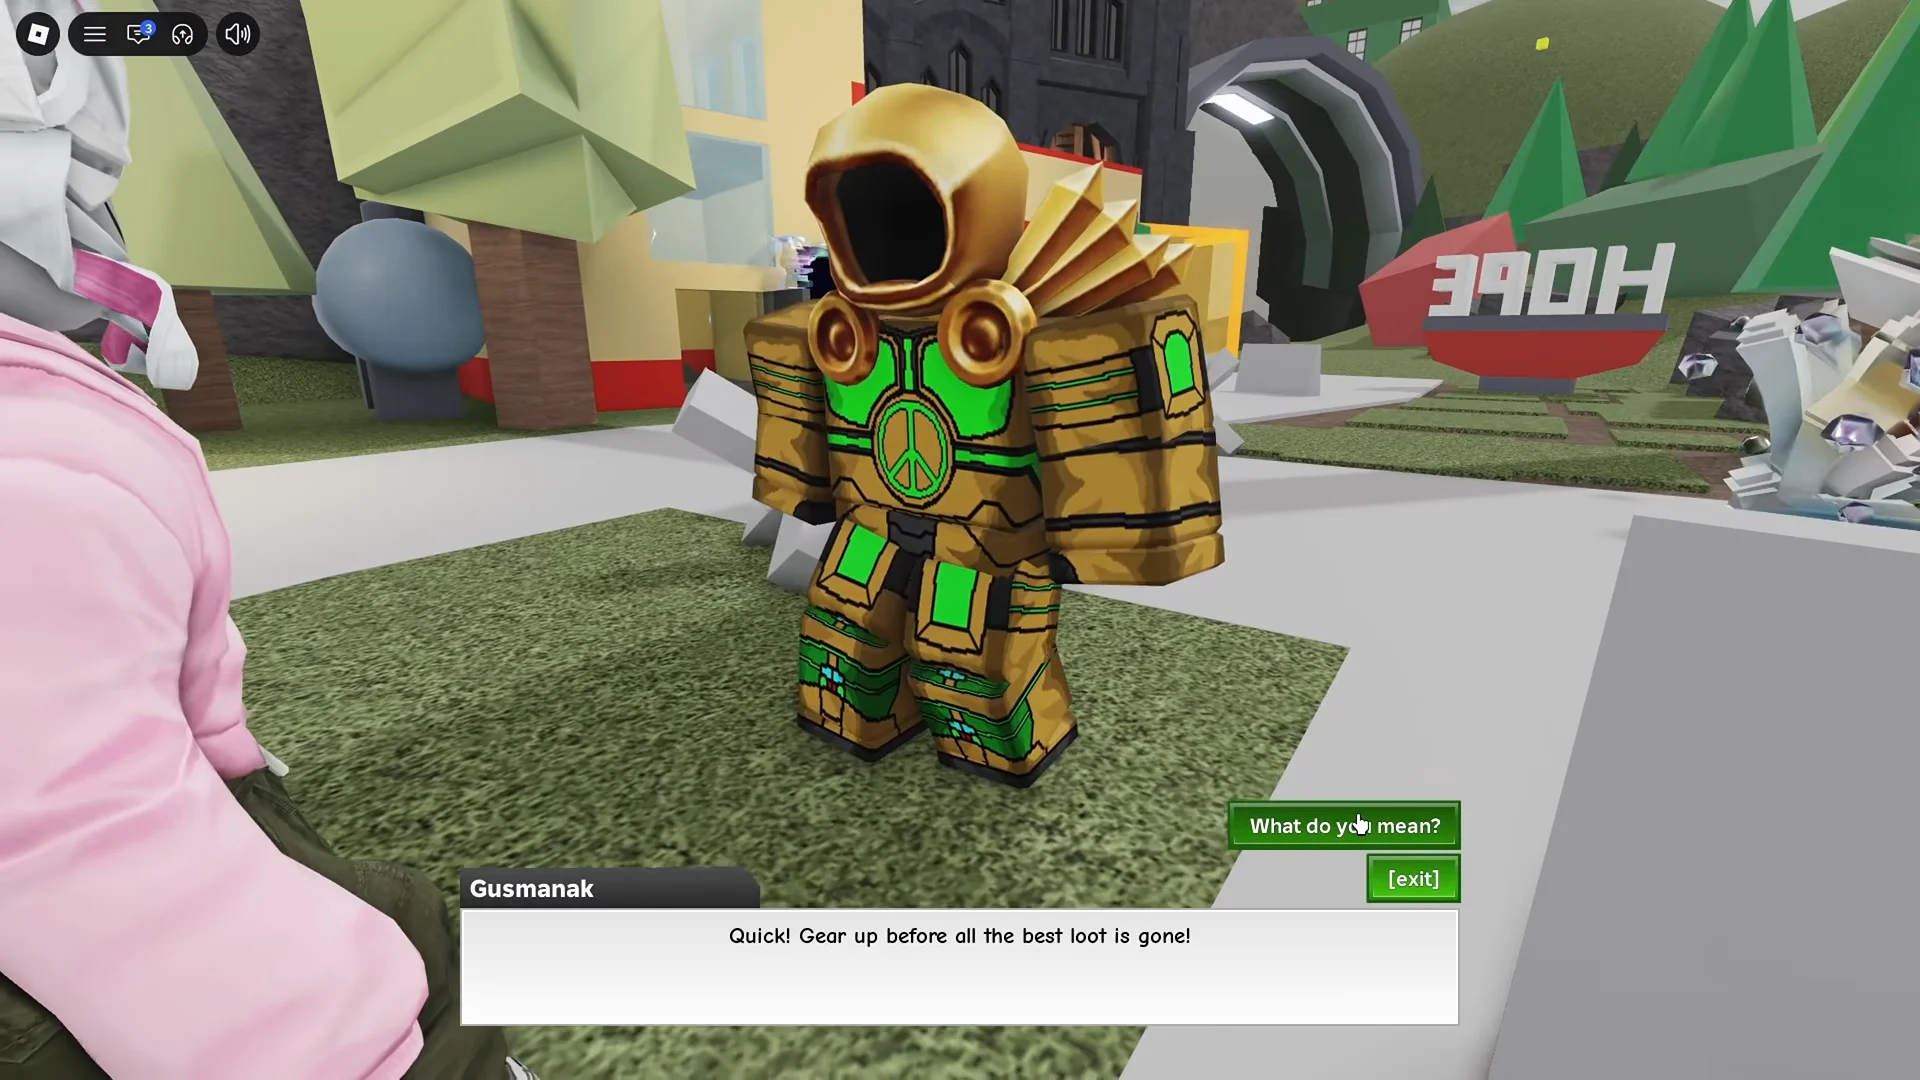
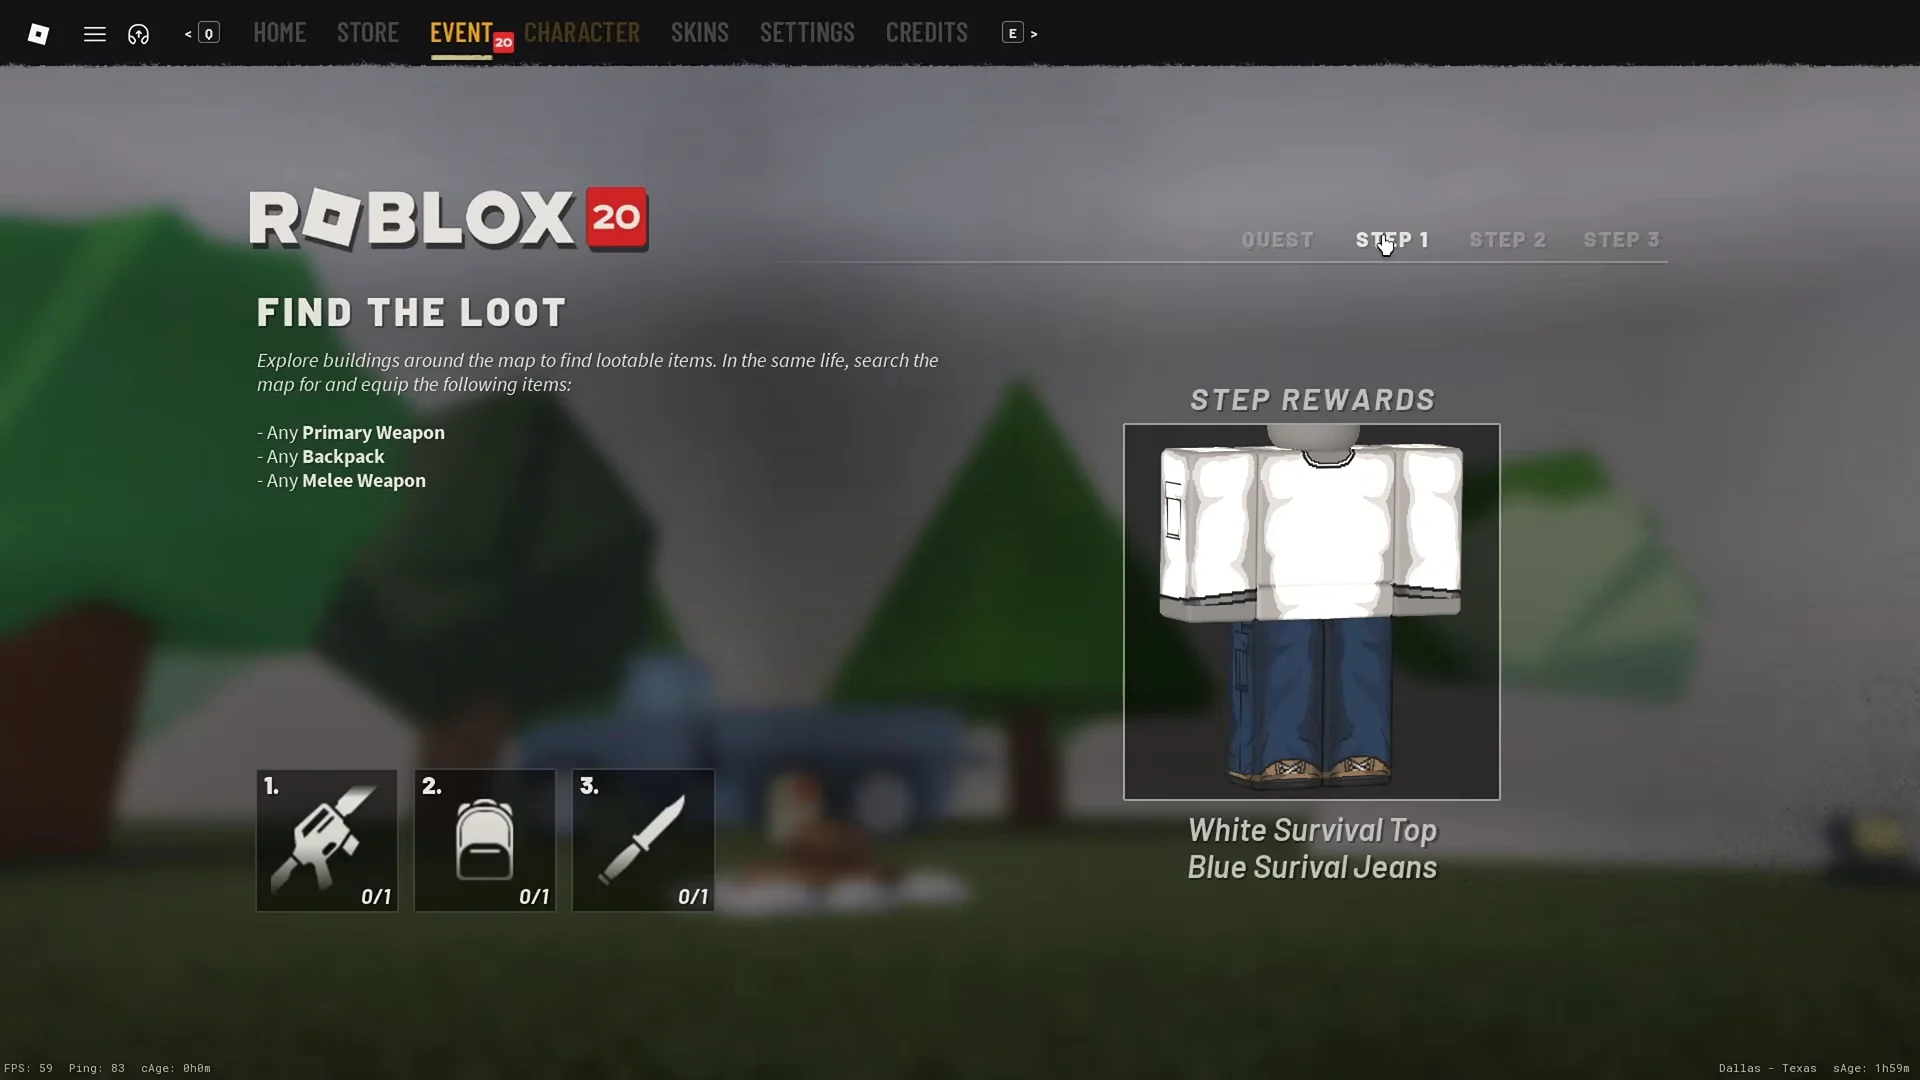
Dying resets progress you were carrying. Keep food and water topped up, and remember that other players can shoot you while you are loot-hunting.
Finding the hidden NPC on the map
The quest-giver for the secret badge is not marked on the map and is not near the hub portal. It sits out in the open countryside, past the fields and hay bales that fill the space between the starter areas and the nearest settlements. Expect a long run across grassland, hillsides and dirt roads to reach it.
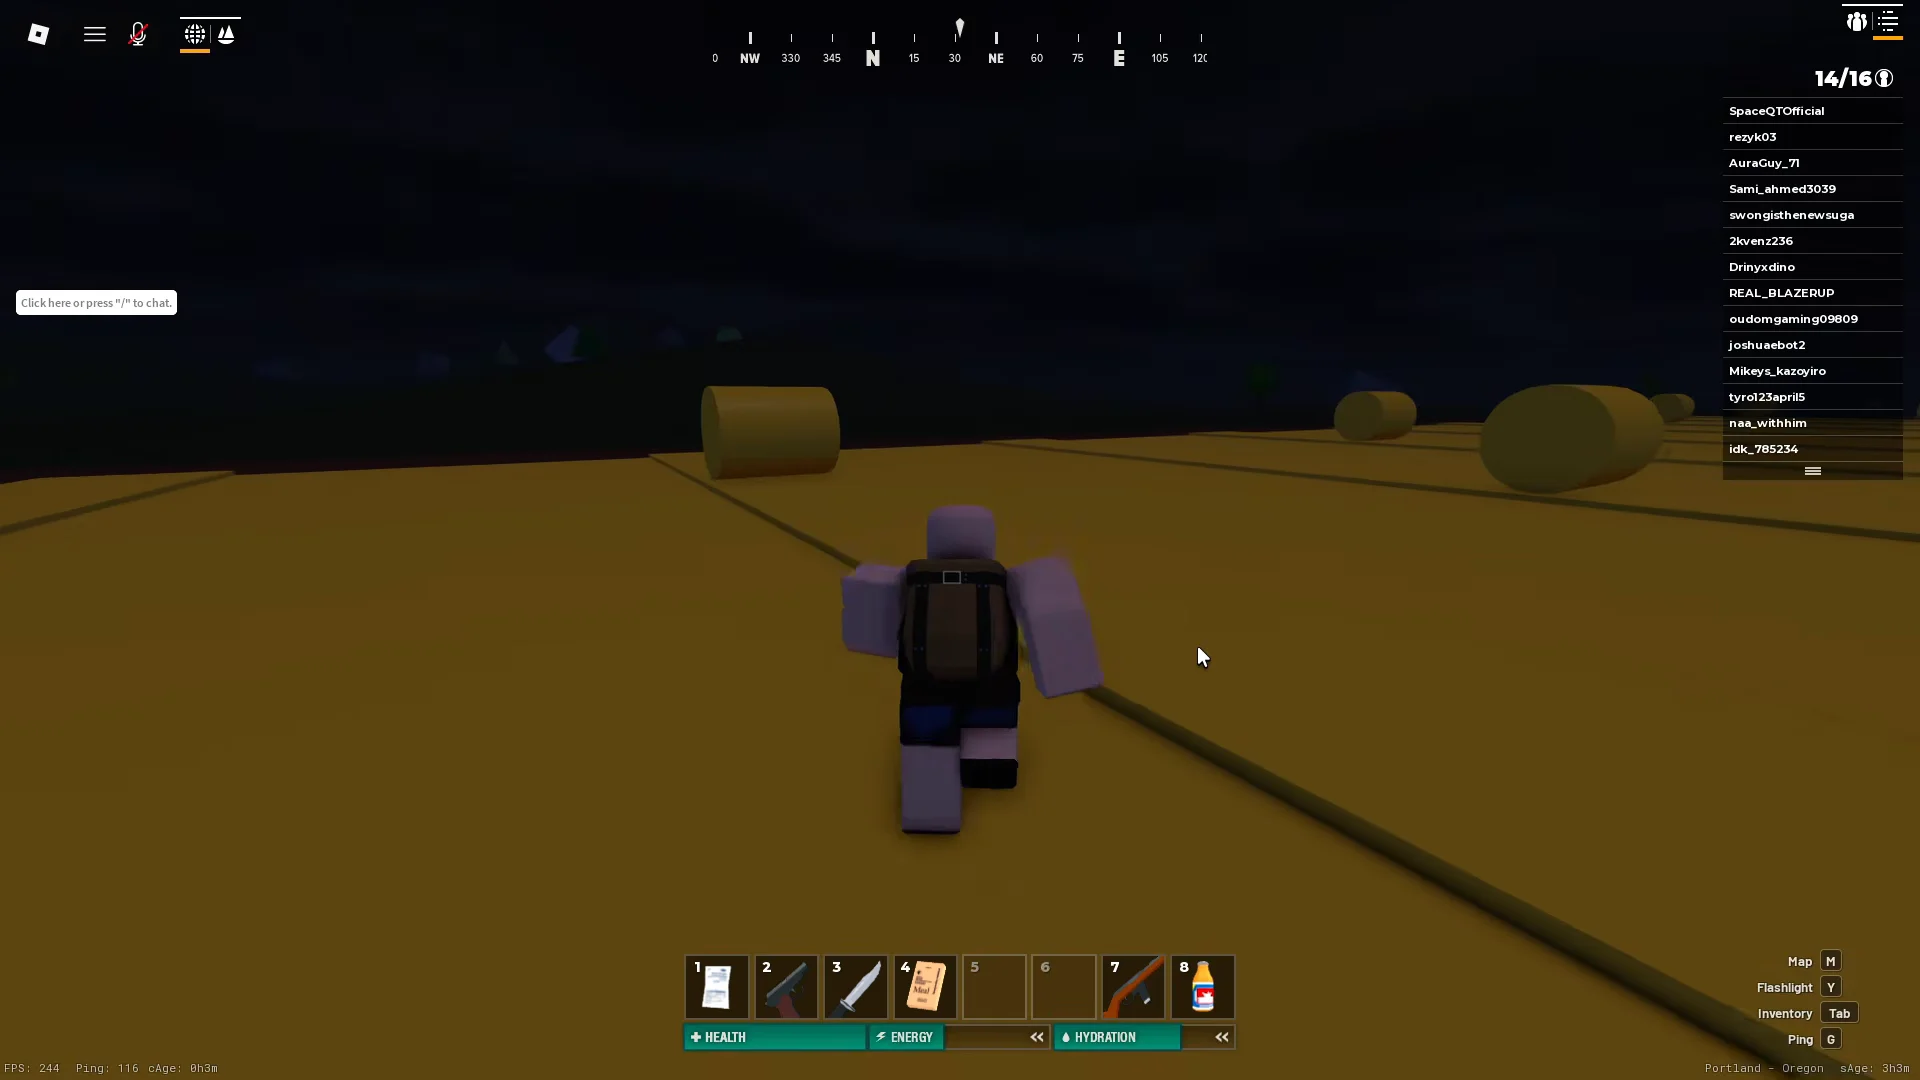
Talking to the NPC starts a scavenger hunt. It names specific items found in specific parts of the map, and it expects them in the order it gives you rather than all at once. Travelling at night makes the run safer from other players but harder to navigate, so pick whichever trade-off suits your server.
Scavenger hunt items and where they spawn
The list runs across towns, farmland and outbuildings, and it mixes ordinary loot with a couple of items you would normally walk straight past. These are the pickups the route calls for and the kind of building each one sits in.
| Item | Where it turns up |
|---|---|
| Binoculars | Blue-trimmed concrete building with red graffiti |
| Purple College Backpack | Beige house next door, on the floor |
| M1 Carbine 15rd Magazine | Corner of a small brown wooden outbuilding |
| Brown Briefcase | Under a wooden workbench inside a house |
| MAC-10 Magazine | Same workbench, alongside the briefcase |
| 9mm Parabellum Ammo | Same workbench, alongside the briefcase |
The graffiti building is the clearest landmark on the route. Look for the red wall text reading THERE IS NO ESCAPE inside a concrete structure with blue trim. The Binoculars are lying on the floor, and the house next to it holds the backpack, so the first two pickups are effectively one stop.
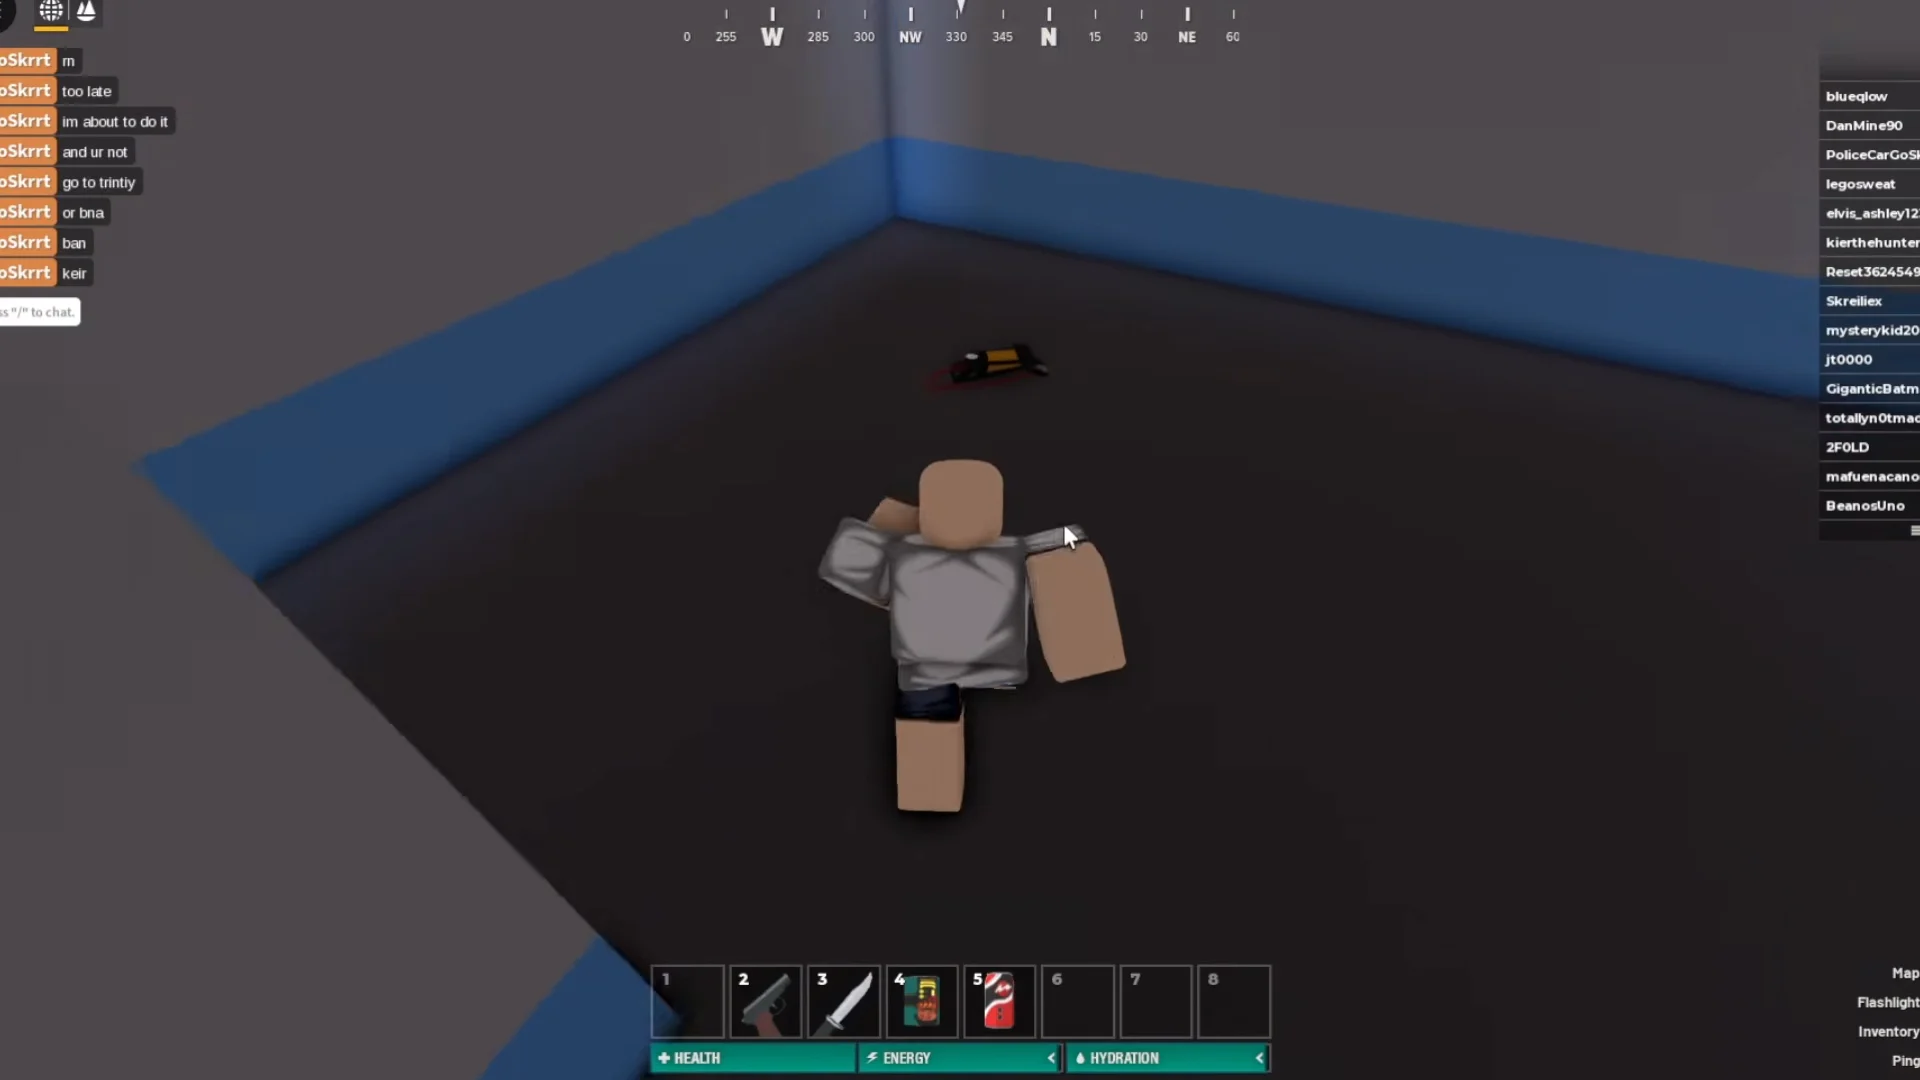
After that, the route pushes out through farmland toward a water tower, past hay bales and roaming zombies, and into the smaller outbuildings that hold the magazines and briefcase. Bring a pistol and enough ammo. Most of the hostile encounters on the way are single zombies near houses and alleys, which a headshot handles in one hit.
Turning the items in and confirming the badge
Once every item on the list is in your inventory, run back to the NPC and hand them over. The quest completes on the spot and the secret badge is awarded to your account.
Wait for the badge notification to actually appear before you leave the server. Secret badges in this event register a moment after the trigger, and leaving early is the usual way people lose a completed run. If the counter looks stuck, rejoin the event rather than repeating the whole route, since a stalled secret counter is normally a sync issue.
Every secret also awards a fragment on top of its accessory. Check that the fragment registered too, because the fragment total is what the endgame puzzle reads, not the badge list.
How the secret track releases across the event
There are twenty secret quests in total, released five at a time on an every-other-day cadence rather than all at once. Each one pays out a single exclusive accessory plus one fragment, and the five in any given wave can be done in whatever order you like.
| Wave | Expected date | New secrets | Status |
|---|---|---|---|
| Wave 1 | September 19 | 5 | Live |
| Wave 2 | September 21 | 5 | Live |
| Wave 3 | September 23 | 5 | Expected |
| Wave 4 | September 25 | 5 | Expected |
No exact unlock hour has been published for any wave, so treat the dates as the expected day and let the hub clues tell you what is actually live. The final puzzle opens only after all twenty fragments are collected, and nineteen leaves it locked exactly as hard as zero. Its reward, an exclusive Dominus, goes to the first twenty players to finish, and the event window closes on September 28.
The other secrets follow the same shape as the Apocalypse Rising 2 one: an unmarked interaction, a short route, and a specific condition. The Natural Disaster Survival secret, for example, has you open an underground room by standing on a grey podium at the bottom of the blue staircase, then flip a value on a computer terminal.
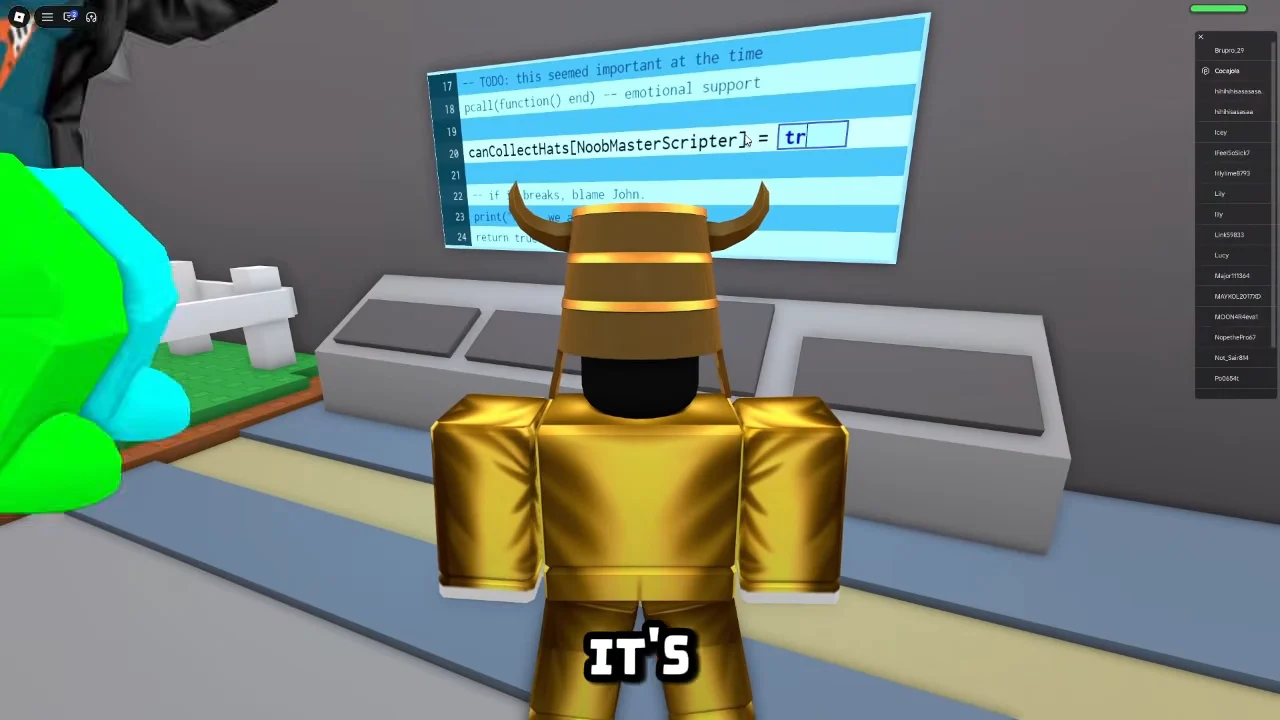
After that you collect hats dropped by other players around the map and donate twenty of them to the donation box. It is a good illustration of why these quests stay hidden for days at a time. Nothing on screen points you toward them, and the trigger is a condition rather than an objective marker.
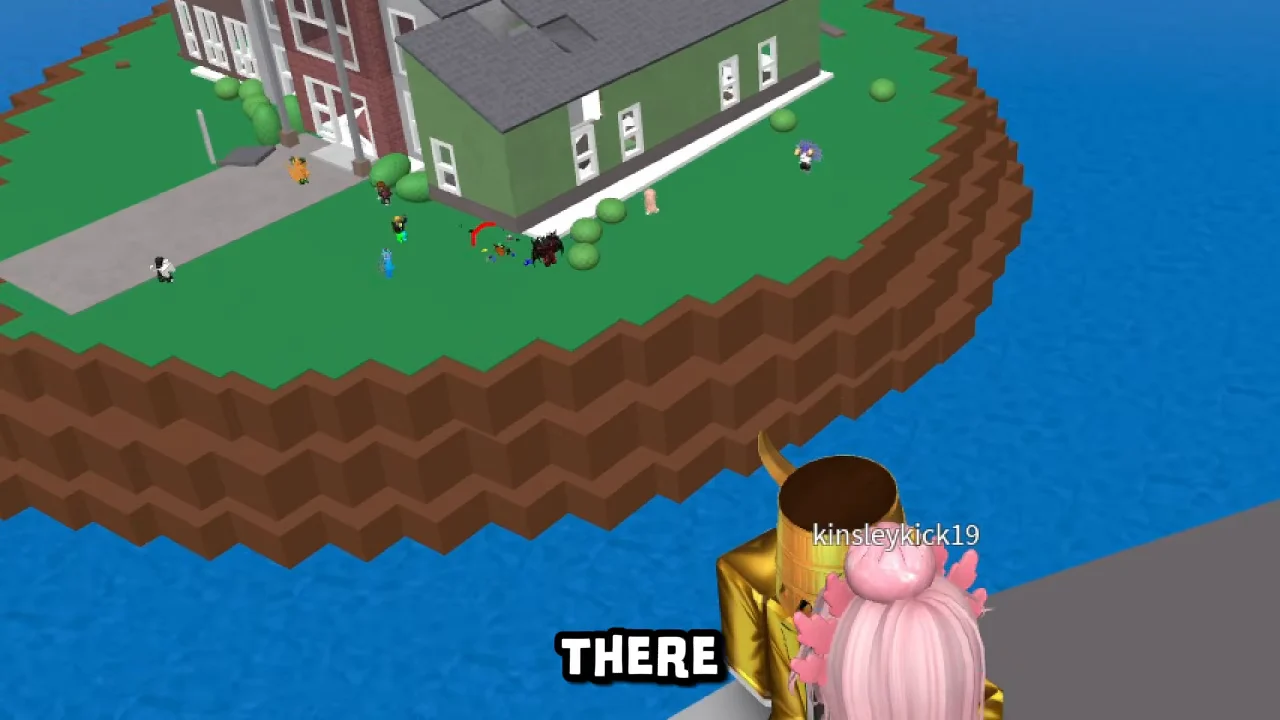
If you only care about the Apocalypse Rising 2 badge, the accessory and fragment are yours the moment the NPC accepts the last item. If you are chasing the full set, clear each wave within a day or two of release instead of saving them for the last weekend, because the fourth wave lands close to the deadline and leaves very little slack.