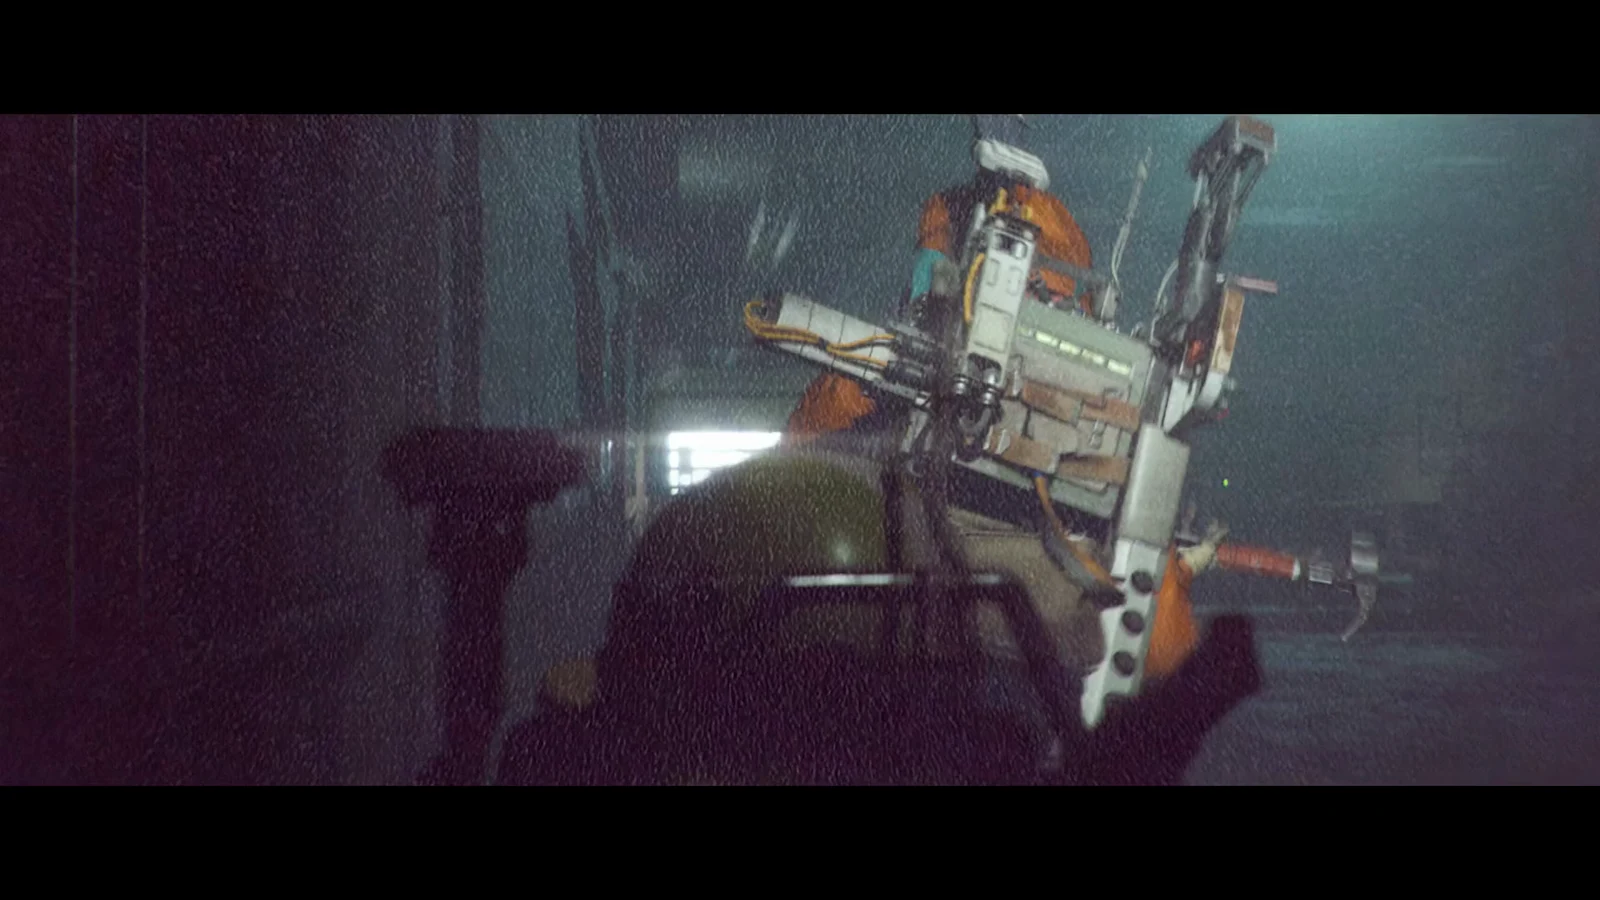
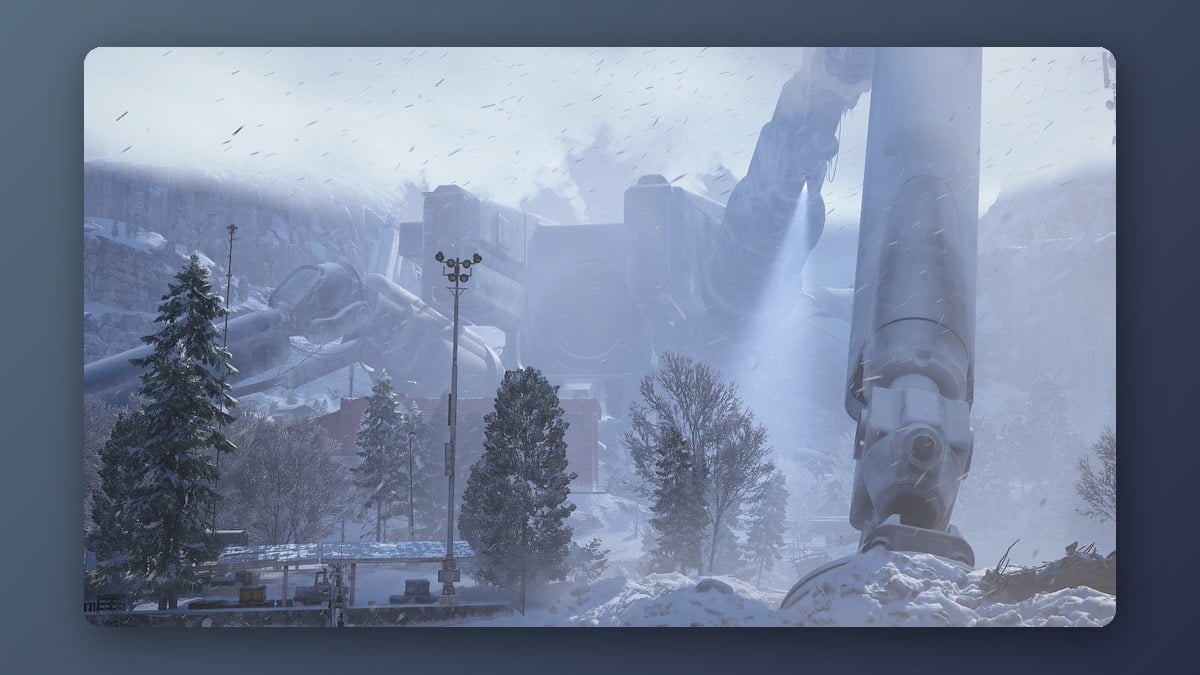
The fallen Emperor looms over Pendola Pass, and for the first time you can walk inside an ARC. The interior is a dungeon, the only reliable place to find the Emperor Modulator, and it is built to punish anyone who wanders in unprepared. The door at its base stays shut until you bring a crafted key, and the layout shuffles its rooms between runs so no two trips are identical.
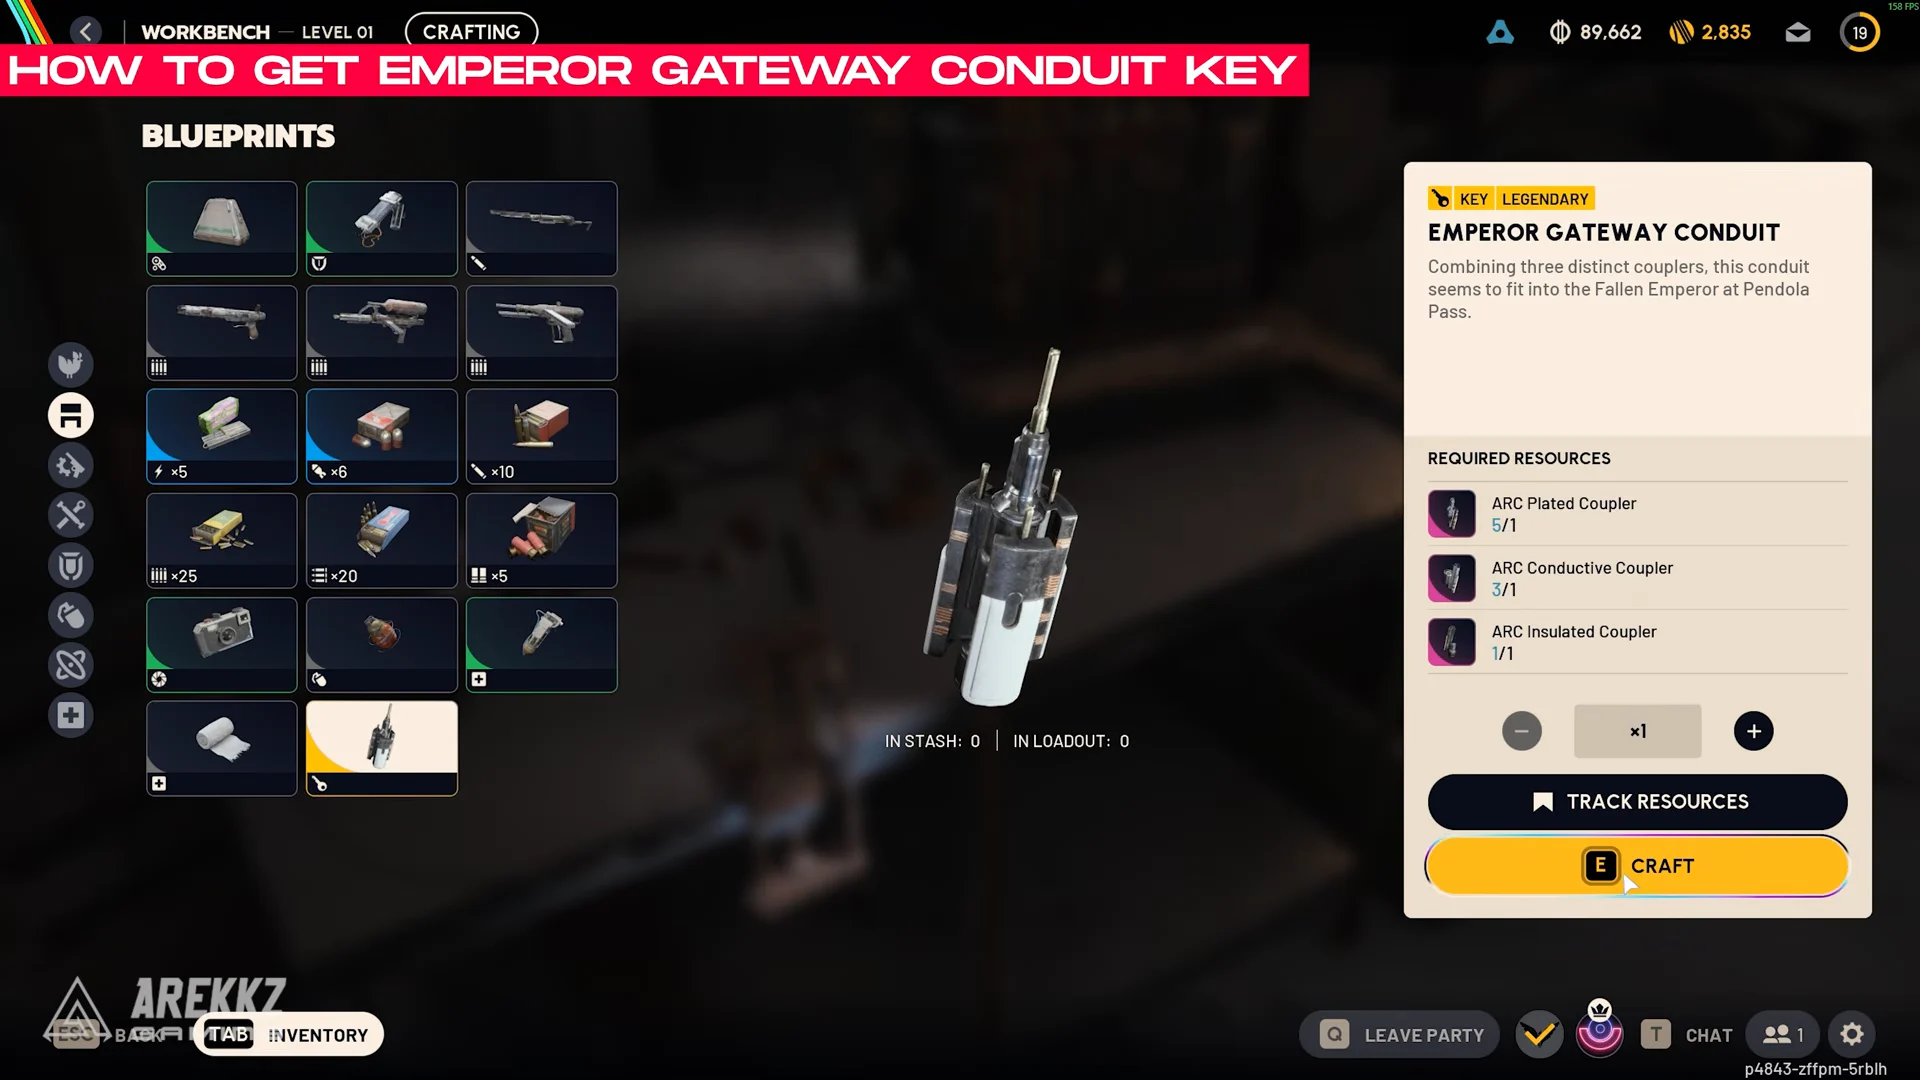
Quick answer: Craft the Emperor Gateway Conduit at Workbench 1 from one ARC Plated, one ARC Conductive and one ARC Insulated Coupler, then use it on the vault door at the Emperor’s base to unlock the dungeon.
The Emperor Gateway Conduit key and its three couplers
The Emperor Gateway Conduit is a Legendary key item that weighs 0.5 and sells for 1,000 Coins. Its tooltip describes it as three distinct couplers combined into a single conduit that fits the fallen Emperor at Pendola Pass. You cannot buy it. You build it at a crafting bench once you have learned the blueprint and gathered the parts.
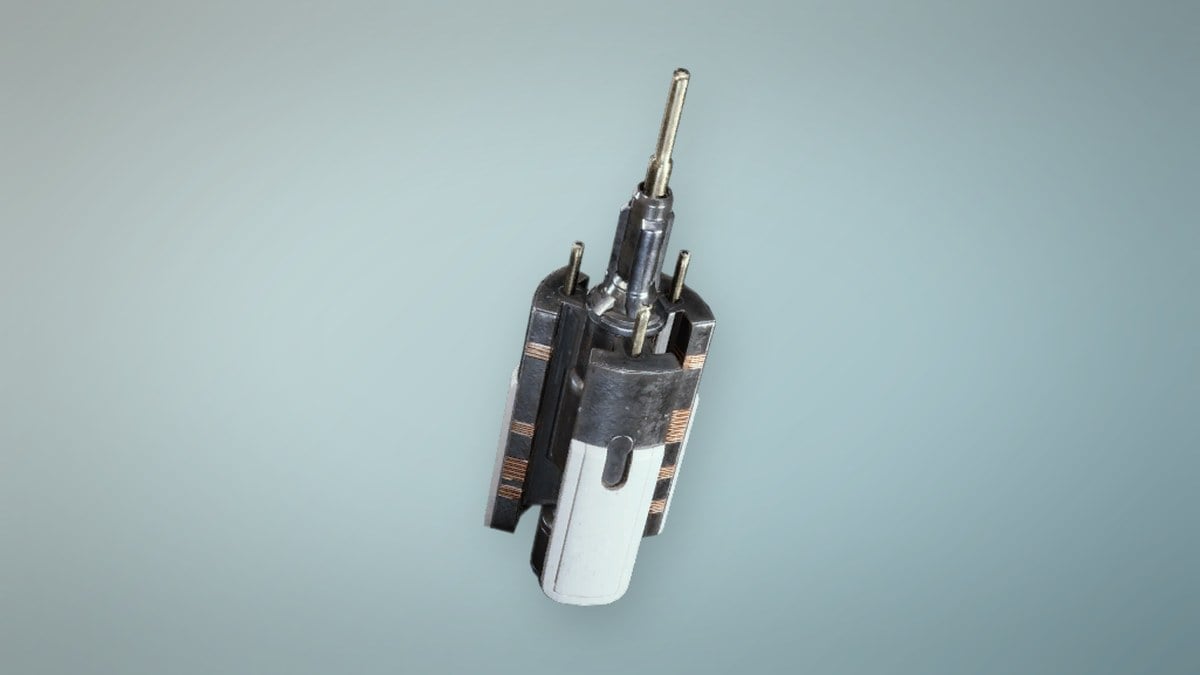
Everything you need is crafted at Workbench 1 using one of each coupler. All three are Epic topside materials, and they are light enough that a full set barely touches your carry weight.
| Component | Rarity | Weight | Needed |
|---|---|---|---|
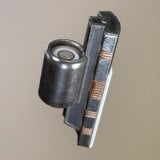 ARC Conductive Coupler ARC Conductive Coupler | Epic | 0.5 | 1 |
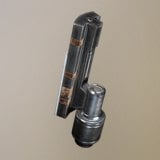 ARC Insulated Coupler ARC Insulated Coupler | Epic | 0.5 | 1 |
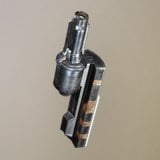 ARC Plated Coupler ARC Plated Coupler | Epic | 0.25 | 1 |
How to farm couplers during Redirection on Pendola Pass
The couplers and the conduit blueprint both come from Harvester payloads, which only drop during the Redirection map event. Redirection is a three-skull event on Pendola Pass that runs three to four times a day in roughly one-hour windows. While it is active, the map carries the No Flash Freeze, Emperor Relays active and Falling Debris modifiers.
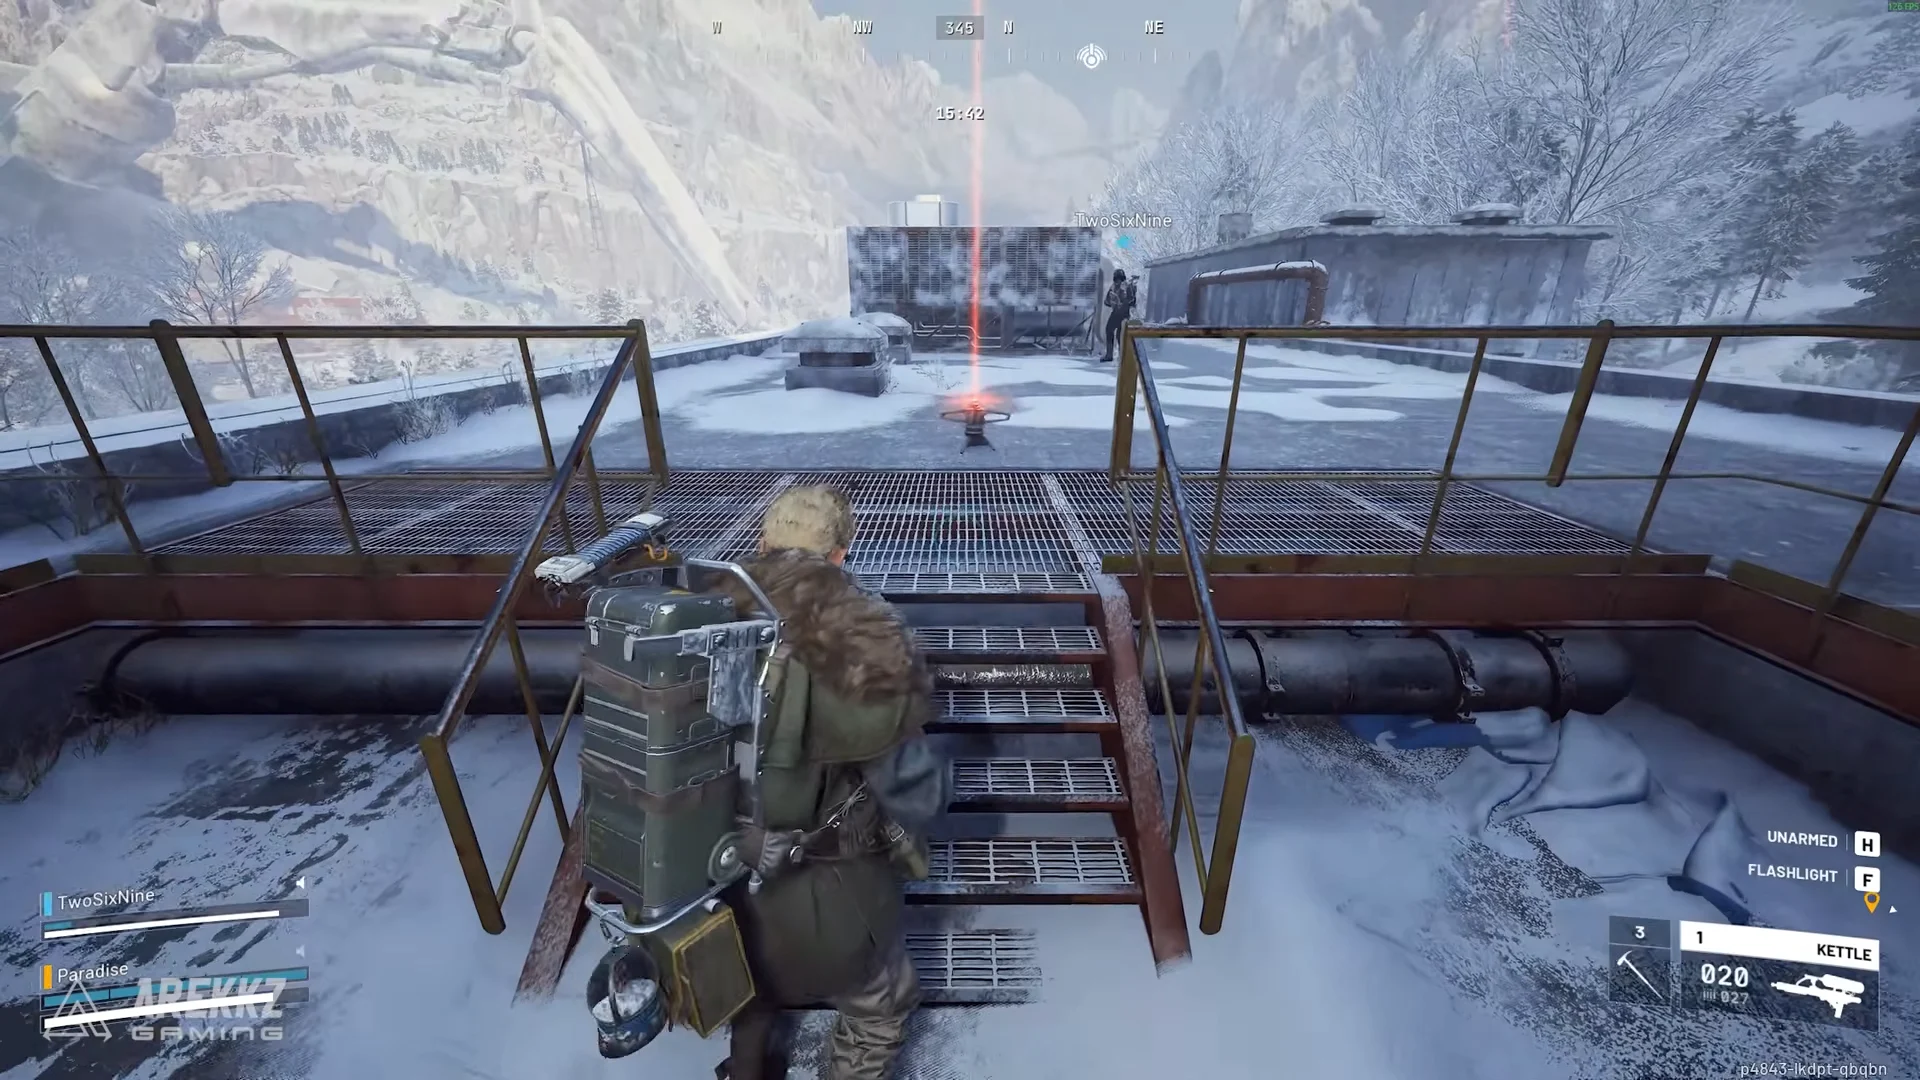
An Emperor Beacon cannot be saved between raids. If you extract while carrying one, it turns into a Ruined Emperor Beacon that has no power left and only sells for 1,000 Coins. Use it in the same run or lose it.
Best loadout for the Emperor run
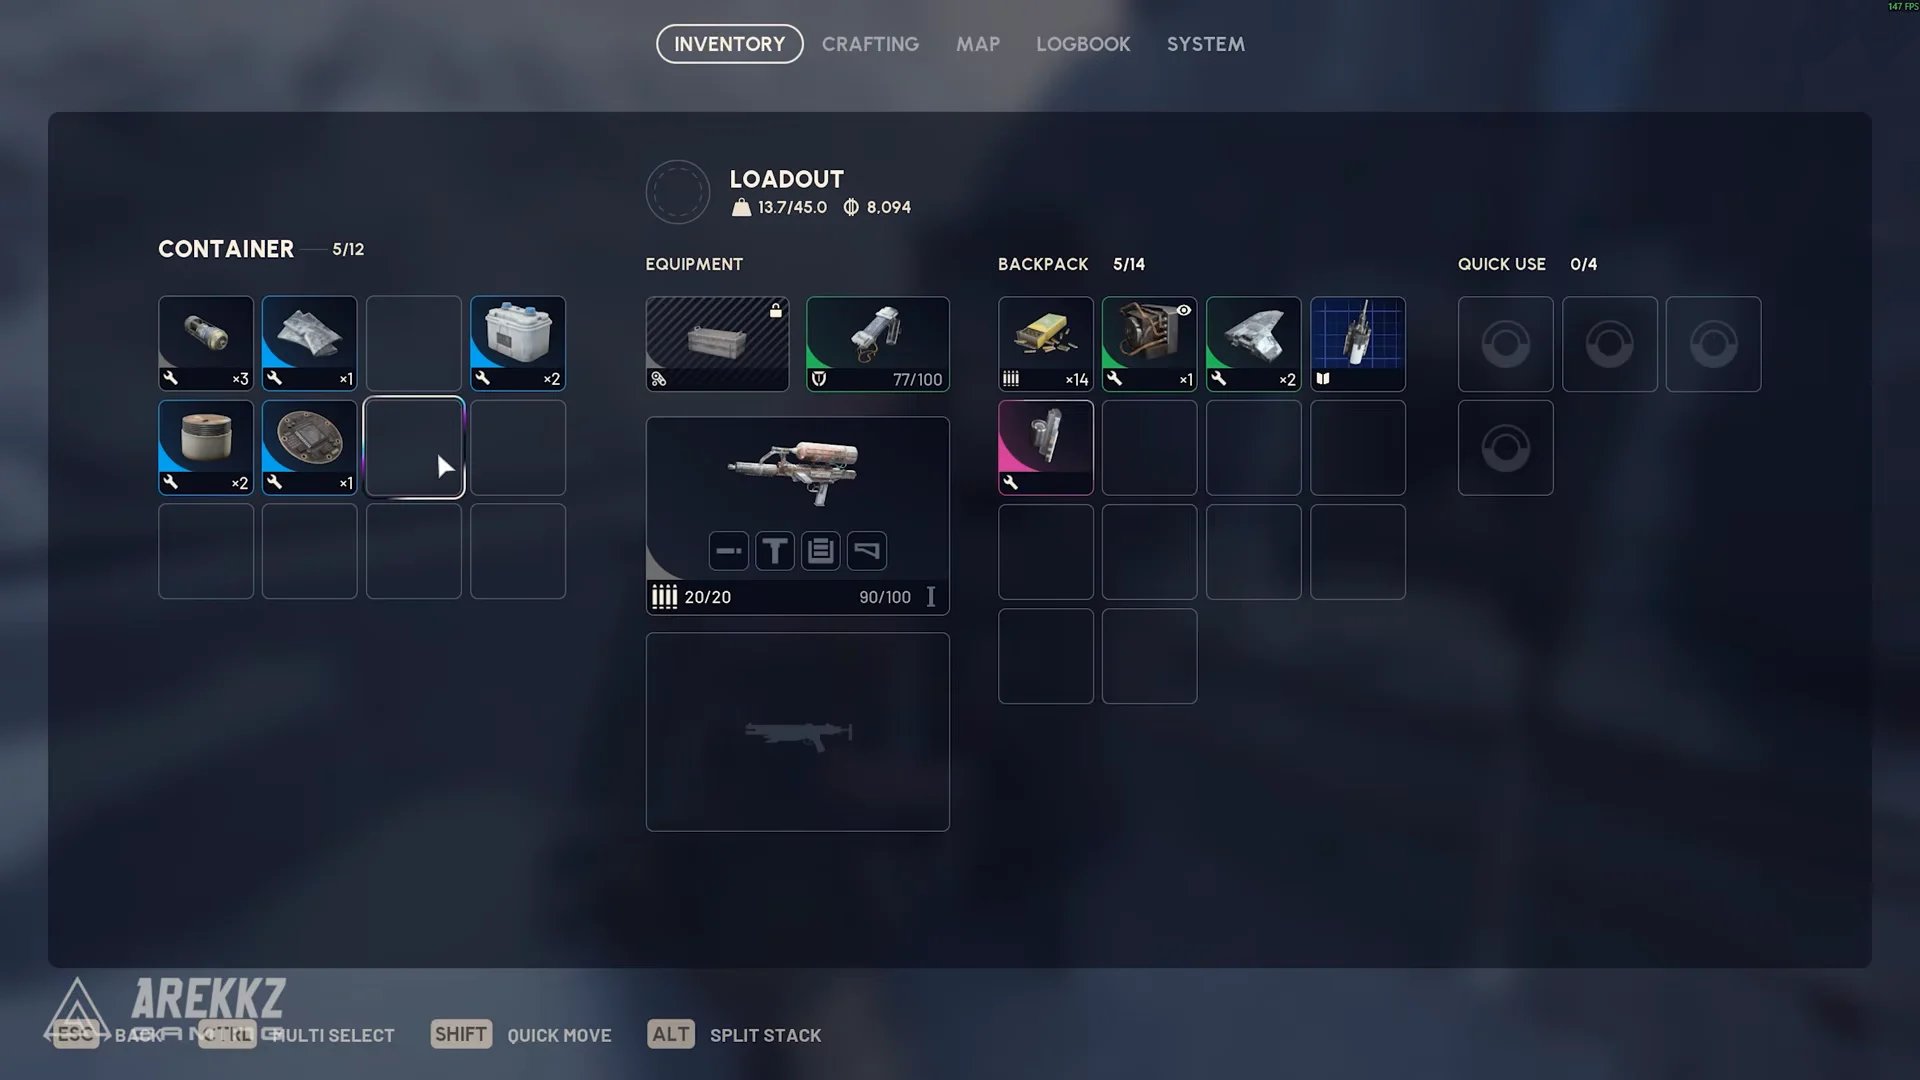
Pack for ARC fights, vertical traversal and survival, not for player skirmishes. A clean PvE kit pairs the Equalizer or a Hullcracker IV with a Medium Shield and a Looting Mk. 3 augment, backed by a Herbal Bandage, a Shield Recharger and a Defibrillator. The table below lists the verified stats for the pieces worth bringing.
| Item | Rarity | Weight | Key stat |
|---|---|---|---|
 Hullcracker Hullcracker | Epic | 7 | Explosive rounds that only detonate on ARC |
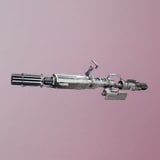 Equalizer Equalizer | Legendary | 14 | 50-round energy beam rifle |
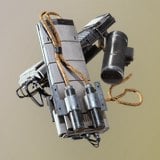 Medium Shield Medium Shield | Rare | 7 | 42.5% damage reduction, Charge 70 |
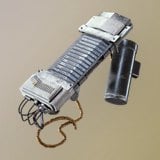 Light Shield Light Shield | Uncommon | 5 | 40% damage reduction, Charge 40 |
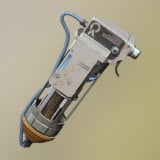 Shield Recharger Shield Recharger | Uncommon | 0.15 | Recharges 4/s for 10s |
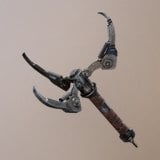 Grappling Hook Grappling Hook | Uncommon | 5 | Clings to most surfaces |
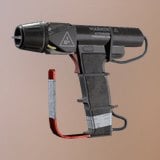 Snap Hook Snap Hook | Legendary | 5 | 20m range |
The Hullcracker’s explosive shots trigger solely on ARC impact, making it the most efficient weapon for dismantling the dungeon’s three-tier Hydra turrets. It supports amplification and comes in levels I through IV.
The Equalizer is an experimental beam weapon with a large 50-round magazine, suited to clearing ARC swarms and hitting glowing puzzle nodes from a distance. For a lighter option that leaves more weight available for loot, use a Renegade battle rifle.
Pack a climbing tool. The Grappling Hook fastens onto most surfaces, letting you bypass the ladder-and-conduit parkour altogether, while the Snap Hook spans wider gaps with a 20m reach. Either option saves substantial time inside, which counts when the raid clock is ticking.
Round out the kit with a Looting Mk. 3 augment for carry space, a few Barricade Kits to block laser hazards, and healing. The Survivor variant of Looting Mk. 3 offers 20 backpack slots, an 80 carry-weight limit and three safe-pocket slots, which is ideal for protecting an Emperor Modulator the moment you grab one.
Finding and unlocking the Emperor vault door
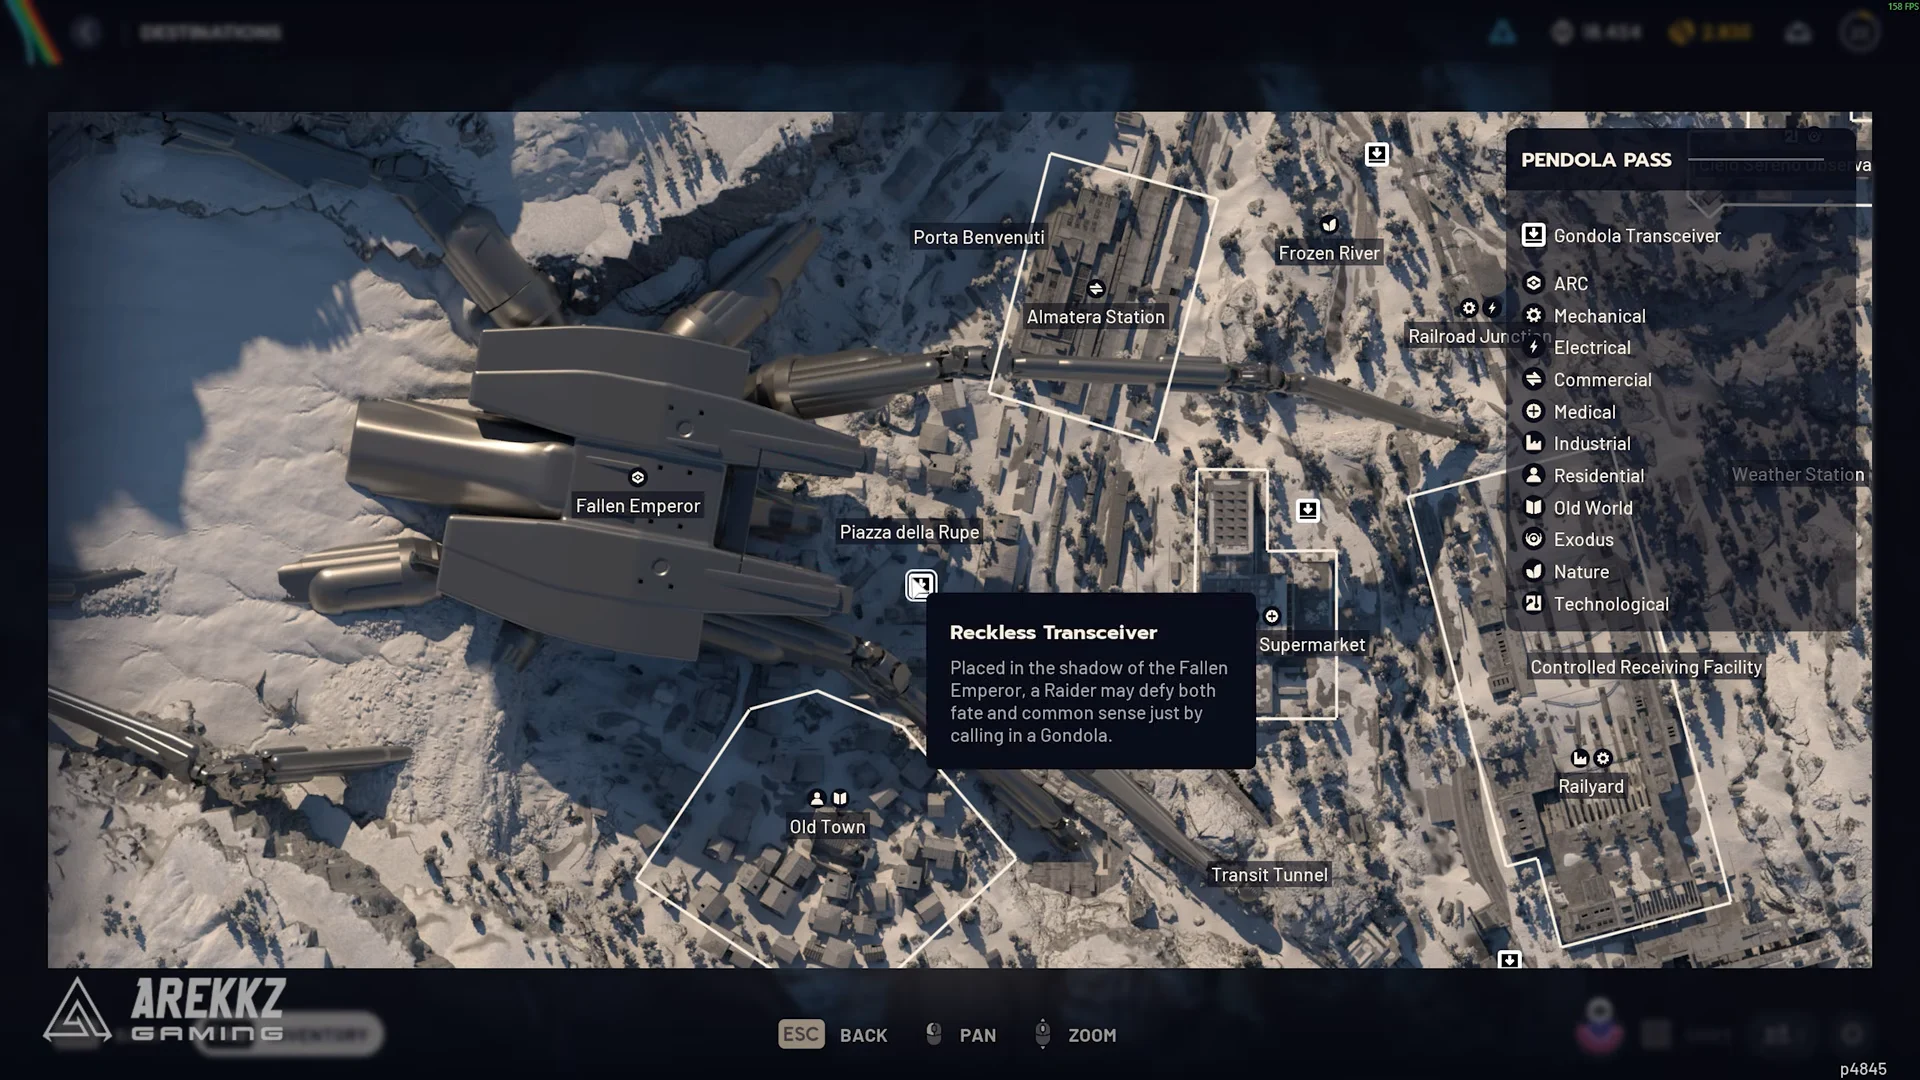
The entrance is a large circular vault door set into the base of the fallen Emperor’s body, close to Piazza della Rupe and the Reckless Transceiver. Approach it with the crafted conduit in your inventory and the prompt reads “Unlock: 0/1 Emperor Gateway Conduit.” Using the key consumes it and swings the door open.
Opening the door makes a loud noise that carries across the whole map. Anyone nearby will hear it and may be waiting for you when you come back out, so clear the area first.
Inside the dungeon: room-by-room mechanics
The route is mostly linear, but the rooms reshuffle each run. A fixed set of room types always appears; only their order changes. Here is how each one works.
The first tunnel
A snowy entrance corridor lined with electrical shock traps. Shoot the glowing blue conduit boxes to shut the hazards down, then destroy the Hydra turret that guards the far end before pushing through.
The elevator room
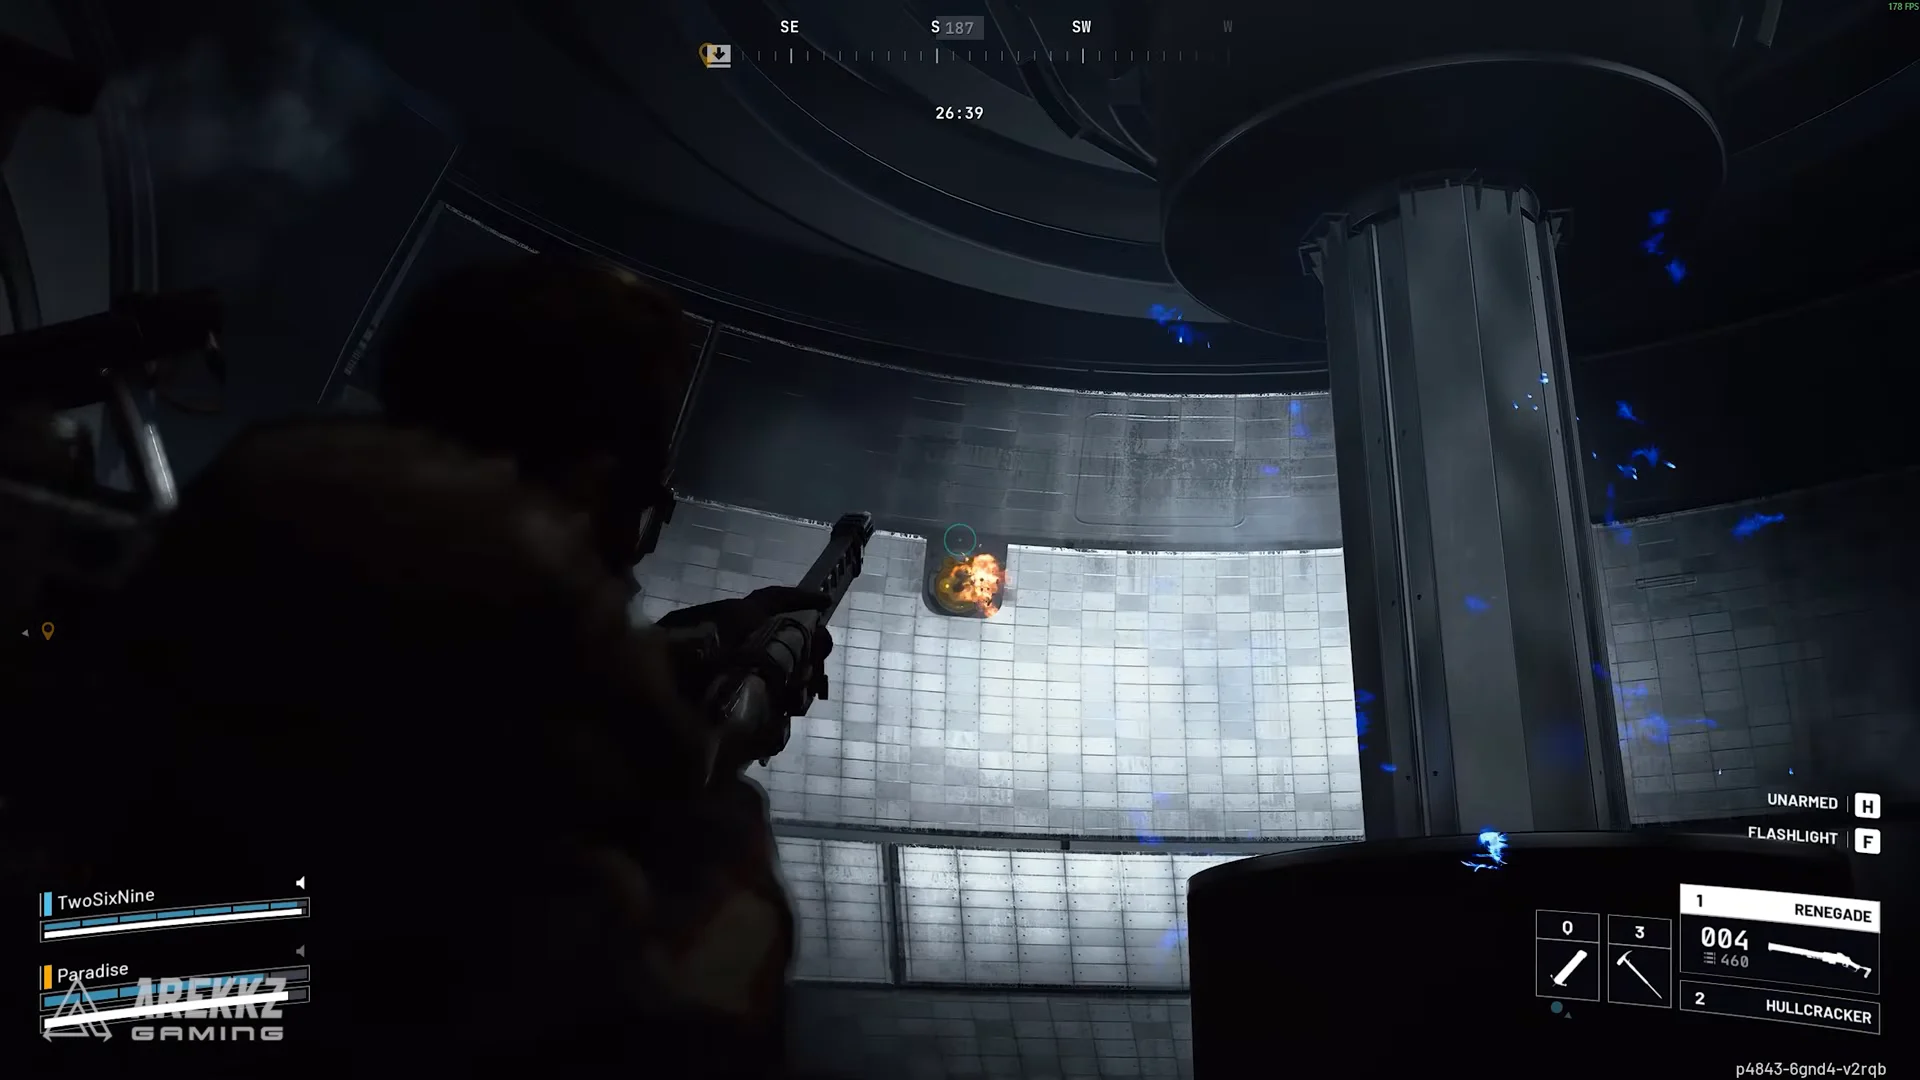
A central rotating column acts as the elevator. Shoot the four yellow power nodes on the column plus the extra nodes on the outer walls to cut the electricity, which activates the spinning platform and lets you ride it to the next level.
The maze rooms
Two variants appear. The open grid version asks you to clear the ARC and shoot four yellow nodes to open the way forward. The partitioned version drops the nodes and instead hides a single unlocked exit door, so clear the enemies and sweep the walls until you find the open one.
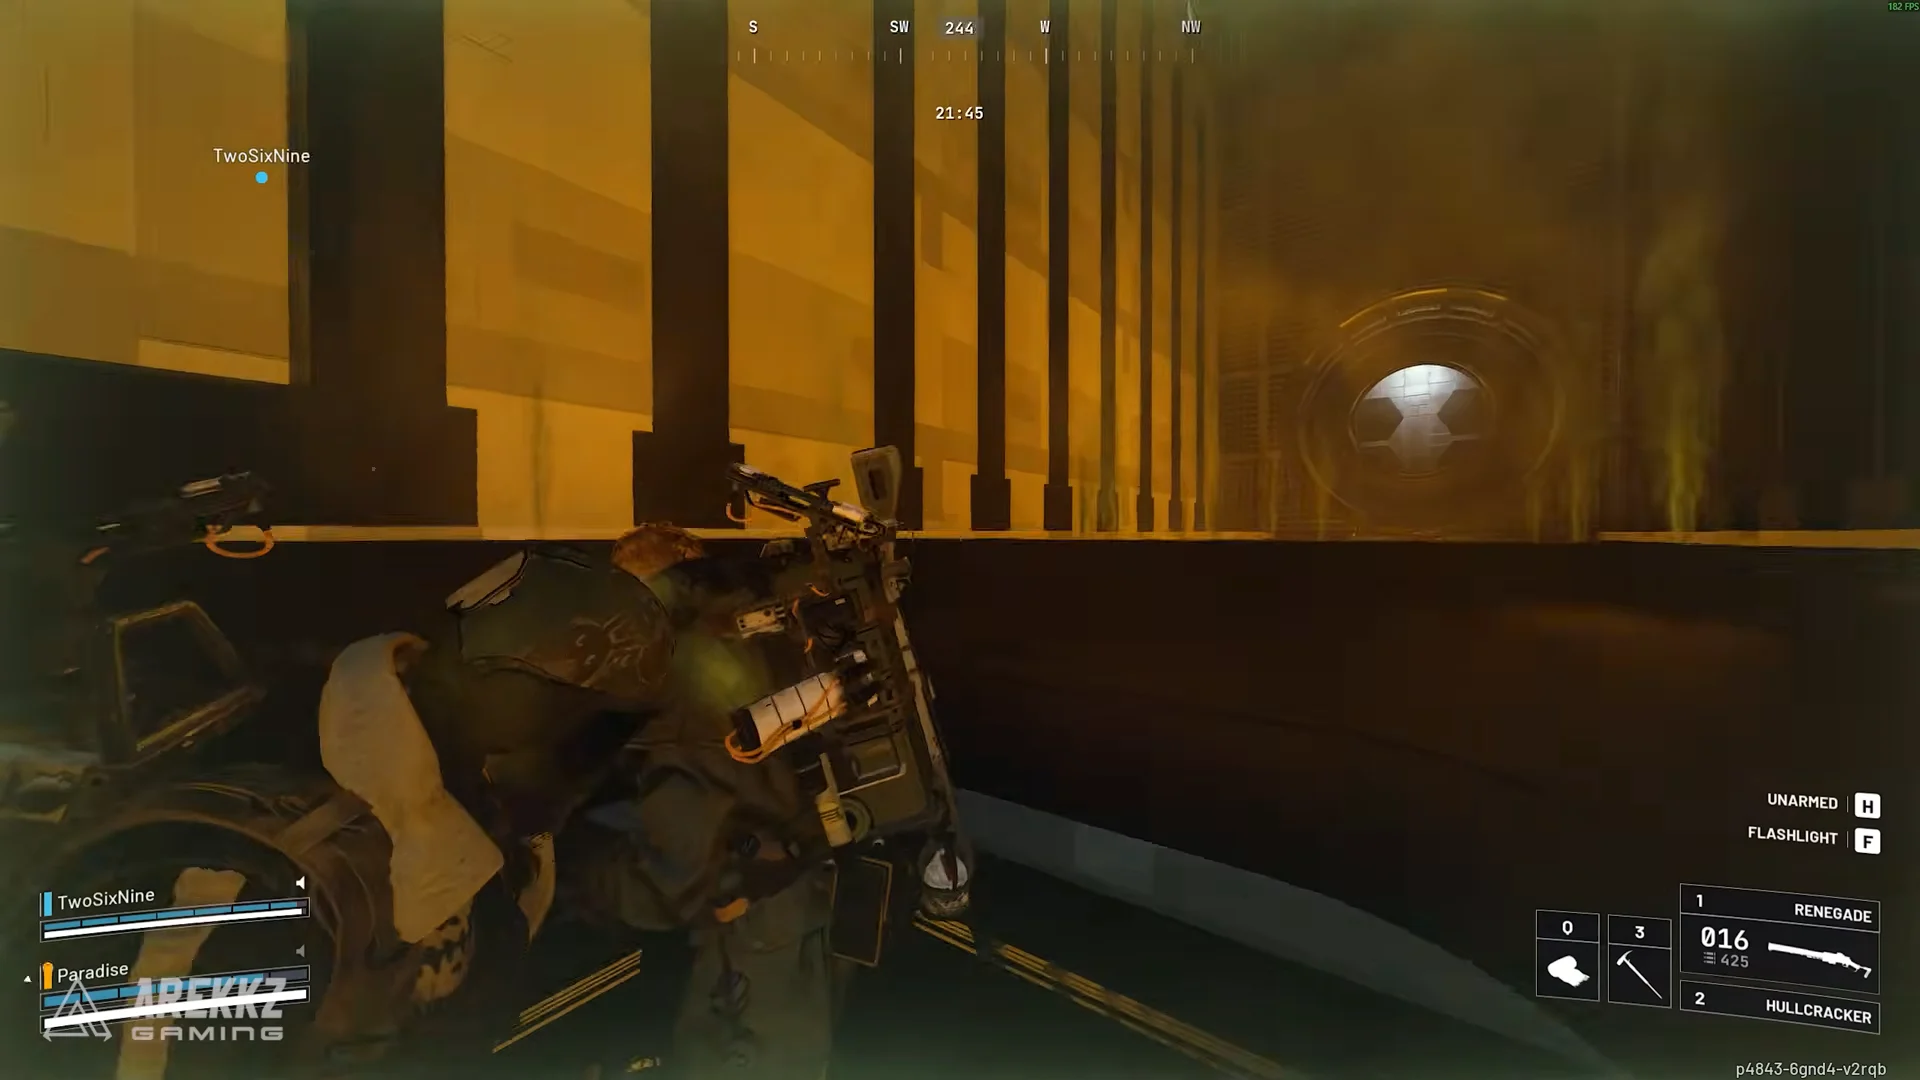
The parkour tunnel
A vertical shaft of ladders and platforms studded with electrifying conduit blocks. Shoot a conduit before you jump onto it, because they recharge over time and will shock you if they power back up mid-climb. A grappling hook skips this entire section.
The crushing room
Closing walls and a stamina-draining gas fill this room. Duck into the recesses built into the walls to stay safe as the mechanisms move, then time your jumps to slip through the gaps and reach the space behind the wall structure. Parkour up the ledges and cross the sliding machinery to continue.
The dark rooms
Sitting above the crushing room, these machinery chambers come in two layouts. Both throw moving hazard floors at you and station Hydras around the perimeter. Shoot the turrets down, and on the debris-based variant, use your grapple to cross the moving platforms.
The laser rooms
Damaging lasers criss-cross these chambers in shifting patterns. In the obstacle variant, time your runs between the moving beams; in the open variant, crouch in the floor indentations while the pattern passes overhead. A Barricade Kit can block a beam long enough to cross safely.
Exploding loot pods
Orange and red canisters carry a hidden self-destruct timer that starts the moment you breach them. They detonate after roughly eight items are pulled, so grab what you want quickly and step back before the blast.
The Grand Loot Room and the Emperor Modulator
The deepest chamber is a large vault packed with loot. Sweep the canisters on the ground and along the walls, and watch for flying ARC reinforcements that pour in once you start looting. Shooting the yellow wall nodes flips the room lighting from red to blue and unlocks extra side caches.
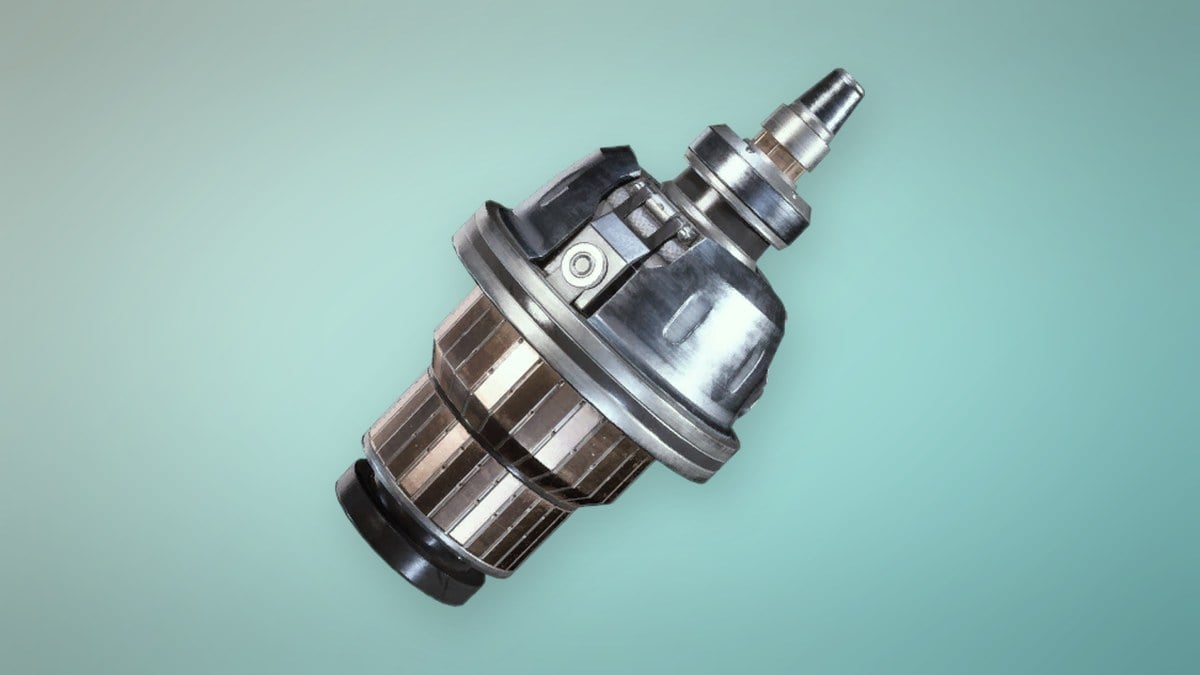
The Emperor Modulator is the Legendary material you came for. It can appear in the Grand Loot Room pods, but it also turns up in breakable and exploding pods earlier in the run, so search every special container rather than rushing to the end. The moment one drops, drop it into a safe pocket so you keep it even if you go down.
The Modulator upgrades the Gunsmith from Level 3 to Level 4, a step toward the amplified weapon system. The upgrade takes one Emperor Modulator, three Radial Press and three Magnetic Accelerator, applied back at Speranza. You only ever need one Modulator for it, so keep your first and resist selling it.
Getting out alive
Choose between two exits: descend the central elevator shaft and leave through your original entrance, or climb through the vault’s upper opening in the Grand Loot Room and head to the nearby Gondola extractions. Watch the raid timer whichever route you take; going back down the shaft takes time.
The closest exit is the Reckless Transceiver sitting in the Emperor’s shadow, where you can call in the Ballistic Gondola. It is the fastest way home after a run, and also the most exposed, so expect company. Confirm your run worked when the Emperor Modulator sits in your stash after a clean extraction, and then spend it on the Gunsmith Level 4 upgrade when your other materials are ready.