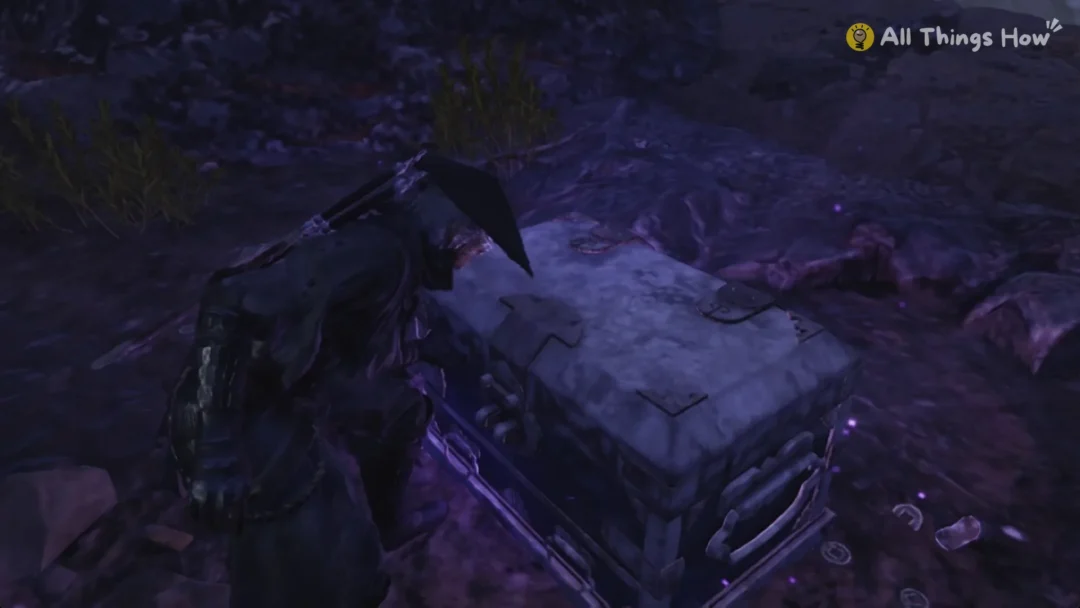
The Emperor Gateway Conduit is a legendary key for unlocking the sealed hatch beneath the Fallen Emperor on Pendola Pass. This downed ARC walker contains one of the game’s earliest dungeon-style runs. The hatch remains shut until you craft the conduit and fit it into the hull’s socket. One map activity supplies both the blueprint and crafting materials.
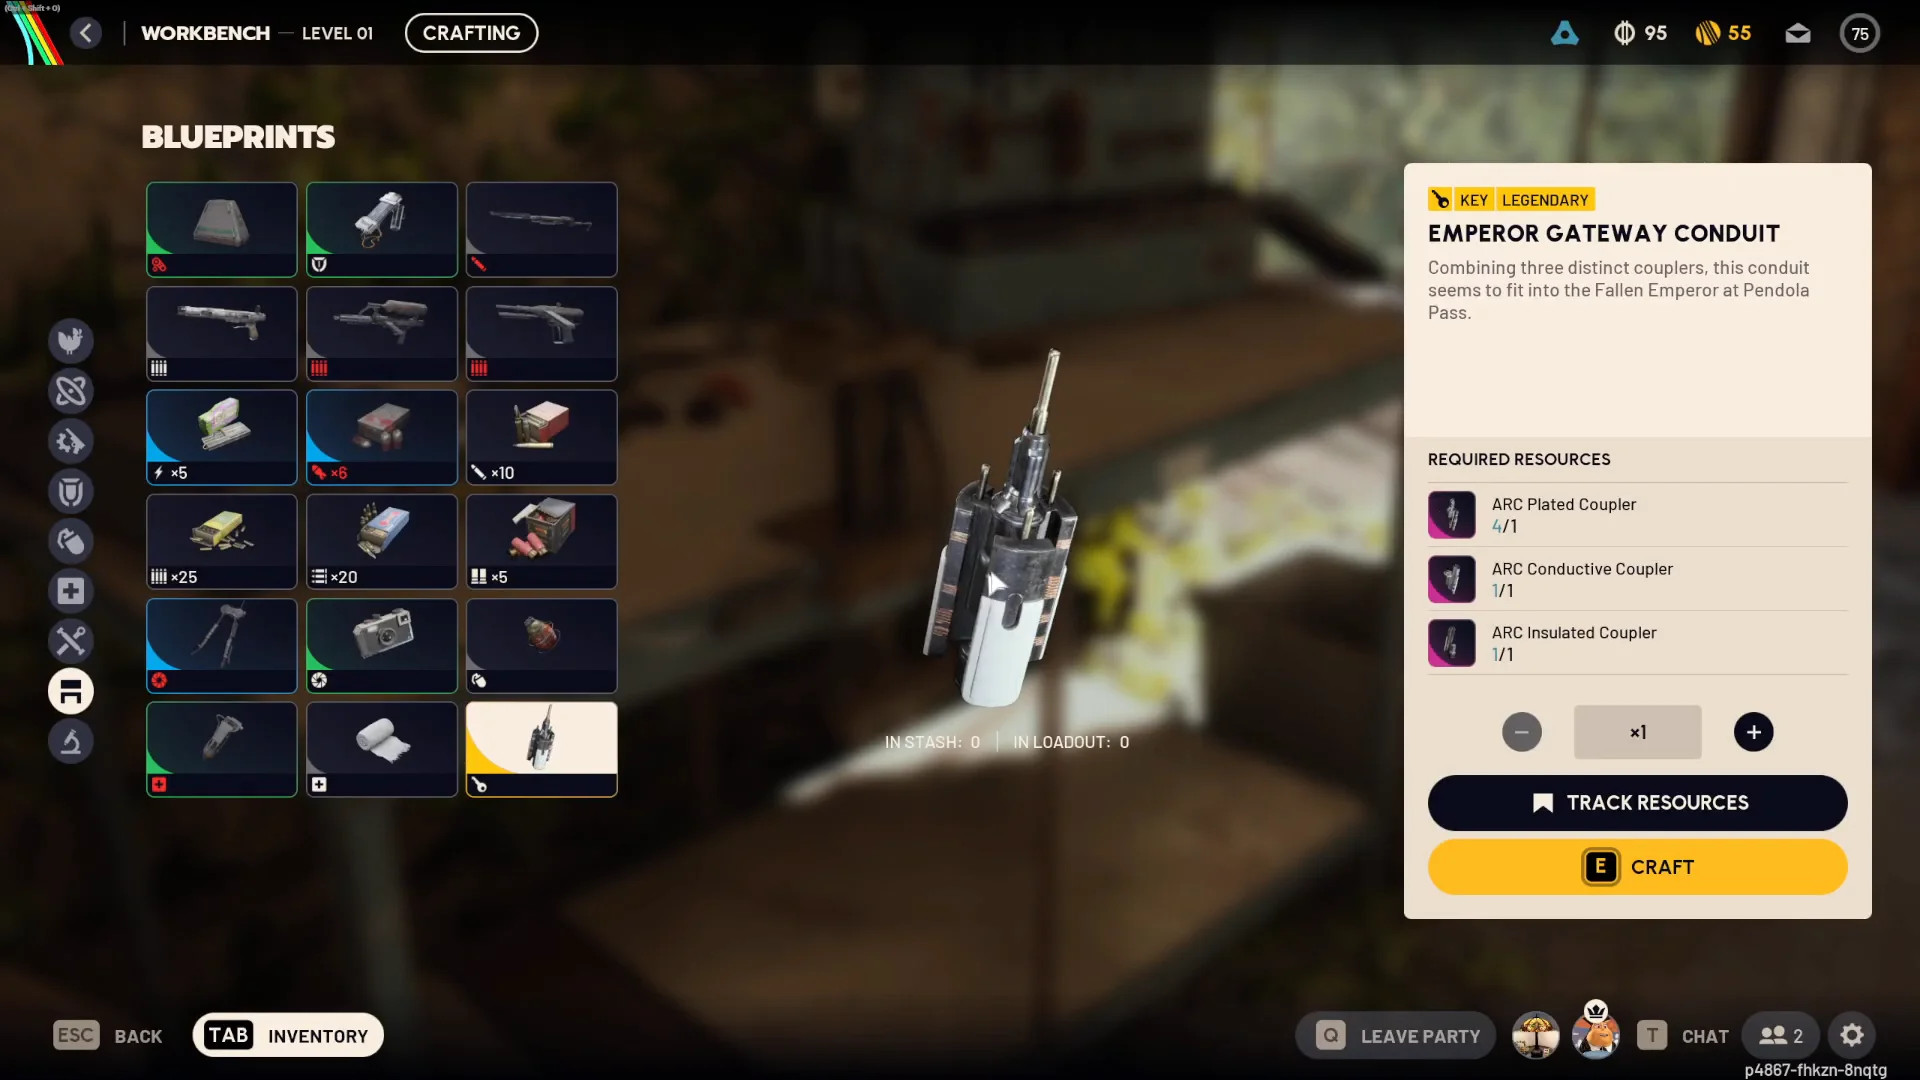
Quick answer: Find the Emperor Gateway Conduit Blueprint during the Redirection condition on Pendola Pass, gather one each of the ARC Conductive, ARC Insulated, and ARC Plated Coupler, then craft the key at Workbench I.
Materials and items you need
The recipe takes one of each of the three ARC Couplers. They are separate materials, so you need all three types for a single key. The Emperor Beacon is the quick-use item you deploy to call down the payload that carries those parts.
| Item | Rarity | Weight | Max stack |
|---|---|---|---|
 Emperor Beacon | Epic | 2 | 3 |
 ARC Conductive Coupler | Epic | 0.5 | — |
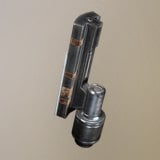 ARC Insulated Coupler | Epic | 0.5 | — |
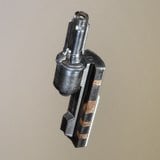 ARC Plated Coupler | Epic | 0.25 | — |
All three couplers together have a weight of 1.25, making them easy to fit into a loaded kit. Couplers are common drops, with several often found in one run; the blueprint is much rarer and may take multiple raids to find.
Farm the blueprint and couplers during Redirection
On Pendola Pass, Harvester Payloads during the Redirection map condition can yield the blueprint and each of the three couplers. Since Redirection is absent from some matches, wait to queue until it is active.
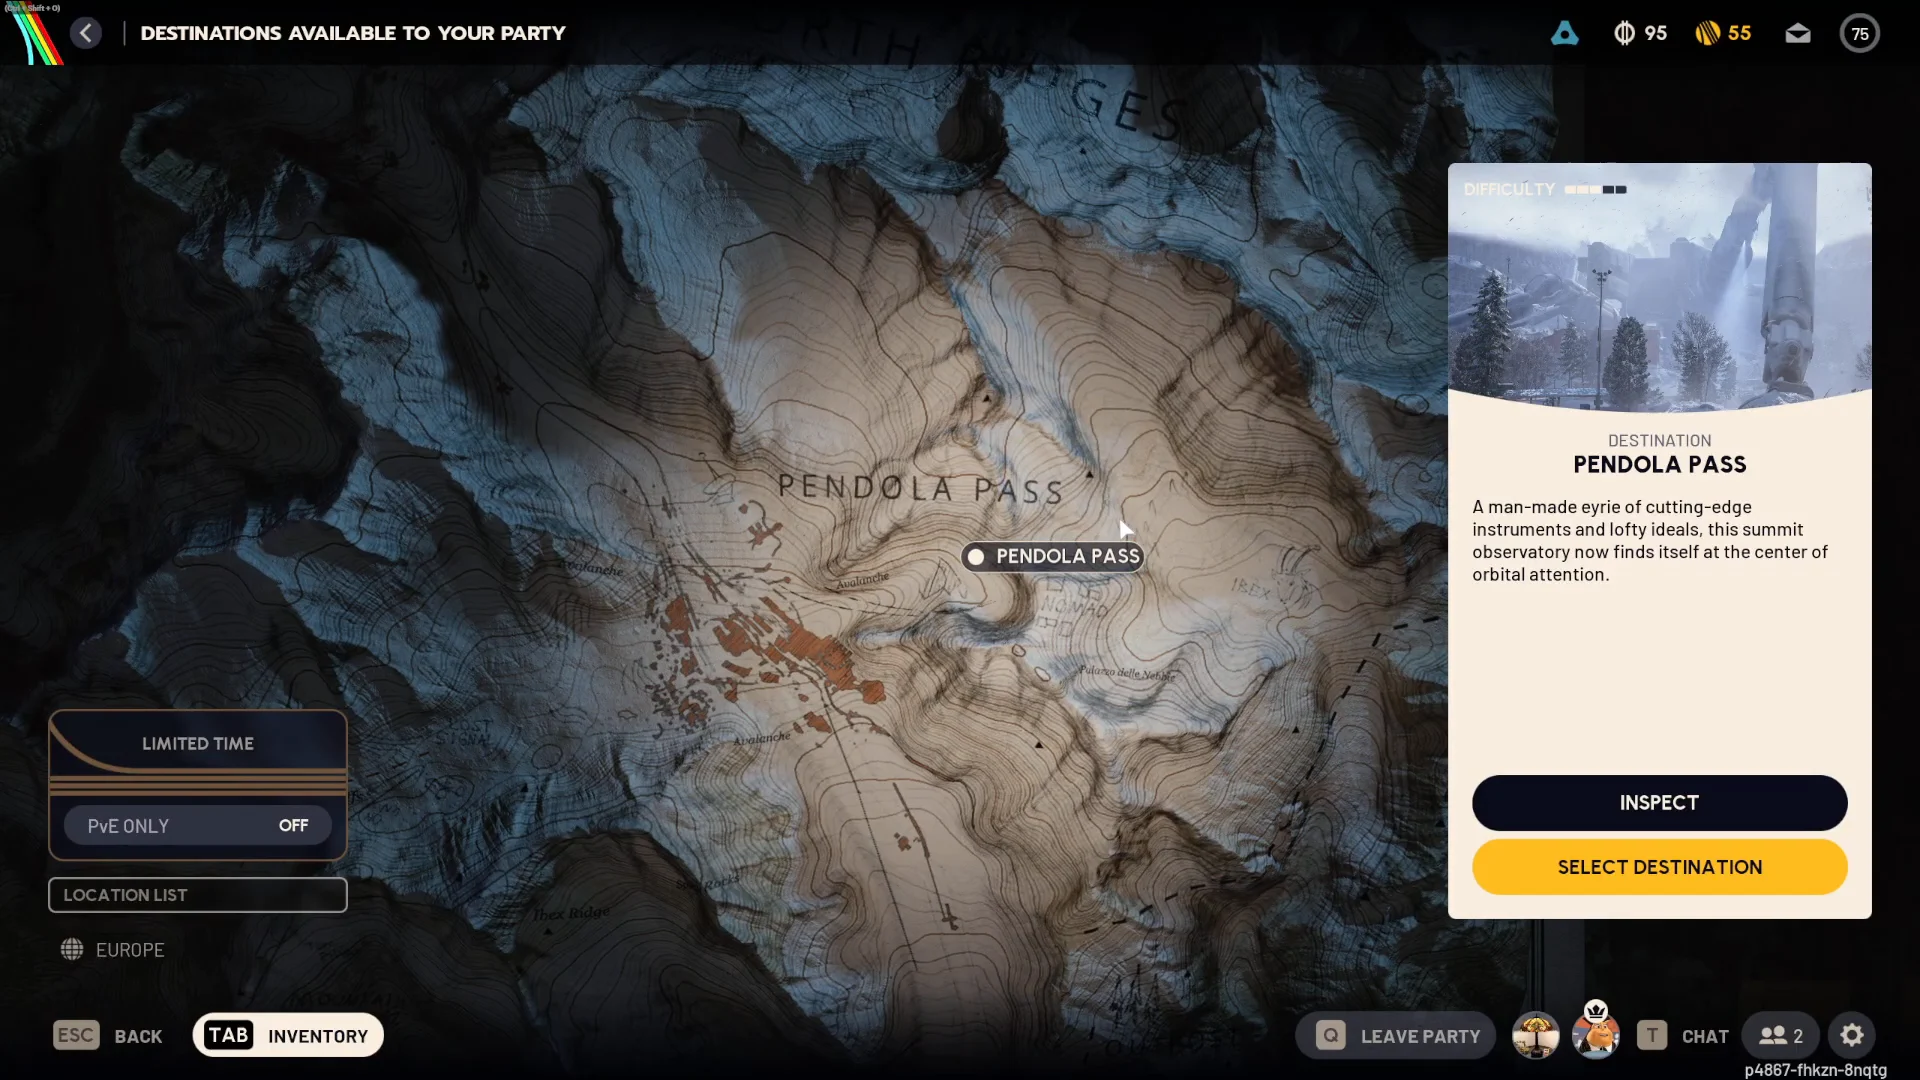
A payload may not drop the blueprint, and its odds are low. Plan on opening several payloads, keeping extra beacons on hand so a single relay can supply multiple drops. During Redirection, Fireballs and Fireflies appear only on Pendola Pass, drawing in ARC as well as other raiders.
You do not need all three couplers in one raid. Store each one in your stash and keep farming until the recipe is complete, since couplers come easily while the blueprint lags behind.
Other places the blueprint can drop
Redirection offers the most dependable method, though payloads aren’t the only source of the blueprint. Destroyed Surveyors leave a Surveyor Vault core that may contain it, making Surveyors along your route worth fighting on any map. Players have found the blueprint in Surveyors on Dam Battlegrounds, Blue Gate, and Spaceport, even when Pendola Pass’s condition was not active.
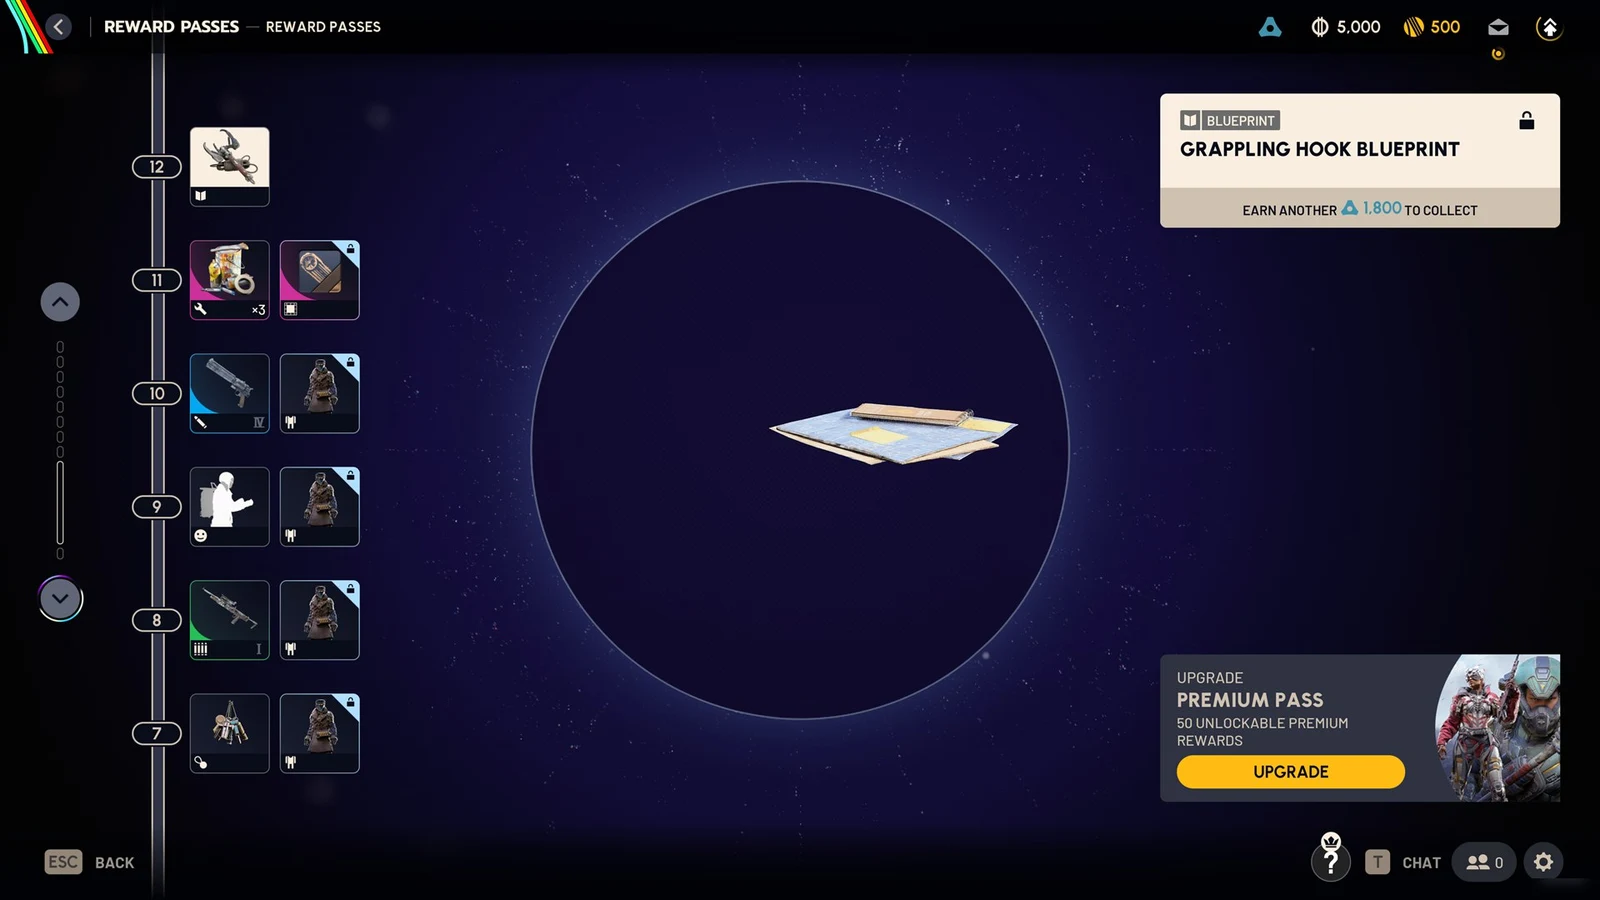
For an option that doesn’t depend on drops, reach Level 60 in the Frozen Trail Reward Pass to receive a completed Emperor Gateway Conduit. This reward is the key, not its blueprint; Redirection remains preferable if you want to craft additional conduits for repeated runs.
Craft the conduit at Workbench I
Use a basic Workbench I to craft the conduit; there’s no need to upgrade it. Crafting isn’t possible during a raid, and couplers can’t be shared among teammates, meaning each raider must collect a complete set.
Open the Fallen Emperor on Pendola Pass
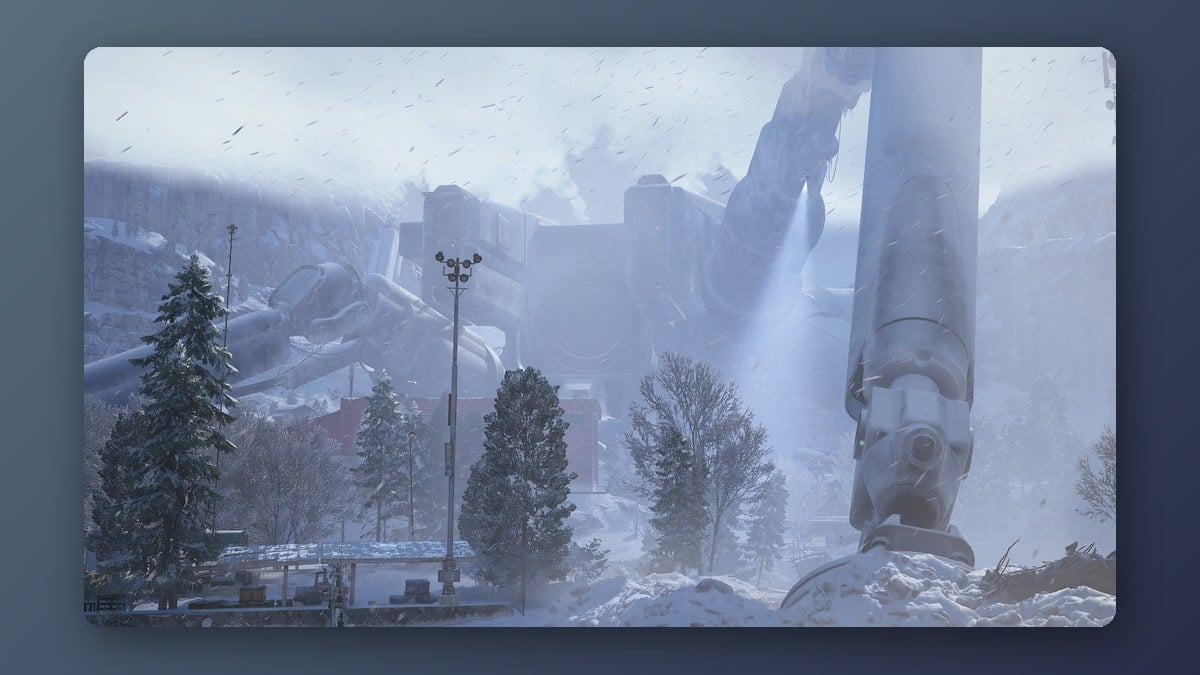
Load into a new Pendola Pass match carrying the crafted key. The Fallen Emperor sits toward the western part of the map, west of Piazza della Rupe and north of Old Town, between Old Town and Almatera Station.
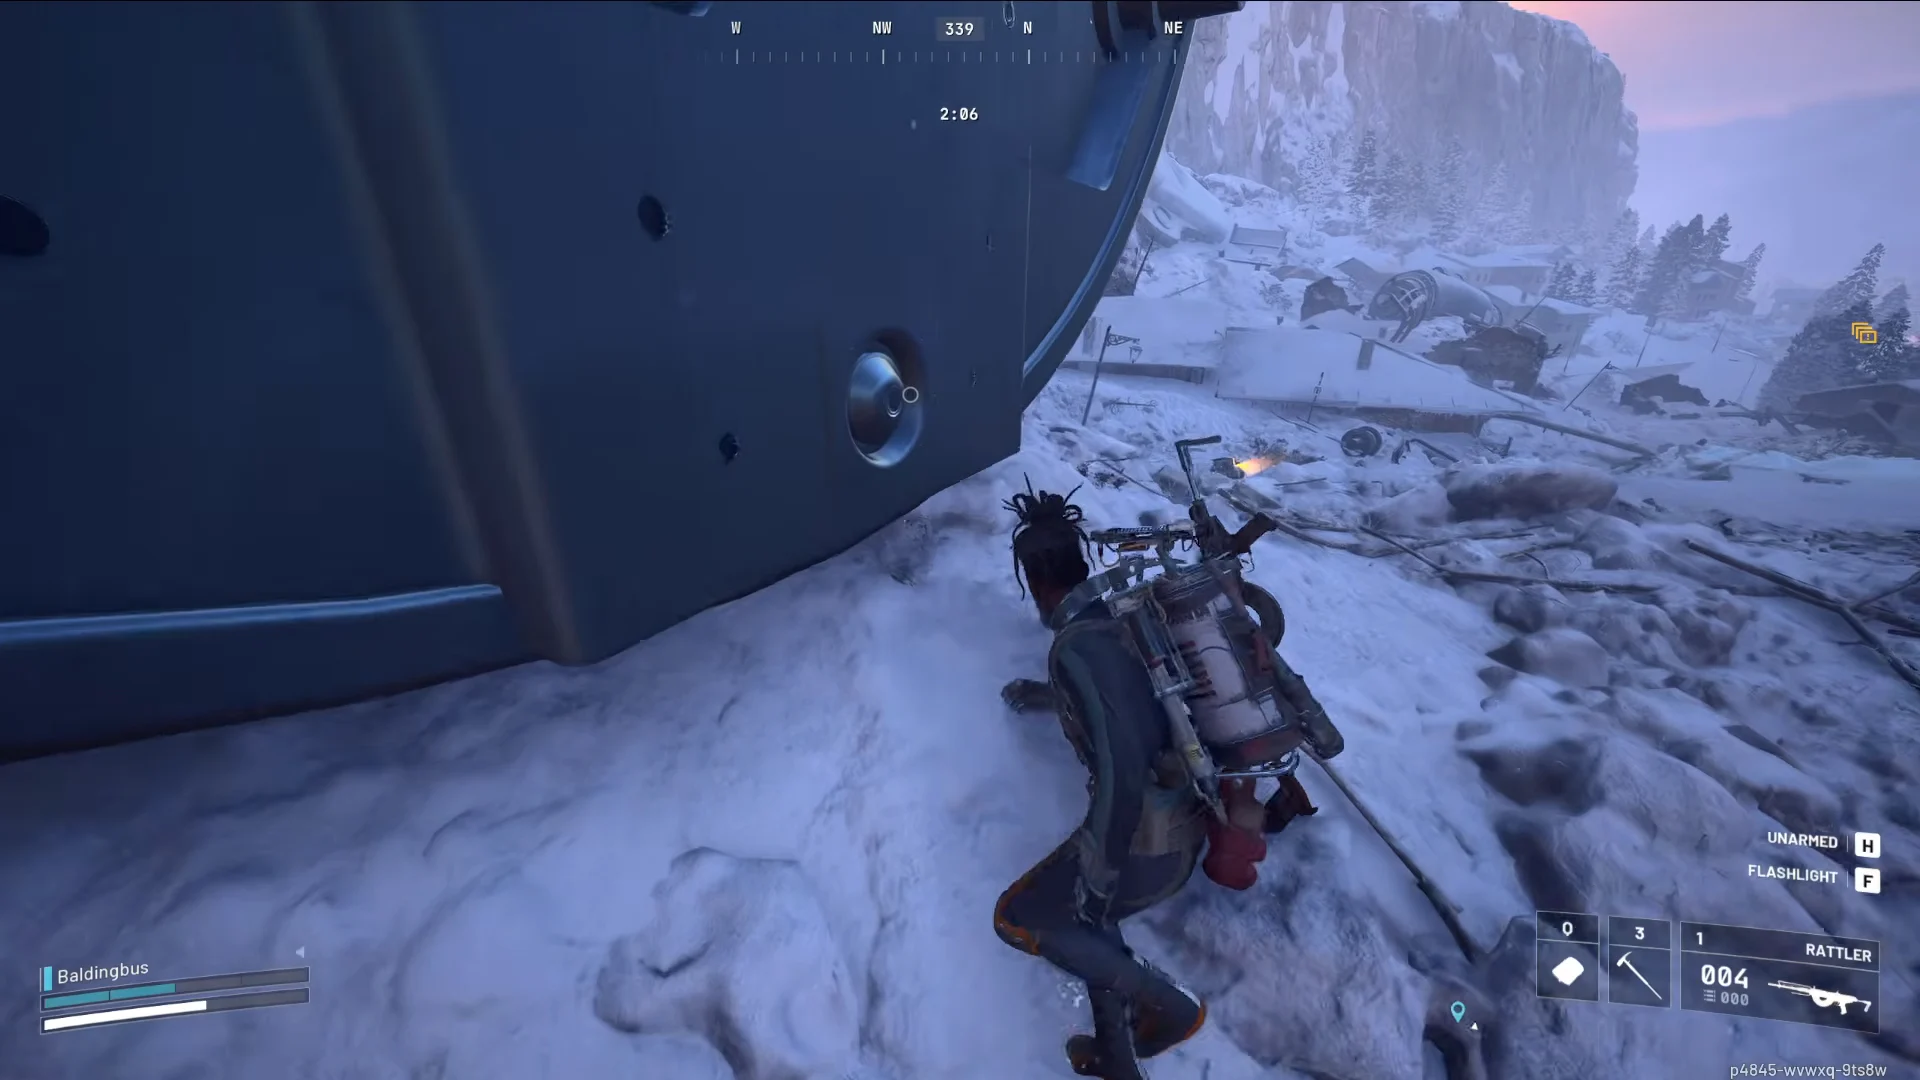
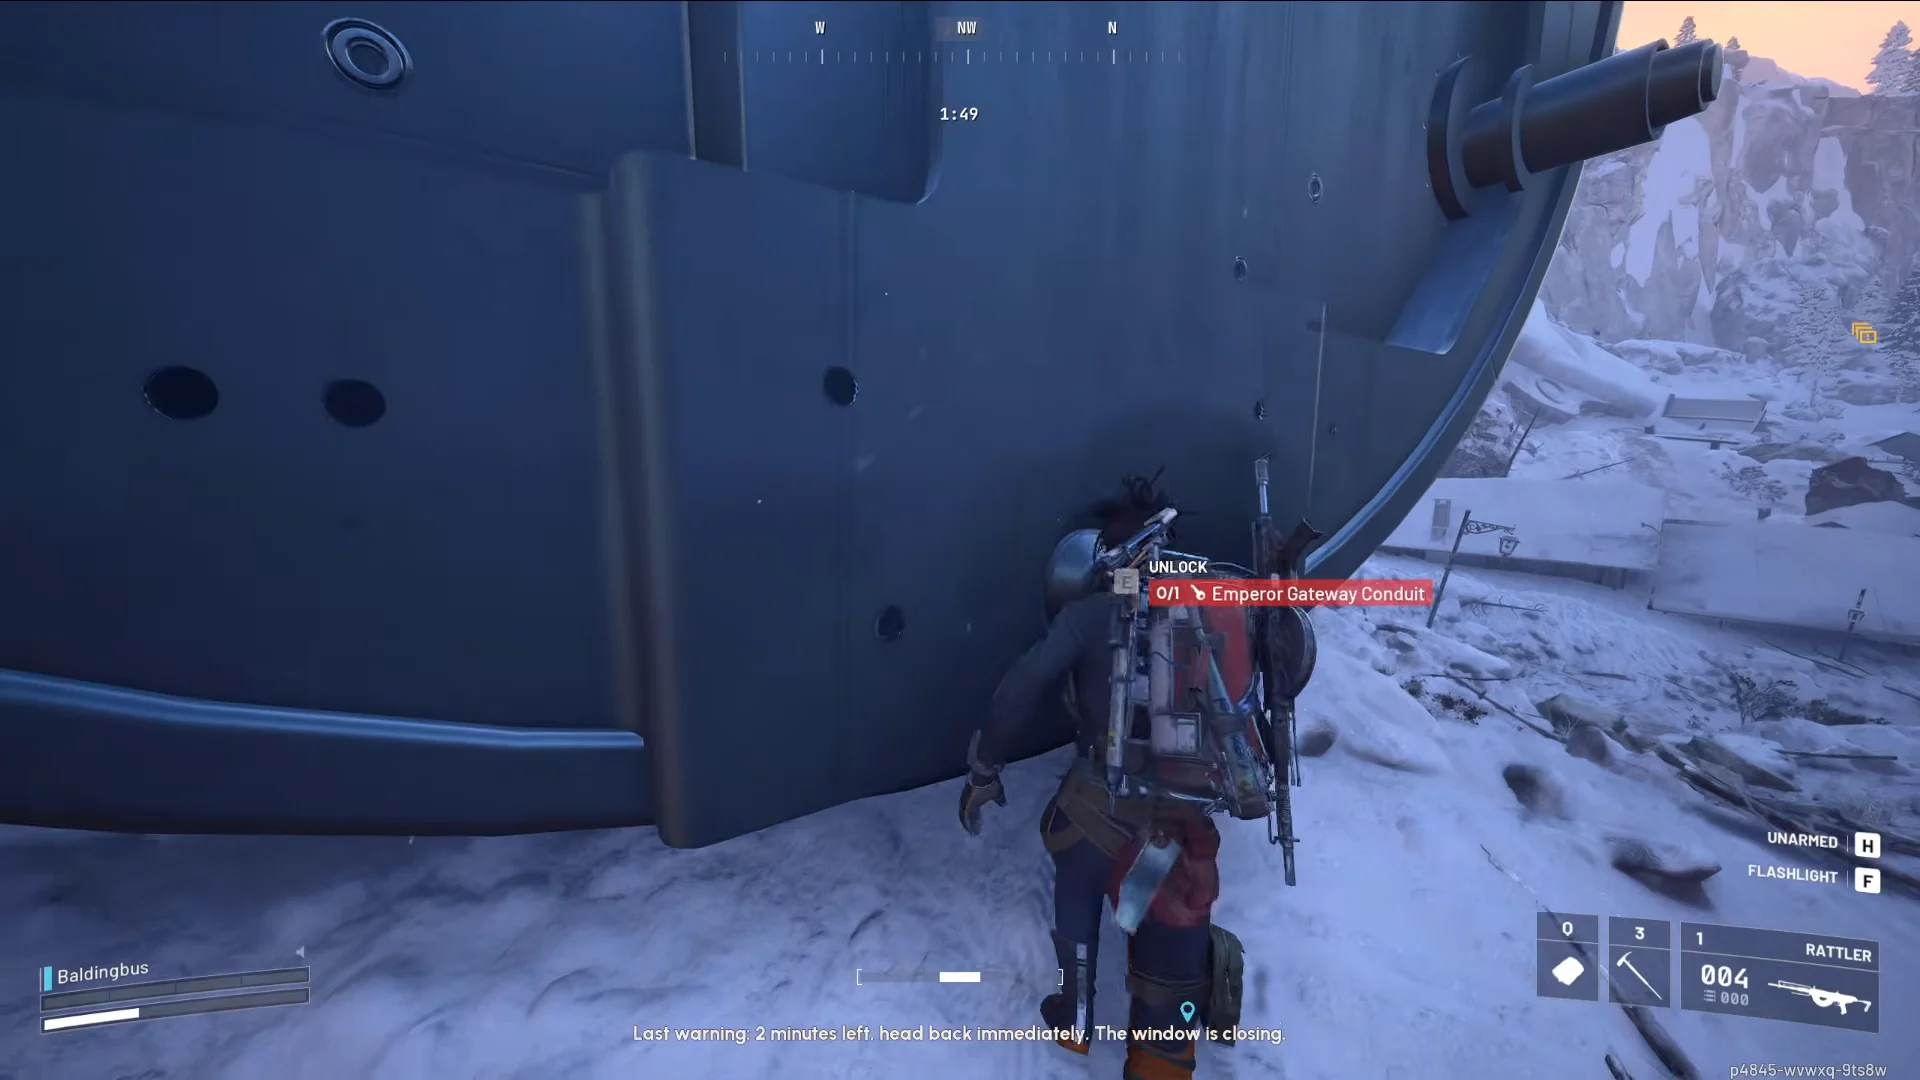
The ground level and the final loot hangar remain unchanged, but the trials connecting them get rearranged each session. Amplification Modules are available here and, outside this location, only on the Frigate; an Emperor Modulator allows the Gunsmith to reach Level 4. Because the run is lengthy and its trials and ARC make a light kit risky, bring a full loadout and a safe pocket. Afterward, the nearest exit is the Reckless Transceiver, a gondola point beneath the Emperor that is also the most exposed escape route.