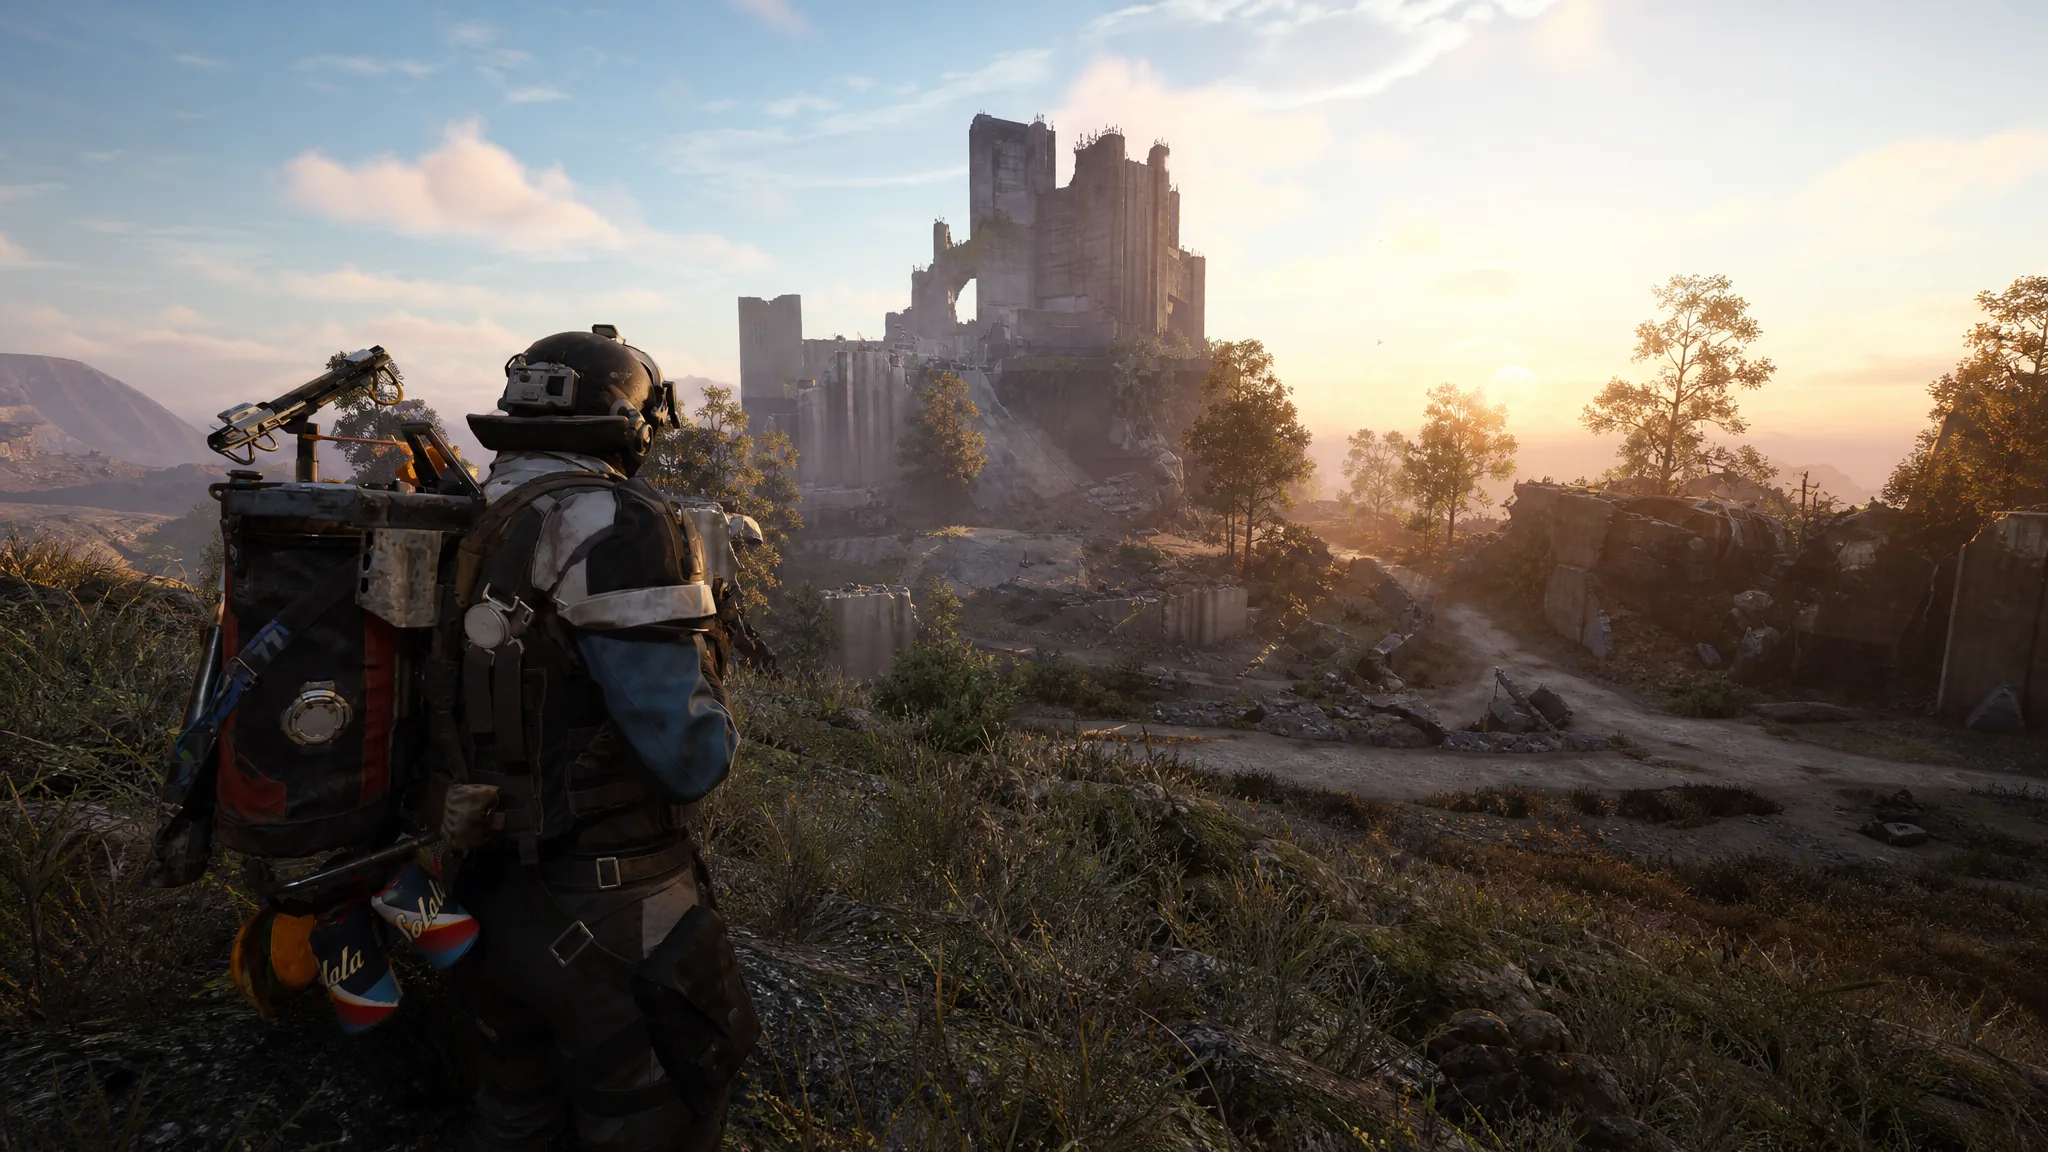
Map Conditions are hourly modifiers that reshape how each of the five maps in ARC Raiders plays, and two goals dominate why people pick one over another: stacking coins and pulling blueprints. The right condition turns a slow, random grind into a predictable payday, because cash and crafting recipes cluster around very specific events rather than showing up evenly across normal raids.
Quick answer: For money, run Lush Blooms and loot the Fruit Baskets, which average around 100,000 coins if you know their spots. For blueprints, run Night Raid or Electromagnetic Storm and bring an augment with a safe pocket, since blueprints can drop even in white zones during those events.
Get rich with Lush Blooms and its Fruit Baskets
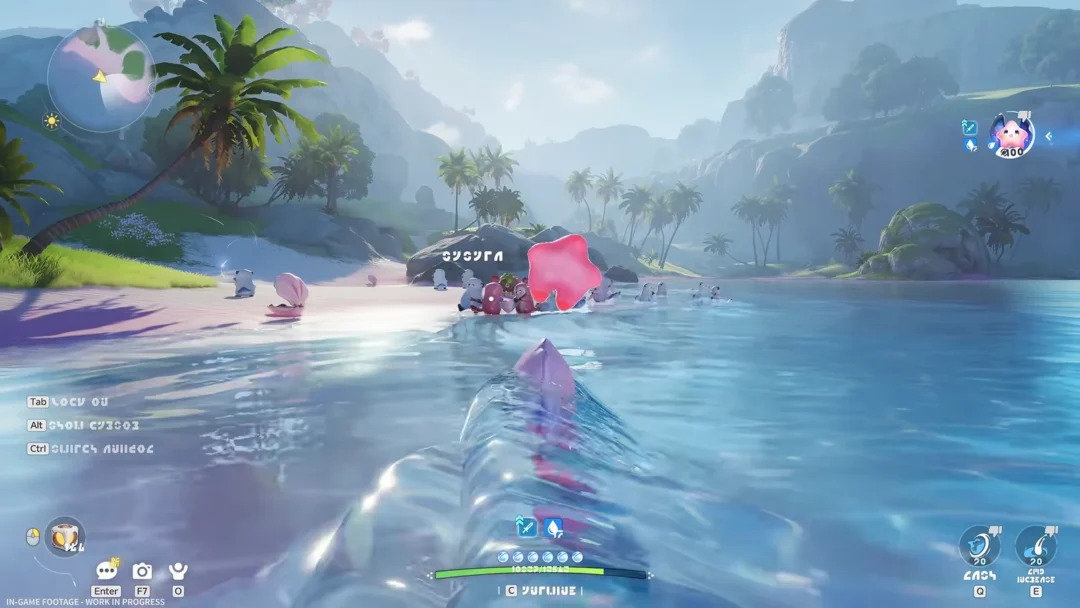
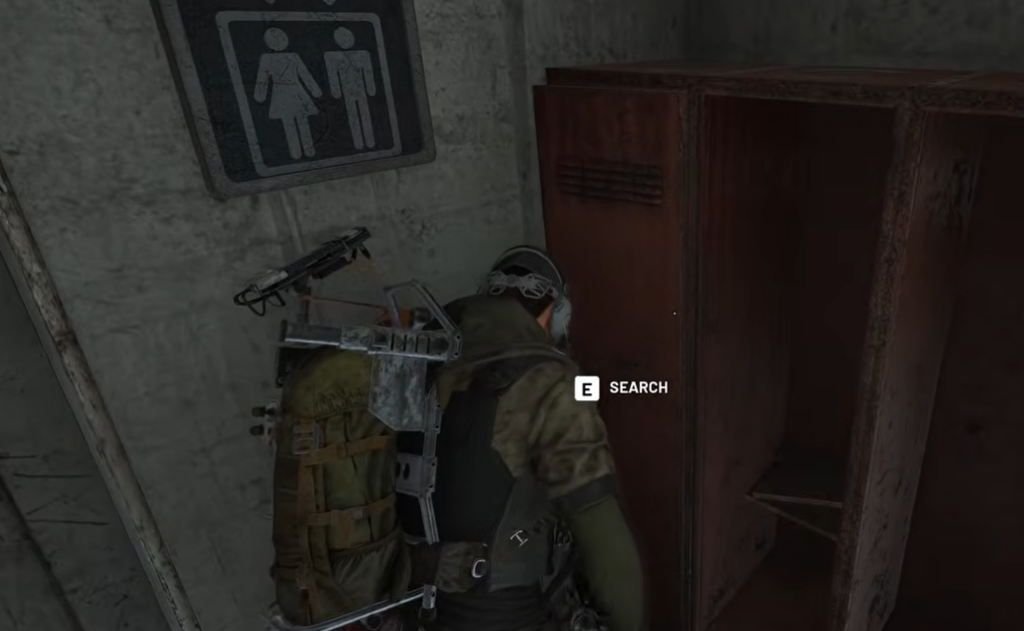
Lush Blooms is the fastest coin condition in the game. It spawns Fruit Baskets that hold only Nature loot, and clearing a run of them can pull about 100,000 coins on average once you learn where the baskets sit. The same condition is the reliable place to farm Nature items for Scrappy’s upgrade, including the hard-to-find Mushrooms, so a single trip serves both your wallet and your crafting.
Because Lush Blooms is a Minor Map Condition, ARC enemies are calmer and other raiders tend to be less aggressive. That makes it a low-stress farm. A cheap kit or free loadout is fine here, since the value comes from baskets rather than fights.
Best conditions to find blueprints
Blueprints are the endgame grind. They permanently unlock crafting recipes for weapons, mods, grenades, medical items, and utilities, and outside of quest and Trial rewards, most come from random loot with no fixed spawn. The trick is that some conditions sharply raise how often they appear.
Night Raid and Electromagnetic Storm are the two to target. Both cut the number of extraction points and add environmental danger, but they clearly increase blueprint drops, and blueprints can appear even in unmarked white zones while they are active. Night Raid also doubles the points you earn from Trials, and finishing a Trial can itself hand you a blueprint, so you get two paths to recipes in one run.
Electromagnetic Storm is essentially Night Raid taken further. On top of the darkness you lose most of your hearing, but the rewards match Night Raid and you can also catch a Fossilized Lightning from a lightning strike. It sells for 4,000 coins, though recycling it is better because it yields 3x Explosive Compound.
The Hurricane condition is the third strong option. It unearths First Wave Raider caches across every map except Stella Montis, and those caches are among the most rewarding containers for blueprint hunting. First Wave Raider caches are where the Tempest and Canto blueprints tend to surface, so opening as many as possible per run is the play.
Never run a Free Loadout when hunting blueprints
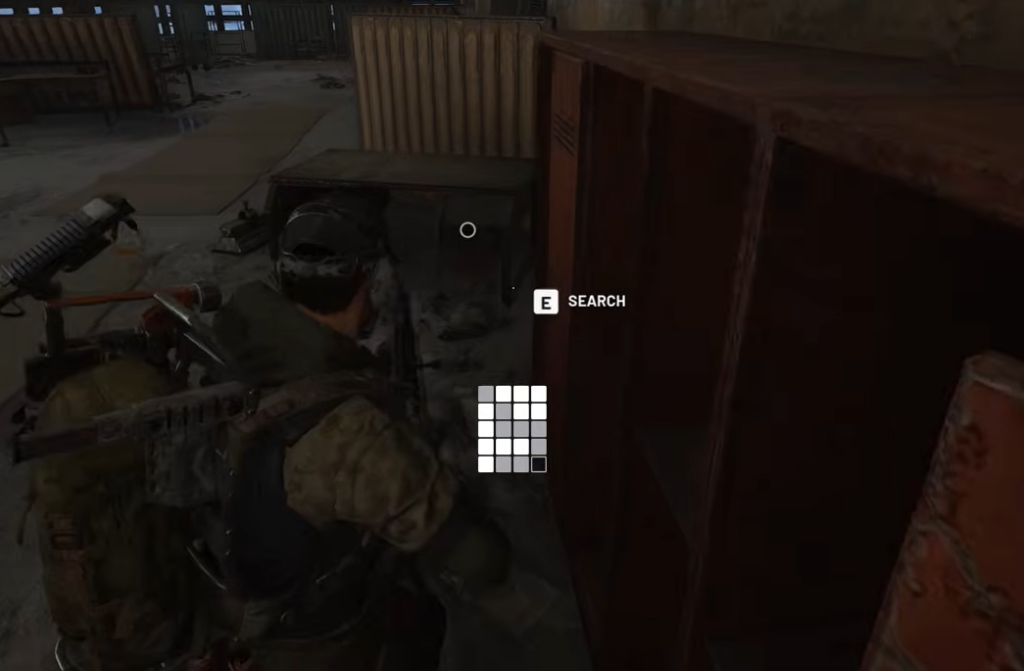
A Free Loadout has no safe pocket, and the safe pocket is what preserves a single non-weapon, non-shield item even if you die before extracting. Finding a blueprint means nothing if you get knocked out and lose it on the floor. Once you are grinding the harder conditions, you should already have enough loot to assemble a basic kit with an augment that includes a safe pocket.
You can trade a Free Loadout augment for any starting augment from Lance in the Traders tab. The moment a blueprint drops, put it in the safe pocket before you do anything else.
Where to loot for blueprints during these conditions
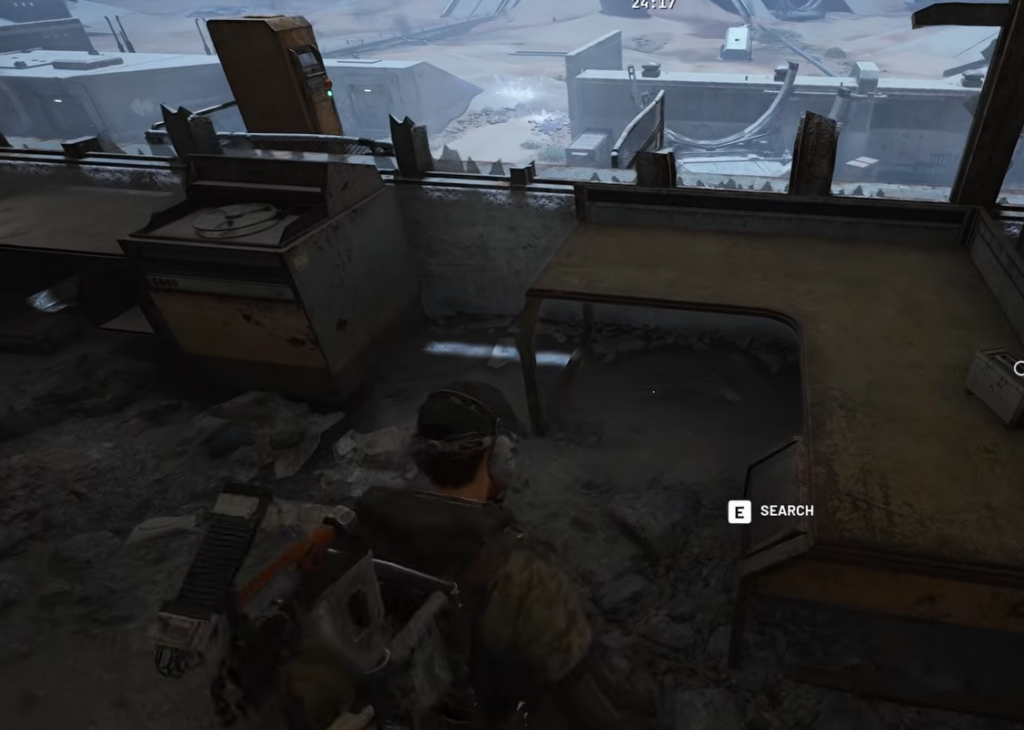
Blueprints hide almost anywhere, from a car hood in a parking lot to a trash can in an alley. Since the odds per container are low, the winning approach is volume: prioritize rooms packed with loot containers so you simply open more of them. Office buildings loaded with desk drawers, lockers, and cabinets give you the most checks per minute.
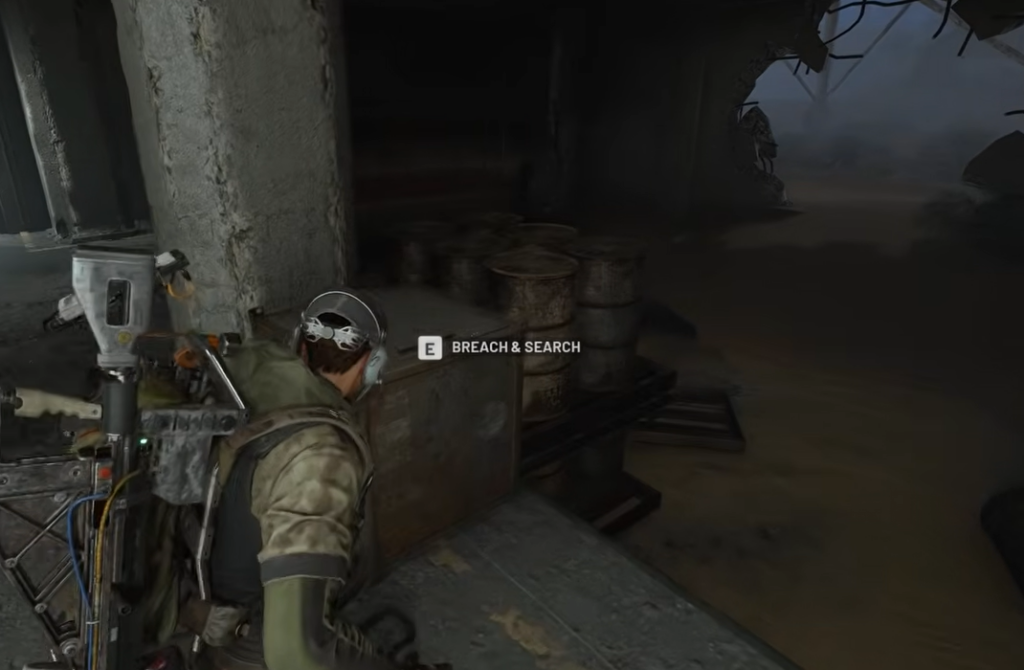
Locked rooms are worth the keys, because their loot runs several tiers higher. When you crack one open during Night Raid or a similar event, search it completely, and consider bringing Door Blockers and Barricade Kits to seal the room while you clear every container. Trash cans that carry an extra cover on top (they look taller) are more likely to hold loot than plain ones.
These high-density interiors are among the strongest routes for stacking container checks:
| Map | Loot-dense areas |
|---|---|
| Spaceport | Arrival Building, Departure Building, Control Tower A6 |
| Dam Battlegrounds | Research & Administration, Control Tower, Testing Annex |
| Buried City | Plaza Rosa (locked pharmacy), Library, Space Travel, Research, Hospital |
| Blue Gate | Reinforced Reception (expect heavy PvP) |
| Stella Montis | Medical Research, Loading Bay, Lobby suitcases (very high PvP risk) |
Blue Gate has fewer office suites, so it offers less lottery volume, and Stella Montis is the game’s most dangerous map and effectively the unofficial PvP arena. You can find blueprints on both, but the fight risk often costs you the item before you can bank it.
Which condition drops which blueprint
Several named blueprints are tied to a single condition, so if you want a specific recipe you should run the matching event rather than farming blindly.
| Blueprint | Condition / source |
|---|---|
| Tempest | Night Raid, and First Wave Raider caches during Hurricane |
| Canto | Hurricane, from First Wave Raider caches |
| Dolabra | Close Scrutiny, from Assessor containers |
| Vulcano | Hidden Bunker (Spaceport only), can appear anywhere on the map |
| Bobcat | Locked Gate (Blue Gate) |
| Jupiter & Equalizer | Harvester, via Queen Reactors from the Queen ARC |
| Aphelion | Matriarch, via Matriarch Reactors from the boss |
Uncovered Caches deserve a mention for early players. Every cache holds ammo, usually a healing item, and a grenade, and the caches carry an increased blueprint spawn rate that covers weapon parts, grenade blueprints, and blue and green weapon recipes. The desert area outside the Buried City center is the best spot to run them.
How to confirm your run paid off
A blueprint only becomes usable after you select it and choose Learn and Consume, which registers the recipe to your account. Unlocks are account-wide and permanent, so once a recipe is learned it stays available across your characters. Duplicates can be sold for 5,000 coins each if you do not need them.
The most common reason a “successful” blueprint run still fails is loadout choice. If you ran a Free Loadout with no safe pocket and died before extraction, the blueprint is gone, no matter how many containers you opened. Fix that first, run Lush Blooms for coins and Night Raid, Electromagnetic Storm, or Hurricane for recipes, and the rest is a numbers game you can win by opening more containers per raid.