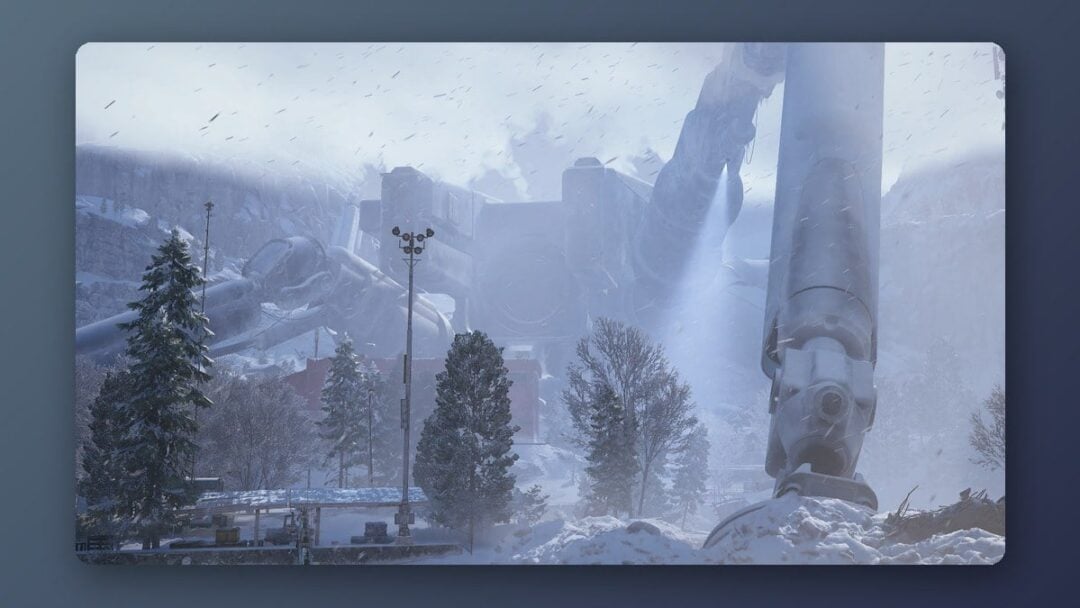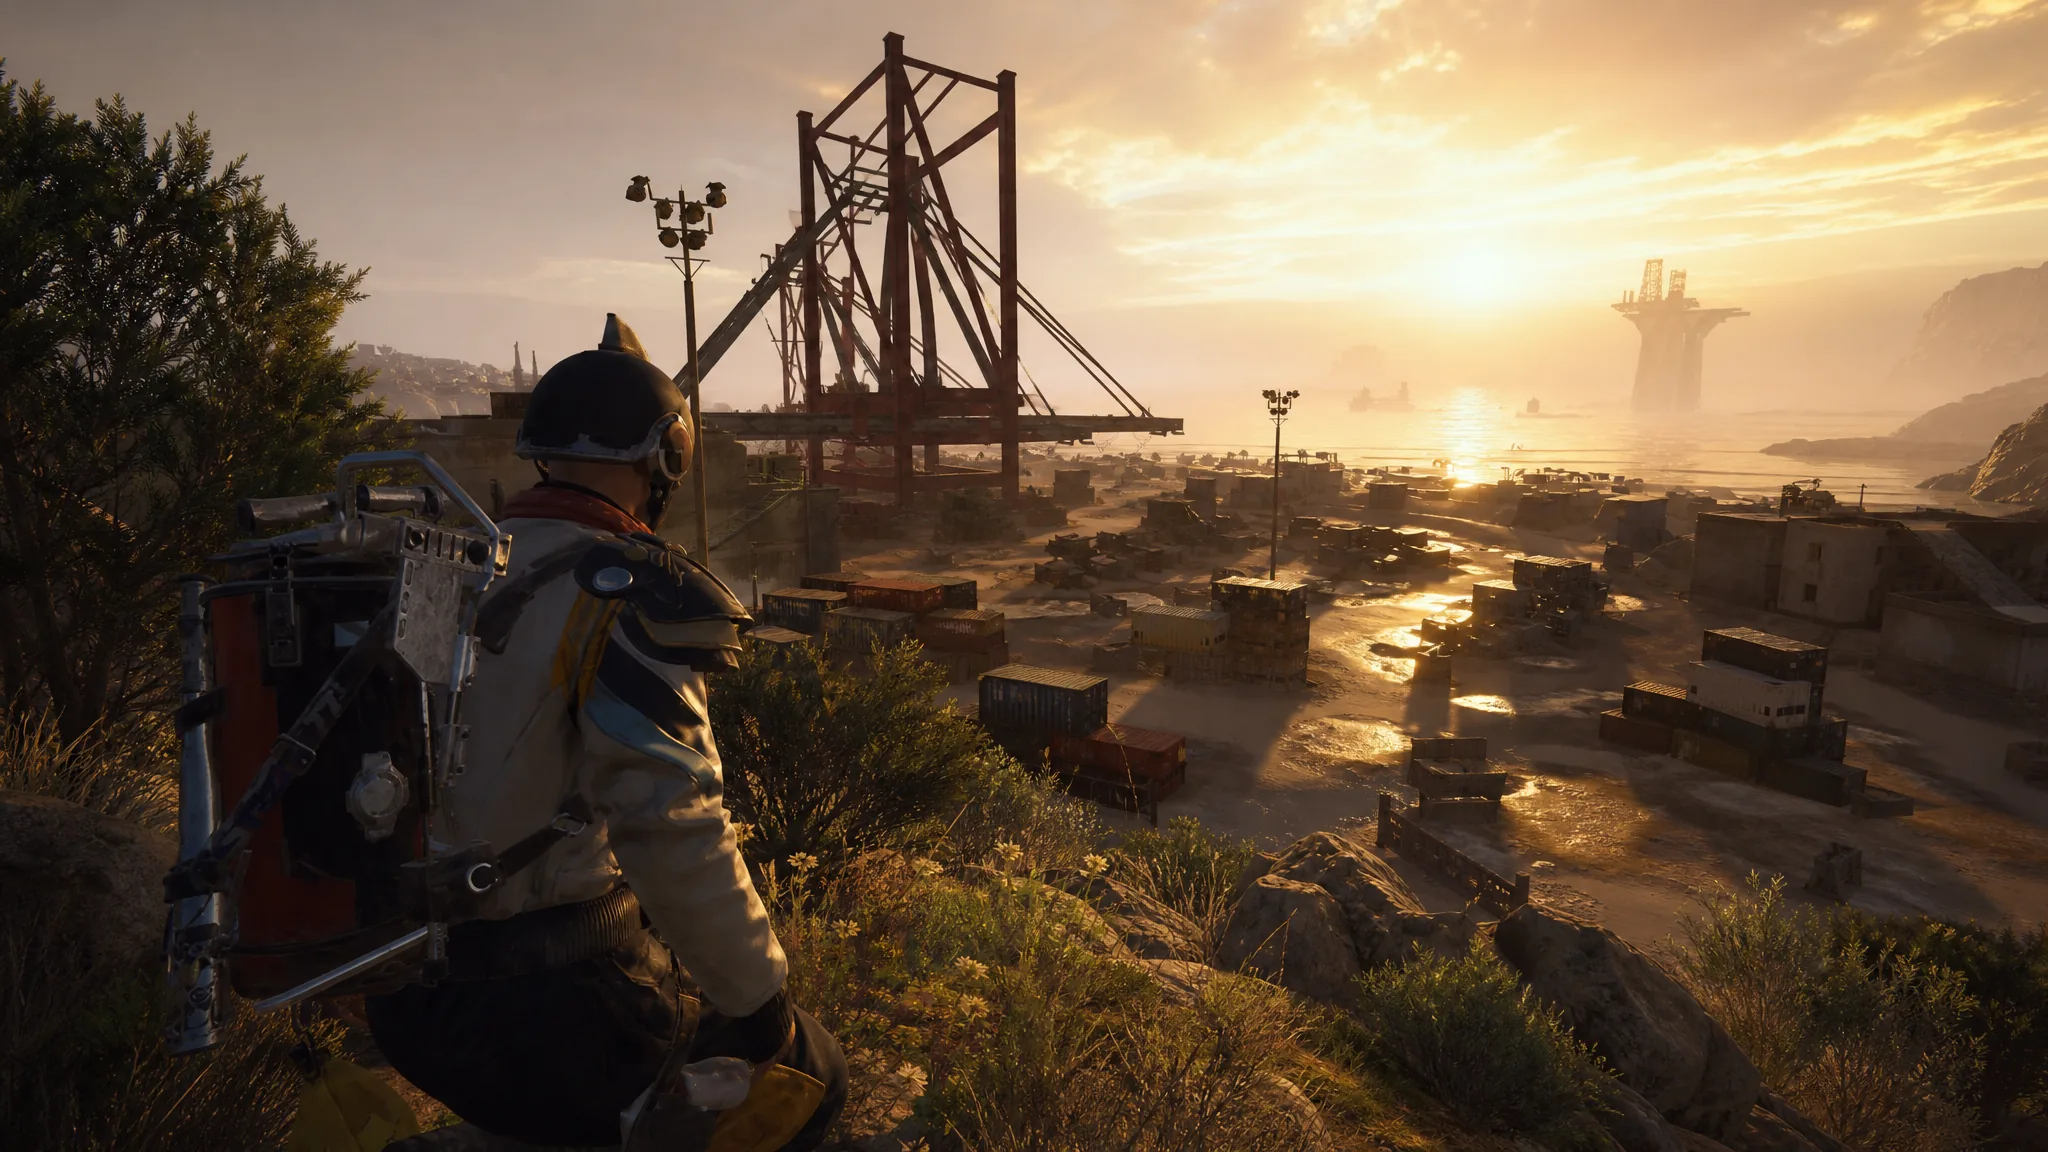
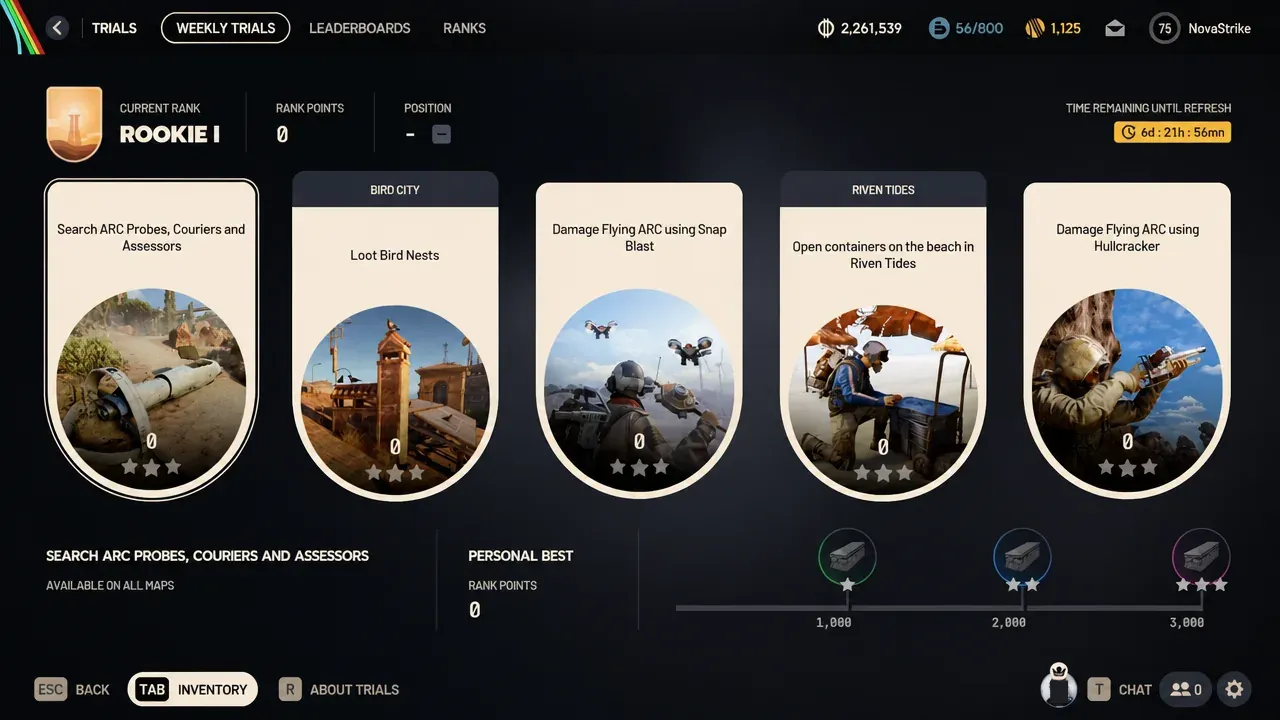
Season 5 Week 6 of the ARC Raiders Trials leans heavily on scavenging and shooting down flying ARC machines. You have five challenges to clear, and each one hands out three stars once you cross the 4,000-point mark. The trick is knowing which map to queue into and what to bring so you hit that threshold before extracting.
Quick answer: Reach 4,000 points in each challenge, then extract to lock it in. Breach ARC Probes on Spaceport, loot bird’s nests across Buried City rooftops, throw roughly 20 Snap Blasts at flying ARC, dig up 20 beach containers in Riven Tides, and deal 4,000 damage to flying ARC with the Hullcracker inside the Spaceport walls.
This week’s five challenges and scoring
All five objectives share the same 4,000-point target for three stars. What changes is the map you need and how many actions it takes to get there. Here is the full breakdown.
| Challenge | Map | Scoring | To reach 4,000 |
|---|---|---|---|
| Search ARC Probes, Couriers, and Assessors | Spaceport | 250 pts per search | ~16 searches |
| Loot bird’s nests | Buried City (Bird City) | 180 pts per nest | ~23 nests |
| Damage Flying ARC using Snap Blast | Any map with flying ARC | 3 pts per damage | ~20 Snap Blasts |
| Open containers on the beach in Riven Tides | Riven Tides | 200 pts per container | 20 containers |
| Damage Flying ARC using Hullcracker | Spaceport | 1 pt per damage | 4,000 damage |
Note: Playing during a Major Map Condition such as a Night Raid doubles your Trials points, which cuts every target in half. The tradeoff is tougher enemies and a riskier extraction.
Search ARC Probes, Couriers, and Assessors on Spaceport
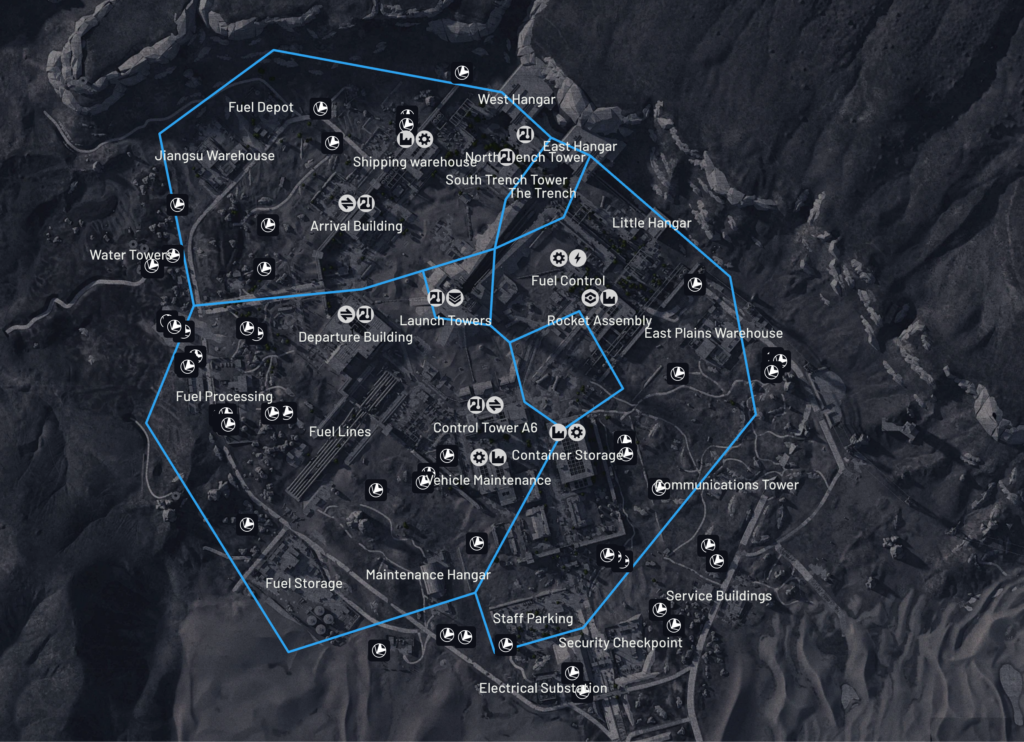
Each search here is worth 250 points, so you need around 16 interactions to hit 4,000. Probes are the crashed orbs on the ground, while Couriers and Assessors are patrol-type ARC that you kill first and then loot. Spaceport is the cleaner choice because it lets you build a fast loop without the extra Vaporizer and flying ARC pressure you get during the Close Scrutiny condition.
Recommended loadout
- Anvil or Bettina
- 4 stacks of Heavy Ammo
- Light or Medium Shield with Shield Rechargers
- Herbal Bandages
- 30 Adrenaline Shots (optional, for sustained sprinting)
Route and strategy
Loot bird’s nests across Buried City rooftops
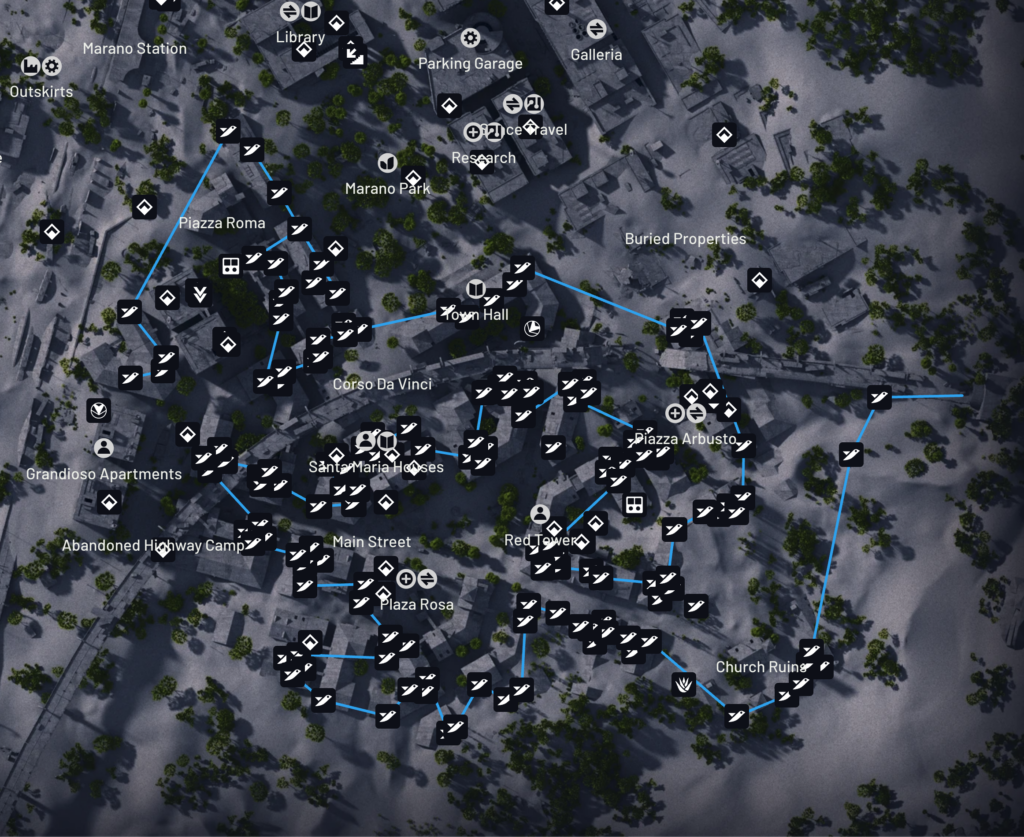
Bird’s nests sit in chimneys and rooftops throughout Buried City, and each one pays out 180 points. Queue into Buried City during the Bird City map condition, climb to the nearest roof, and start working a loop. One important detail: nests do not respawn, so you may need to interact with empty ones to keep the score climbing.
Recommended loadout
- Anvil or Ferro
- Any PvP weapon you prefer
- Light or Medium Shield with Shield Rechargers
- Herbal Bandages
- 15 Adrenaline Shots, 6 Ziplines, and a Snap Hook (all optional)
Rooftop loop
Chain these points of interest together for a clean run: Plaza Rosa, Church Ruins, Piazza Arbusto, Town Hall, Corso Da Vinci, Santa Maria Houses, and Main Street. Set up Ziplines or use the Snap Hook to stay elevated and move between roofs without dropping to ground level.
Watch for Rocketeers while you traverse, and keep a couple of Wolfpacks handy in case one corners you. Since nests hold about 22 to 23 interactions worth of points at 180 each, plan a route that covers most of the map’s rooftops.
Open beach containers in Riven Tides
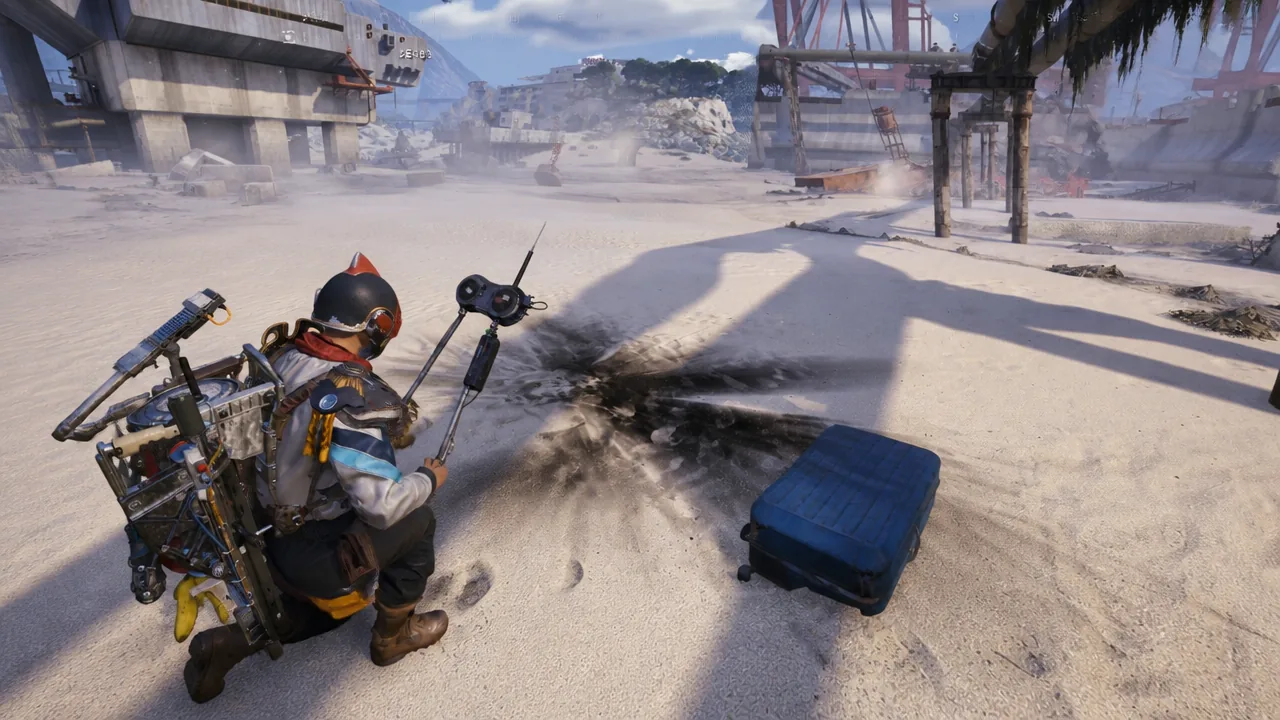
This one is map-locked to Riven Tides, so queue for it specifically. Each container awards 200 points, meaning you need to unearth and interact with 20 to reach three stars. Because you are only interacting with containers, a free loadout works fine here.
Recommended loadout
- Anvil
- 2 stacks of Ammo
- Light Shield with Shield Rechargers
- Bandages
- Dockmaster’s Detector (x2)
Where to dig
Head to the beach on the north side of the Wavebreaker and the Port Authority building. Use the Dockmaster’s Detector to reveal buried containers, then interact with them. Digging sometimes uncovers a mine instead of loot. Do not roll away when that happens. Defuse the mine calmly and move to the next spot.
Damage flying ARC with Snap Blast
Snap Blast is an uncommon throwable that deals 70 damage with a 7.5m range. This challenge pays 3 points for every point of damage you land on a flying ARC, so a single well-placed Snap Blast nets around 210 points. That works out to roughly 20 throwables to reach 4,000. Wasps and Hornets are the easiest targets since they patrol in the open in large numbers.
Craft each Snap Blast from the following materials:
- 2x Crude Explosives
- 1x Magnet
Snap Blast has a concussive radius, so aim at or just below a flying target to catch the full hit. Stock up before you drop in, since you will burn through your supply quickly across a single run.
Damage flying ARC with the Hullcracker on Spaceport
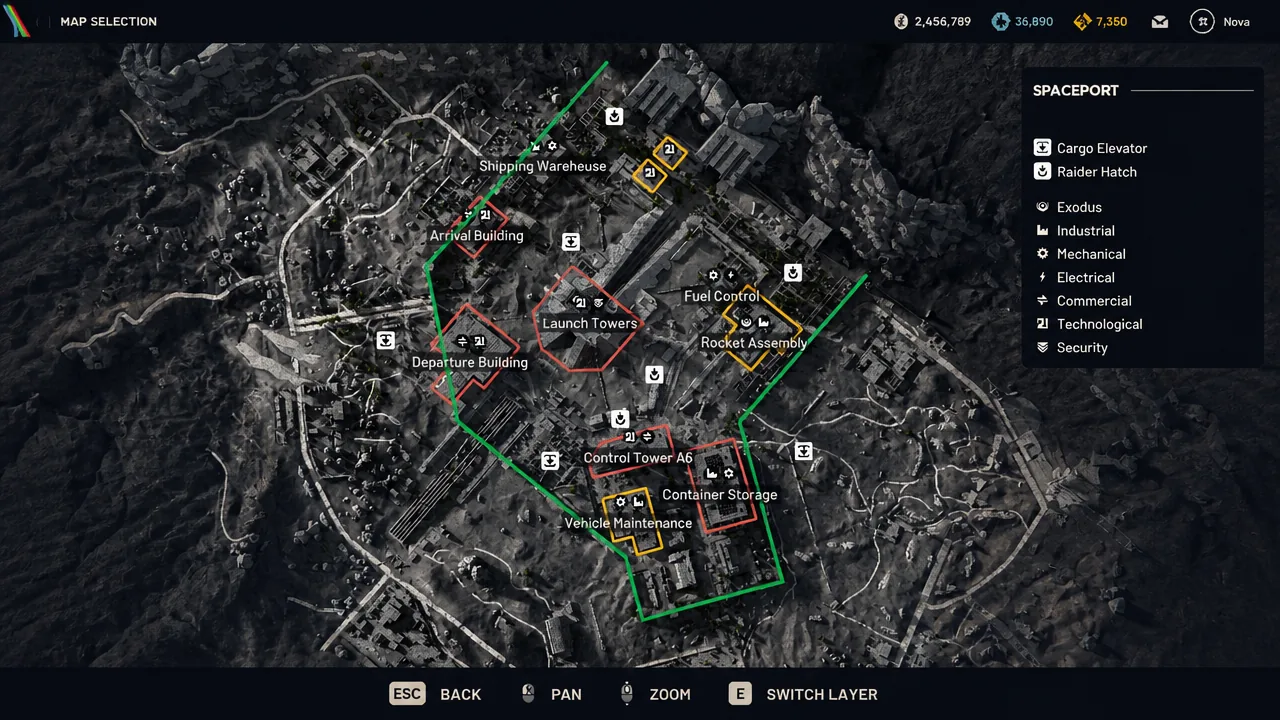
Here the multiplier is 1 point per damage, so you need to deal a full 4,000 damage to flying ARC with the Hullcracker. It is a straightforward challenge, but the loadout costs a decent amount of money. Spaceport’s walled interior near the Launch Towers is the best hunting ground.
Recommended loadout
- Renegade and Hullcracker
- 3 stacks of ammunition each
- 2x Wolfpacks and Snitch Scanners (optional)
- Medium Shield with Shield Rechargers or Surge Shield Rechargers
- Herbal Bandages, Sterilized Bandage, or Vita Spray
How to farm the damage
Locking in your three stars
Trials progress only saves if you extract from the raid. If you rack up points and then die or disconnect, that progress is wiped and you start the challenge over. Once your logbook shows the 4,000-point mark on a challenge, shift your focus to a safe extraction rather than pushing for more. You will see the star tier fill in the Trials menu once the run counts, confirming the reward is yours.