In Be The Final Boss, the units you deploy and upgrade decide how far you push against hero waves. The game is heavily grind-based, so pouring materials into the wrong minion stalls your progress for hours. The ranking below sorts every current unit by real endgame value, factoring in damage, survivability, Population cost, and how painful each one is to level.
Quick answer: For a fast, reliable climb, run a Skeleton Archer and Bone Guard core early, then swap in Mighty Orc as your tank and Demon Lord, Doomfist, or Skull King once you can afford Secret-tier investment. Deathlock is worth adding at almost any stage because it works without upgrades.
This ranking reflects the Update 2 (UPD2) roster, which added Doomfist as a new Secret carry. Placements weigh endgame ceiling, Population efficiency, upgrade difficulty, and practical progression value rather than raw stats alone.
Full unit tier list (Update 2)
| Tier | Units |
|---|---|
| S — Meta | Skull King, Demon Lord, Doomfist |
| A — Excellent | Mighty Orc, Deathlock |
| B — Very good | Skeleton Archer, Bone Guard, Lava Imp, Hellfire Warlock, Barbarian, Demon Butcher |
| C — Situational | Iron Skeleton, Grave Warlock, Blood Gargoyle, Cursed Acolyte, Necromancer, Soul Collector |
| D — Weak | Imp Bomber, Tomb Hound, Bone Grunt |
How this was ranked: Each unit is judged on wave clear speed, survivability, cost per Population slot, upgrade difficulty, and how long it stays relevant into the late game. Stats listed below are Normal Level 1 base values before mutations, levels, and Skill Tree bonuses.
S tier: the endgame carries and walls
These three Secret units define the top of the meta. They cost 4 Population each and demand brutal upgrade materials, so treat them as long-term projects rather than first pickups. An underleveled Secret unit is an expensive benchwarmer.
Skull King is the best pure tank in the game. His base 5,850 HP combined with Deep Recovery (restore 40% max HP) and Pain Recovery (heal on every hit) means percentage healing scales viciously with levels and HP bonuses. He wins by refusing to die, buying your backline enormous firing time, but he brings almost no team utility or clear speed.
Demon Lord is the premier dedicated carry. Massive 1,170 base ATK, eight-target burst through Demon Domain, damage-over-time poison, and an enemy slow aura all fit in a single slot. His 18 Range keeps that heavy investment safely behind your tanks, though his 1,800 HP folds fast if enemies reach him.
Doomfist is the Update 2 addition, a hybrid bruiser with 900 ATK, a +60% ATK and ATK SPD self-buff, and ATK-scaling lifesteal that triggers on offense. He excels on the hardest stages, but his 5 Range puts him in danger, and burst-heavy waves can still drop him without a proper formation.
| Unit | Details |
|---|---|
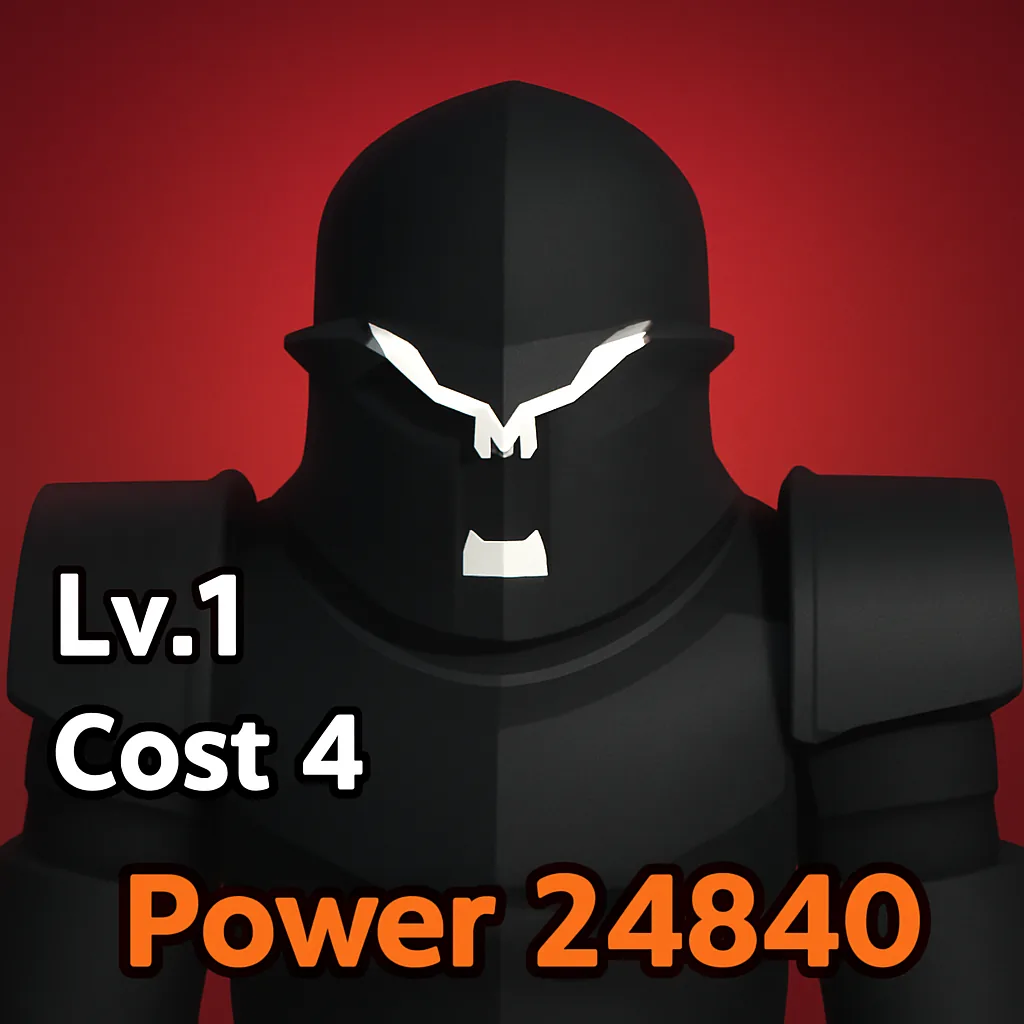 Skull King Secret · Guard | ATK 450 · HP 5,850 · Range 6 · Cost 4. Active Deep Recovery restores 40% max HP. Passive Pain Recovery heals 50 HP + 3% max HP when hit (1s cooldown). |
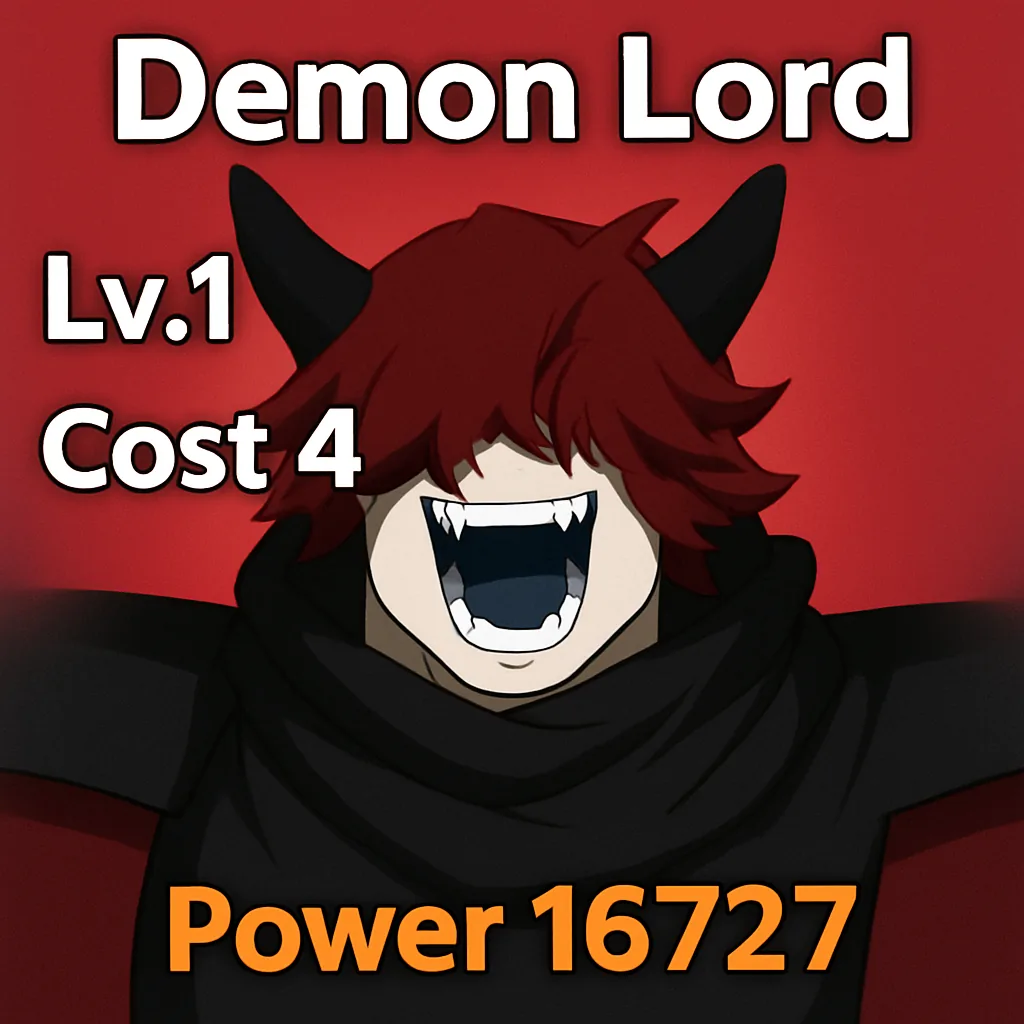 Demon Lord Secret · Ranged | ATK 1,170 · HP 1,800 · Range 18 · Cost 4. Demon Domain hits up to 8 enemies for 200% ATK. Demonic Poison deals 20% ATK/sec for 3s. Aura slows enemies within 16 Range by 8% ATK SPD and Move SPD. |
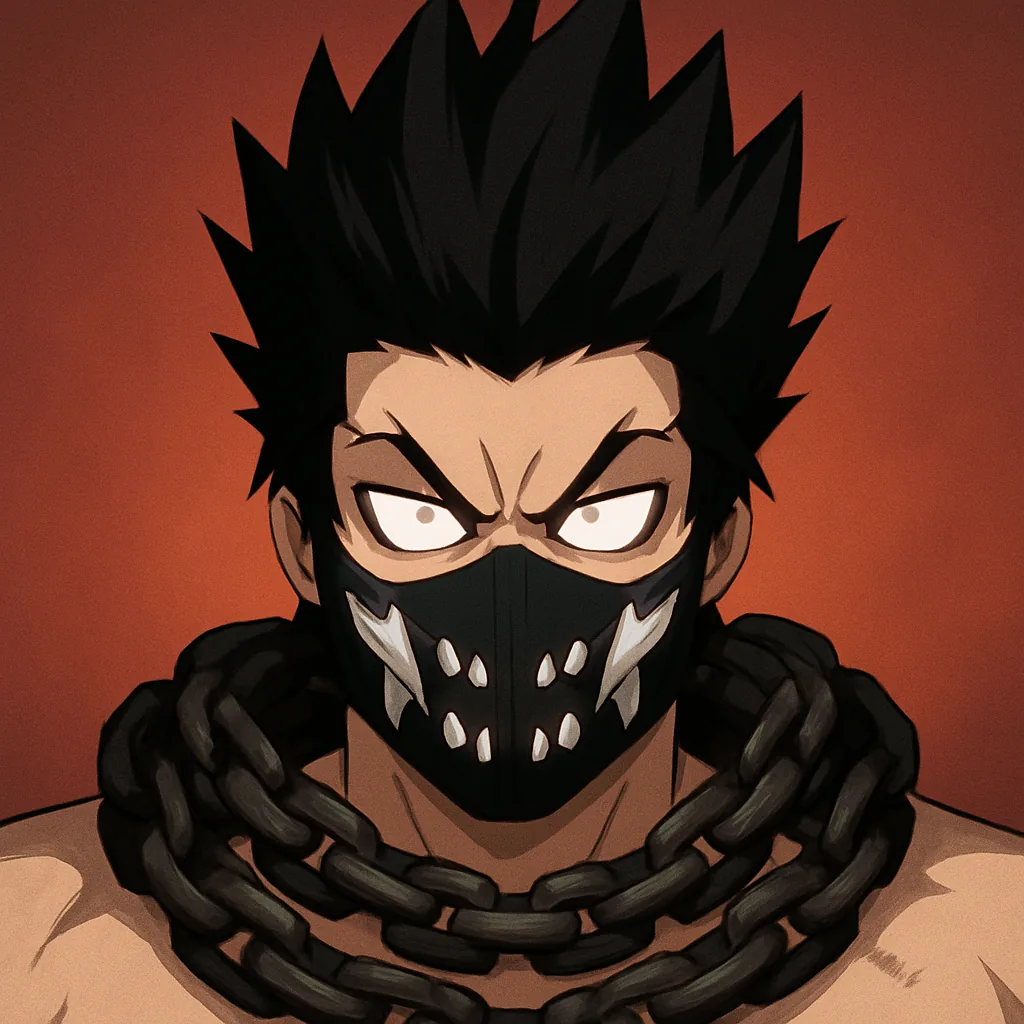 Doomfist Secret · Melee | ATK 900 · HP 4,050 · Range 5 · Cost 4. Overdrive grants +60% ATK and +60% ATK SPD for 3s. Battle Recovery restores 80 HP + 30% ATK after dealing damage. |
A tier: strong picks that stay relevant
Mighty Orc is the best non-Secret tank and the frontline you graduate to after Bone Guard. Self Heal ticks every 2 seconds regardless of combat, so his regen never depends on messy enemy targeting. Mighty Smash also turns his huge HP pool into real boss damage. Skull King eventually outscales him, and he lacks a taunt or team aura, but for most of your run he is the reliable wall.
Deathlock is the standout support because it delivers value without a Demonic mutation or heavy leveling. Its aura hands melee allies +15% ATK and +20% DEF, and Raise Skeleton Archers adds free bodies that cost no Population. The catch is positioning: the aura only reaches melee allies within 10 Range, and duplicate auras do not stack.
| Unit | Details |
|---|---|
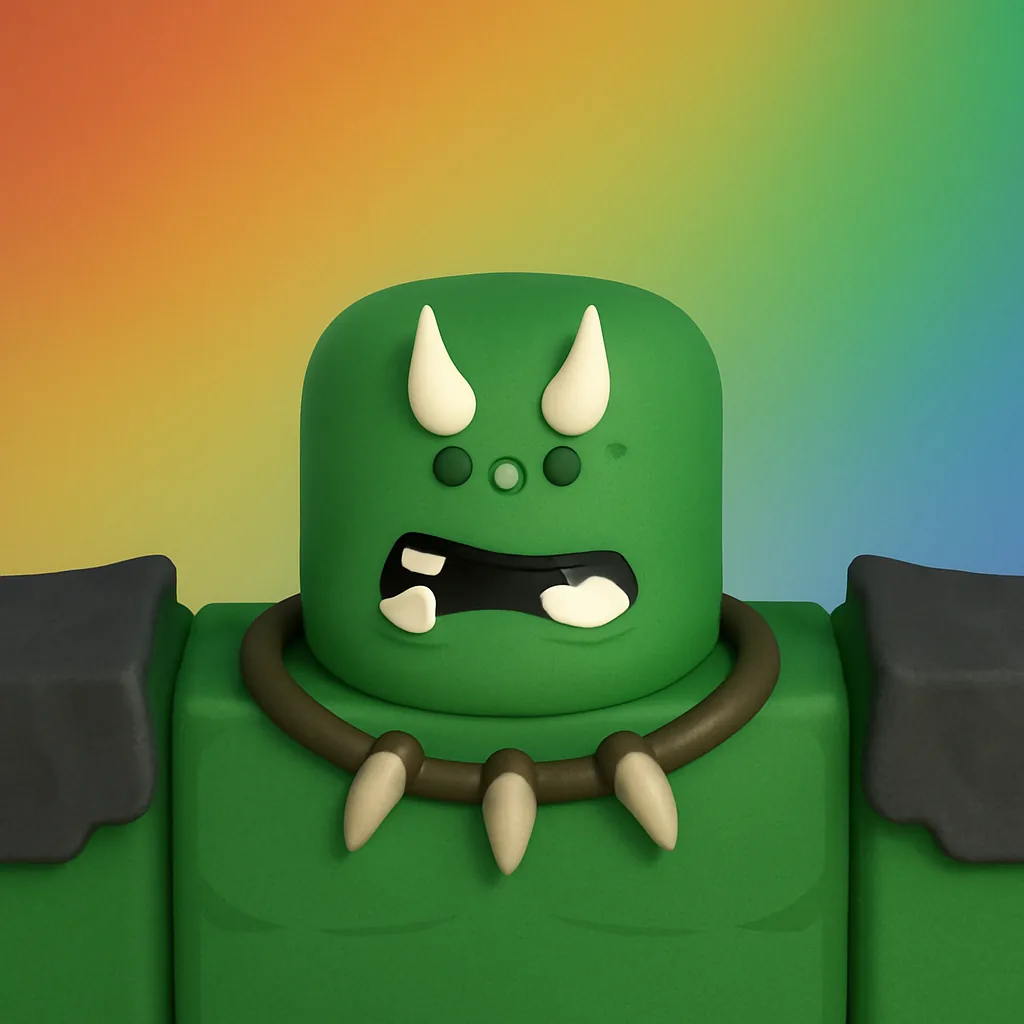 Mighty Orc Mythic · Guard | ATK 210 · HP 3,850 · Range 6 · Cost 3. Mighty Smash deals 60% of max HP as damage. Self Heal restores 60 HP + 4% max HP every 2s. |
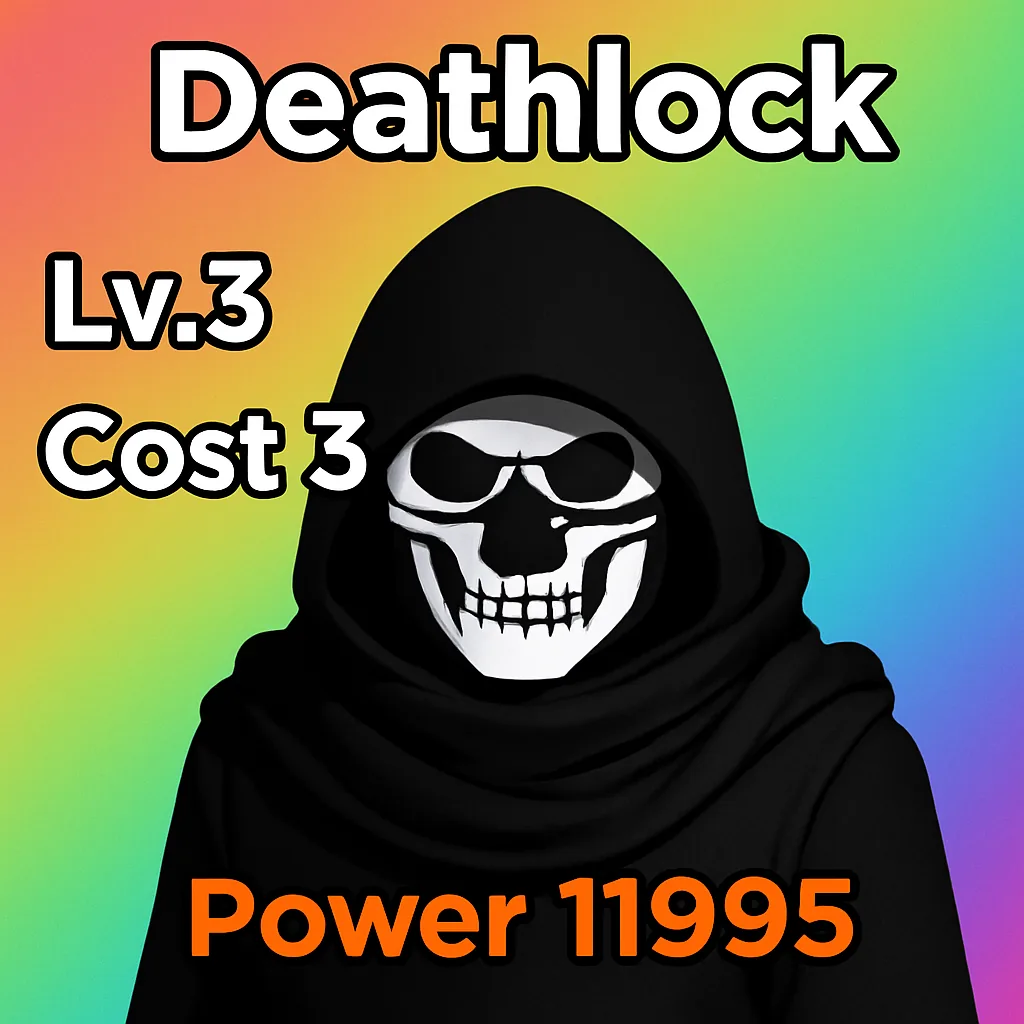 Deathlock Mythic · Support | ATK 700 · HP 700 · Range 18 · Cost 3. Raise Skeleton Archers summons 2 Archers at 25% ATK/HP until the wave ends, no Population cost. Aura gives melee allies within 10 Range +15% ATK and +20% DEF. |
B tier: the backbone of most lineups
These units carry the bulk of your progression. Two of them, Skeleton Archer and Bone Guard, are the single best early investments in the game thanks to low cost and fast leveling.
Skeleton Archer is arguably the best progression pick overall. At 1 Cost with cheap duplicates and quick leveling, it delivers strong damage for almost no Population. Bone Pin adds a repeatable 1-second stun, which is powerful against bosses. Its 100 HP is paper thin, so protect the backline carefully.
Bone Guard is the best early tank package, cheap to build and stacked with utility: a taunt, a damage-scaling shield, flat block, and an aura that gives nearby allies +2 DEF and -8% damage taken. It lacks healing, so attrition catches up in long high-wave fights.
Lava Imp is a strong 2-cost mid-game carry, with burn from both its active and passive wearing down durable waves. Hellfire Warlock brings global targeting for checkpoint pushes but no passive between casts. Barbarian is a dependable bruiser and off-tank, easier to build than Demon Butcher for similar mid-game output. Demon Butcher offers a damage-and-sustain hybrid, but its Mythic cost buys only a modest bump over Barbarian.
| Unit | Details |
|---|---|
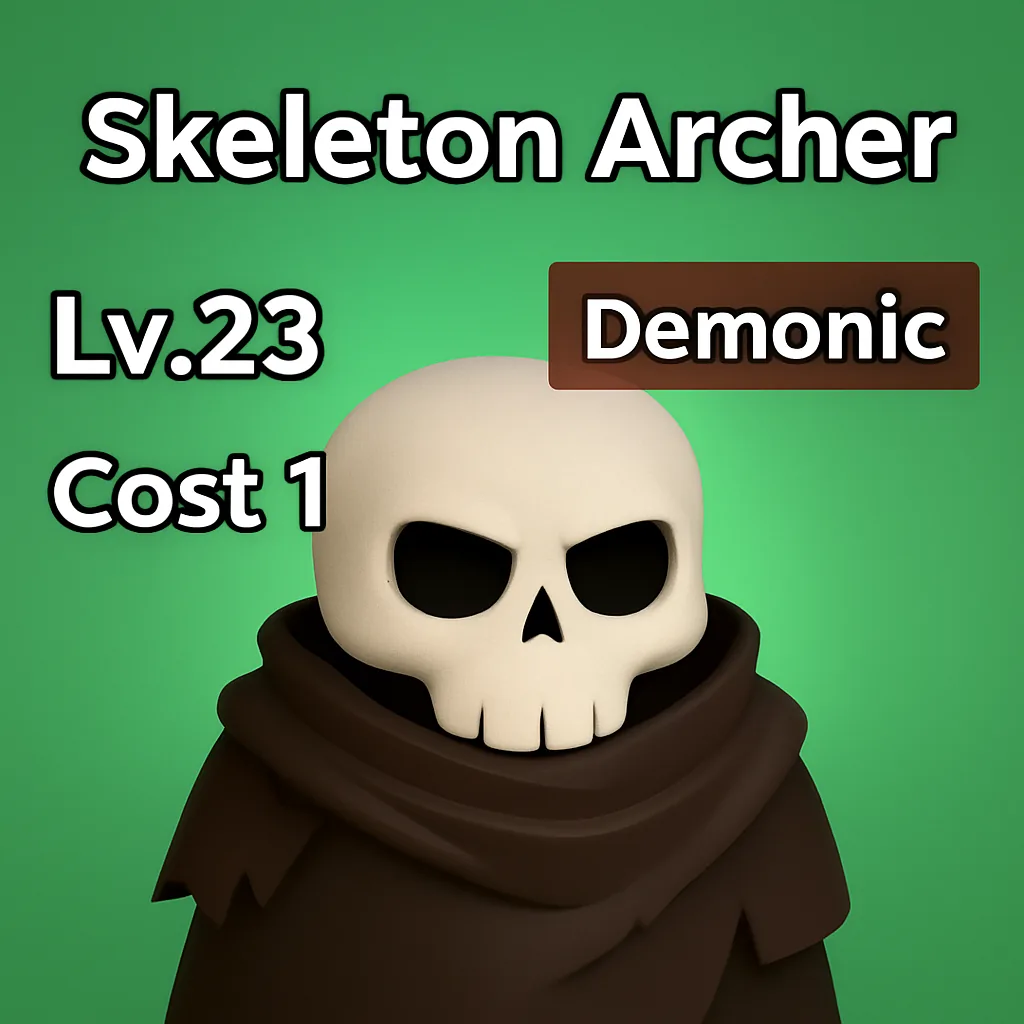 Skeleton Archer Uncommon · Ranged | ATK 100 · HP 100 · Range 18 · Cost 1. Power Shot deals 200% ATK. Quickdraw grants +40% ATK SPD on spawn for 5s. Bone Pin stuns for 1s on hit (8s cooldown). |
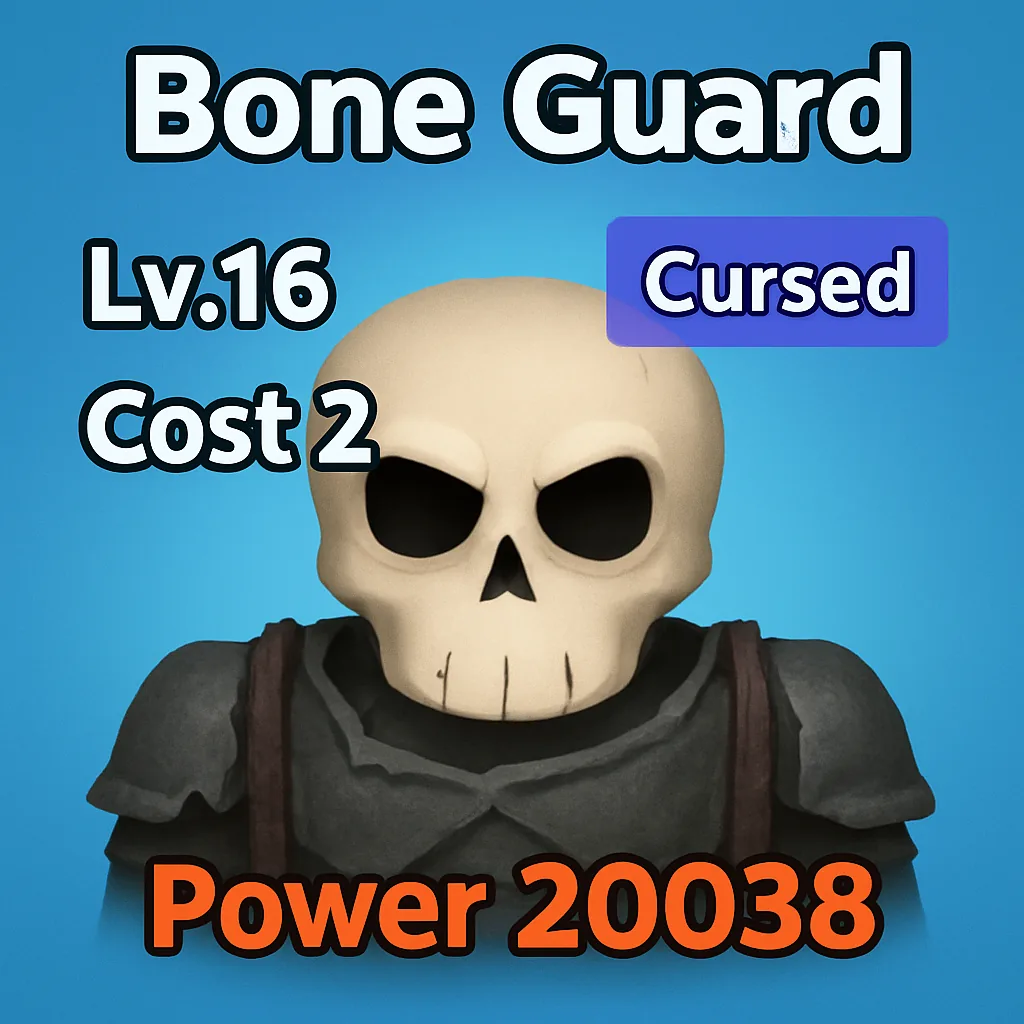 Bone Guard Rare · Guard | ATK 40 · HP 1,200 · Range 6 · Cost 2. Bone Taunt holds up to 3 enemies for 3s. Guard Shell grants a 125% ATK shield when hit. Aura gives allies within 12 Range +2 DEF and -8% damage taken. |
 Lava Imp Epic · Ranged | ATK 300 · HP 300 · Range 18 · Cost 2. Burn Patch burns up to 4 enemies for 45% ATK over 4s. Burning Wound deals 30% ATK/sec for 3s on hit. |
 Hellfire Warlock Legendary · Ranged | ATK 500 · HP 500 · Range 18 · Cost 3. Hellfire Rain deals 200% ATK to up to 7 enemies anywhere on the battlefield. |
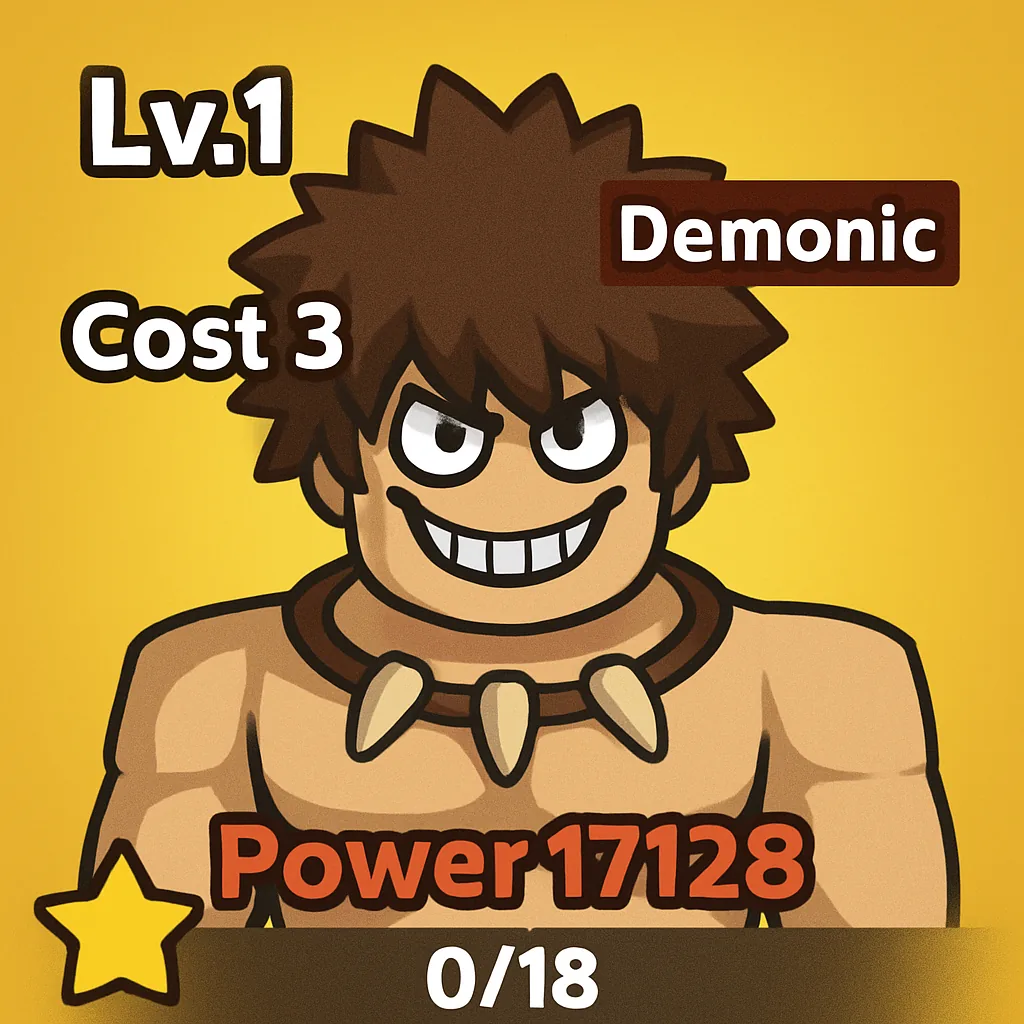 Barbarian Legendary · Melee | ATK 450 · HP 1,800 · Range 5 · Cost 3. Execution Cut deals 300% ATK to one enemy. Guard blocks 35 + 10% ATK when hit. |
 Demon Butcher Mythic · Melee | ATK 490 · HP 2,100 · Range 5 · Cost 3. Execute deals 250% ATK with 35% lifesteal, +50% below 30% HP. Butcher Block blocks 60 + 10% ATK when hit. |
C tier: usable in the right window
These units fill gaps until better options arrive. Iron Skeleton and Blood Gargoyle work as stopgap tanks before Mighty Orc, while the supports here provide narrow buffs that struggle to justify their Population cost against cheaper damage.
Iron Skeleton is a stable early-to-mid wall thanks to timed healing that ticks whenever HP is missing, but its damage is negligible. Blood Gargoyle soaks damage well, though Blood Mend only heals when hit, making its sustain less reliable than Mighty Orc. Grave Warlock is serviceable AoE filler with no passive. Cursed Acolyte, Necromancer, and Soul Collector each provide useful buffs but suffer from short ranges, narrow windows, or ramp conditions that Deathlock simply outperforms.
| Unit | Details |
|---|---|
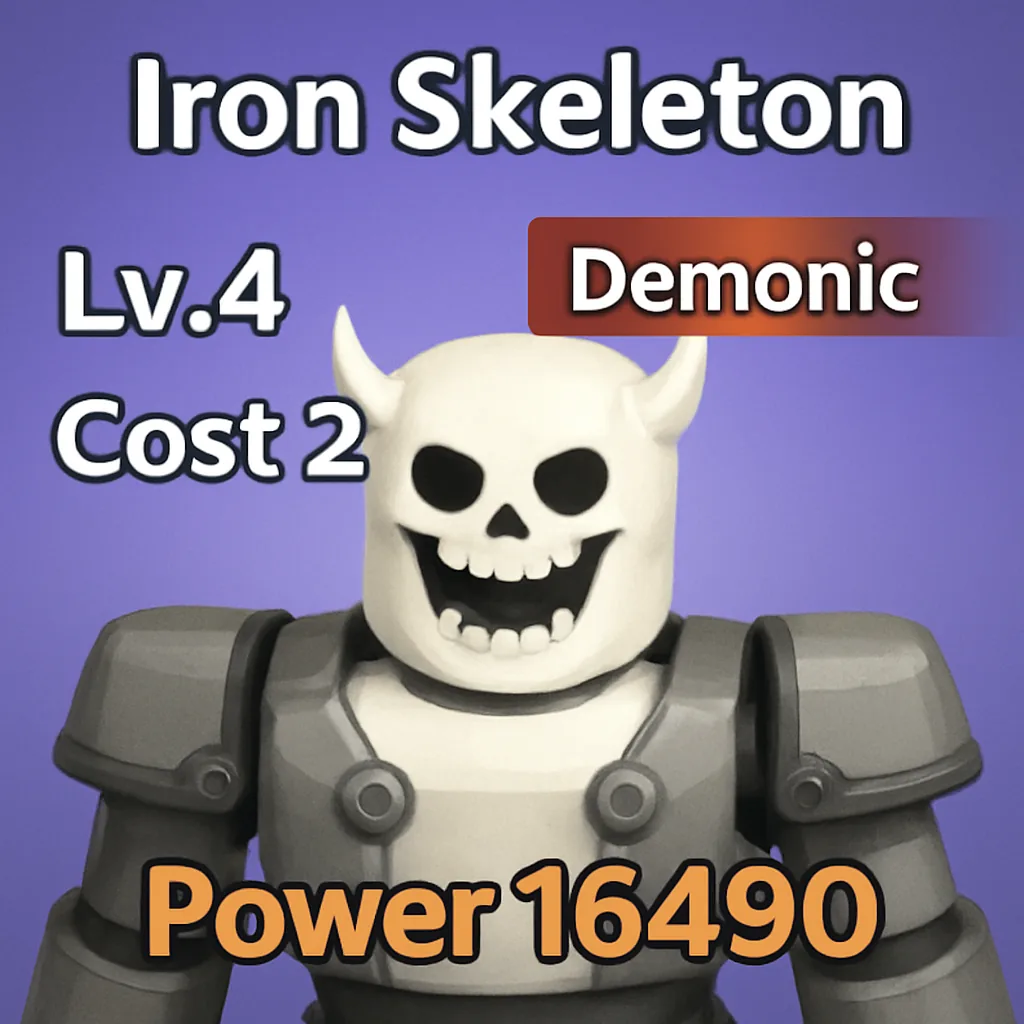 Iron Skeleton Epic · Guard | ATK 60 · HP 1,500 · Range 6 · Cost 2. Iron Brace grants +6 DEF and -18% damage for 5s. Self Repair restores 15 HP + 1% max HP every 2s. |
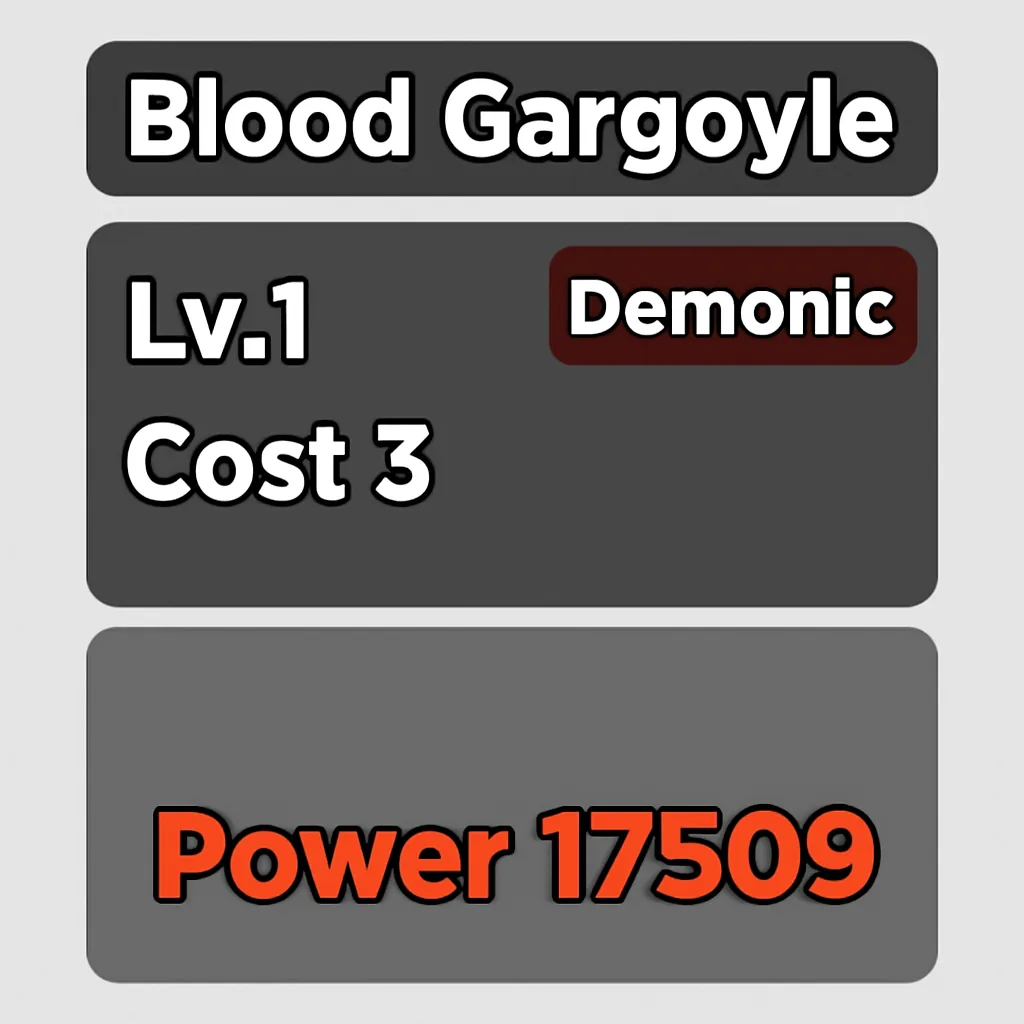 Blood Gargoyle Legendary · Guard | ATK 100 · HP 2,500 · Range 6 · Cost 3. Stone Blood deals 200% ATK with 55% lifesteal. Blood Mend restores 5 HP + 2% max HP when hit (0.5s cooldown). |
 Grave Warlock Epic · Ranged | ATK 300 · HP 300 · Range 18 · Cost 2. Grave Fire deals 200% ATK to up to 5 enemies (ability range 13). |
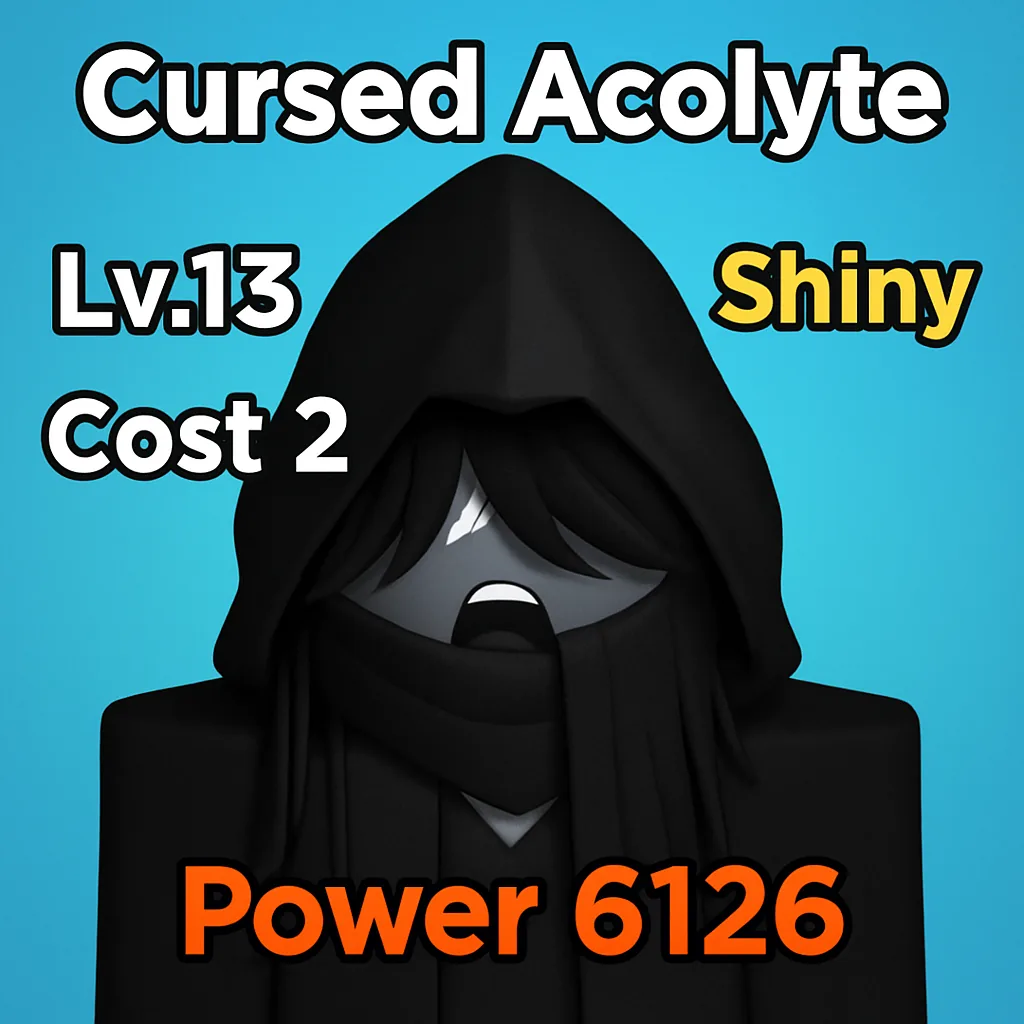 Cursed Acolyte Rare · Support | ATK 100 · HP 400 · Range 18 · Cost 2. Weakening Hex makes up to 3 enemies take 20% more damage for 5s. |
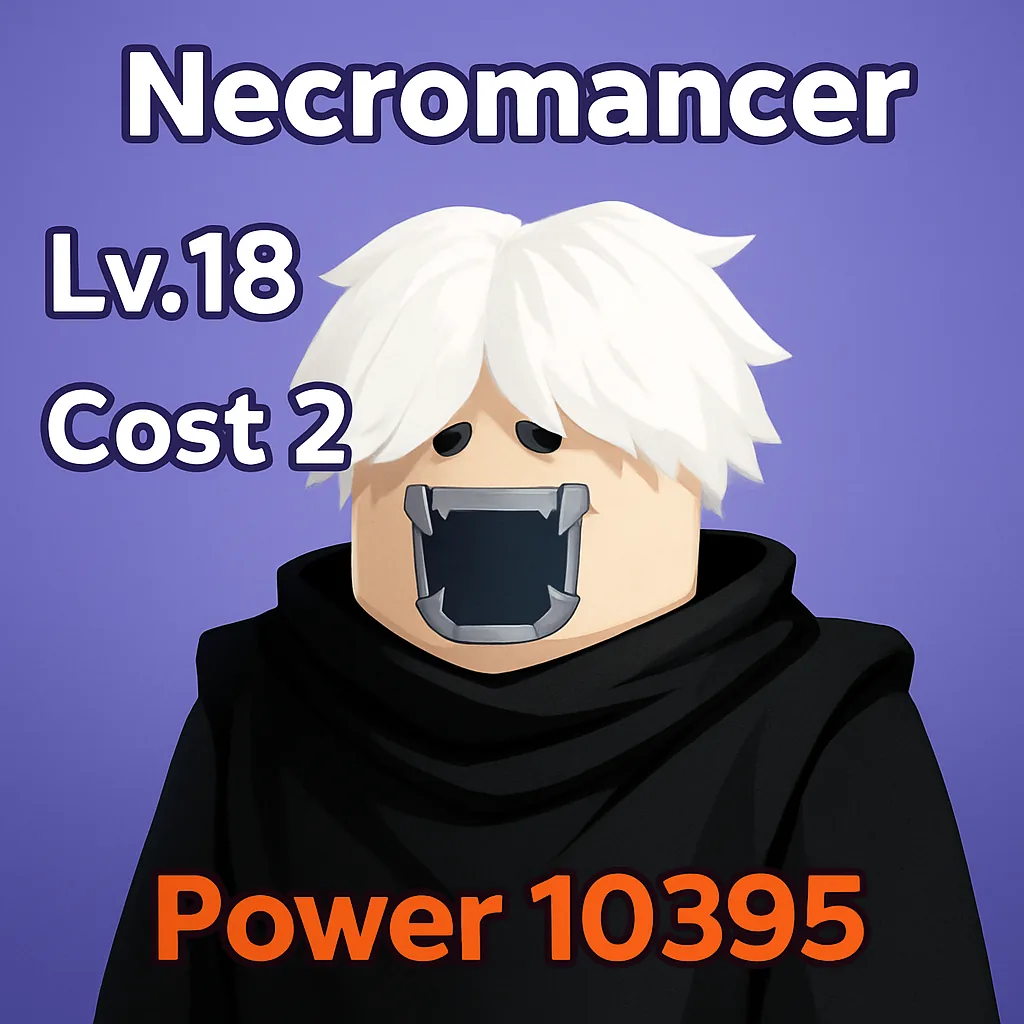 Necromancer Epic · Support | ATK 150 · HP 600 · Range 18 · Cost 2. War Rhythm grants up to 3 allies +30% ATK SPD for 6s. Aura gives allies within 10 Range +8% ATK SPD. |
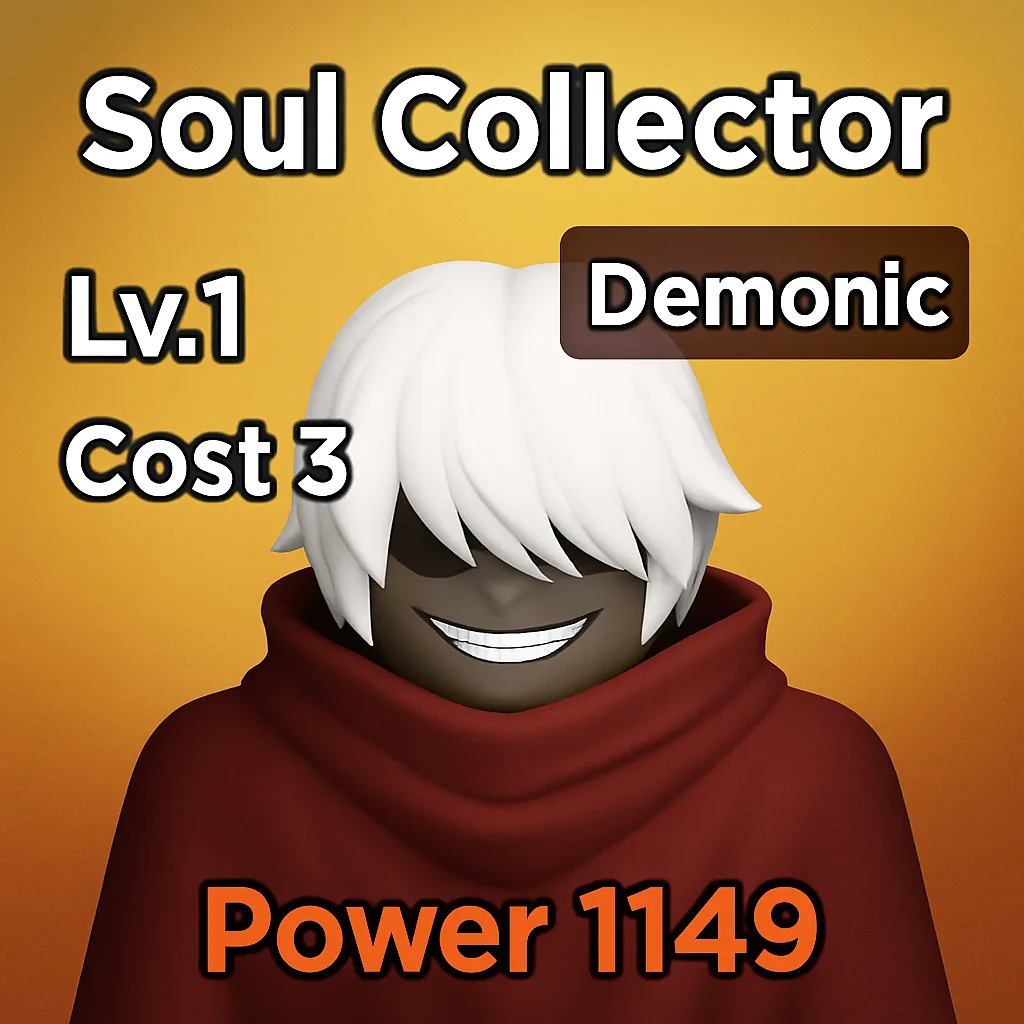 Soul Collector Legendary · Support | ATK 250 · HP 1,000 · Range 18 · Cost 3. Soul Harvest buffs 2 allies +12% ATK and +8% CRIT for 7s. Soul Mark grants +3% ATK per kill (up to 20 stacks). Aura gives +3% CRIT within 12 Range. |
D tier: skip after the opening waves
These units only make sense in your very first sessions. Bone Grunt is a free 1-cost body for the tutorial loop, but any serious investment delays far better targets like Skeleton Archer and Bone Guard. Imp Bomber gives new accounts some AoE, though its passive requires dying to contribute. Tomb Hound has flashy stealth and a slow but too little damage and HP to justify its slot.
| Unit | Details |
|---|---|
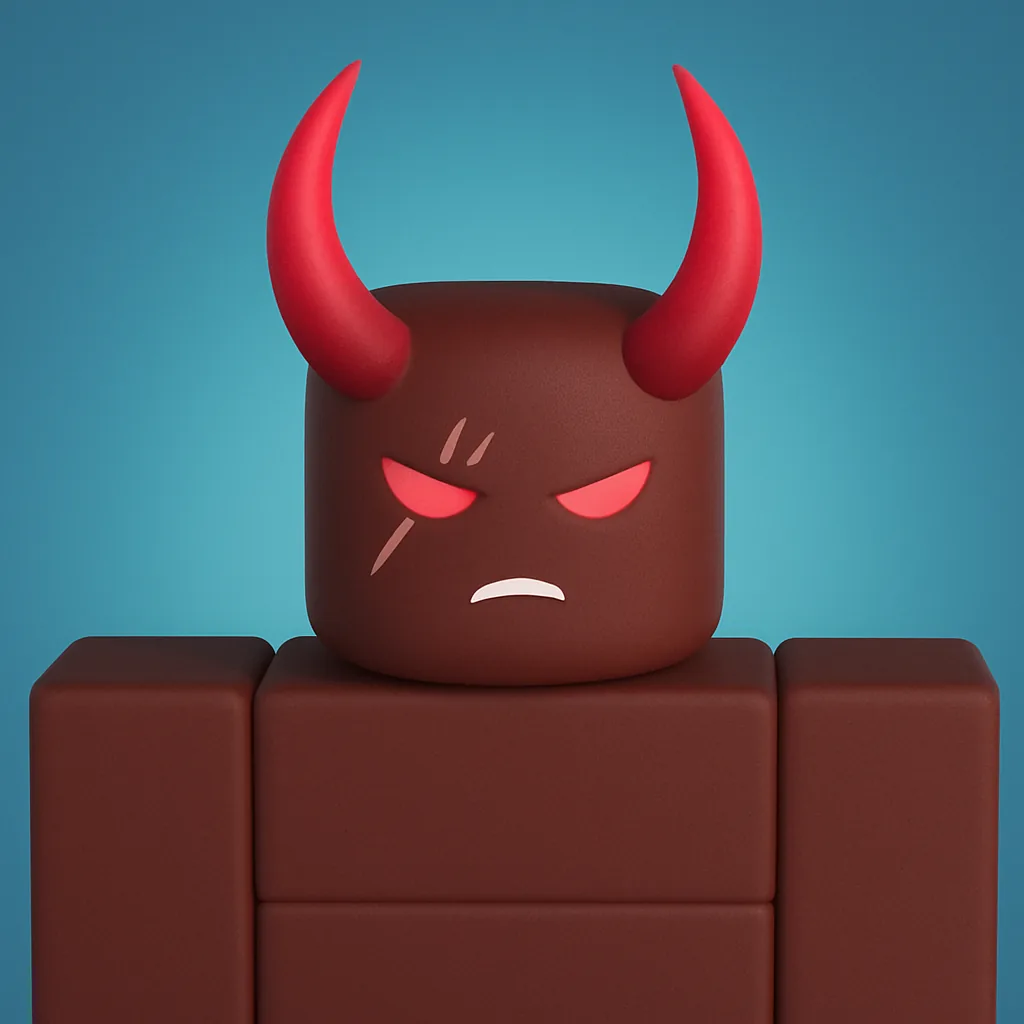 Imp Bomber Rare · Melee | ATK 200 · HP 500 · Range 5 · Cost 2. Cluster Bomb deals 250% ATK to up to 4 enemies. Death Blast deals 200% ATK to up to 5 enemies on death. |
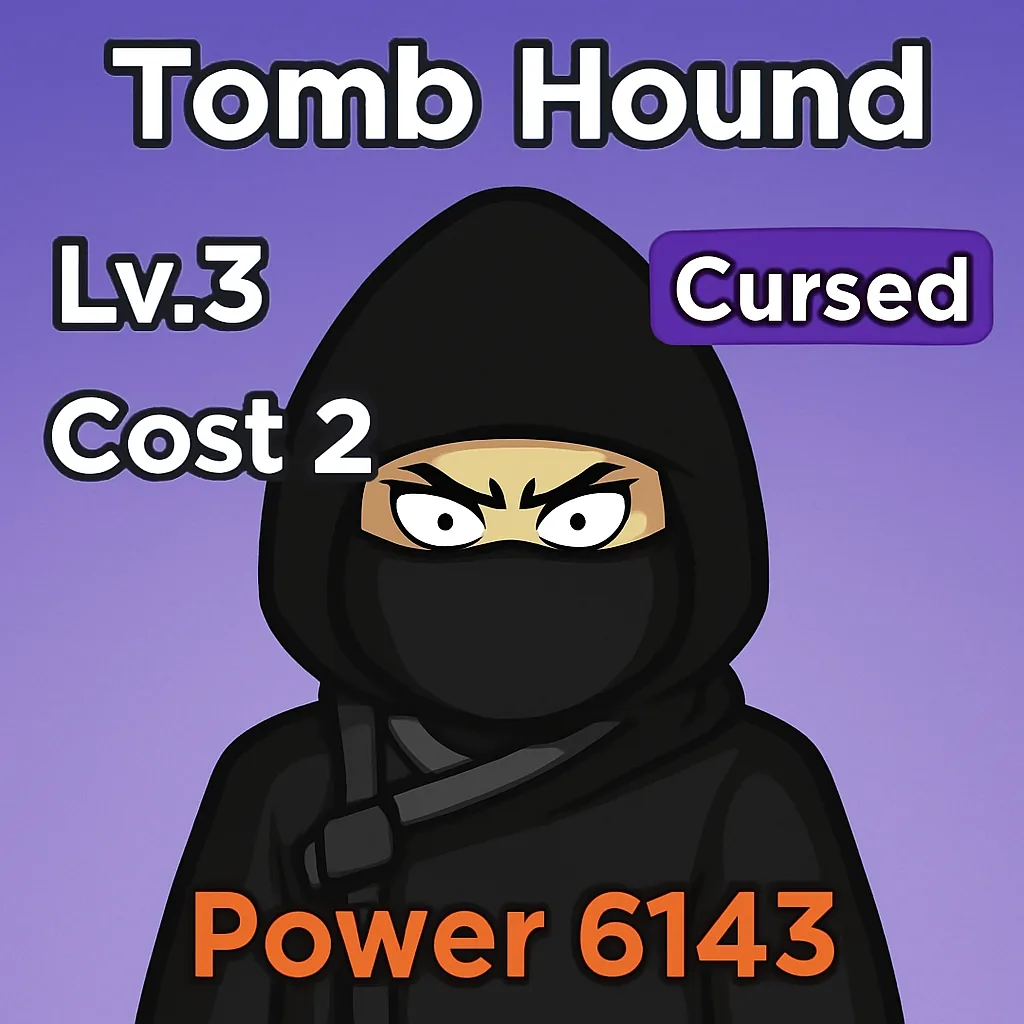 Tomb Hound Epic · Melee | ATK 240 · HP 450 · Range 5 · Cost 2. Backline Pounce deals 200% ATK. Grave Stealth grants +80% Evasion and -80% Threat for 20s on spawn. Hamstring reduces Move SPD 45% for 3s on hit. |
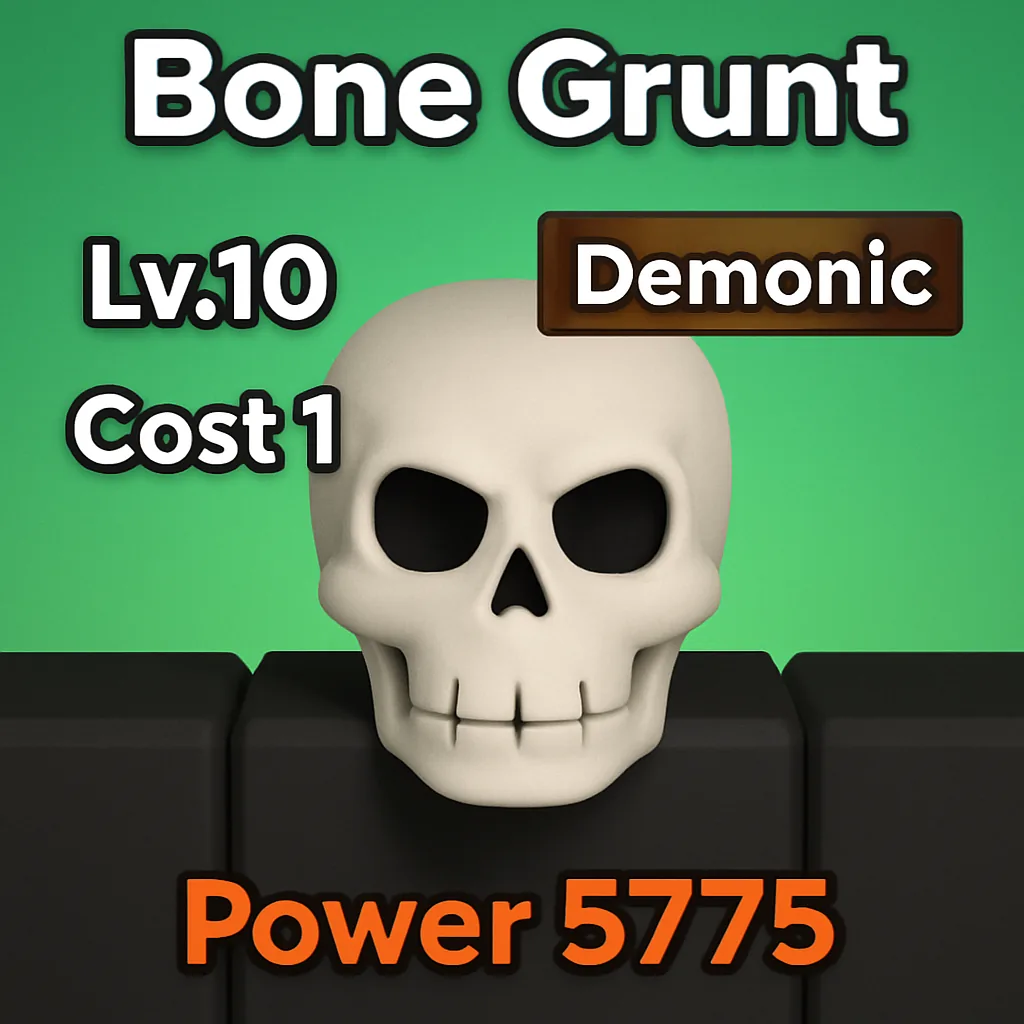 Bone Grunt Uncommon · Melee | ATK 50 · HP 400 · Range 5 · Cost 1. Heavy Slash deals 200% ATK to one enemy. |
Best progression path
You only need to focus on two units at any stage, one tank and one damage dealer. Support units like Deathlock add value without needing a Demonic mutation or upgrades, so they can slot in whenever you have the Population. Follow this order to reach the endgame with the least wasted materials.
| Stage | DPS + tank pairing |
|---|---|
| Early | Skeleton Archer + Bone Guard |
| Mid | Skeleton Archer + Mighty Orc |
| Late-mid | Hellfire Warlock + Mighty Orc |
| Endgame | Demon Lord + Skull King |
Note: Because Be The Final Boss is in Early Access, unit balance can shift with new patches. When mutations enter the picture, remember the Demonic mutation matters far more than rarity for pushing high waves, so save your rarest Shards for units you actually plan to carry into the late game.