Beast of Reincarnation: Starfall Tower Walkthrough (Chapter 10, Malefact)
Every panel, lever, and Golem you clear on the way to the Level 46 Ursa Nushi at the base of Starfall Tower.
Every panel, lever, and Golem you clear on the way to the Level 46 Ursa Nushi at the base of Starfall Tower.
by Sehaj Padda
Chapter 10, Malefact, drops Emma and Koo into the Starfall Tower in the Wasteland Region, with a single goal: reach the deepest floor and beat the Nushi waiting there. Koo is back at your side for this stretch, so his Bloom Arts and Skills are available again. The descent is a chain of Control Panels, bulkhead doors, and levers, capped by a boss fight against a Level 46 Ursa.
Quick answer: Ride the elevators down, activate all six Control Panels to power the levers and open each bulkhead door, grab the Kanzashi key item, then defeat the Level 46 Ursa Nushi using Acid-element gear such as the Hazebringer sword. Clearing it rewards the Asagao: Boa 2 Bloom Art and the Finisher: Asagao 1 Blade Art.
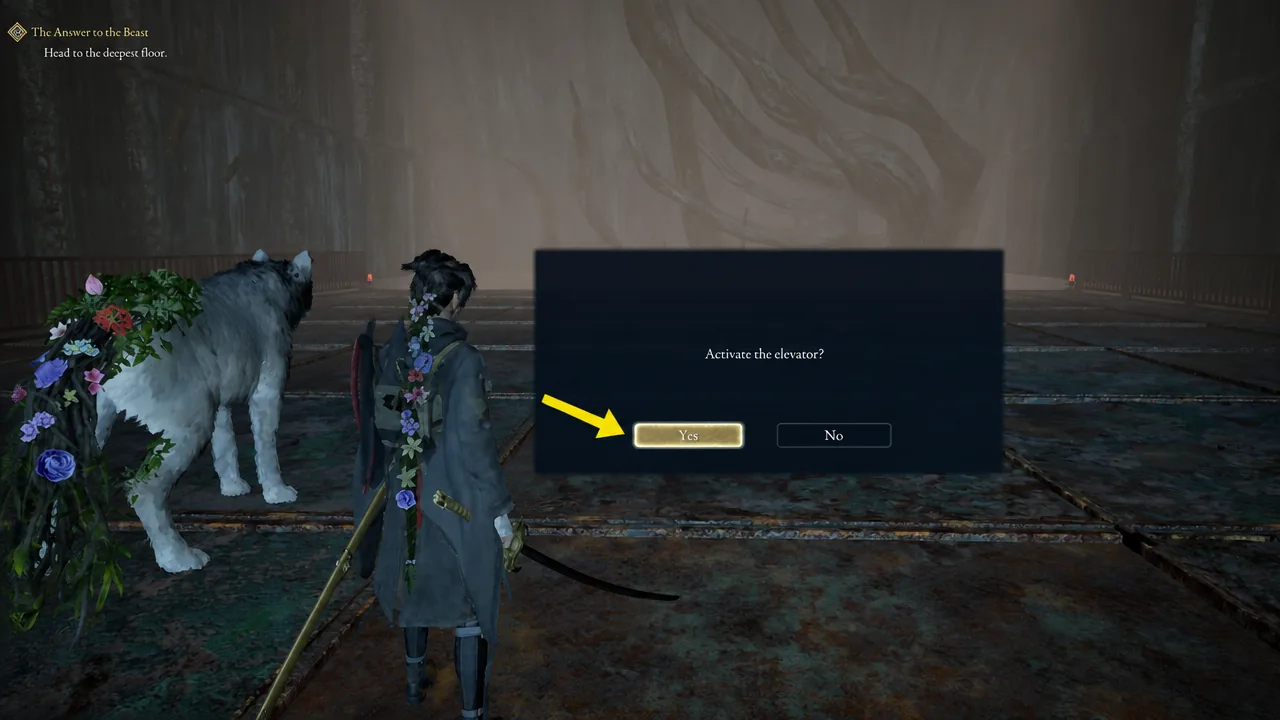
Descend to the deepest floor of Starfall Tower
Much of this chapter is gated behind Brad’s radio transmissions. Several panels and levers stay locked until he finishes talking, so expect short waits at a few points. Rest at each Campsite you unlock along the way.
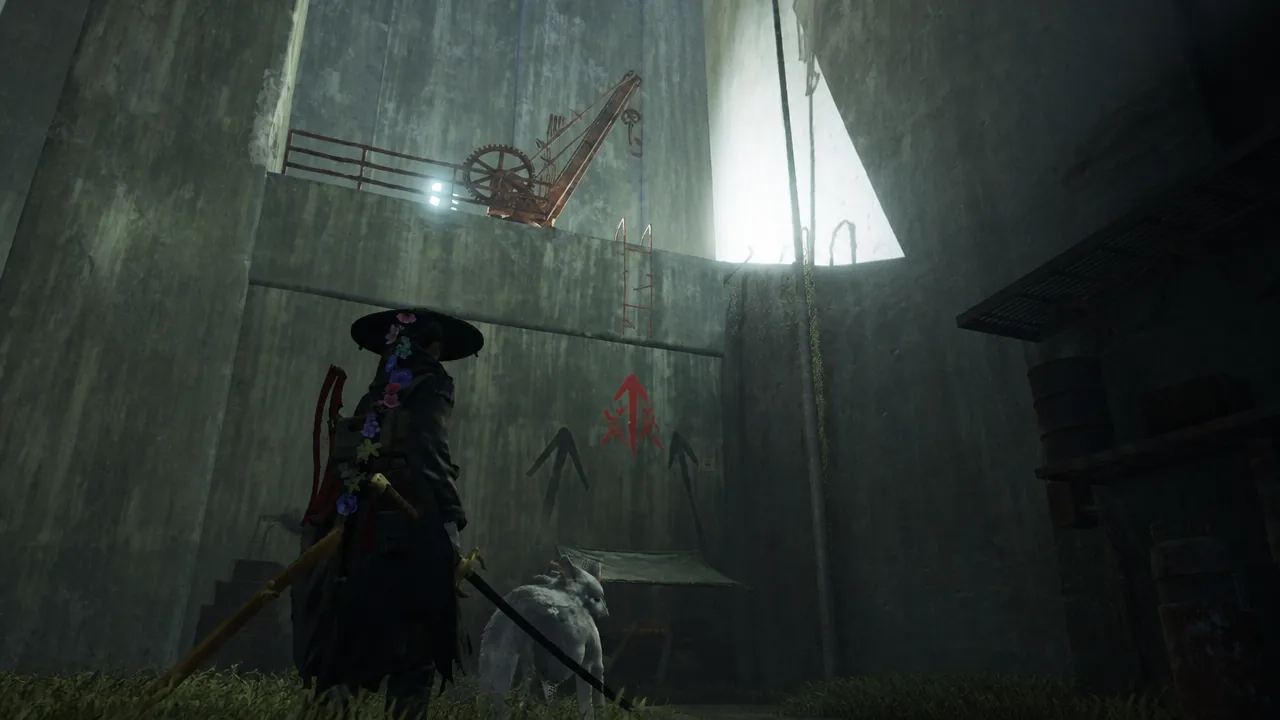
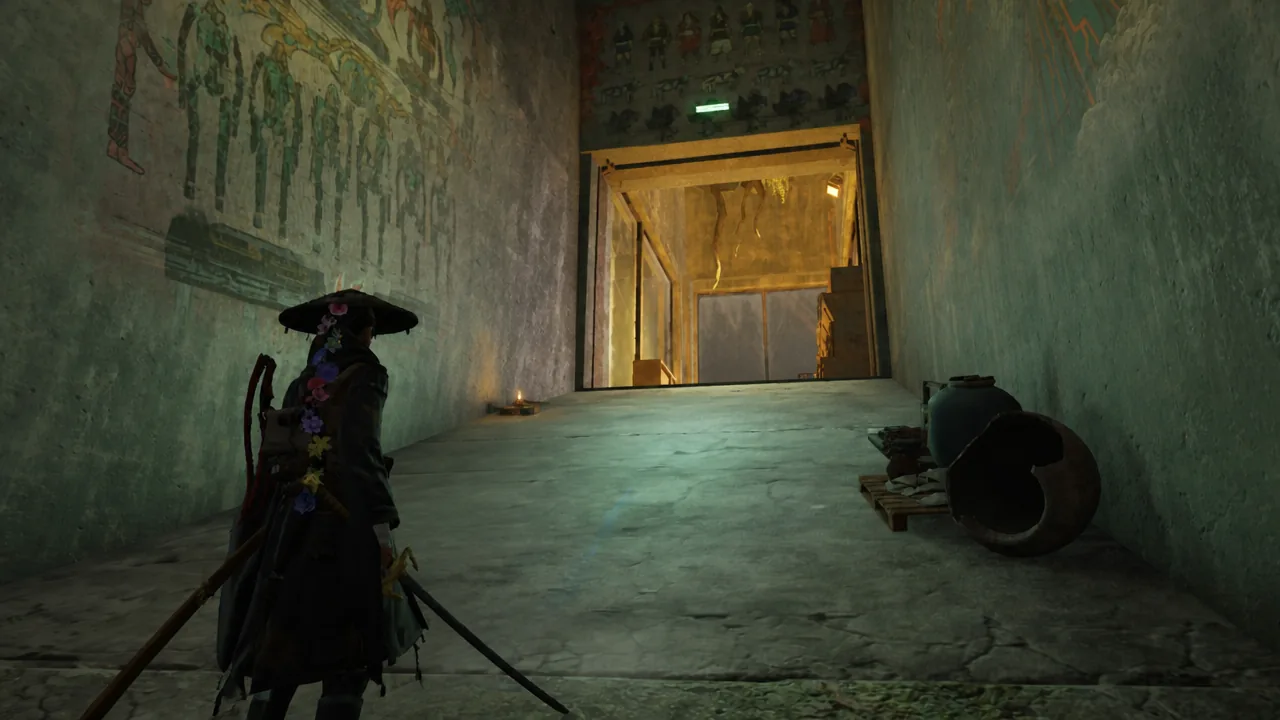
A transmission from Brad plays as you drop. Move forward slowly and you’ll arrive at the Starfall Tower: Entrance Campsite. Enter the door to the right of it.
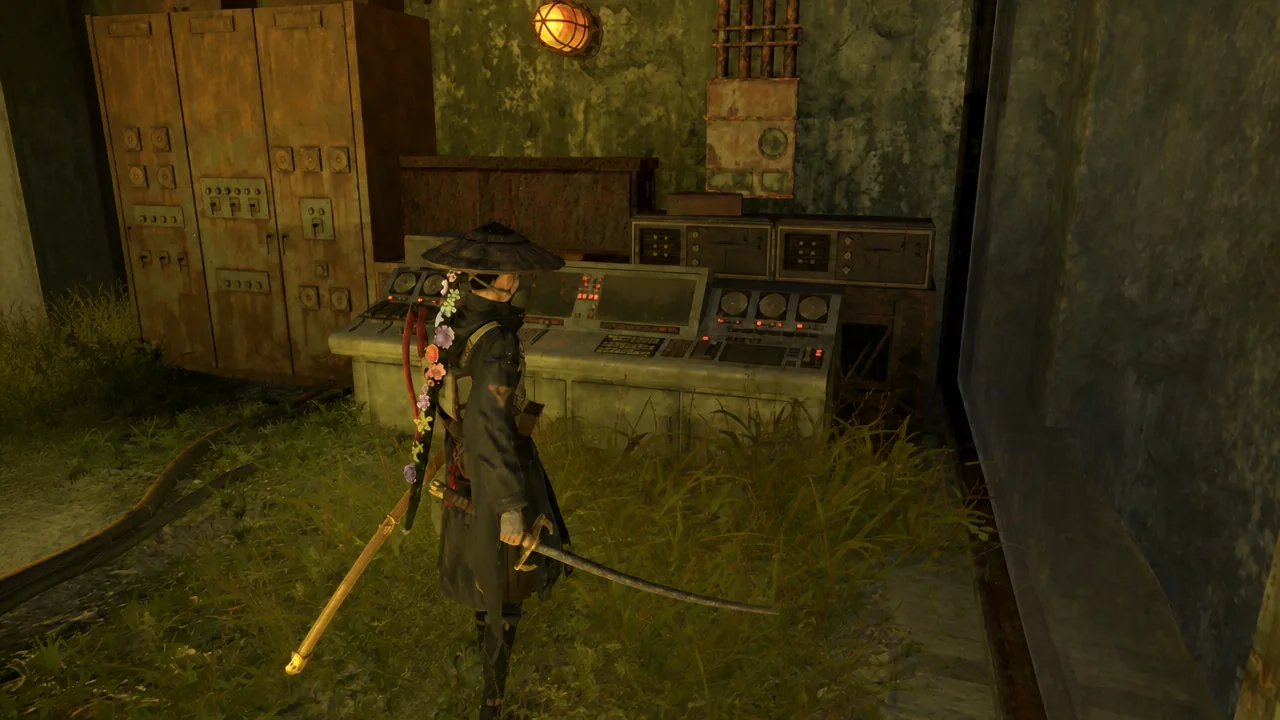
You reach a second Control Panel. Activating it opens another bulkhead door back near the Entrance Campsite. Pass through it and keep following the objective.
At the Starfall Tower: Interior Campsite you’ll find a large lever beside a third bulkhead door. Wait for Brad’s transmission to end, rest at the Campsite, then pull the lever to open the door.
The lever only responds after the transmission finishes.
Past the Golems is another elevator. Activate it to descend further, then unlock the Starfall Tower: Control Room Campsite once Brad stops talking.
Power the second lever with the Control Room panels
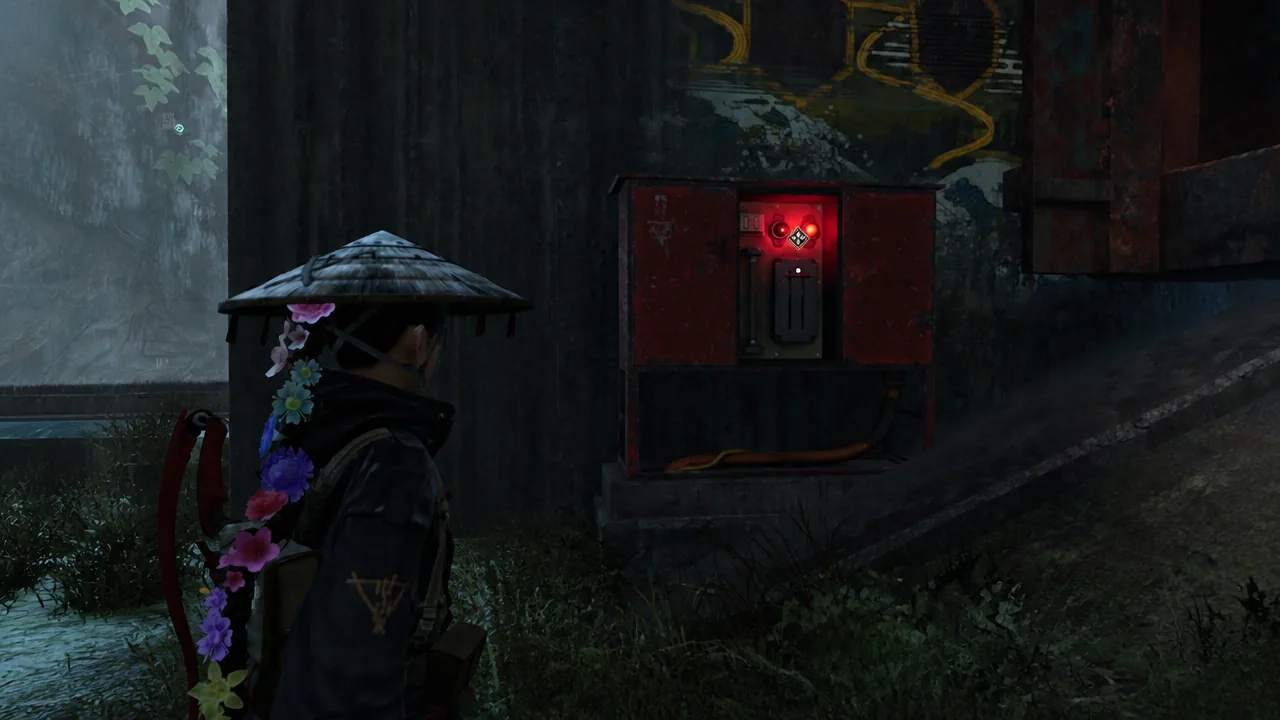
Just past the Control Room Campsite is a second lever with a glowing red light. Interact with it and it reports no power. To fix that, you need to activate three more Control Panels scattered around this level, then a fifth one directly above the lever.
Return to the building’s entrance and take the leftmost path this time. Climb the first staircase on your right to the fourth Control Panel and interact with it once Brad has finished speaking.
Head back to the powerless lever and take the stairs to its right up to the fifth Control Panel. Activating this one finally sends power to the lever below.
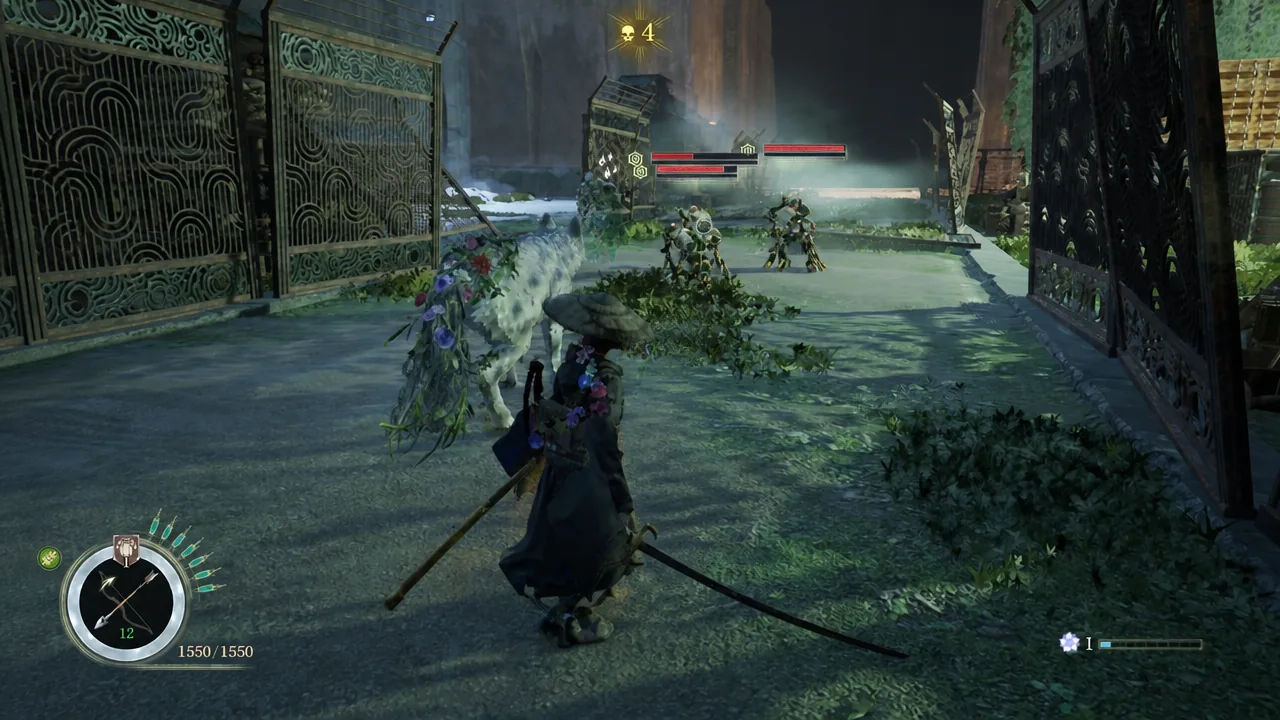
Pull the now-powered lever. A Golem spawns as you leave, so be ready for it. The huge bulkhead to the left of the lever is now open, and passing through it puts you in the Forest Grotto.
Follow the linear path through the Forest Grotto, keeping to the right, until you reach the In Front Of The Lab Campsite. Another bulkhead door blocks the way ahead, and it needs one more Control Panel.
Use Emma’s hair to climb the steel pipes to the left of the Campsite. Look across the water to spot the sixth Control Panel, then grapple over and activate it to open the bulkhead door.
Go through the door toward the objective. A short cutscene plays and you receive the Kanzashi, a key item used later in the story. Note that this is not an equippable sword.
Defeat the Level 46 Ursa Nushi
Continue north through the lab to face a group of bear malefacts. Clear them, then grab the Dragon Vein Shrine tucked into the back left-hand corner of the room. Just past the Shrine, the Nushi’s Lair Entrance Campsite and a Merchant Golem let you rest, restock, and shop before the fight.
Enter the arena ahead to battle the Nushi, a Level 46 Ursa. It’s a boar/bear-like creature that behaves like a much larger version of the bear malefacts you’ve been fighting since the Ogouchi Buffer Zone, so its moveset should already feel familiar.
Fight detail
What to do
Weakness
Acid-element. Use the Hazebringer sword, plus any Nobudou Blade and Bloom Arts. Bottles of Acid or Koo’s Corrosive Fang Skill Amber also work.
FP and stagger
Parry its paw swipe combo to restore FP quickly and stagger it.
Blight phase
When it imbues itself with blight, its attack tempo and damage increase, so tighten your defense.
Health
Two health bars. Spread out your Stimpacks and lean on Koo’s Bloom Arts and their mods for healing.
Because you can’t use the same Koo Bloom Art twice in a row, open with the one that plays into Ursa’s Acid weakness, then cycle another while you rebuild FP through parries.
Chapter 10 rewards and what comes next
When Ursa falls, you’re returned to the Cleanse Walker and handed two rewards: the Asagao: Boa 2 Bloom Art and the Finisher: Asagao 1 Blade Art. That confirms Starfall Tower is complete. From here, the journey moves on to Chapter 11 and the Mount Hiei Zone.