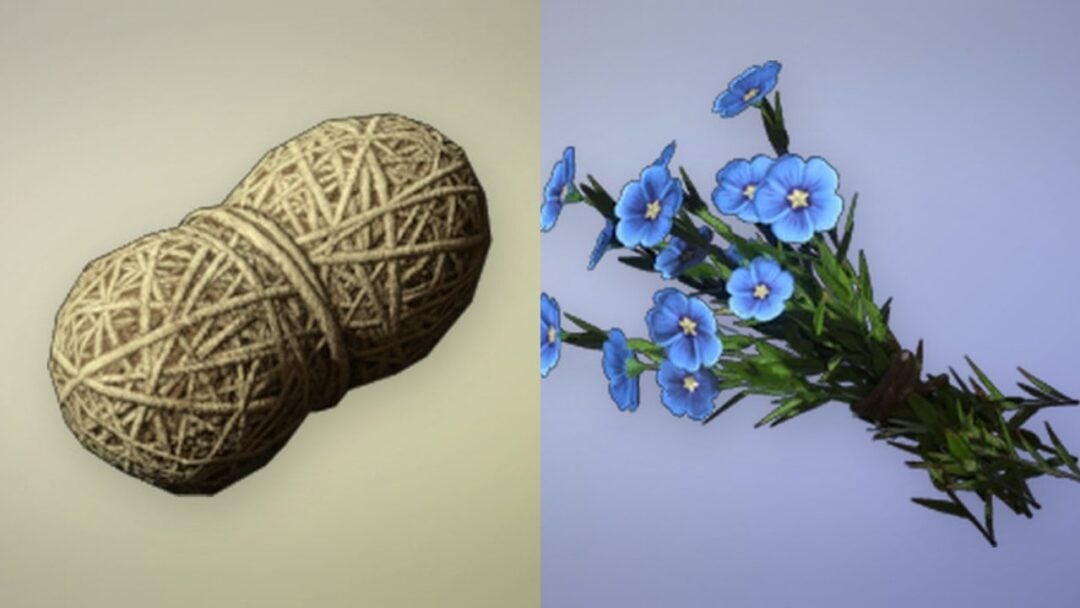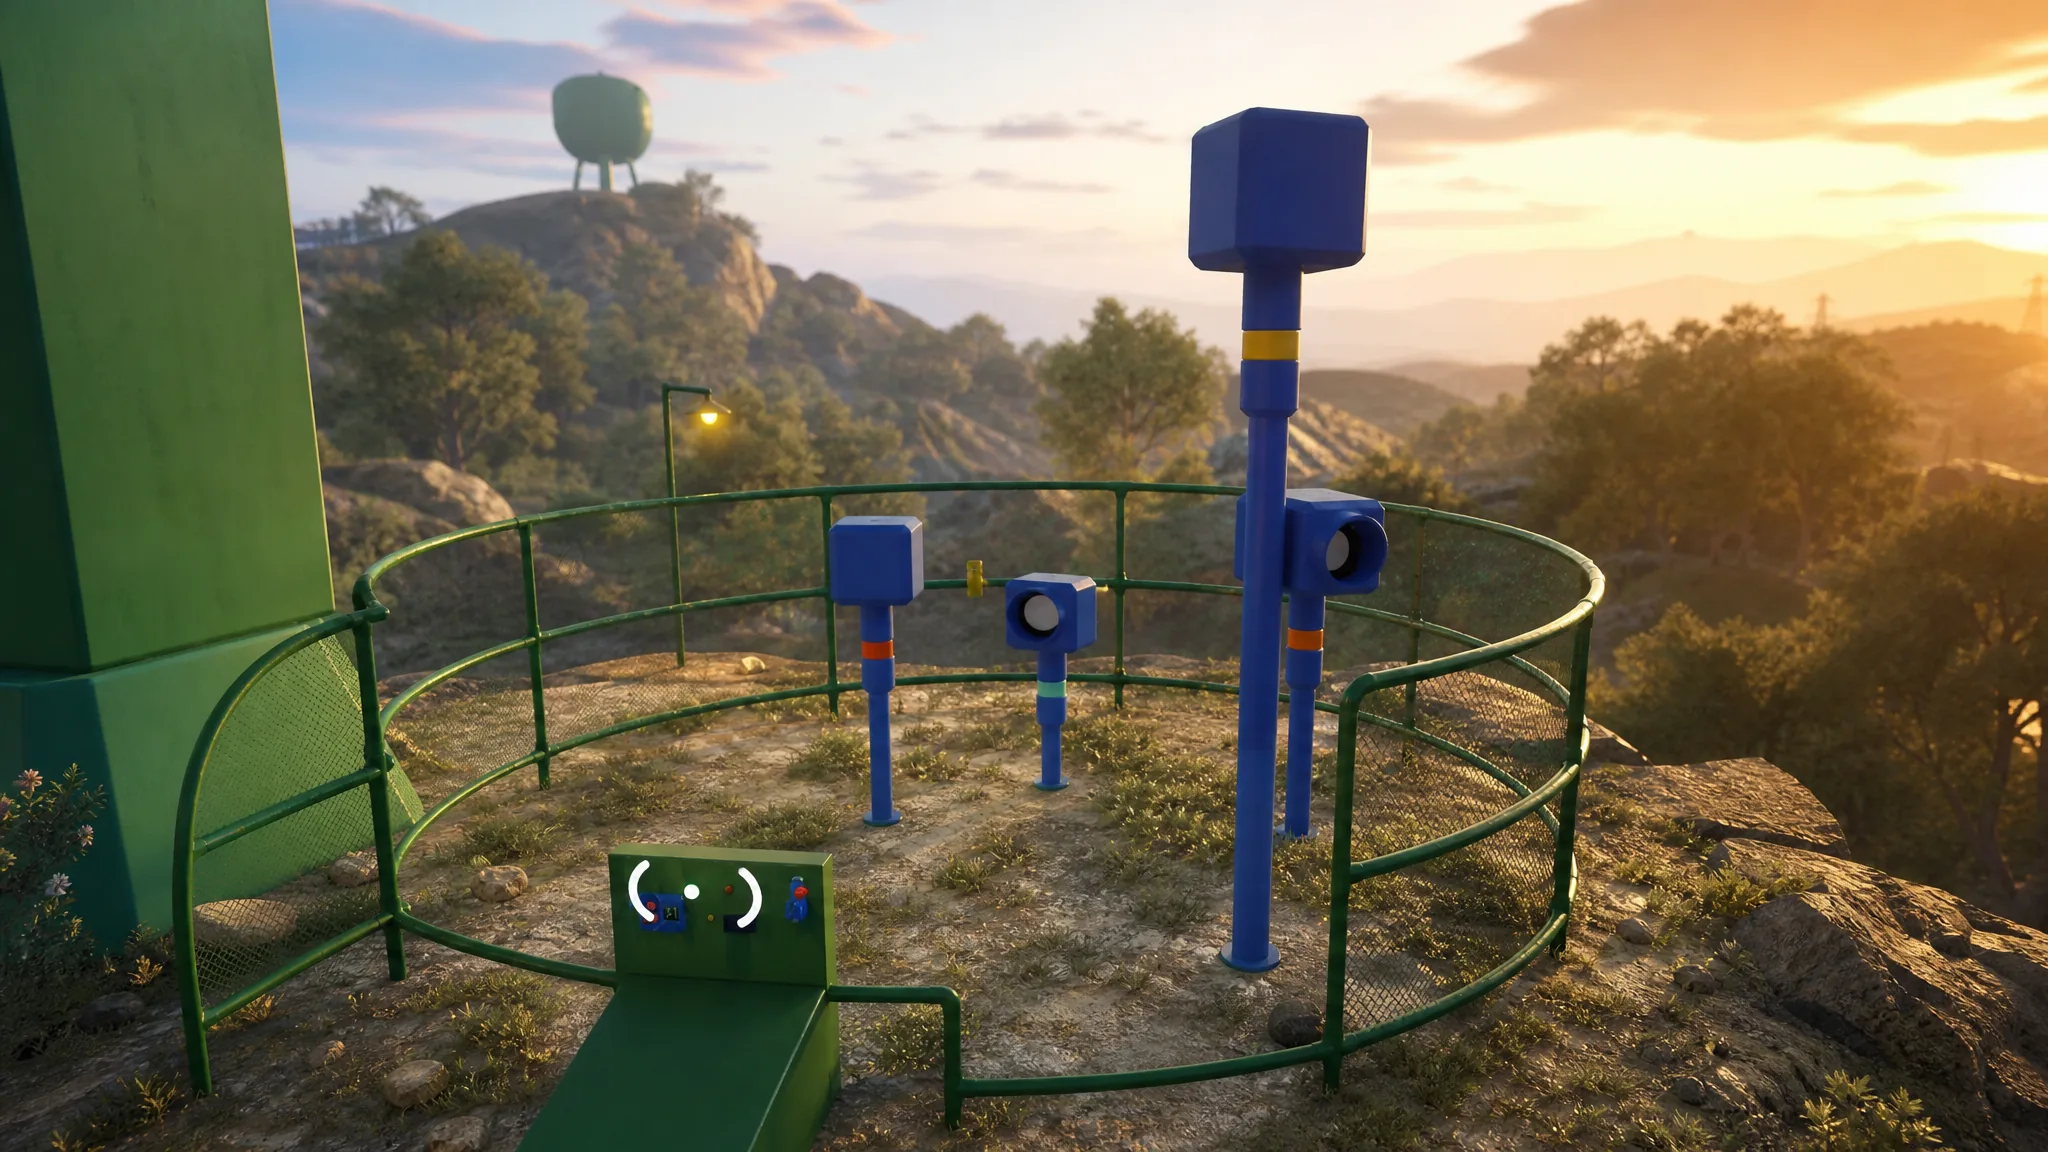
The Green Tower run in Big Walk asks your group to clear five separate puzzles, collect five receiver pieces, and carry them to the tower’s rooftop. Solving all five hands you the Green Key, which shapes into the activation key for the nearby chairlift. The puzzles lean heavily on splitting up, blocking communication on purpose, and forcing you to signal shapes or numbers across a barrier.
Quick answer: Complete the 4166, 1899, Orange Barn, Blue Signal, Yellow Stand, and Beach House puzzles to earn five receiver pieces, then insert all five into the five-slot Green receiver on the Green Tower rooftop to release the Green Key.
Where the Green receiver and chairlift are
Before anyone starts collecting, walk the whole group up to the five-slot Green receiver at the top of the Green Tower and make sure everyone has seen it. That panel is your end point, so knowing its location early avoids confusion once pieces start dropping. The Green Tower sits at map coordinates 3930, 1900.
The chairlift station you are ultimately powering is right beside the tower at 3950, 1950. It’s a blue structure with a red floor and an empty key slot, and you can spot it by leaning over the tower’s edge.
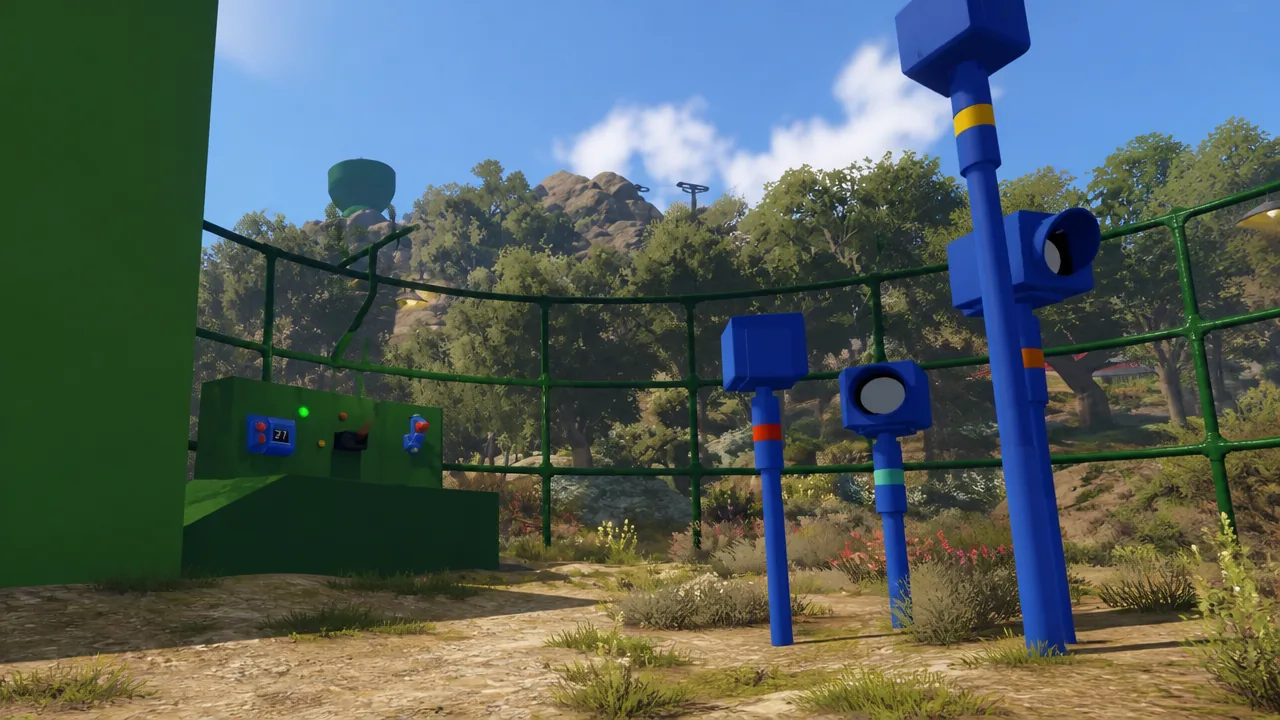
Grab the Foldable Map from the map room first. Several Green Tower puzzles use coordinates, and you cannot read them without the paper map.
The five Green Tower puzzles at a reference glance
There is no fixed order. You can tackle these in any sequence, and higher player counts only add more switches or raise a target number, without changing the core solution.
| Puzzle | Location | Core task |
|---|---|---|
| 4166, 1899 | South, near the red train line | Press a hidden switch behind rocks to unlock a box |
| Orange Barn | Near the railway track | Recreate a tile pattern while trapped and cut off |
| Blue Signal | Green monkey-bars structure by the broken train | Count all faces shown across the signals, enter the total |
| Yellow Stand | Circular room near the Green Tower | Activate only the stands showing a green star |
| Beach House | North beach, two separate buildings | Count images, encode the number with tiles, read it by telescope |
4166, 1899 puzzle: unlock the box with a hidden switch
This one starts close to where you handled the Timer Cannon during the Red Tower, so it makes a clean starting point. You’ll find a locked collectible box with nothing beside it but a plank reading 4166, 1899. Those numbers are coordinates.
Orange Barn puzzle: match the tiles while trapped
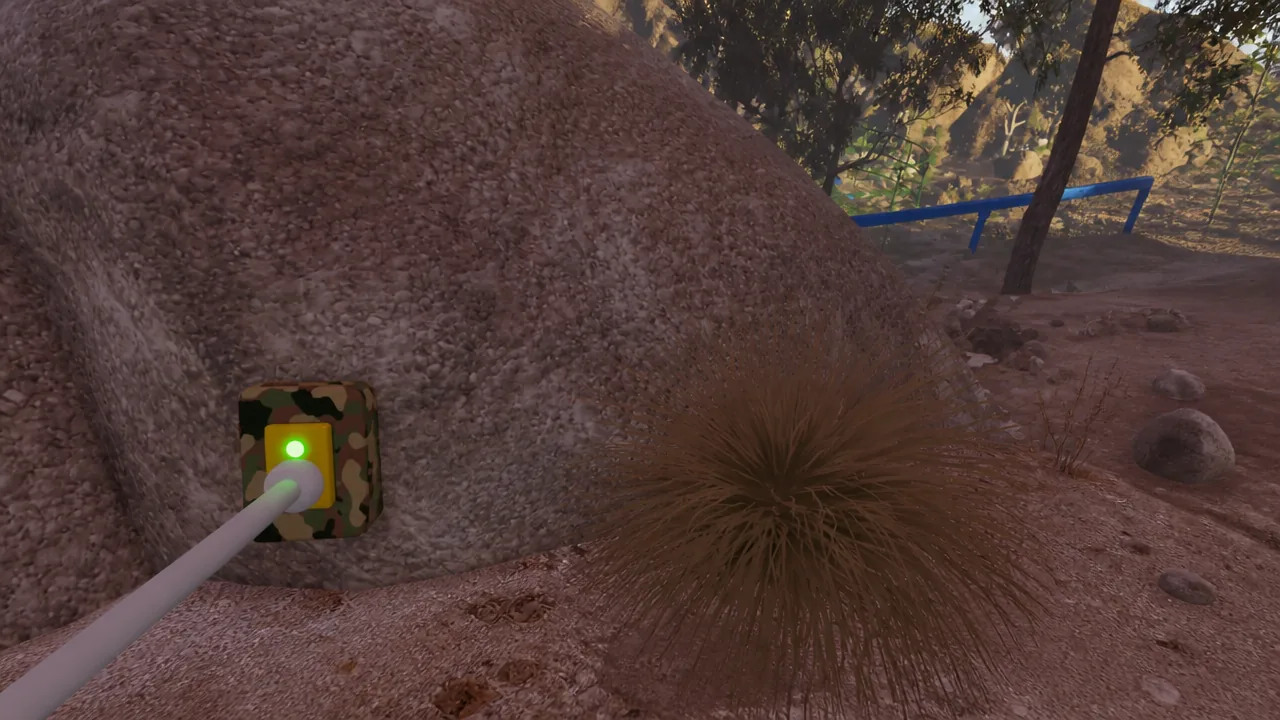
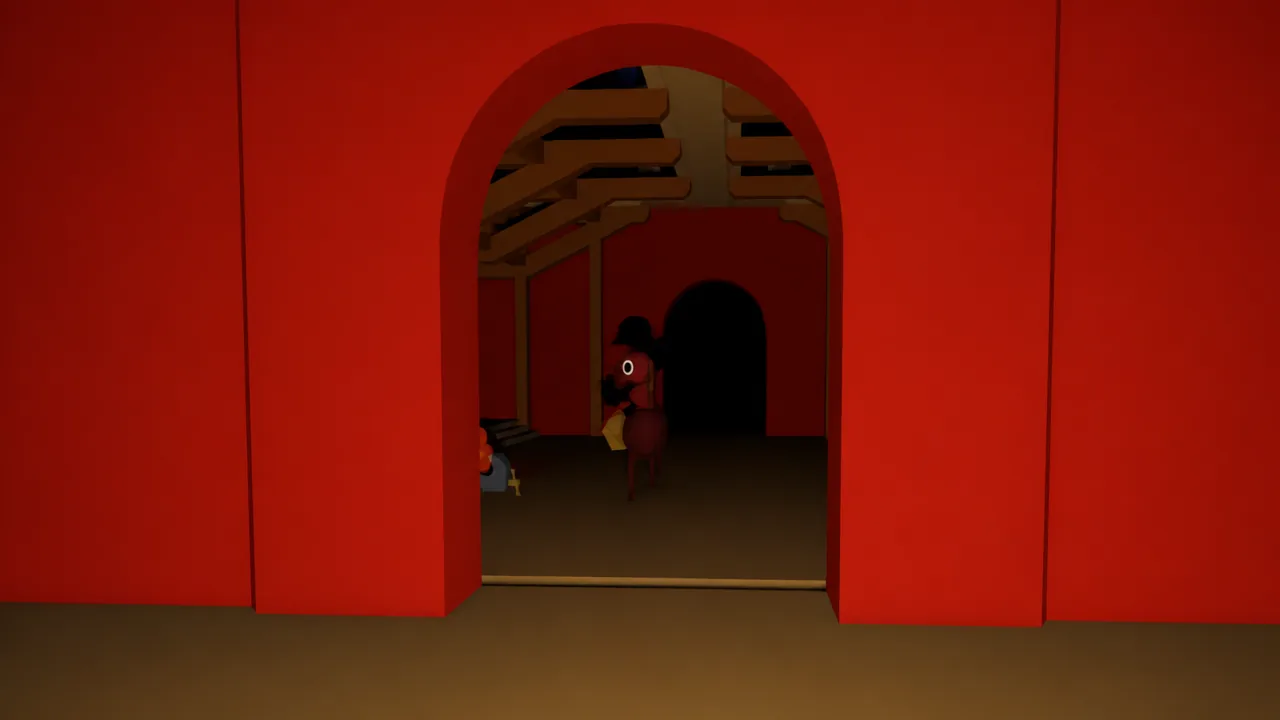
The Orange Barn sits near the railway track and needs at least two players. The catch is that solving the first step traps and silences one of you.
Blue Signal puzzle: count every face and enter the total
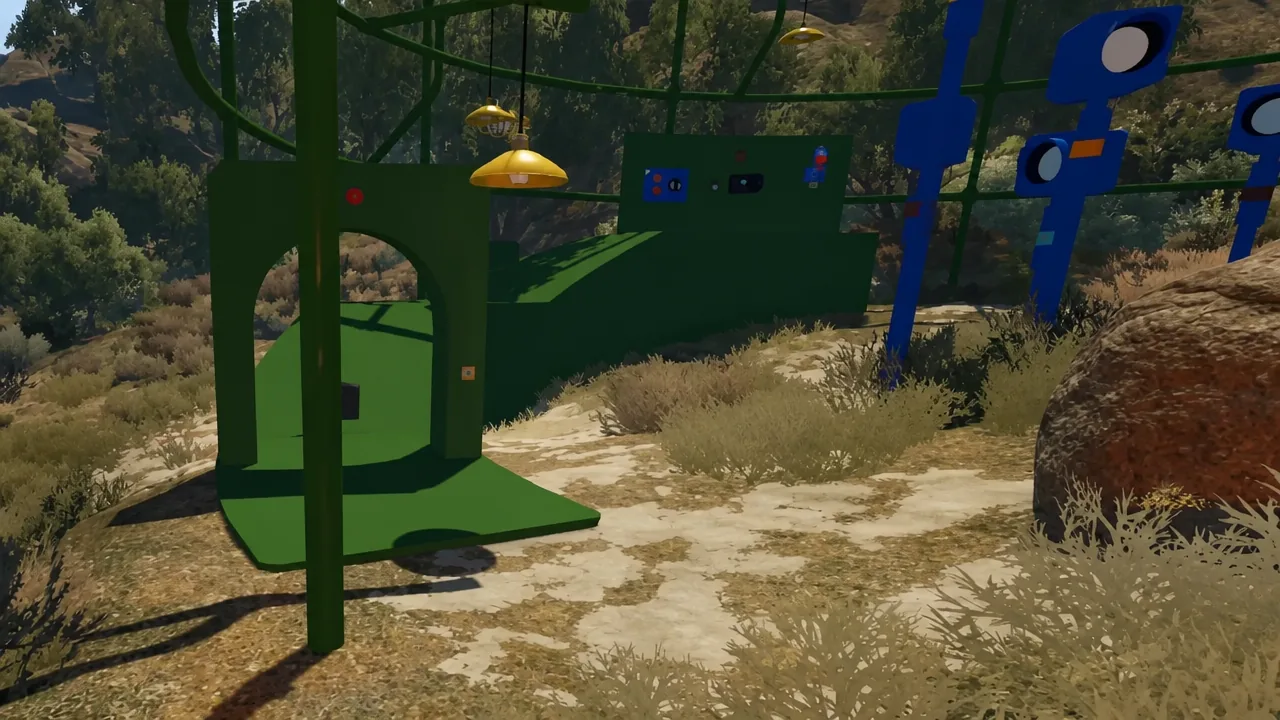
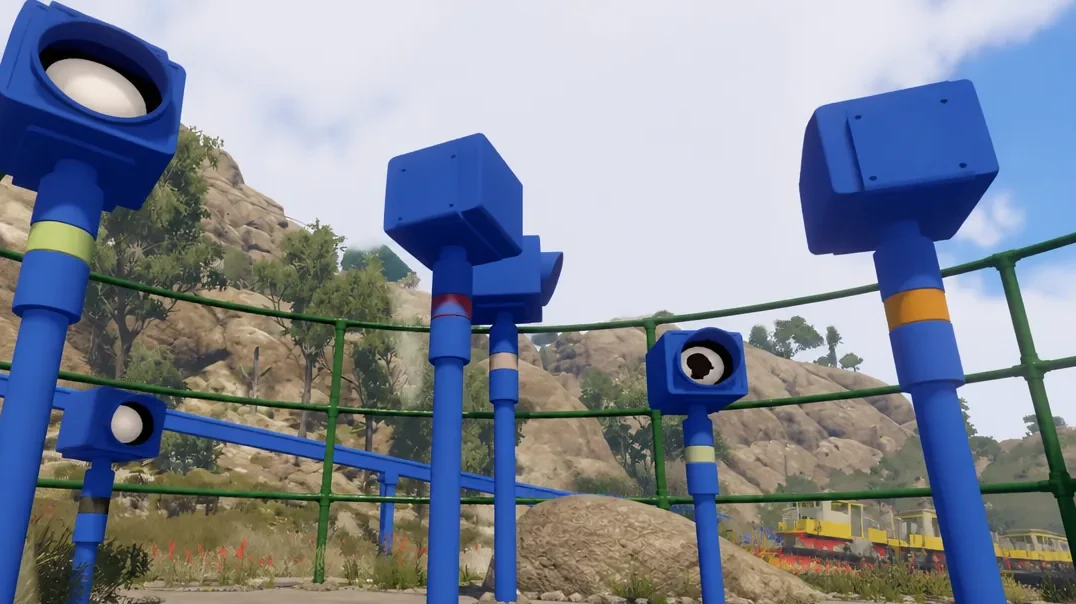
Head to the green structure that looks like childhood monkey bars, right beside the broken-down train. The number of faces is random each attempt, so positioning matters more than memory.
Yellow Stand puzzle: activate only the green stars
On the way up to the Green Tower you reach a circular room filled with yellow poles, with a reset switch near the locked collectible. It isn’t hard, but it is slow and easy to spoil.
Your goal is to activate only the stands that show a green star inside the glass. Each correct pick fills a progress meter, and you need it to reach 100 percent. Hitting a stand with a red bulb forces a reset from the switch beside the collectible, sending your progress back to zero.
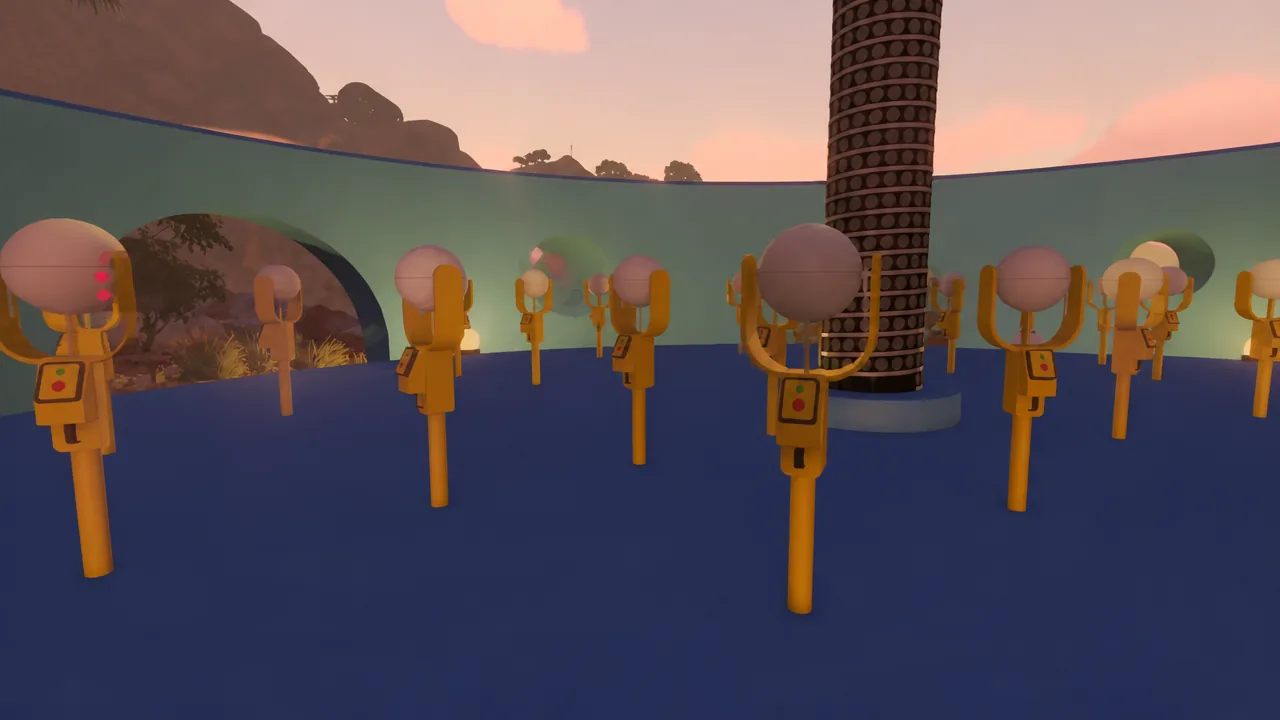
There is no set pattern, so you have to inspect each stand individually. The positions stay fixed between attempts, so bring plenty of light bulbs or any throwable items and drop one beside every stand you have already confirmed as correct. That marking keeps you from re-checking the same poles and speeds up the run.
Beach House puzzle: encode the count with tiles
This is the most layered of the five. Start at the red platform on the rocks below the Green Tower, which displays two sets of coordinates, 3259, 1883 and 3231, 1976. Follow them north to the beach, where two separate buildings sit apart from each other. You need a player in each.
| Tile | Value |
|---|---|
| Triangle | 10 |
| Star / asterisk | 5 |
| Slash (single line) | 1 |
Claim the Green Key and power the chairlift
With all five collectibles in hand, carry them to the Green receiver on the tower’s rooftop and insert them one at a time. Each slot lights up as it fills, and the fifth releases the Green Key from the back of the panel.
Take the key downstairs and run it through the five key cutters near the tower to shape it. Once it’s cut, slot it into the chairlift station beside the Green Tower. The chairlift powers on, giving you fast travel toward the Blue, Yellow, and Black Towers, which is the confirmation that the whole route is done.