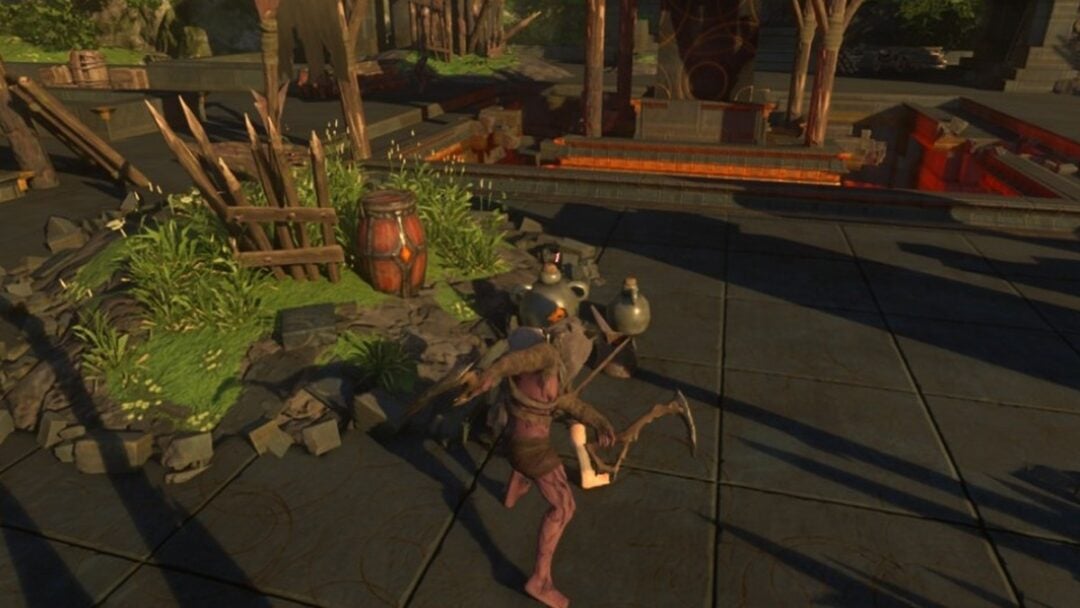
The Arbiter set is the heavy armor most players in The Blood of Dawnwalker end up chasing, and it is locked behind one long errand rather than a boss. You need four rare components, each buried in a different quest chain across Vale Sangora, and a blacksmith who will only work for you once you say the right thing.
Quick answer: Reach Infamy Level 4 to trigger “A Bulwark Against Darkness,” collect a Saint’s Relic, a Large Lizard’s Moult, Silk Threads and a Flask of Quicksilver, then bring all four to the uriash blacksmith Nareh at the Uriashi Hermitage in the northwest and win the animal fight she spawns to receive the enhanced legendary set.
Enhanced Arbiter armor stats
The base Armour of the Arbiter is an Epic heavy chestpiece with 78 armour power, 10.5 weight, and a flat +5% to melee, claw and magic damage. Once Nareh upgrades the full set, each piece becomes a legendary variant with four bonuses instead.
| Piece | Stat bonuses |
|---|---|
| Enhanced Armour of the Arbiter (heavy chest) | Weapon damage, claw damage, witchcraft ability damage, AC restoration (actions) |
| Enhanced Shin Guards of the Arbiter (heavy trousers) | Witchcraft ability cooldown, AC restoration (passive), AC restoration (actions), AC restoration (perfect blocks) |
| Enhanced Bracers of the Arbiter (heavy bracers) | Maximum vampiric health, vampiric health segment regeneration, blood drinking restoration, weapon damage |
| Enhanced Boots of the Arbiter (heavy boots) | Maximum human health, human health restoration, maximum stamina, magical damage reduction |
Unlock requirement: Infamy Level 4 and “A Bulwark Against Darkness”
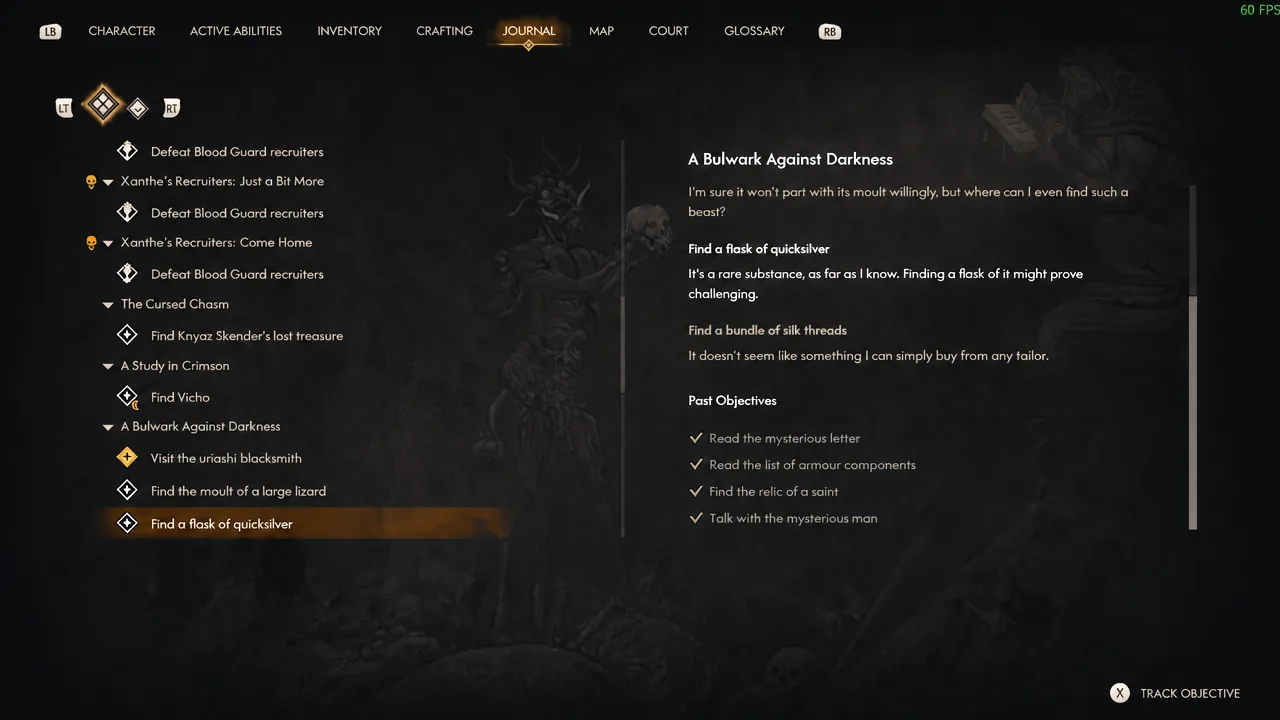
Nothing about the set is available until your notoriety hits level 4, the Dreaded / Notorious tier. Raise it through infamy activities, then either walk into the Altenmarkt district of Svartrau City to trigger a cutscene, or return to Anca at her inn and speak to her. Either route starts “A Bulwark Against Darkness” and adds the four components to your journal.
| Component | Where it comes from |
|---|---|
| Saint’s Relic | The monastery during “Echoes of Silenced Bells,” or bought from Vicho |
| Large Lizard’s Moult | Cave east of the Muddy Trail shrine |
| Silk Threads | “Good Home,” then “Come Hither” near Yedera Marsh Guardpost |
| Flask of Quicksilver | Aurelius’s Tower, after the “Home Sweet Home” nightmare |
Saint’s Relic: three ways to get one
Any one relic satisfies the requirement, and the monastery gives you two chances at it. Take the “Echoes of Silenced Bells” quest from Anca first, since that is what opens the monastery grounds.
Hand over the Saint’s Tibia at the forge and keep the St. Tyna relic for yourself, since it doubles as an amulet.
Large Lizard’s Moult location
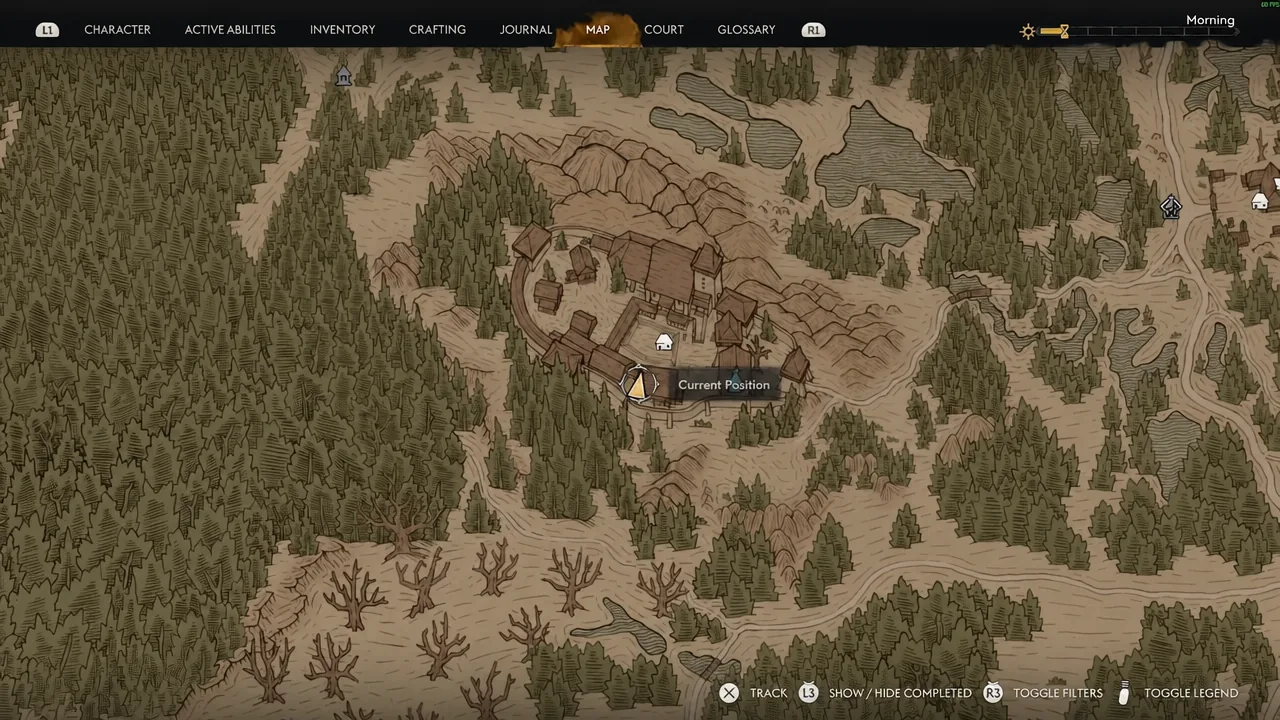
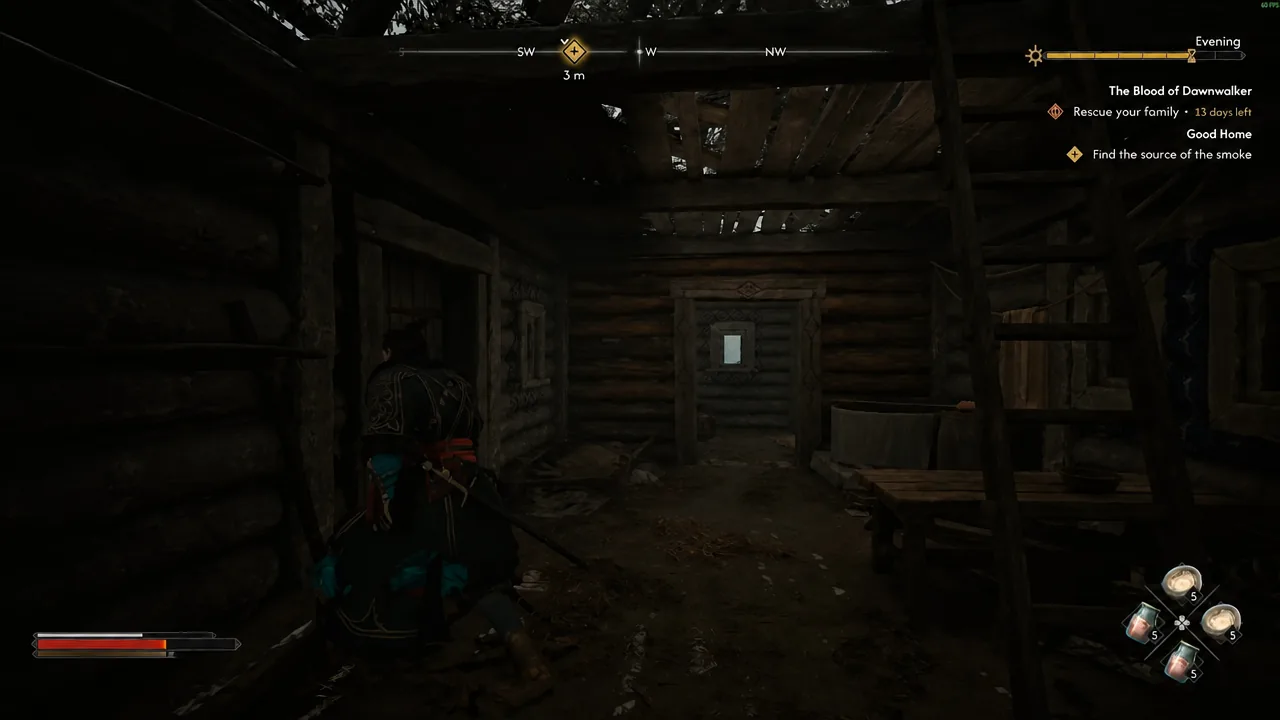
This is the easiest of the four and takes about a minute. Fast travel to the Muddy Trail shrine in the northern region and head directly east to a cave entrance. The moult is lying at the back of the cave, and nothing in there fights you for it.
Silk Threads: the “Good Home” and “Come Hither” chain
The threads come from a sanzhana, and she will not talk to you until you have finished a long favor for one of her kin. Budget the most time for this one.
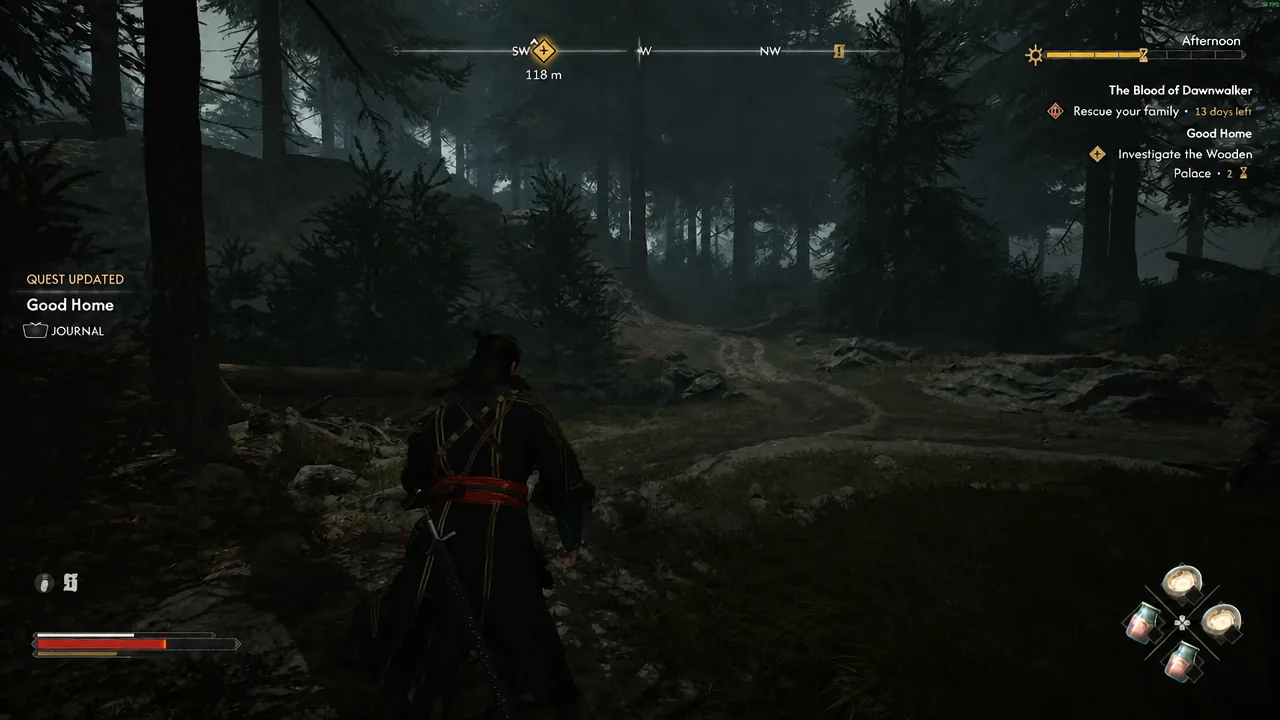
Flask of Quicksilver: Aurelius’s Tower and the “Home Sweet Home” nightmare
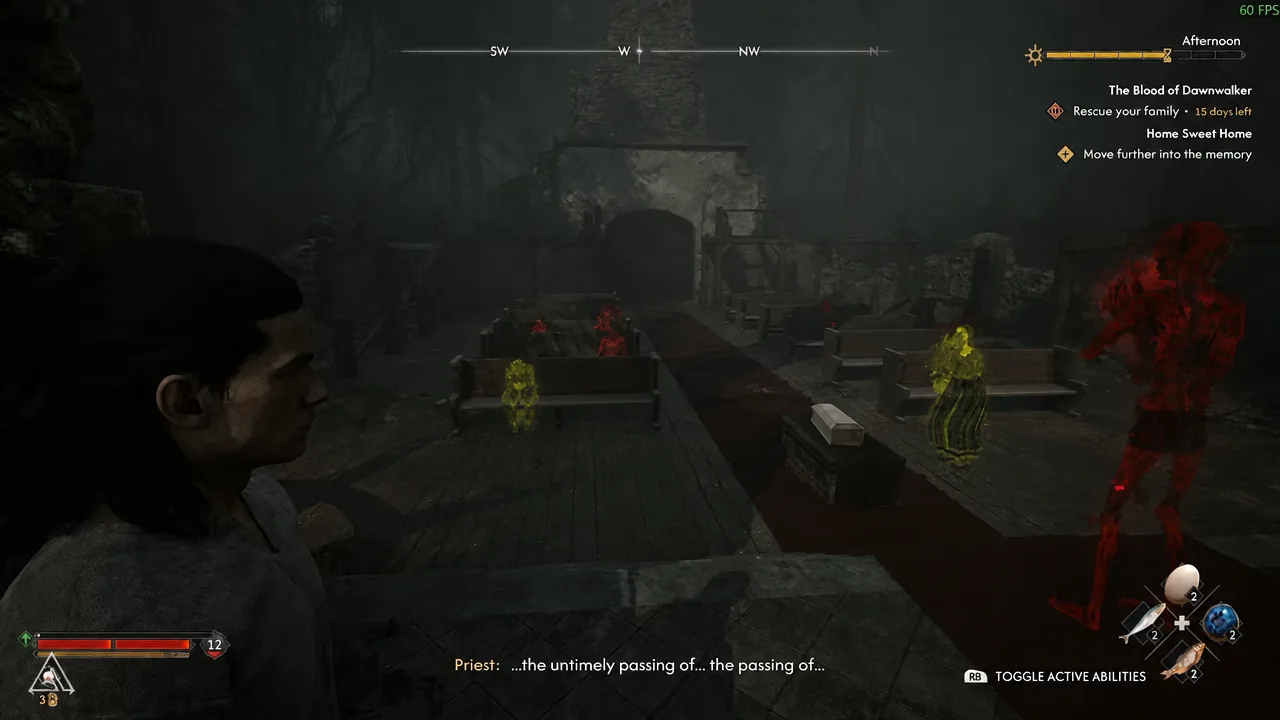
Speak to Crake in Svartrau City to activate the Aurelius’s Tower questline, then travel to the tower in the southwest. This is the longest fight-heavy stretch of the whole set.
Forging the set at the Uriashi Hermitage
With all four components in your bag, travel to the Uriashi Hermitage in the northwest corner of the map and speak to Nareh, the uriash blacksmith.
You will know it worked when “A Bulwark Against Darkness” closes out and the four Enhanced Arbiter pieces appear in your inventory, each showing legendary rarity and four stat lines instead of the base set’s three flat damage multipliers. If the quest never appears in the first place, the cause is almost always notoriety, since the trigger simply does not fire below Infamy Level 4.
Nareh is worth staying friendly with after this, too. She is the same smith who reforges the Imbued Sword of St. Mihai, and unlocking her through “A Bulwark Against Darkness” also opens her shop stock. If a piece of the set falls behind your level later in the campaign, blacksmiths and armorers can upgrade it rather than making you replace it.