Fans are the one currency in Blue Lock Empire that cash cannot buy. They gate the Backyard Pitch upgrades, and those upgrades in turn gate the higher-tier contracts that hold the Epic and Legendary strikers. Every fan you own came from a match.
Quick answer: Fans only drop from matches. A loss still pays out around +5 fans, but a win on an easy fixture handed over +75 fans and $2.5K, so raise your squad power before you queue.
How fans are earned in Blue Lock Empire
Open the Matches menu, pick an opponent, and the game simulates the fixture for you. There is no manual play involved, so the result comes down entirely to the power rating of the strikers you have placed on the field.
Losing is not a total waste. A 0-1 defeat against Scrappy XI still returned +5 fans, which is enough to grind the early numbers if you have nothing better to do. Winning is a different order of magnitude. The same fixture, replayed with a stronger squad, ended 2-0 and paid +75 fans and +$2.5K cash. That is fifteen times the fan payout for the same match.
The practical takeaway is simple. Do not farm losses. Spend a few minutes building power first, then clear the same match for a payout you would need a dozen defeats to match.
Match fan rewards and recommended power
Each fixture in the Matches menu lists a difficulty, a recommended power level, and a base fan reward. Treat the recommended power as the number you want to hit before entering.
| Match | Difficulty | Rec. Power | Listed reward |
|---|---|---|---|
| Scrappy XI | Easy | 439 | +25 Fans |
| Bench Warmers | Easy | 626 | +45 Fans |
Your own power sits on the main HUD and climbs as you equip better strikers. Going from 409 to 506 power was enough to flip a Scrappy XI defeat into a comfortable win, and 595 power puts Bench Warmers within reach.
Raise squad power before queuing
Three things move your power number, and all of them are quick. Do them in this order every time you want a fan payout.
Use Equip Best instead of placing strikers by hand
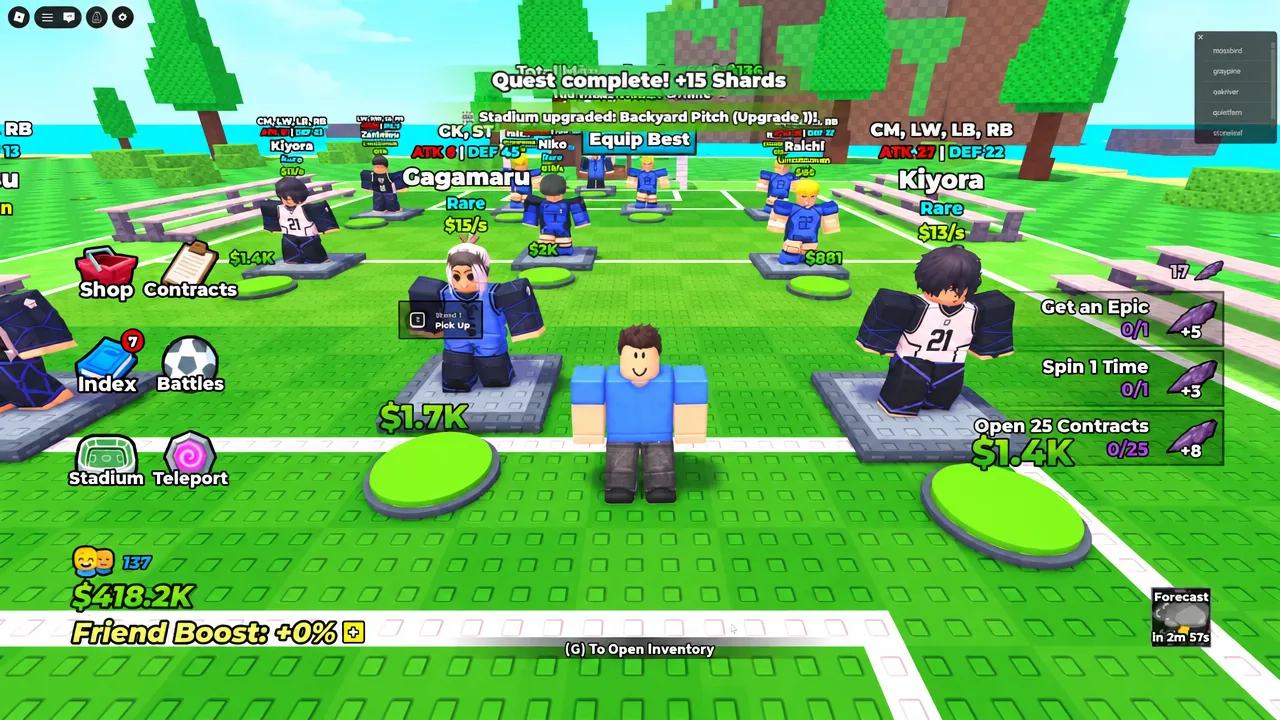
Strikers sit on green pads around your base, where they generate cash over time. You can drag them into slots manually, but the Equip Best button scans your inventory and drops the highest-stat strikers into the active field slots automatically. Press it after every pack opening.
Selecting an individual striker brings up a Pick Up prompt if you want to rearrange the board yourself, which is only worth doing when you are clearing space for a new pull.
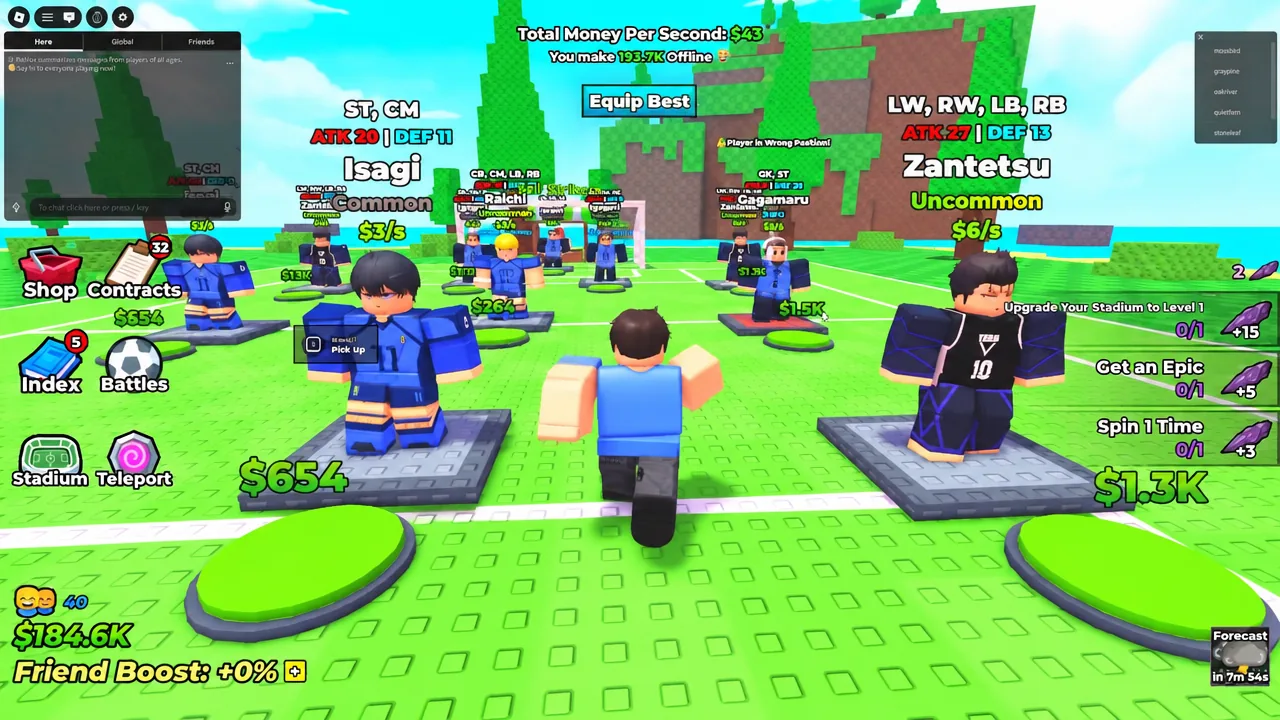
Turn on Auto Collect Money and Auto Collect Money From Slots in the settings menu. Cash then accumulates without you walking around the base, and cash is what buys contracts.
Buy contracts to pull higher rarities
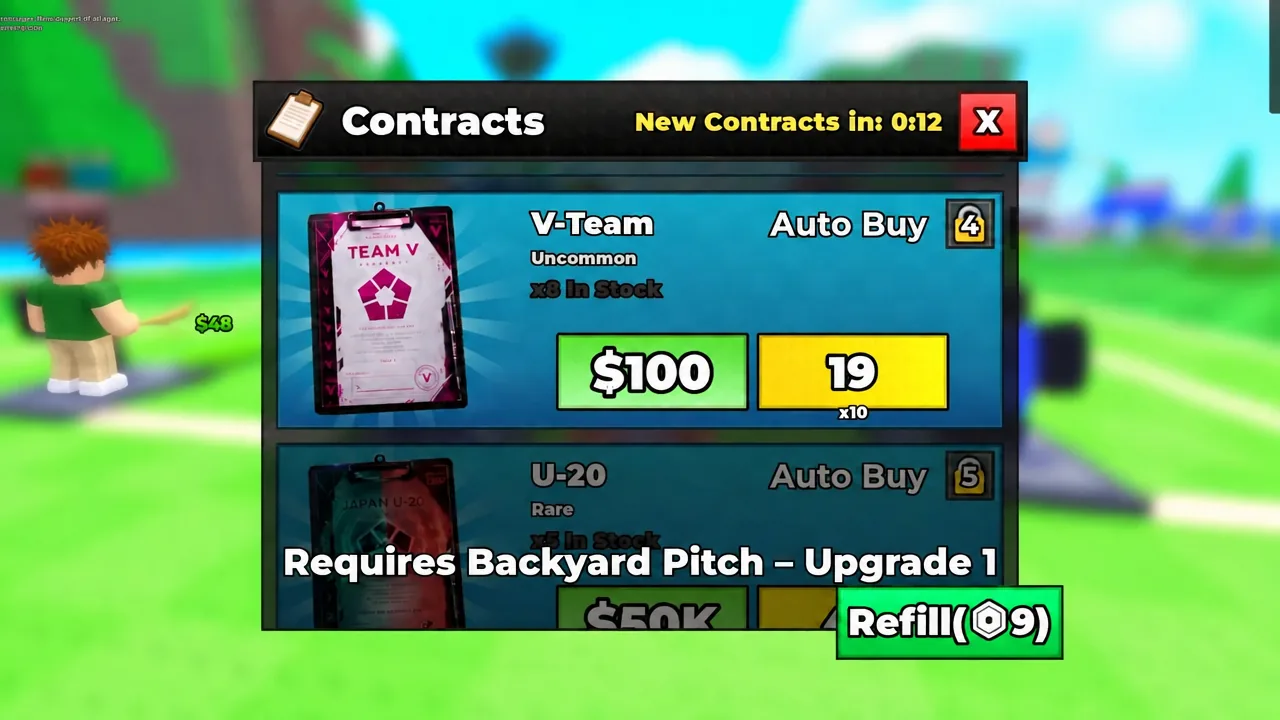
Contracts are the only reliable source of new strikers. Team Z is free and only ever hands out Commons, so the real early-game purchase is Team V at $100 a pack. Buying a stack of them is enough to pull Uncommons like Raichi and Rares like Kiyora, Niko, and Gagamaru, which is the jump that turns an easy loss into an easy win.
| Contract | Rarity | Cost | Requirement |
|---|---|---|---|
| Team Z | Common | $0 | None |
| Team V | Uncommon | $100 | None |
| U-20 | Rare | $50K | Backyard Pitch – Upgrade 1 |
| Blue Lock 11 | Legendary | $120K | Backyard Pitch – Upgrade 1 |
| Argentina | Rare | $1.9M | Backyard Pitch – Upgrade 2 |
| Brazil | Epic | — | Backyard Pitch – Upgrade 2 |
The Contracts menu also carries an Auto Buy toggle, which saves you from clicking the purchase button several dozen times while your cash-per-second ticks along. U-20 packs at $50K each are where Epic strikers such as Hiori and Karasu start appearing.
Clear out low-rarity strikers at the Sell Strikers stand
Every pack you open leaves duplicates and dead weight in your inventory. Head to the Sell Strikers stand and cash them in. Dumping a pile of Commons returned $60, and a later clear-out of leftover Uncommons returned $40, so treat this as inventory hygiene rather than an income stream.
The stand includes an Auto Sell menu with a toggle for each rarity. Switch on Common early and leave everything else off until your pulls have moved up a tier.
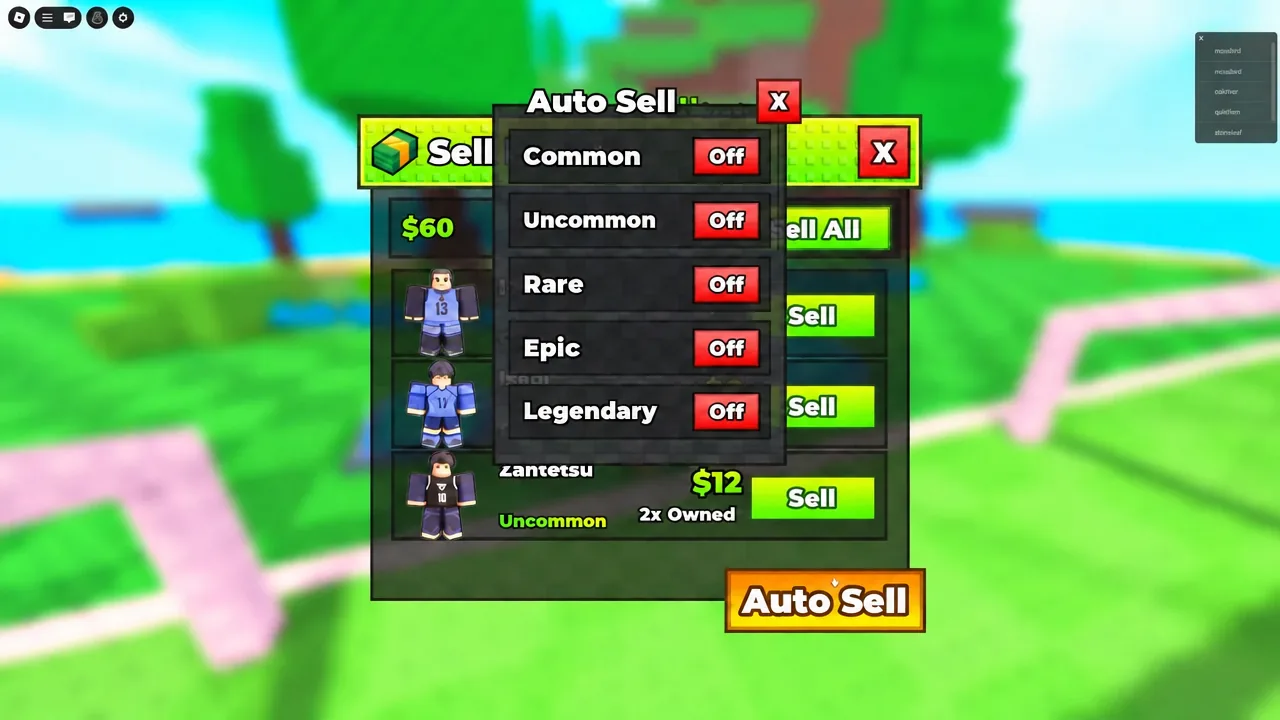
Auto Sell applies to everything in that rarity band. Leave the Rare and Epic toggles off, or you will lose strikers you just spent $50K pulling.
Train strikers at the training facility
The training facility is where you top up individual stats rather than replacing whole strikers. Speak to Jinpachi Ego, pick a striker, and choose whether to train Attack or Defense.
Each attempt costs some of that striker’s Potential percentage, and Potential does not come back. A Rare Gagamaru, for example, sits at Attack 8, Defense 45, Potential 22%, which gives you a limited number of rolls to spend.
Difficulty matters. Easy, Medium, and Hard each carry a different success rate, with the harder options paying out larger stat gains when they land. Medium is a reasonable default on a striker you actually plan to keep. Do not burn Potential on Commons you are about to auto-sell.
Spend fans on Backyard Pitch upgrades
Fans exist to be spent on the stadium. Each Backyard Pitch tier costs a fan total plus cash, and each one unlocks a new band of contracts while boosting your income and power permanently.
| Upgrade | Fans | Cash | Buffs |
|---|---|---|---|
| Backyard Pitch – Upgrade 1 | 100 | $10K | +15% cash/sec, +5% power level |
| Backyard Pitch – Upgrade 2 | 300 | $30K | +30% cash/sec, +10% power level |
Upgrade 1 is the single most important purchase in the early game, because it is what opens U-20 and Blue Lock 11 contracts. Completing it also closed out a quest worth +15 Shards. Upgrade 2 follows the same logic, unlocking Argentina and Brazil.
The compounding effect is the point. Better contracts produce better strikers, better strikers generate more cash per second and more power, and more power wins harder matches for bigger fan payouts. A squad running at $58 per second before any of this was pushing $220 per second by the time Epic strikers were on the field.
How to confirm the fans landed
Check the Fans counter on the HUD before and after a fixture. A completed match shows the result on screen along with its reward line, and the counter updates immediately, so a win against Scrappy XI moves you from 45 to 120 in one go.
To confirm an upgrade registered, reopen the Contracts menu. If Backyard Pitch – Upgrade 1 went through, the U-20 and Blue Lock 11 packs will no longer show a requirement line and can be purchased directly. Your power number will also tick up from the stadium’s passive bonus even though you have not changed a single striker.