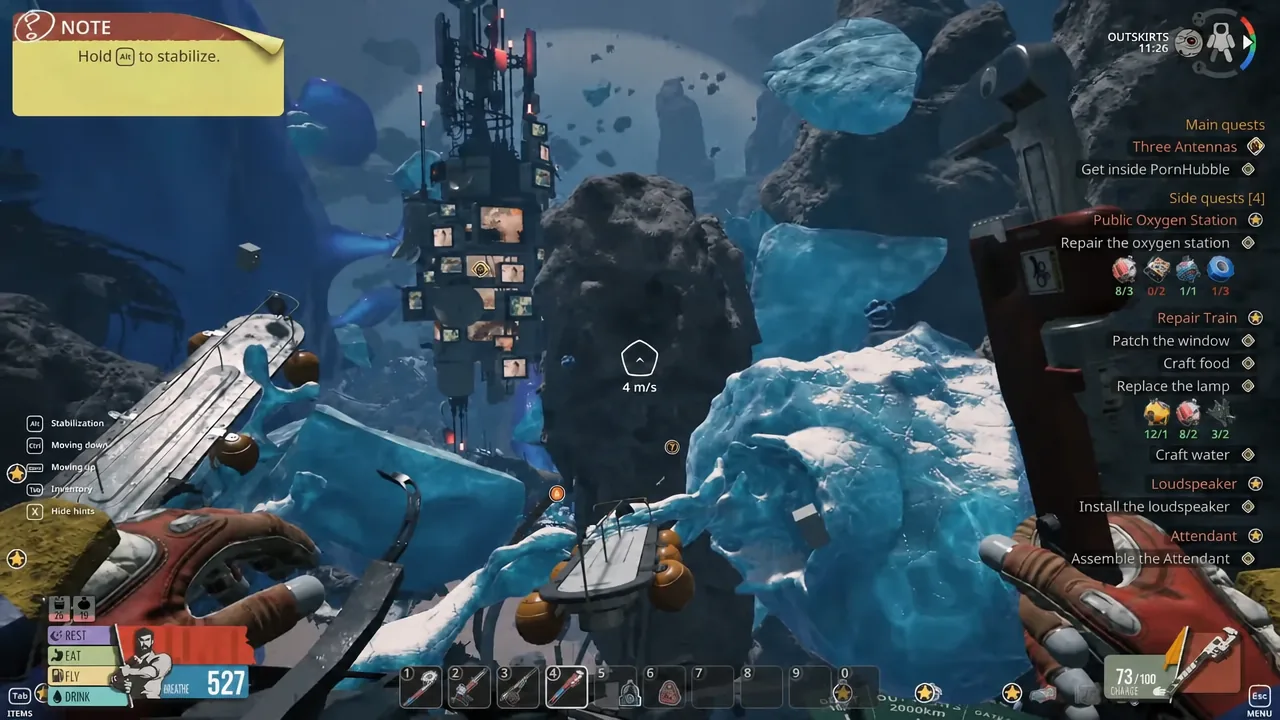
Light Bulbs are one of those materials in Breathedge 2 that stop a repair dead. They are not scattered loose around the Outskirts wreckage, and they are not tied to a container you can smash open. They sit inside working light fixtures, and getting one out requires a specific tool and a specific visual cue.
Quick answer: Craft the Twister, fly down to the large circular pipe structures below the station, and open a light fixture whose red lamp is blinking. Only flashing fixtures contain a Light Bulb.
Requirement: Unlock the PornHubble antenna to get the Twister blueprint
There is a hard gate on this one. The Twister blueprint comes from progressing the antenna chain and getting inside the PornHubble structure. Until that objective is done, the light fixtures are inert scenery — you can float right up to a blinking lamp and get no interaction prompt at all.
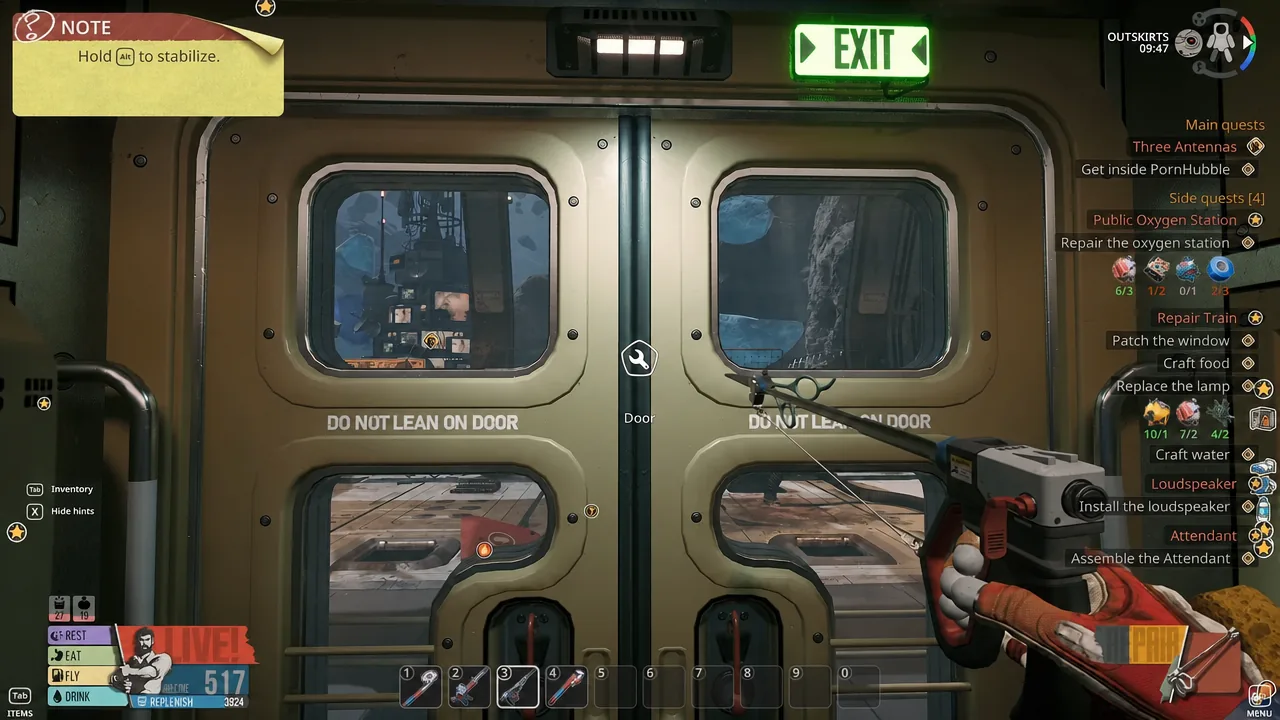
Once the blueprint is in your list, craft the Twister and keep it equipped before you leave the base. It is the tool that handles both parts of the fixture, the clamp and the cover.
| Element | Detail |
|---|---|
| Gate | PornHubble antenna must be unlocked |
| Tool | Twister (crafted from the unlocked blueprint) |
| Location | Large circular pipes below the station |
| Target | Red light fixtures that are flashing |
| Yield | One Light Bulb per valid fixture |
How to pull a Light Bulb out of a fixture
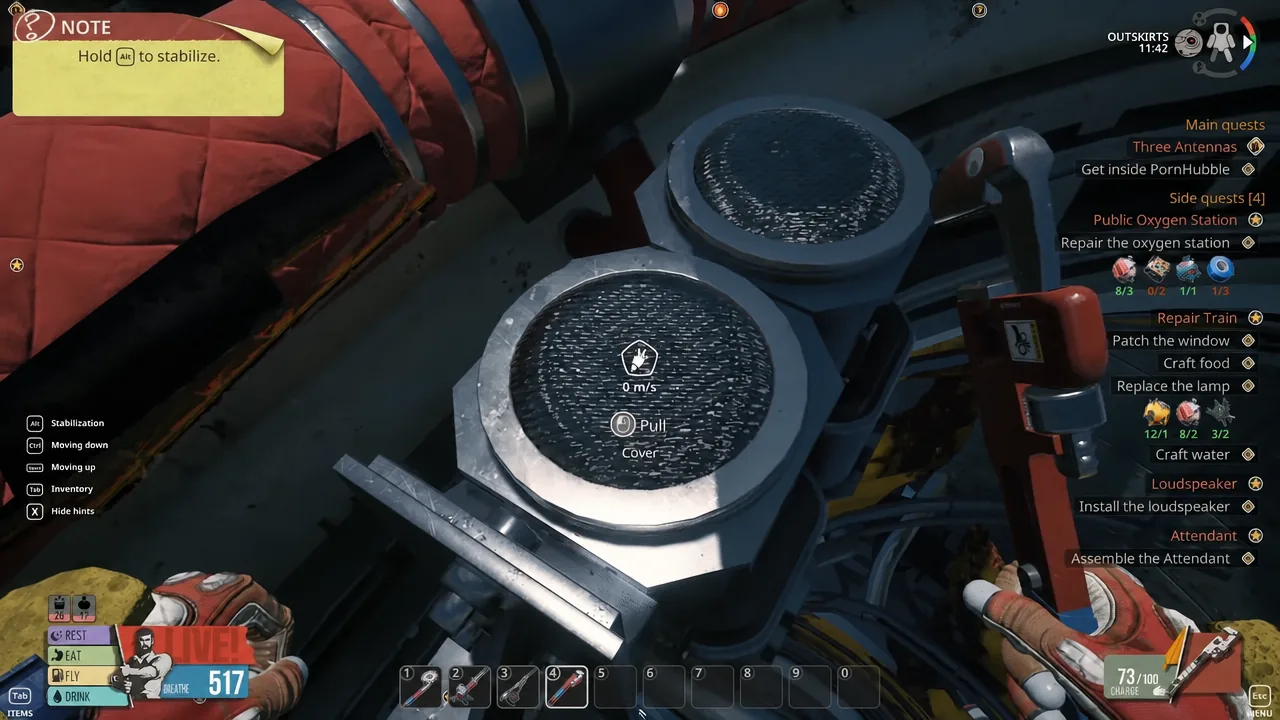
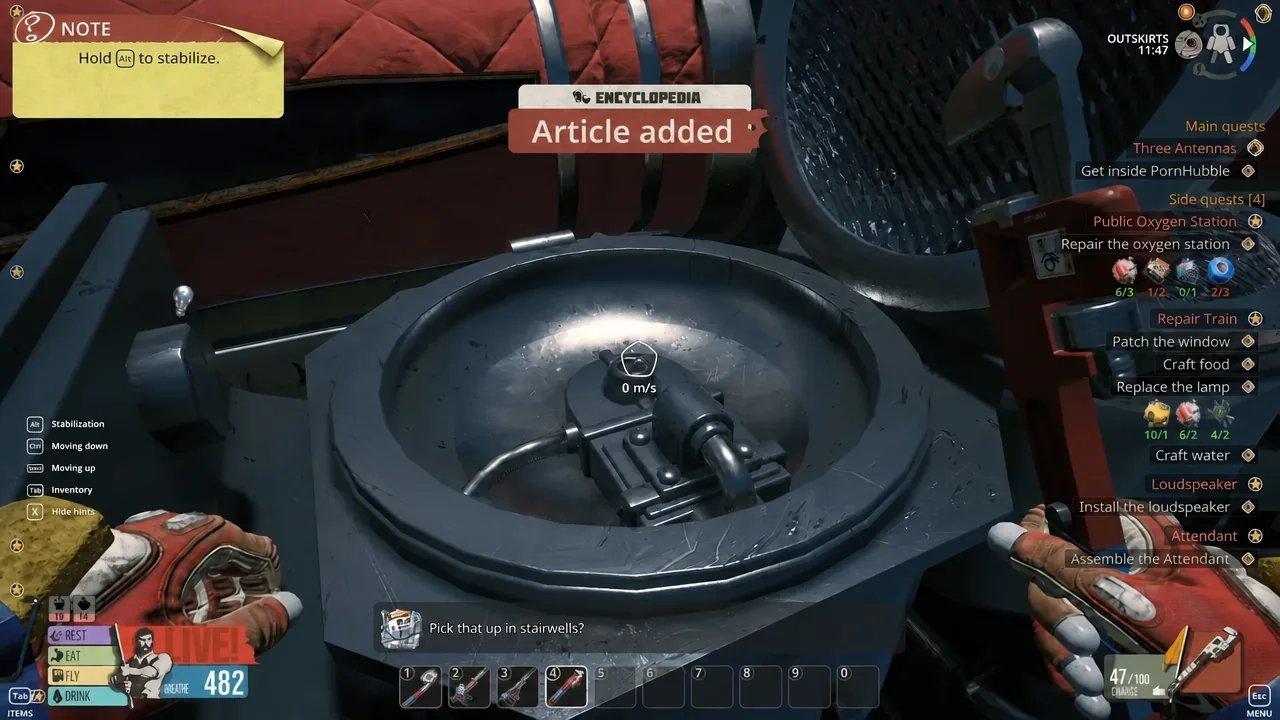
How to confirm it worked
The cover comes off the housing and the item name “Light Bulb” appears on the loot prompt. After you take it, the bulb occupies a single inventory slot and can be spent immediately on any recipe that calls for it. If the fixture opens and nothing is inside, the lamp was not flashing when you started.
Reasons the fixture gives you nothing
- The lamp is lit steadily instead of flashing. Those housings are empty by design.
- You have not crafted the Twister, so the unscrew prompt never appears on the clamp.
- The PornHubble antenna objective is still open, meaning the Twister blueprint has not been unlocked yet.
- You stopped after unscrewing the clamp. The cover still has to be pulled and pried before the bulb is reachable.
Why you need Light Bulbs later
Bulbs come up again once the story moves out of the Outskirts and into Depot, where the heating route and the Small Engine research both lean on scavenged materials. Depot is a colder, more restrictive area to shop for parts in, so it is worth clearing a few of the flashing fixtures under the station while the trip is short and the refill points are close.
Note: Light Bulbs are not the only material tied to a specific fitting rather than a loose pickup. Getting into the habit of checking what a resource is physically attached to — a lamp housing, a pipe wrap, an appliance panel — cuts down on aimless scavenging runs across the whole of Chapter 1.
Once the Twister is crafted, the pipes below the station function as a repeatable supply point. Sweep the ring, take the blinking ones, ignore the rest, and head back inside before oxygen becomes the limiting factor.