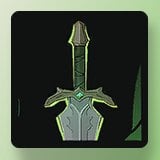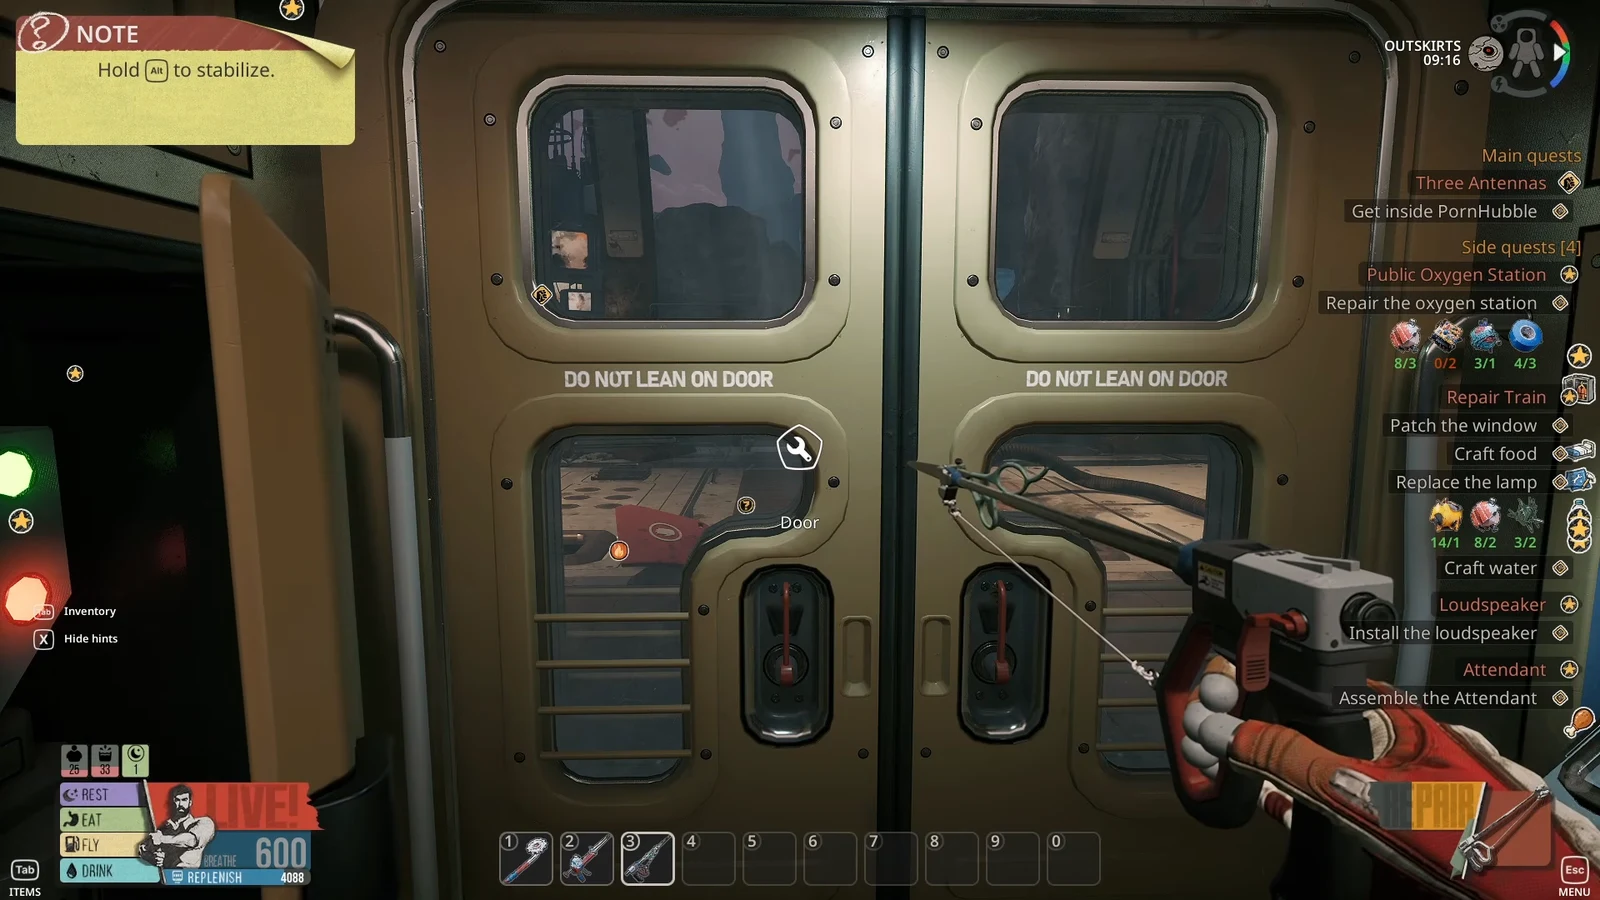
The Twister is the wrench-style tool in Breathedge 2, and it gates a surprising amount of the Outskirts. Bolted panels, fastener-locked baggage containers, and at least one sealed door all stay shut until you have one. Unlike the Scrap, Cutter, and Thumper, it is not handed to you at the start — you have to find its blueprint on a corpse inside an antenna structure.
Quick answer: Progress the Three Antennas quest line, fly to the tall antenna structure in the Outskirts, cut open the hatch on its underside, float up the tube to the control room, and inspect the broken Twister held by the skeleton. That interaction adds the Twister blueprint to your crafting menu.
What has to happen before the Twister blueprint exists
The antenna structure that holds the blueprint is not in the world from the moment you step off the train. It appears in the Outskirts once you have repaired the phone booth and moved into the antenna objectives, so there is no point flying out early to look for it.
Two practical requirements come out of that. You need the Cutter and Thumper built already, since the phone booth repair calls for Electronics, Wires, Aluminum, and Duct Tape pulled from panels, pipes, and ore. You also need a working oxygen loop for the trip, because the antenna sits well away from the station. Air Stations, Oxyworm nests, and water bottles all top you back up.
Note: the Twister unlock is tied to the Three Antennas chain, not to any single antenna repair. If the blueprint prompt has not appeared, keep pushing the quest forward rather than searching for a hidden container.
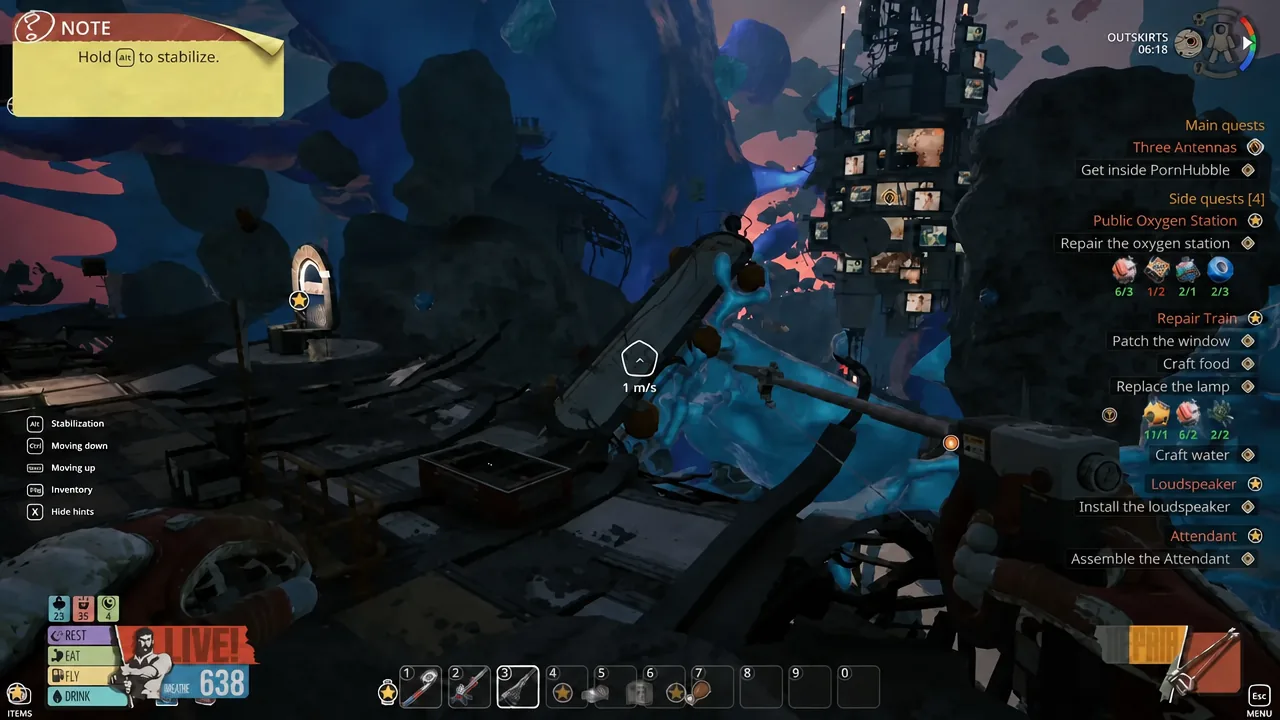
How to reach the antenna and get inside
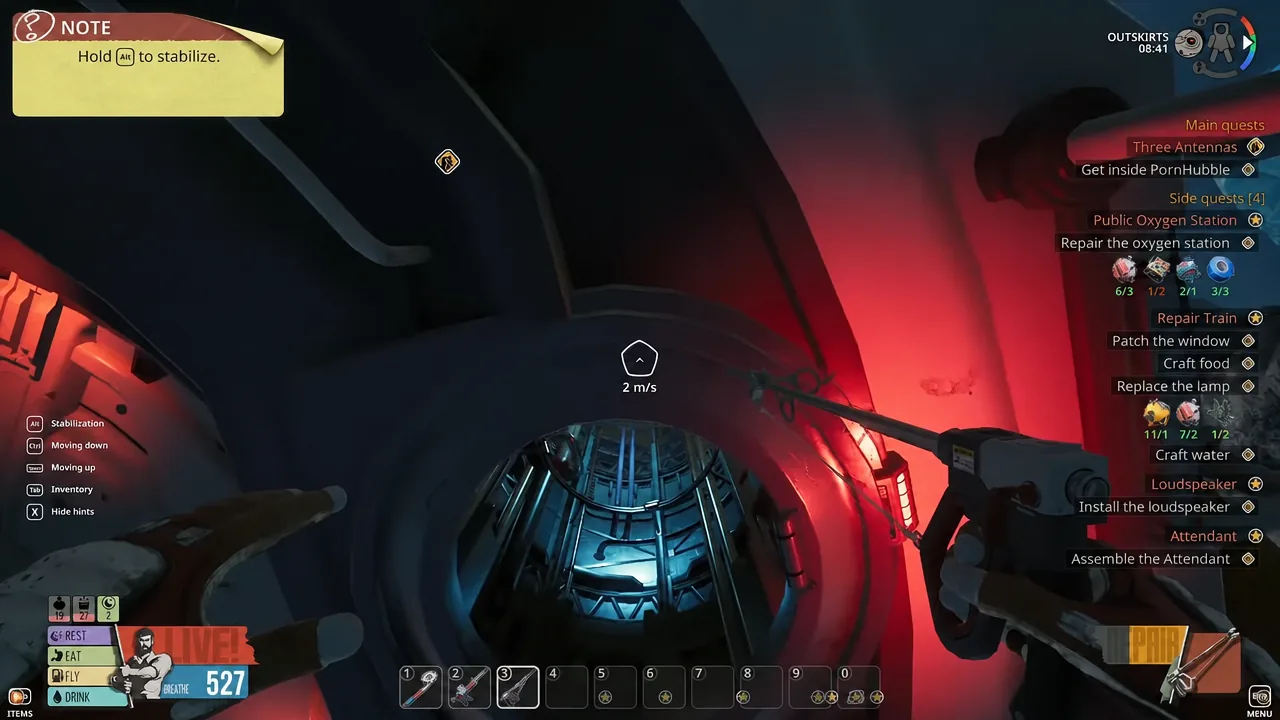
How to confirm the blueprint unlocked
Two confirmations fire the moment you inspect the broken tool. An “ENCYCLOPEDIA Article added” notice appears, followed by a “NEW BLUEPRINT! TWISTER” banner. After that, the Twister shows up as a craftable entry in the tools section of your crafting menu with its material list attached.
If neither prompt appears, the usual causes are short. You have not progressed the antenna quest line far enough for the structure to spawn, you entered the control room but never targeted the broken Twister in the skeleton’s hands, or you are still outside the hull and looking at the wrong section of the antenna.
Twister crafting materials in early access 0.8
Open the crafting menu with C once the blueprint is registered, then build the Twister from the tools list. Everything it needs is available around the starting area.
| Material | Amount | Where it comes from |
|---|---|---|
| Aluminum | 4 | Asteroid deposits and floating debris |
| Wires | 2 | Electrical panels, extracted with the Probe |
| Duct Tape | 3 | Wrapped pipes around the station |
| Plastic | 2 | Hardened growths on the ends of cables |
The tape line is the one to double-check. Some builds list the requirement as 2x Electrical tape rather than 3x Duct Tape, so read the recipe on your own crafting screen before you spend a trip gathering the wrong material.
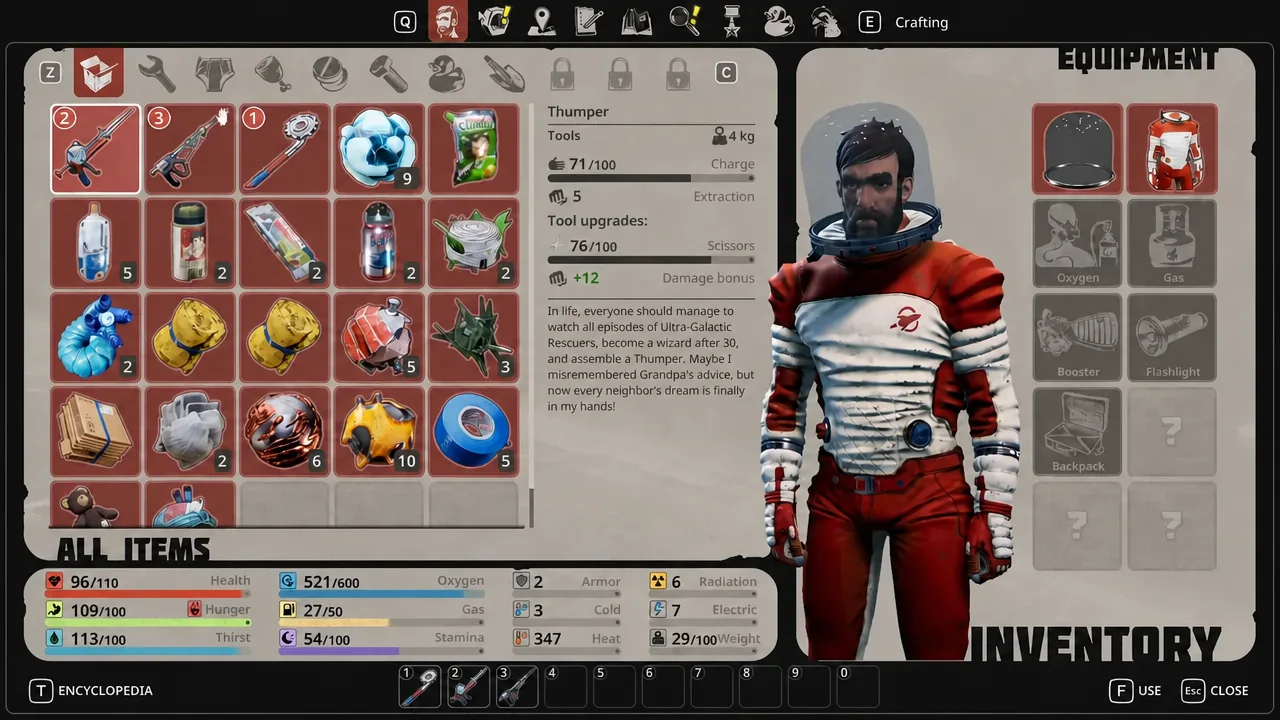
What the Twister opens once you have it
The Twister handles bolts and fasteners that no other tool touches. It opens the door at the diggers hideout, where the “Humans only” poster is hanging, and it undoes the fasteners on the baggage container underneath the train that holds the Roly-poly Marie Curie toy. Both are collectibles you cannot pick up without it.
Craft it as soon as the blueprint lands. It costs little, it clears a category of obstacle you have been flying past since the prologue, and it is one of the few tools the Outskirts genuinely will not let you skip.