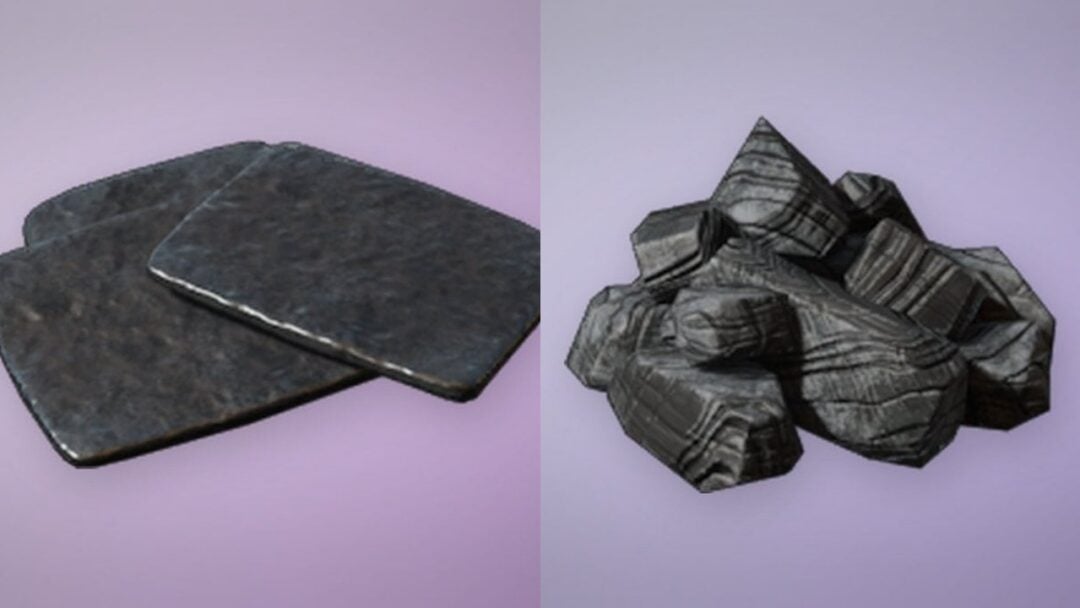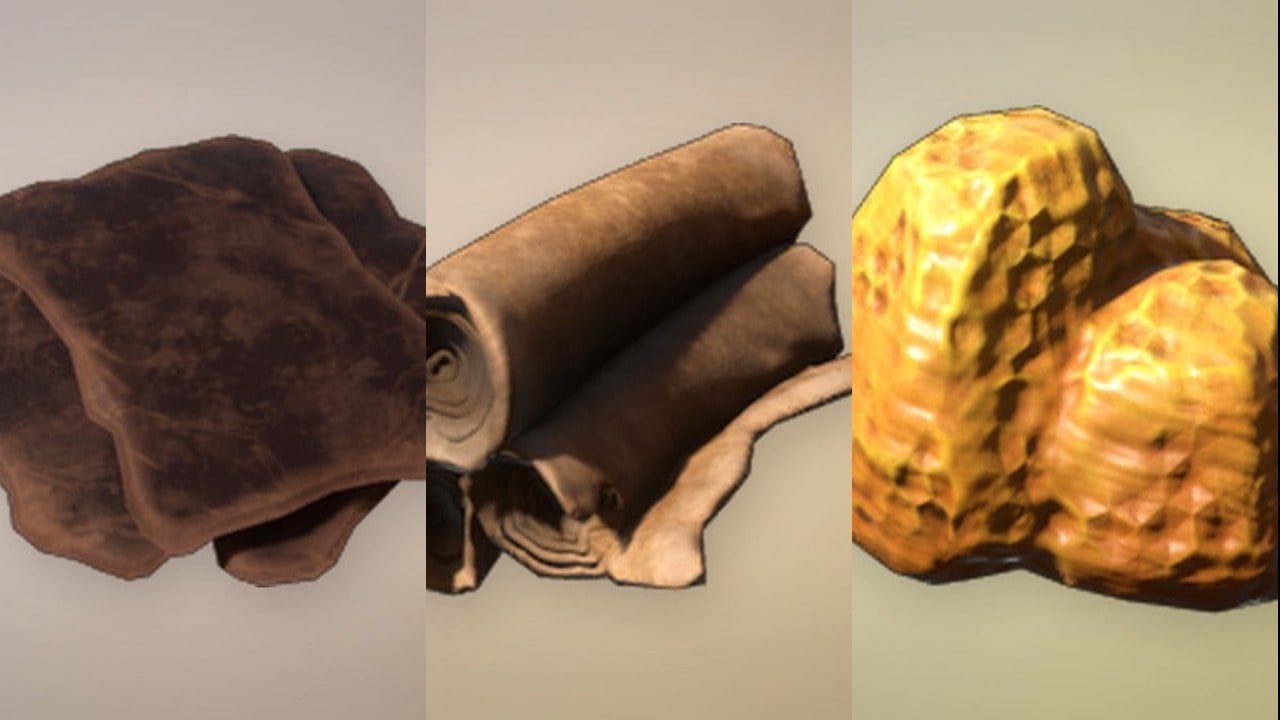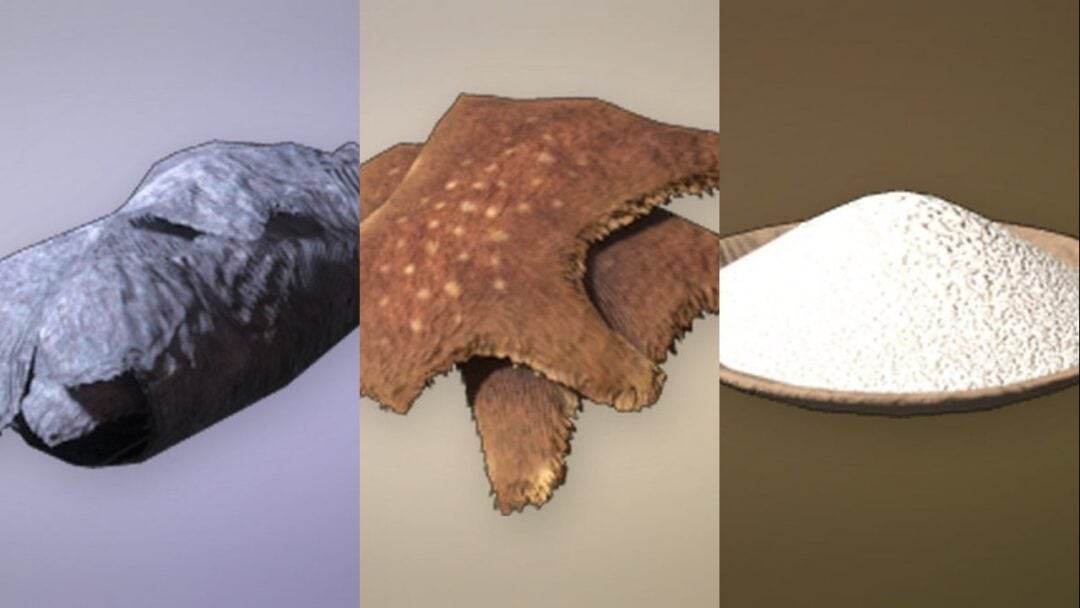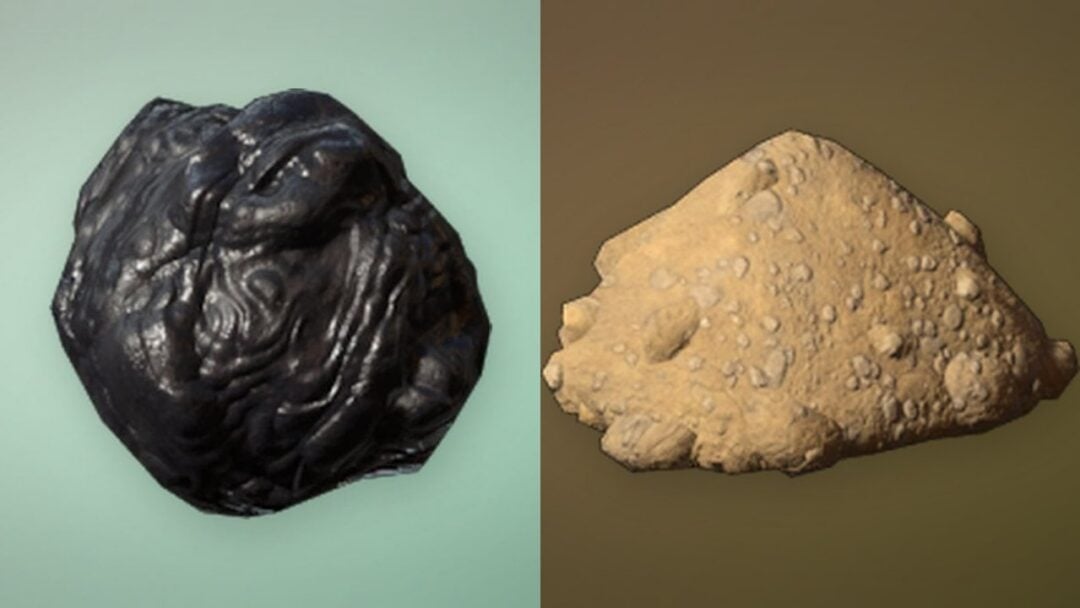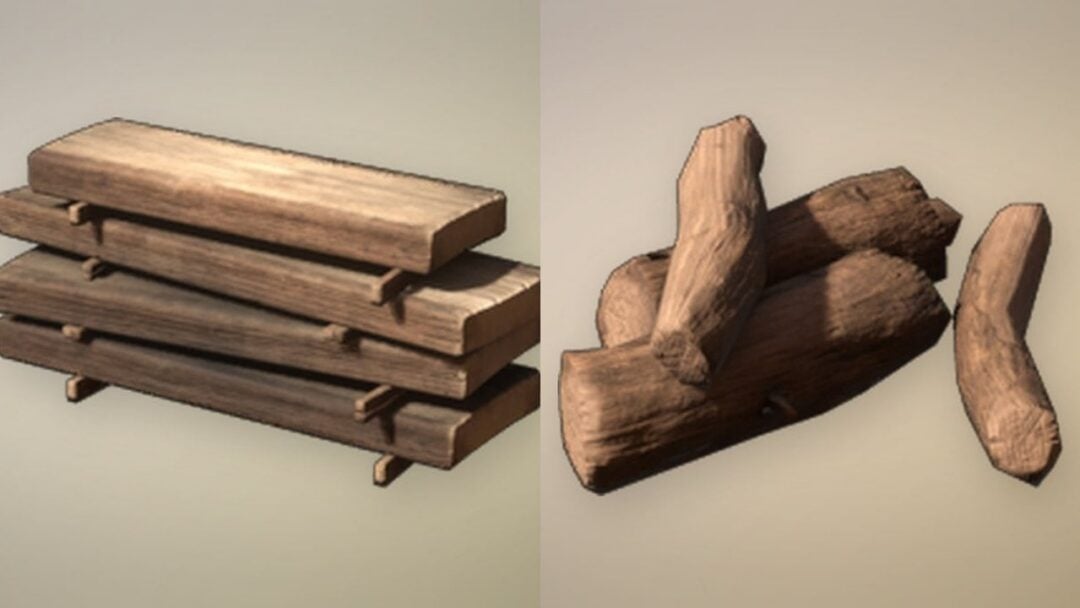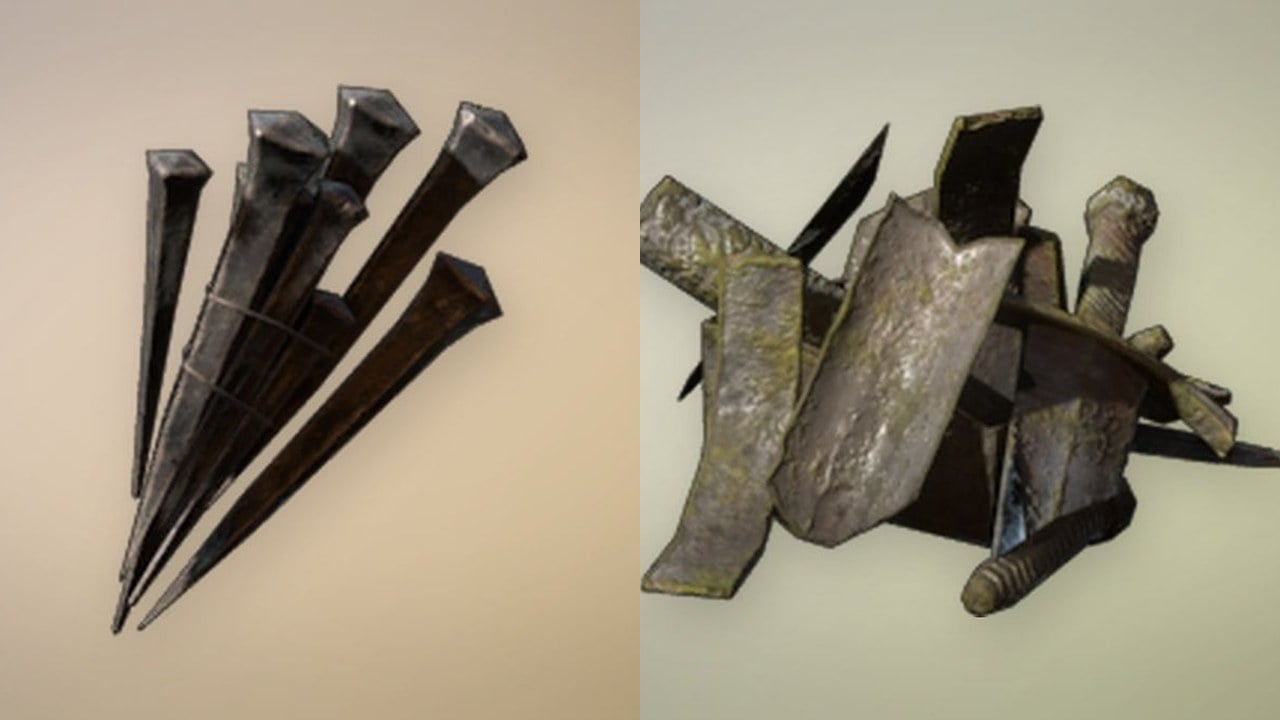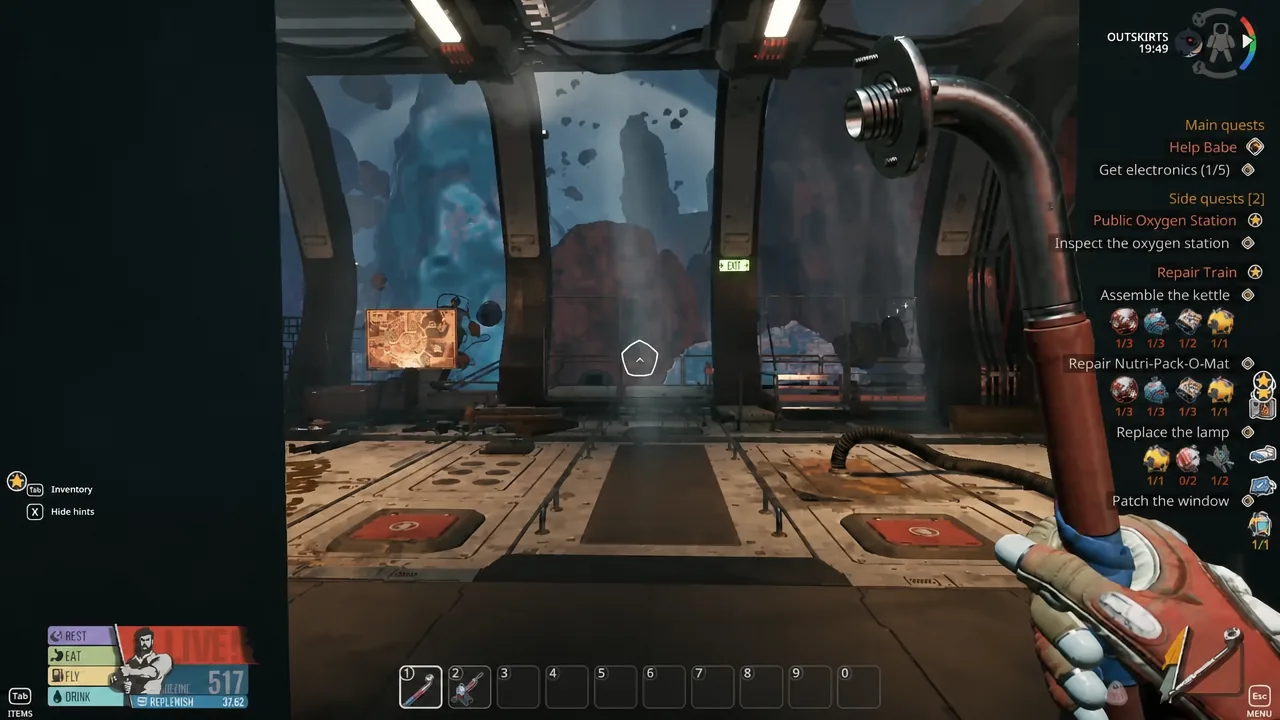
Plastic is one of the first materials Breathedge 2 asks you to gather, and it blocks a surprising number of Chapter 1 repairs if you run dry. The good news is that it is common, it sits close to the crashed train, and it does not need a specialty tool to collect.
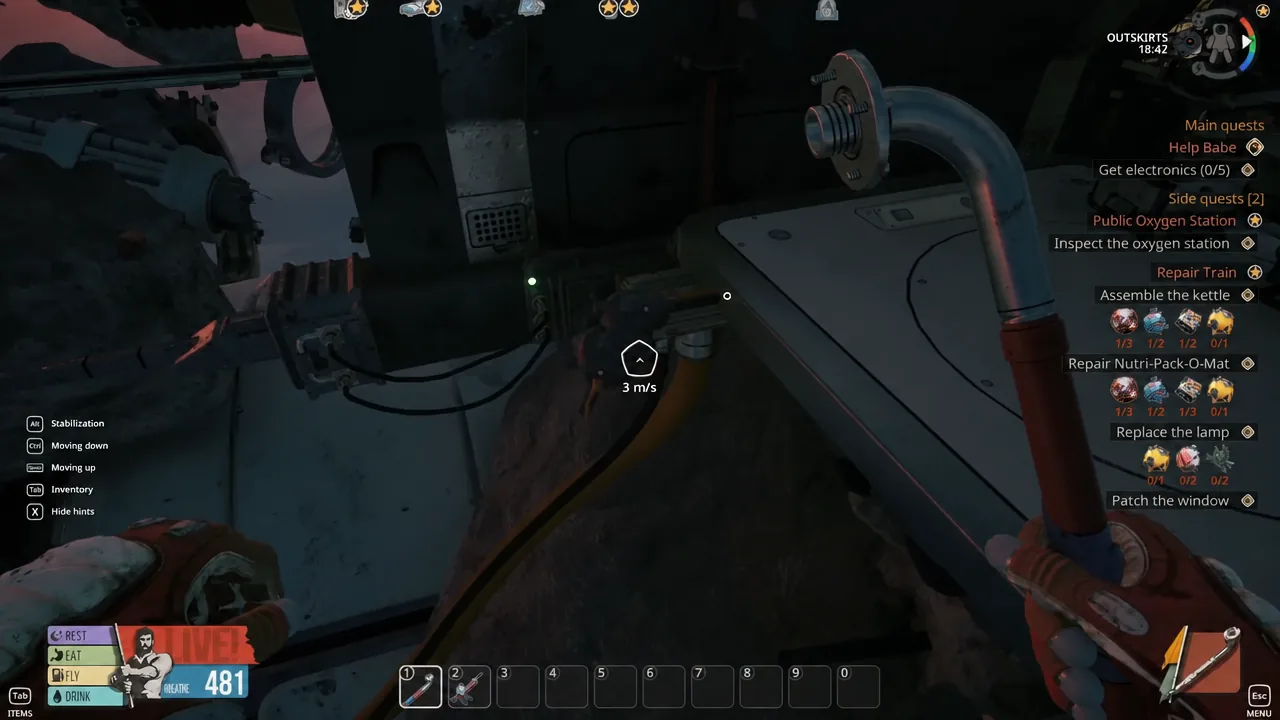
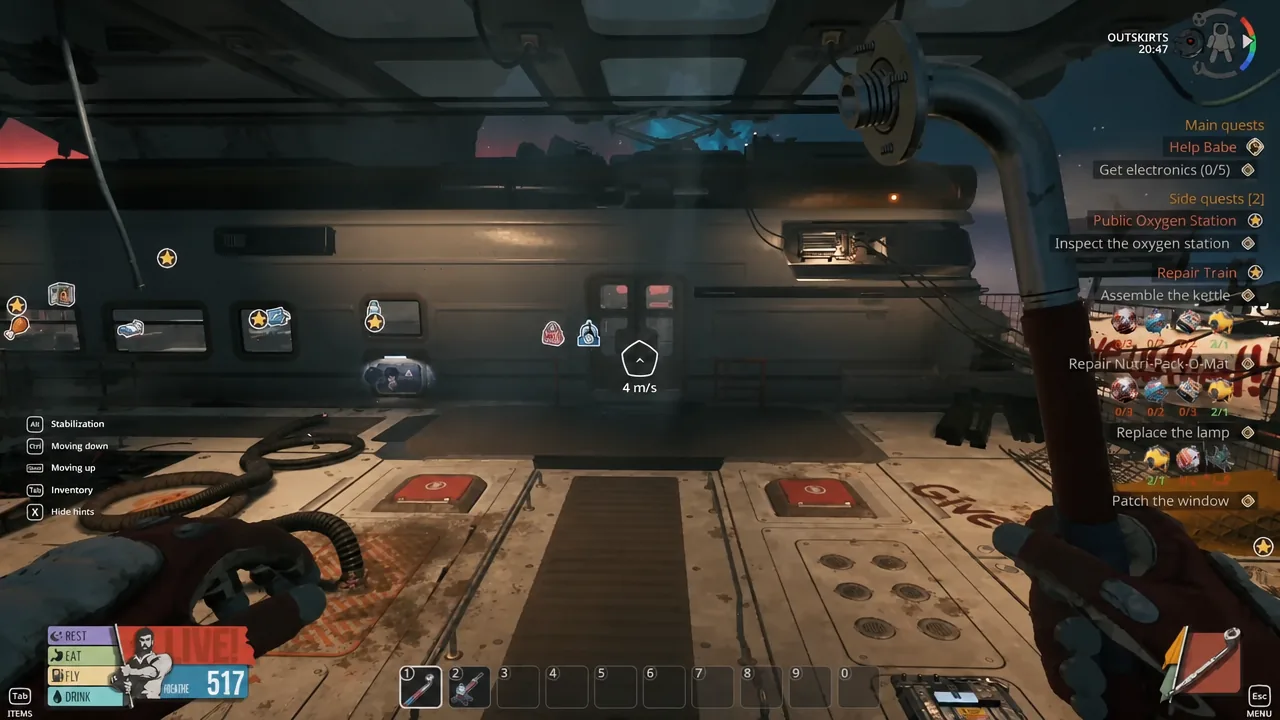
Quick answer: Exit the cabin into the Outskirts and look at the pipes and panels sticking out from the sides of the platforms and wrecks. Plastic shows up as a dark, blob-like growth on those surfaces. Aim at it, take the Break prompt with your basic scrap tool or crowbar, and collect the pieces that pop free.
What a plastic deposit looks like
Plastic is not a floating chunk you scoop up like metal balls or ice. It stays attached to whatever it grew on, which is why players fly straight past it. Look for a dark, lumpy mass clinging to a pipe assembly, a broken component, or the exposed side of a platform. In a debris field full of grey and orange scrap, the giveaway is the shape rather than the colour.
The faster habit is to stop reading the debris and start reading the prompts. Breathedge 2 tells you what a surface is worth the moment you get close enough, and the verbs are the whole system: Break, Cut, Unscrew, Pull, Drill. Plastic answers to Break. If an object gives you no prompt at point-blank range, hitting it repeatedly just burns oxygen and tool durability.
Plastic locations near the train station
You never have to leave the starting area to solve a plastic shortage. The material clusters on the structures immediately around the crashed train and the surrounding wreckage, so the moment a quest tells you to find plastic, you are almost certainly already standing near a deposit.
| Where to look | What to expect |
|---|---|
| Pipes on the edges of platforms | The most reliable source; deposits wrap around the exposed sections |
| Sides of wrecks and hull panels | Dark blobs stuck to the outer surface, visible on approach |
| Station equipment and broken components | Attached to machinery you can salvage rather than loose in space |
| Suitcases, crates and containers | Occasional pickups while looting interiors and cargo clusters |
| Floating near points of interest | Loose pieces drifting around landmarks and cabins |
Anything with an intact cabin is a good bet, since interiors and cargo piles hold more clutter than open debris. What plastic is not is a reason to boost off toward the horizon. If a repair is one piece short, sweep the nearby structures before committing to a long flight and a long oxygen bill.
How to harvest plastic
Why plastic gates the rest of Chapter 1
Plastic feeds the early tools, and those tools unlock every other material in the opening chapter. The order is fixed, so skipping ahead does not work. Gather Metal from the balls and barrels around the train, craft a basic crowbar, then use it to bring in more metal and the plastic you need for the Thumper. The Thumper drills Aluminium out of the small ores on asteroids, and enough Aluminium gets you the Cutter, which finally opens up Electrical Tape, wires, cardboard and foam.
| Tool | What it collects |
|---|---|
| Scrap tool / crowbar | Metal, plastic, electronics, ice, food from crates |
| Thumper | Aluminium from asteroid ore deposits |
| Cutter | Electrical Tape, wires, cardboard, foam |
| Twister | Light Bulbs from lamp fittings |
That chain is also why running out of plastic mid-chapter is annoying rather than fatal. The repairs that matter most, like the kettle and the Nutri-Pack machine inside the train, sit further down the line and lean on Electrical Tape. Plastic is what gets you to the tool that gets you the tape.
How much plastic to carry
Carrying capacity is a survival stat in Breathedge 2, and plastic is common enough that hoarding it is a genuine mistake. A packed backpack slows your EVA and stretches every trip into a longer oxygen problem. Take a working buffer, spend it, and go back out; the pipes are not going anywhere.
Note: your starting carry limit is 110. The craftable Backpack costs 4 Titanium and raises it to 185, a 75-point jump that changes every supply run after it. Titanium appears as a small spiked ball on unique wrecks, so it is worth a deliberate detour once you are only a piece or two short.
The habit that keeps you moving is simple. Loot a wreck, return to the cabin or shuttle, park the joke items, and keep quest parts, a tool kit, food, water, tape and a small plastic stack. Everything else can float where you found it.